How To Apply Onyx Effect To An Image
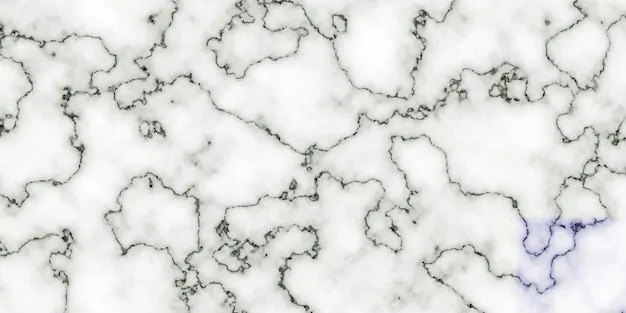
Humans have always been captivated by the onyx gemstone because of its strength and deep black beauty. It is made mainly of silica and is generated in volcanic regions. This good-looking gemstone is durable and comes in a variety of colours and designs beyond the traditional black with white bands. Onyx has long been associated with protection and balance; it is valued in many cultures for its grounding and protective properties, as well as its capacity to transform negative energy into good energy. It is said that the stone has physical, emotional, and spiritual therapeutic qualities, including helping people recover from disease and fostering emotional stability and spiritual development. Because onyx has origins in ancient cultures, its attraction continues till modern times, when it has become a sign of inspiration for designers and digital artists to create deft designs, artworks, and images. Moreover, in image editing, the onyx effect is often employed to adorn images with a deep black finish. This effect can also be applied to select elements like jewellery items, furniture, or even vehicles, allowing the viewer to focus on the critical zones. The step-by-step process to create onyx effects within images is as follows.
Step 1: Canvas Set Up And Image Duplication
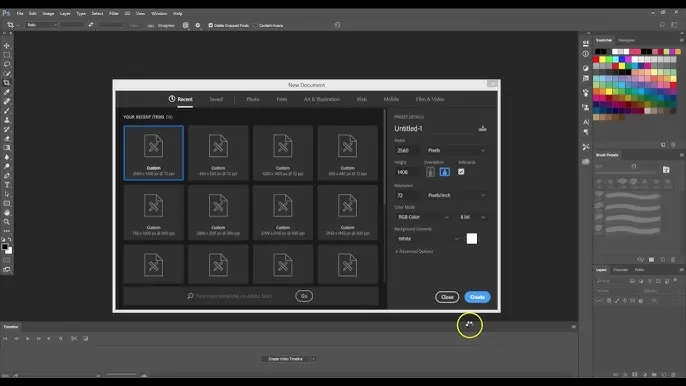
Initiate the Photoshop app and stack the image you need to alter. This will be the base for applying the onyx effect. Make sure that the photograph you pick has a high resolution for clarity in the final results.
Make a duplicate of the picture using the key shortcut Ctrl + J. Making the duplicate of your initial layer facilitates non-destructive editing, which means you will be able to revert if any mistakes happen without losing progress.
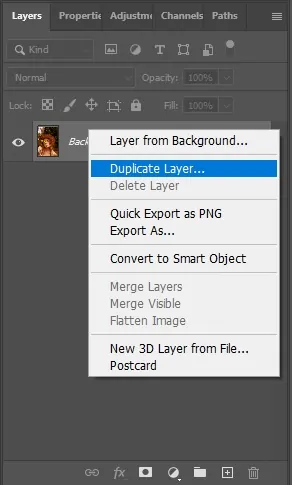
Tap on the duplicated layer within the Layers area and retitle it with a name like Onyx Effect for superior organization. By naming layers, you make it simpler to explore complex projects with numerous enhancements.
Review the canvas size and alter it as per your requirements. If you need any additional space for adjustments, move to the Image, select Canvas Size and increase it slightly. It will help anticipate undesirable cropping or distortion.
Preserve your project in PSD to keep layers editable. It will guarantee that any future edits stay possible without influencing quality, making the altering process more adaptable and controlled.
Step 2: The Grayscale Conversion
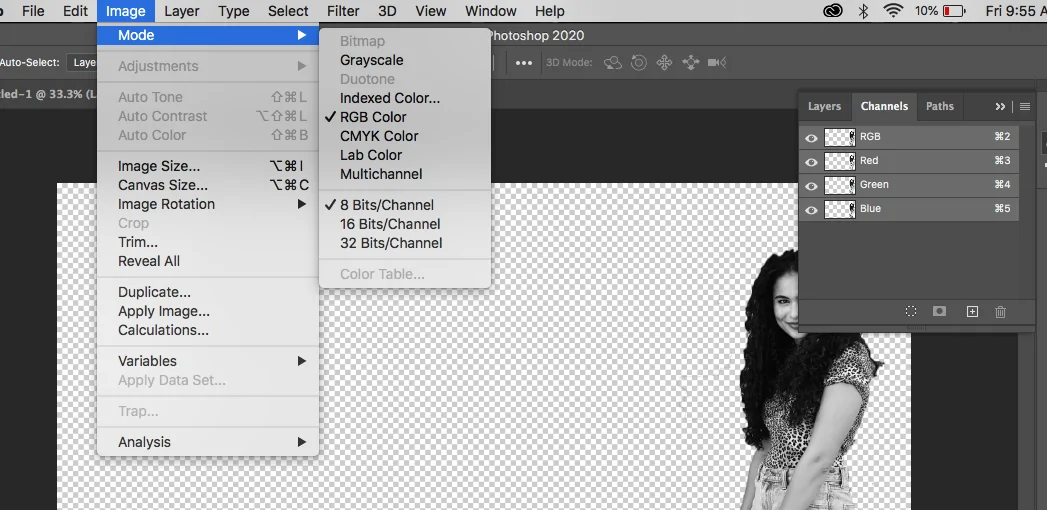
Head to Image, click on Adjustments > Black & White and expel all colours from the photograph. That will provide you with a solid monochrome base, which is fundamental for accomplishing the polished onyx appearance. Alter the colour sliders as necessary to regulate brightness and contrast in diverse ranges.
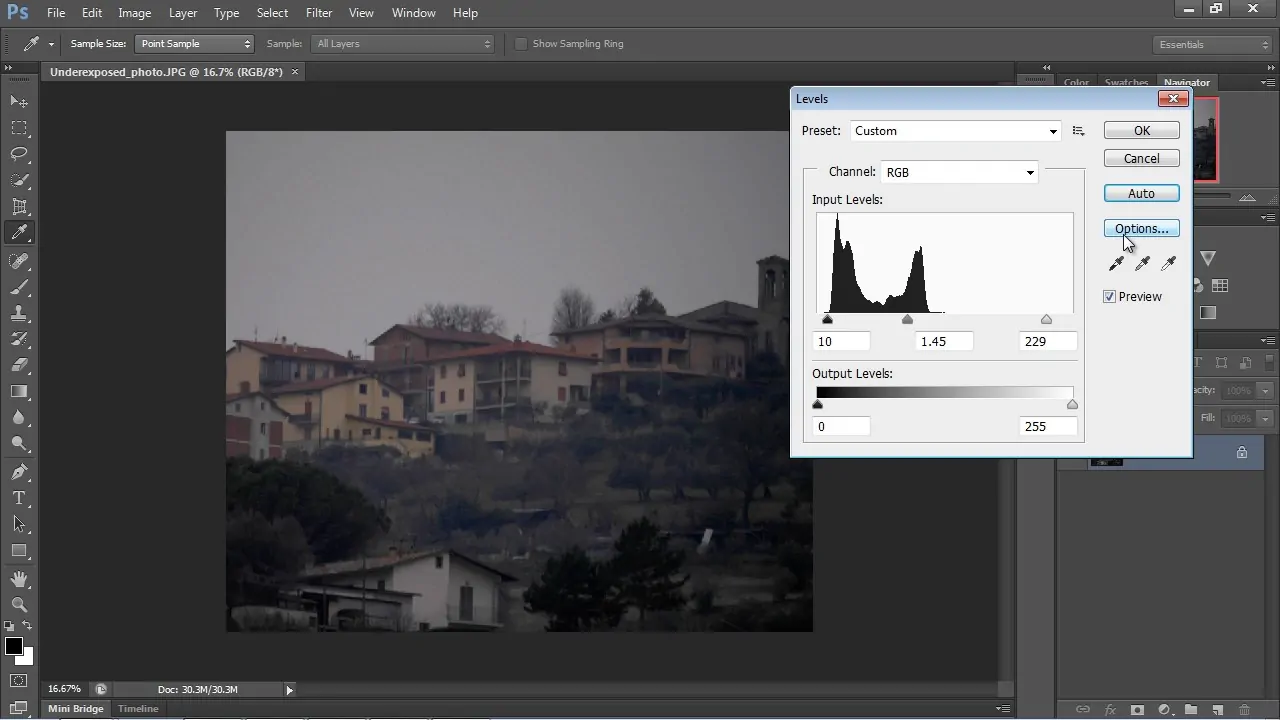
Advance the depth of the dark zones by modifying the Levels or Curves. The addition of deep blacks is key to mirroring the rich, gleaming look of natural onyx. Drag the black point slider somewhat to the right side to heighten shadows while keeping highlights level.
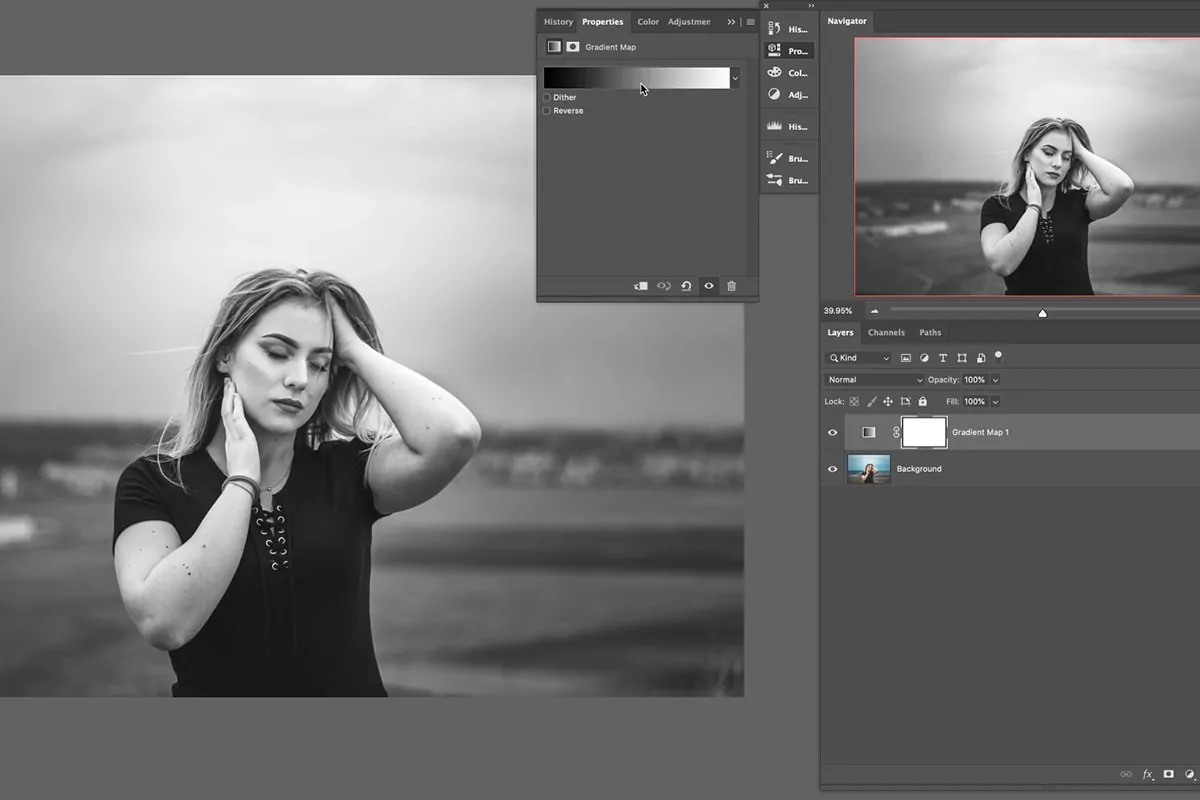
Add a Gradient Map by going to Image, then Adjustments > Gradient Map, and choose a black-to-white angle. It will improve the contrast and polish the general tone. Alter the gradient midpoint to form a smoother transition between shades.
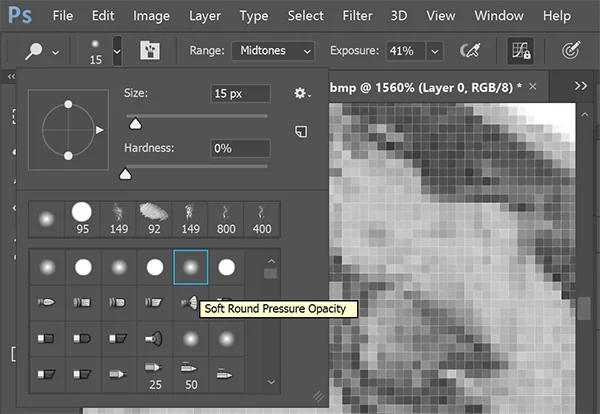
Utilize the Burn Tool on Midtones to darken particular ranges, including more depth. Gently brush over details that require additional intensity while maintaining natural deviations in tone.
Regulate the brightness and contrast by utilizing Brightness/Contrast adjustments to conclude the black-and-white development.
Step 3: Modifying The Contrast
Unlock the Levels adjustment by tapping on and altering the sliders to heighten blacks and brighten highlights. Shift the black slider to the little right to create rich shadows and the white slider to the left side to upgrade the light ranges.
Polish the depth by reaching the Image, clicking on Adjustments > Curves, and making an S-shaped curve by dragging the lower portion downward and the upper portion upward.
Employ a Brightness/Contrast adjustment to expand contrast further. Increase contrast somewhat while maintaining brightness balance. That can help define the light and dark ranges, giving the photograph a more powerful onyx-like profundity.
Utilize the Dodge Tool on highlights to softly brighten chosen regions. Adjust the tool to Midtones with low exposure and brush delicately to upgrade reflection points, making a more realistic refined development.
Survey the adjustments and tune them as required before proceeding to the following step.
Step 4: Creating Natural Reflections
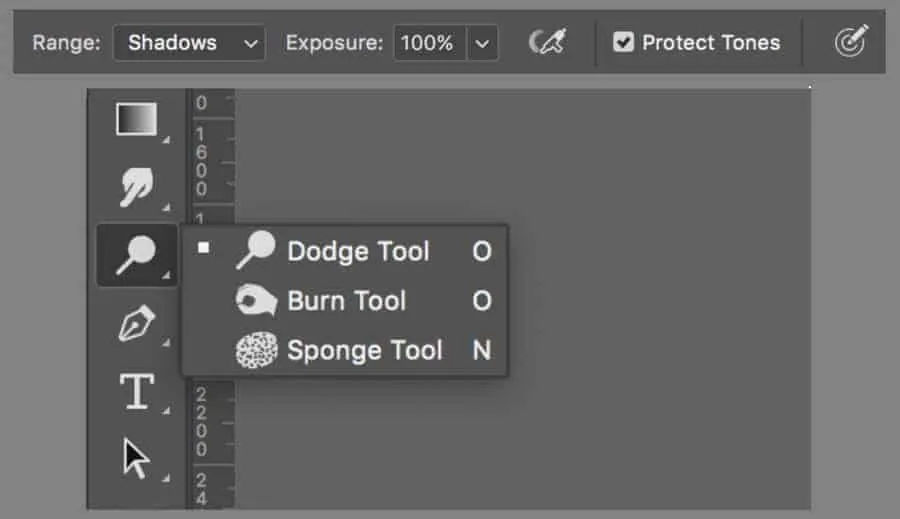
Pick the Dodge Tool and put the range to Highlights with decreased exposure of 10 to 15 per cent. Gently brush over zones where light naturally falls to make subtle reflections. It can improve the polished, glossy appearance of onyx. Do not go for over-brightening to preserve authenticity.
Change to the Burn Tool and specify the range to Shadows with low exposure. Darken particular zones to deepen the contrast and add depth. Concentrate on edges and curved regions to form a natural stone-like impression with even shading.
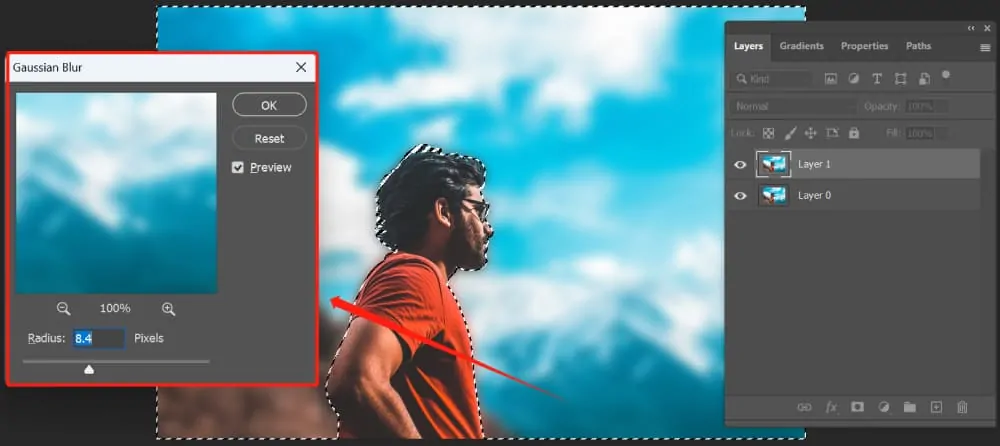
Proceed to the Filter option and select Blur > Gaussian Blur, then apply a slight blur to soften harsh edges and blend the highlights and shadows effortlessly. Alter the radius carefully to hold subtle elements while accomplishing a sophisticated effect.
Include a specular highlight by making a new layer. Pick a soft white brush and paint little bright spots where light would reflect naturally. Specify the layer’s blending mode to Overlay or Soft Light for a realistic shine.
Polish the effect with the help of Opacity and Layer Masks enhancements to get a glossy surface that looks natural and enhances the onyx impact without overwhelming the picture.
Step 5: Amplify The Depth
Utilize the Burn Tool and set its range to Midtones and exposure to 10 to 15 strat, darkening the ranges that require more depth. Concentrate on the edges, curves, and naturally shaded regions to upgrade the stone-like grade of the onyx effect.
Make a new layer and put it into Multiply blending mode. Employ a soft black brush and paint delicate shadows where required. Alter the layer opacity to integrate it naturally with the picture so that the shadows look natural, not too fake or extra dramatic.
Include a Gradient Map by moving to Image and clicking Adjustments > Gradient Map; pick a black to dark grey gradient to ease shadow shifts while keeping up a deep, clean impression. Alter the gradient midpoint for way better tonal harmony.
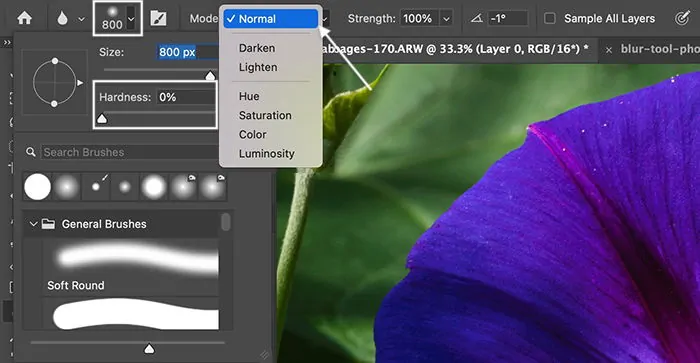
Utilize the Blur Tool or Gaussian Blur on shadowed regions to hush rough edges and make a more natural development.
Review the general depth by toggling the visibility of shadow layers. Do the final alterations to guarantee an adapted contrast between profound blacks and reflective highlights, polishing the onyx effect.
Step 6: Polish The Edges
Assign the Dodge Tool while putting its range to Highlights and exposure to 5 to 10 per cent. Softly brush over the edges and zones where light naturally strikes to make subtle reflections, improving the polished onyx effect.
Utilize a soft white brush on a new layer and put it to Overlay blending mode. Paint along rims and curved surfaces to recreate the interaction of light with a smooth, gleaming surface. Alter opacity to keep the highlights realistic.
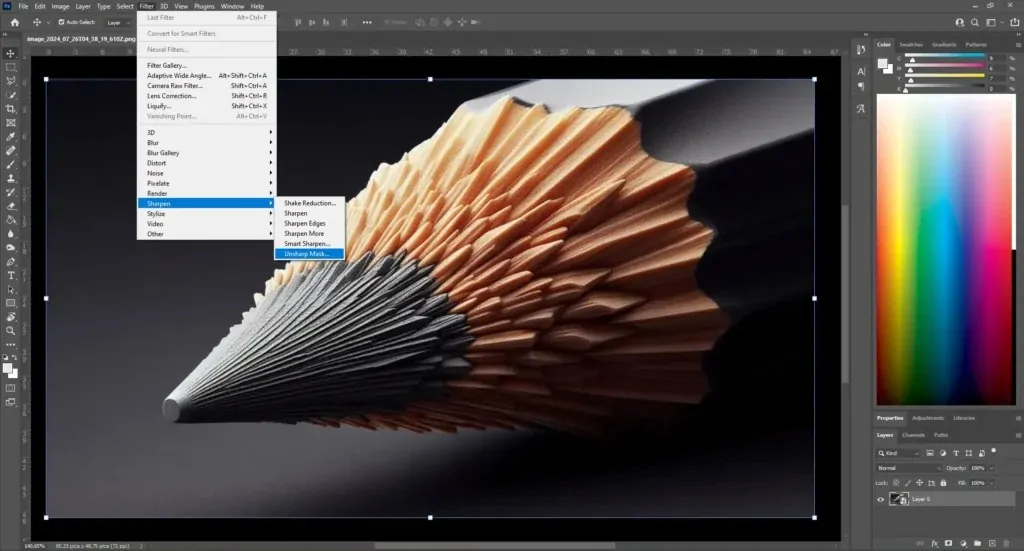
Add a Sharpen filter by going to Filter, clicking Sharpen, and then Unsharp Mask. Put the Amount around 50 to 100 per cent and alter the Radius to upgrade the texture without making harsh artefacts. In this phase, make sure that the edges show up crisp while keeping up a smooth appearance.
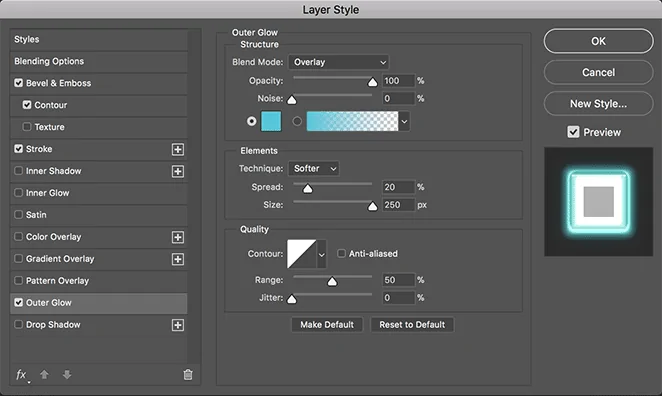
Include a slight Outer Glow effect by taping twice on the layer and choosing Layer Styles as Outer Glow. Utilize a soft white or light grey colour with reduced opacity to form a subtle reflective shine along the brightest edges.
Polish the highlights and edges by altering opacity and utilizing layer masks, blending the effect naturally and making sure that the onyx formation looks polished and realistic.
Step 7: Fine-Tuning The Effect
Make sure that all layers and adjustments are in the form to confirm that the onyx effect looks pristine. Flip layer visibility to compare changes and tune any ranges where highlights or shadows require adjusting.
Get to Image, select Adjustments, then Brightness/Contrast, and make concluding changes. Marginally increase contrast to deepen blacks and polish highlights, making the onyx effect more impressive. Alter brightness carefully to preserve a rich, reflexive impression.
Include a Vignette on a modern layer, fill it with dark, and employ a soft Eraser to evacuate the centre. Minimize the opacity and set the blending mode to Multiply for a nuanced, polished outline around the picture.
Flatten the image if no more modifications are required by attending to the Layer and Flatten Image options.
In the end, export the finally final image in PNG or JPEG format by using File > Export > Save for Web, choosing high quality. It will make sure that your onyx effect remains fresh and visually engaging.
Conclusion
In summary, artists have been creating elaborate cameos out of onyx for thousands of years since it has been a symbol of both spiritual strength and beauty. Furthermore, in earlier times, the onyx stone was highly prized for its beauty and supposed magical properties. Whether faceted or cabbed, solid black onyxes were prevalent jewellery stones. Modern jewellers have also exploited onyxes’ stark aspect and vitreous lustre, turning them into stand-alone centre stones. Because of its aesthetic and symbolic qualities, onyx rock is still valued today, and even artists and designers often incorporate these aspects into their creations that exhibit glossy finishes and textures.


