How To Add The Aurora Borealis Effect To Images
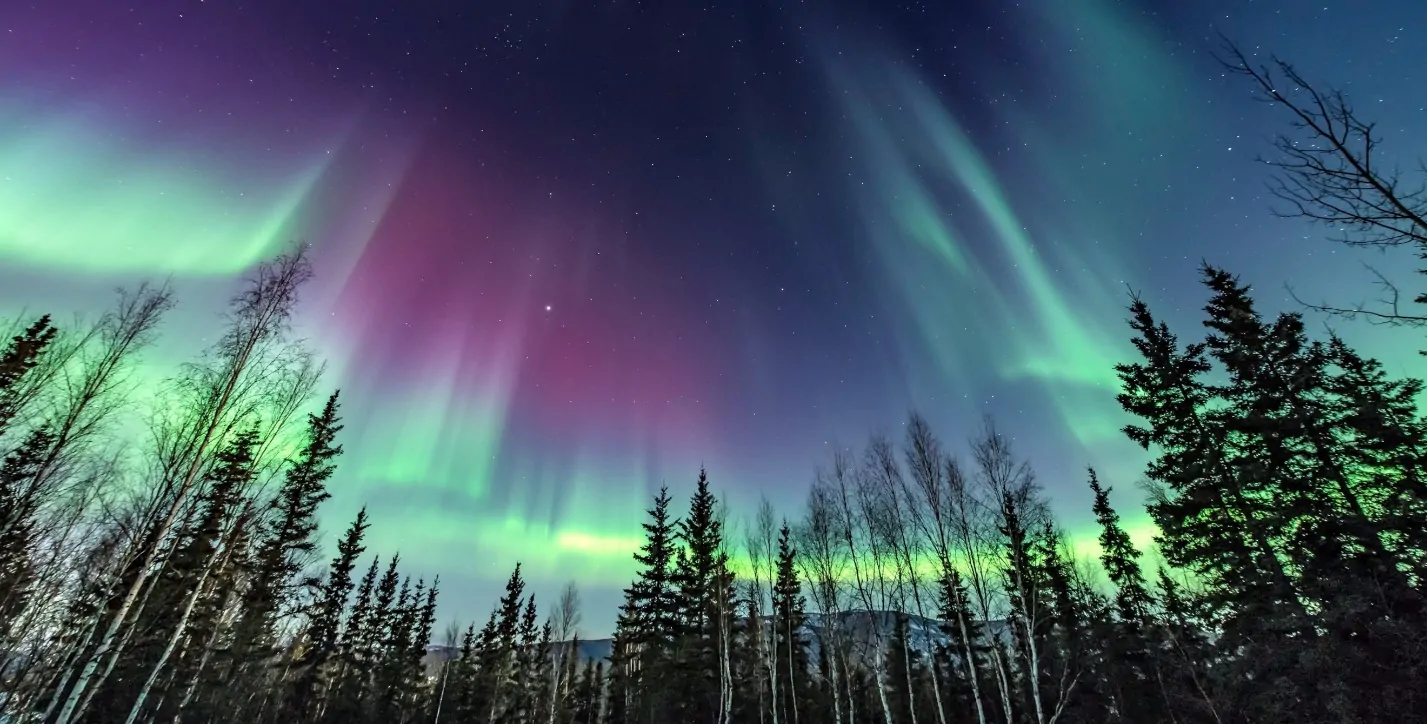
Aurora borealis, another name for the Northern Lights, is a natural light that is visible in the night sky of the northern hemisphere. Although they come in a variety of colours, auroral displays are most frequently pink and pastel green. Yet there are other accounts that involve red, yellow, green, blue, and violet hues. In the past, this strange occurrence was explained in a variety of ways. Perhaps it should come as no surprise that the northern and southern lights played a significant role in early mythology, religion, and folklore, from spectral beings to enormous fires raging beyond the ends of the world. Various scientific researchers have detailed the causes behind this phenomenon, yet their mysterious charisma still exists. The adorable nature occurring like the aurora borealis is an enchanting inspiration for photographers to shoot captivating photographs that hold enigmas and irresistible delight within them. In addition, the advanced image enhancement tools facilitate photographers and digital artists in adding aurora borealis comprising atmosphere to their everyday images and compositions.
Step 1: Create The Base
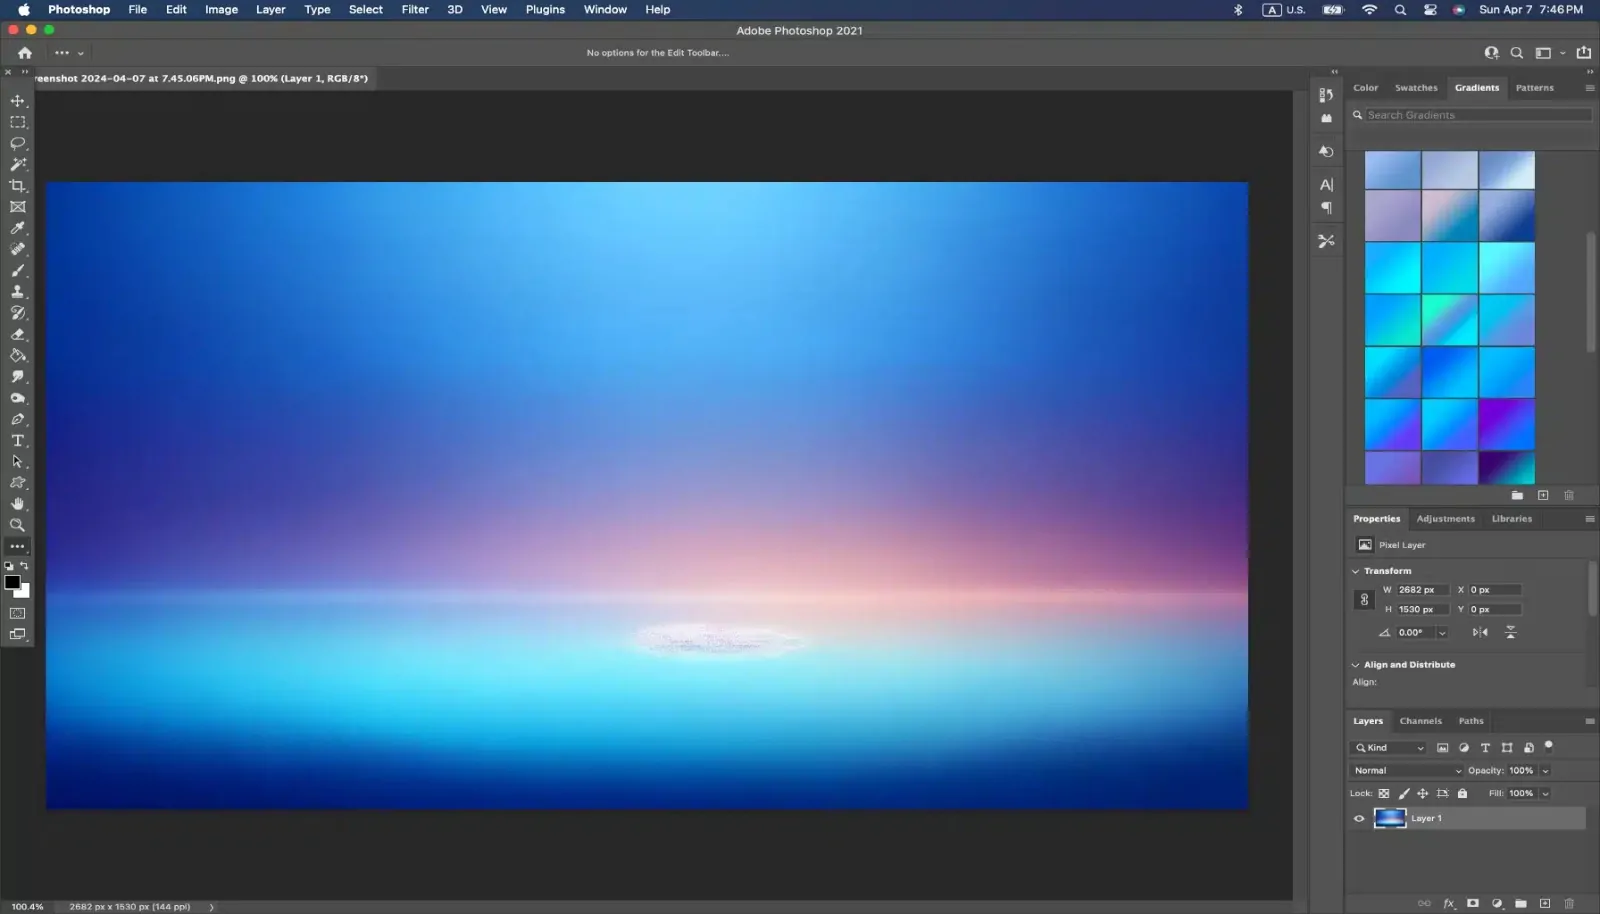
The first step begins with initiating your image editing program and setting up a new document. Moreover, you can select an existing night sky photograph. A dull foundation will give the finest contrast for the aurora effect.
If you are beginning from scratch, fill the foundation with a profound blue or dark gradient. Slowly integrate darker shades toward the top to mimic the genuine night sky.
Revise the brightness and contrast settings to evacuate any pointless light marks. Achieving a smooth, dark transition guarantees that the aurora colours show up more dynamic and true-to-life.
Add a nuanced vignette effect to darken the edges, holding the centre slightly brighter. It will help in making depth and draw focus toward the aurora arrangement.
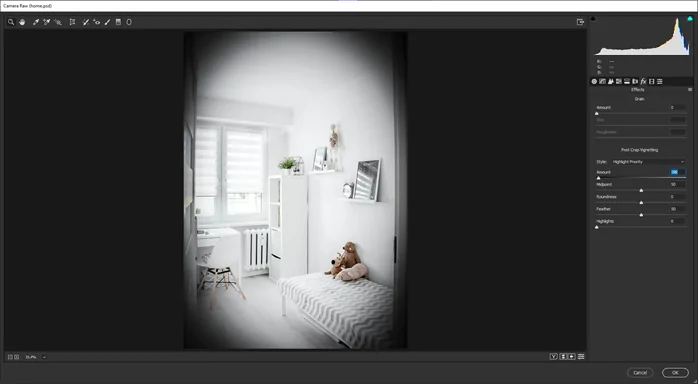
In case utilizing a picture, remove over-the-top highlights and alter shadows for a more proportional night scene. Darker pictures function best for a shining aurora effect.
Include a starry effect by softly brushing scattered white specks over the backdrop. Blur a few of them somewhat to upgrade depth and authenticity, making the sky look more lifelike.
Step 2: Utilizing The Gradient Tool
Set up a new layer over the background and put its blending mode in Soft Light or Overlay blending mode. It will make the colours merge with the sky in an organic way.
Pick the Gradient Tool and select dynamic colours, including green, blue, purple, or pink, to imitate the tones of the Aurora Borealis. Utilize a radial or linear gradient for an even transition.
Pull the gradient over the sky in a streaming, wave-like design. Add considerable gradients with shifting opacity to make up a natural colour spread.
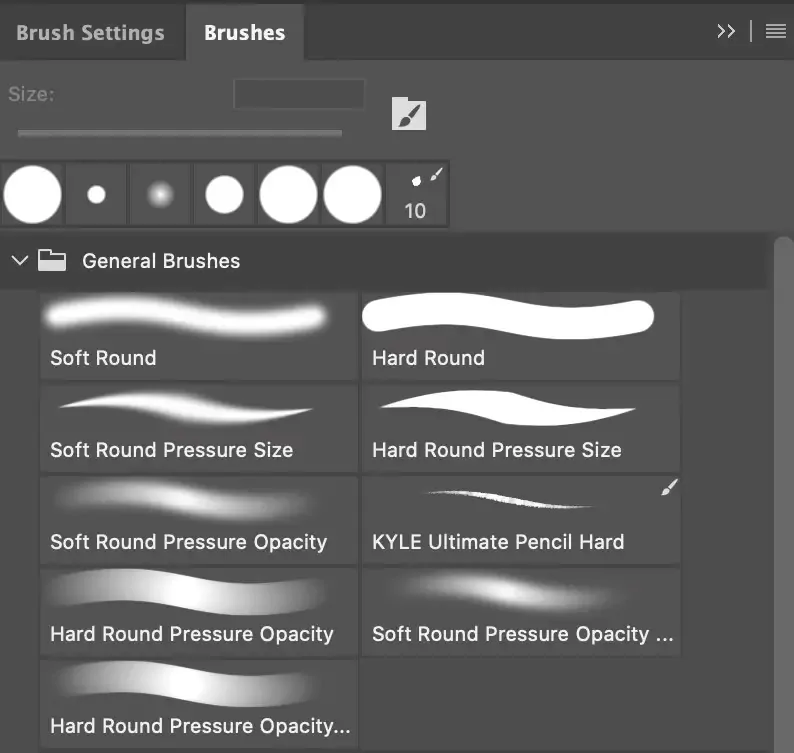
Utilize a soft brush with less opacity to paint additional colours manually where required. It will help polish the aurora’s shape and enrich its natural shine.
Try layer opacity and blending modes to alter the intensity of the colours. Decrease saturation marginally for a more natural vibe.
On the off chance that it is fundamental, apply a Gaussian Blur to relax the colours and make a smooth aurora effect over the sky.
Step 3: Adding The Blur Effects
Choose the aurora colour layer and duplicate it to protect the initial in case alterations are required later.
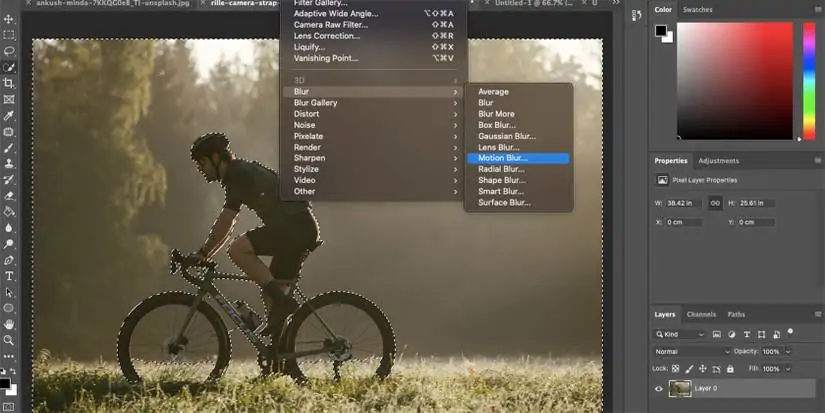
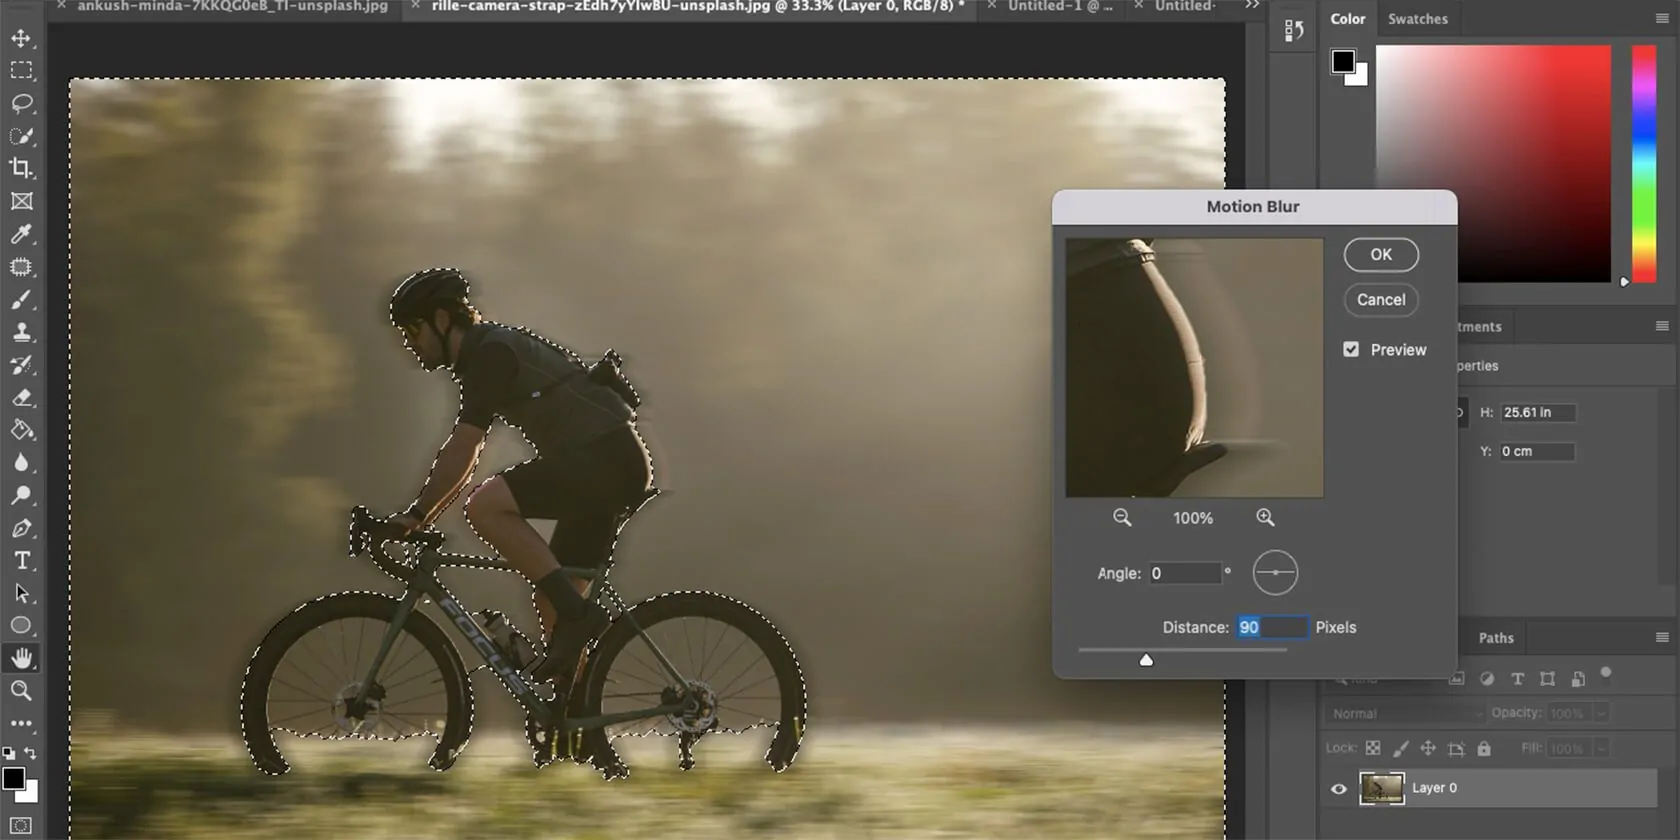
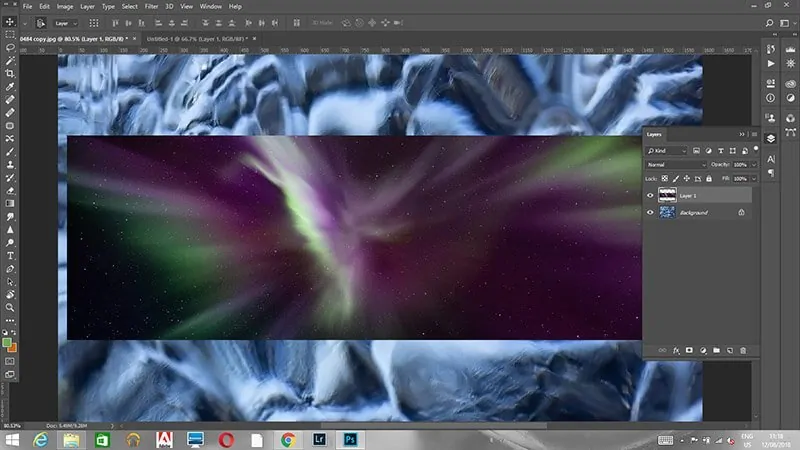
Head to the Filter menu, select Blur, and after that, select Motion Blur to form an extended light effect.
Specify the blur angle to 90 degrees or marginally tilted to correspond to the normal flow of the aurora. Alter the distance to regulate the streak size.
Use the blur steadily, confirming that the colours stay visible while accomplishing a soft, flowing effect. Bypass over-the-top blurring, which can result in the loss of detail.
As required, apply different layers of motion blur with changing strengths to form a layered, wave-like formation within the aurora.
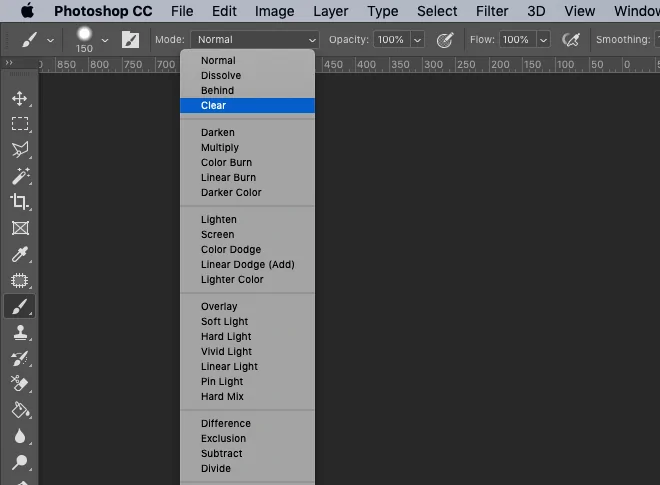
Decrease the opacity somewhat and utilize an eraser with delicate edges to polish the shape, making some ranges more defined while letting others stay diffused for a natural impression.
Step 4: Enhancing The Blending
Click on the aurora layer and shift its blending mode to Screen, Overlay, or Soft Light, integrating it naturally with the foundation.
Test with distinctive blending modes to determine which one is most suitable for upgrading the glow and realism of the aurora without overwhelming the image.
Alter the layer opacity to tune the intensity. Minimizing it minutely can make the aurora show up gentler and more natural, whereas the higher value of opacity makes it more distinctive.
If you feel that the colours look excessively intense, add a slight Gaussian Blur or decrease the saturation to blend them more evenly into the sky.
Make additional layers with varying blending modes and opacities to include depth and variation to the aurora’s gleam.
Utilize a soft eraser or layer mask to get rid of undesirable edges or unduly shining ranges so that the aurora blends consistently into the setting.
Step 5: Including the Glow Effect
Make a copy of the aurora layer and add a Gaussian Blur to create a soft, shining effect that mirrors natural atmospheric light diffusion.
Alter the blur radius to manage the power of the glow; for instance, the higher radius values make a more substantial and diffused effect, whereas the lower radius keeps the subtle elements sharper.
Utilize the Brush Tool with a soft and low-opacity setting and paint extra shine around the aurora borders, improving its natural brilliance.
Expand the lightness and contrast slightly to make the aurora’s glow stand out without making it appear artificial or overexposed.
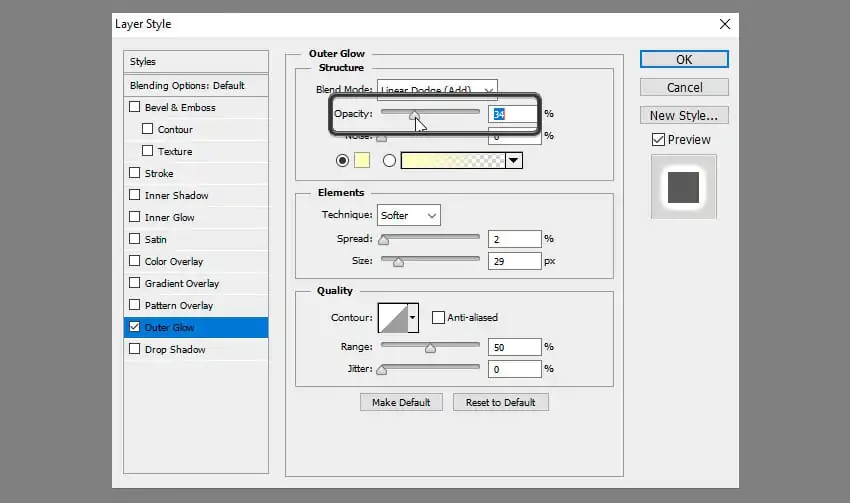
As required, apply a subtle Outer Glow layer impact utilizing green, blue, or purple tones to upgrade the glowing formation.
Remake opacity and blending modes for the glow layers to guarantee a realistic equilibrium between brightness and delicate quality.
Step 6: Presenting Atmospheric Elements
Set up a new layer and utilize a soft round brush with low opacity to paint subtle mist or haze around the aurora, making it seem more realistic than before.
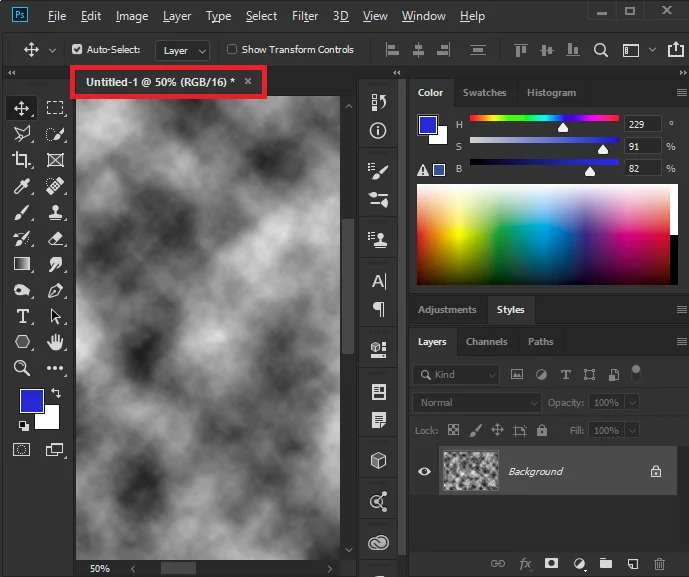
Add a Clouds filter on a particular layer and specify its blending mode to Soft Light or Overlay while decreasing opacity to include depth.
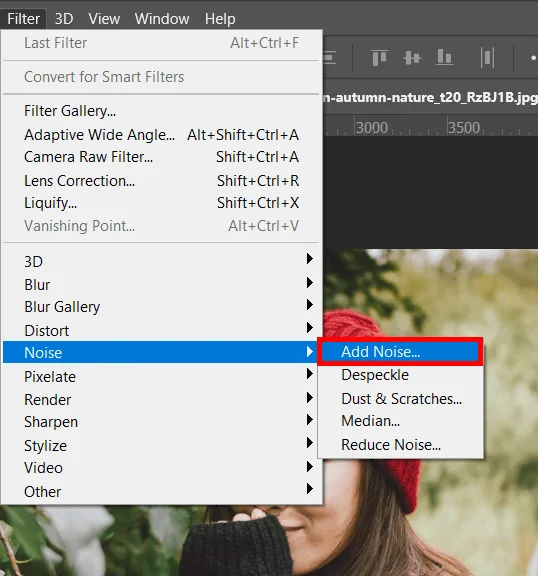
Utilize a noise filter by clicking Filter > Noise, then Add Noise with low intensity to present a slight texture, imitating natural atmospheric particles.
As required, include light rays or streaks employing a thin, soft brush and a slightly blurred motion effect to upgrade authenticity.
Alter the hue and brightness of the air effects to correspond to the aurora’s colours, getting a smooth unification.
Utilize a layer mask to eradicate any superfluous haze or glow in those ranges where the aurora ought to show up sharper.
Step 7: Polishing The Colors And Contrast
Head to the Hue/Saturation adjustment and barely set the colours to provide the aurora with a more resonant or realistic look per the scene.
Utilize the Curves or Levels tool to alter the contrast, making sure that the aurora looks striking without overwhelming the background.
Add a Selective Color adjustment to fine-tune particular hues, such as green, blue, or purple, improving their natural transition.
If your aurora looks excessively drastic, you may need to decrease the opacity of the layer somewhat to integrate it more naturally into the night sky.
Include a final Gaussian Blur or Soft Light layer as required to polish edges and make a uniform atmospheric effect.
Finally, use the zoom-out feature to audit the whole picture, making little changes to brightness and glow and blending for a tidied, realistic final impression.
After you are all okay with the composition, you can export it in a high-resolution form, preserving quality while guaranteeing that the final aurora effect stays sharp and resonant.
Conclusion
In conclusion, the aurora borealis reminds us how stunning and amazing our world is. Regardless of the effort necessary to go or wait for a certain time, we are enticed to experience the northern lights, an amazing dance of light around the skies in bright hues. Even though the aurora borealis is one of the most enthralling natural wonders you may see up close, you might occasionally wish to add them to your photos for amusement or to add a charismatic atmosphere. The above blog’s steps will enable you to create a mystical scene by adding as much realistic aurora borealis as possible.


