How To Add Mannerism In Images
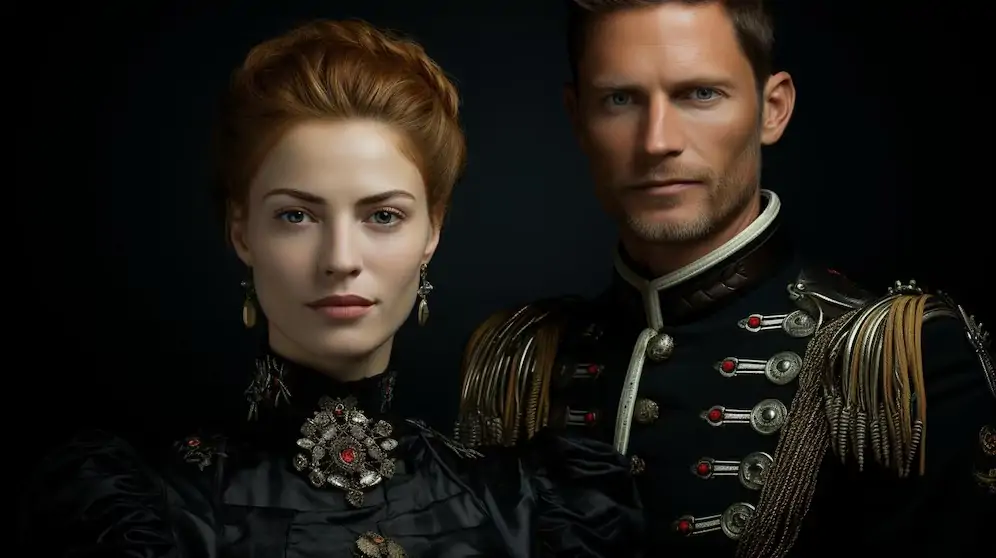
The concept of mannerism is acquired from the Italian word maniera, which is about style or the term “stylish style” due to its emphasis on self-conscious pretence rather than pragmatic portrayal. Vasari, a mannerist and artist of the sixteenth century, felt that masterful technique, depth of imagination, and refinement were necessary for quality in painting and highlighted the artist’s intelligence. The idea and evolution of the artist were much more important than his painstakingly recreated observation of nature. Painters and sculptors at that time were no longer considered artisans; instead, they coexisted with academics, poets, and humanists in an environment that promoted a respect for grace, intricacy, and sophistication. Contemporary artists are equally infatuated with the artificiality, bizarreness, solid colour, elongated proportions and exaggerated anatomy of characters associated with the mannerism approach. They create artworks and manipulate images using the codes of mannerism, resulting in the creation of exceptionally peculiar art products. This blog will deal with the steps and techniques used within digital make-up to create compositions indicating mannerist characteristics.
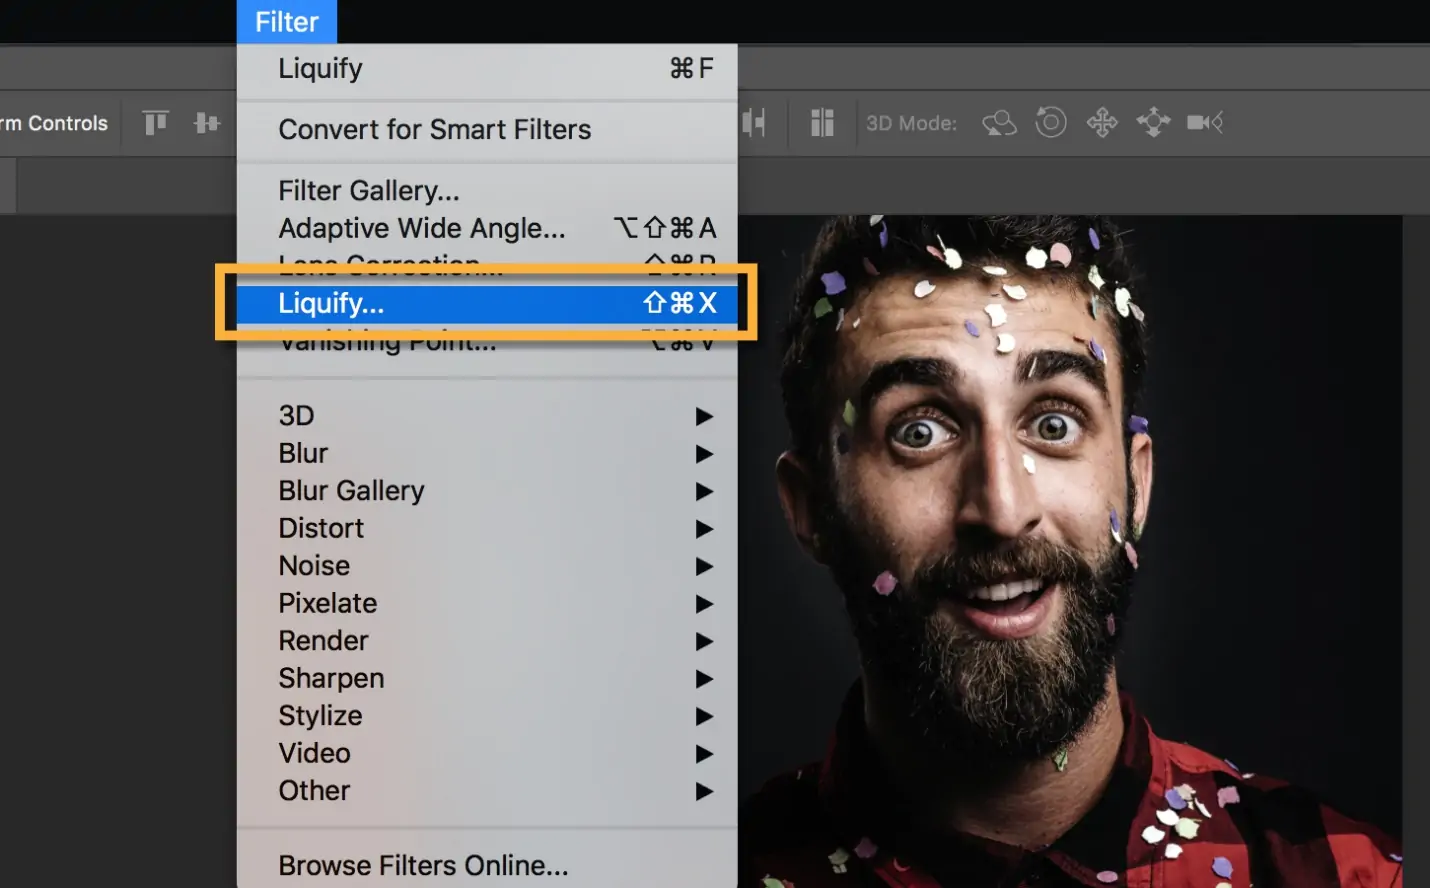
Step 1: Using Liquifying Technique
Begin Photoshop and open the photo. You need to edit it by selecting File, then Open it, and select your image file.
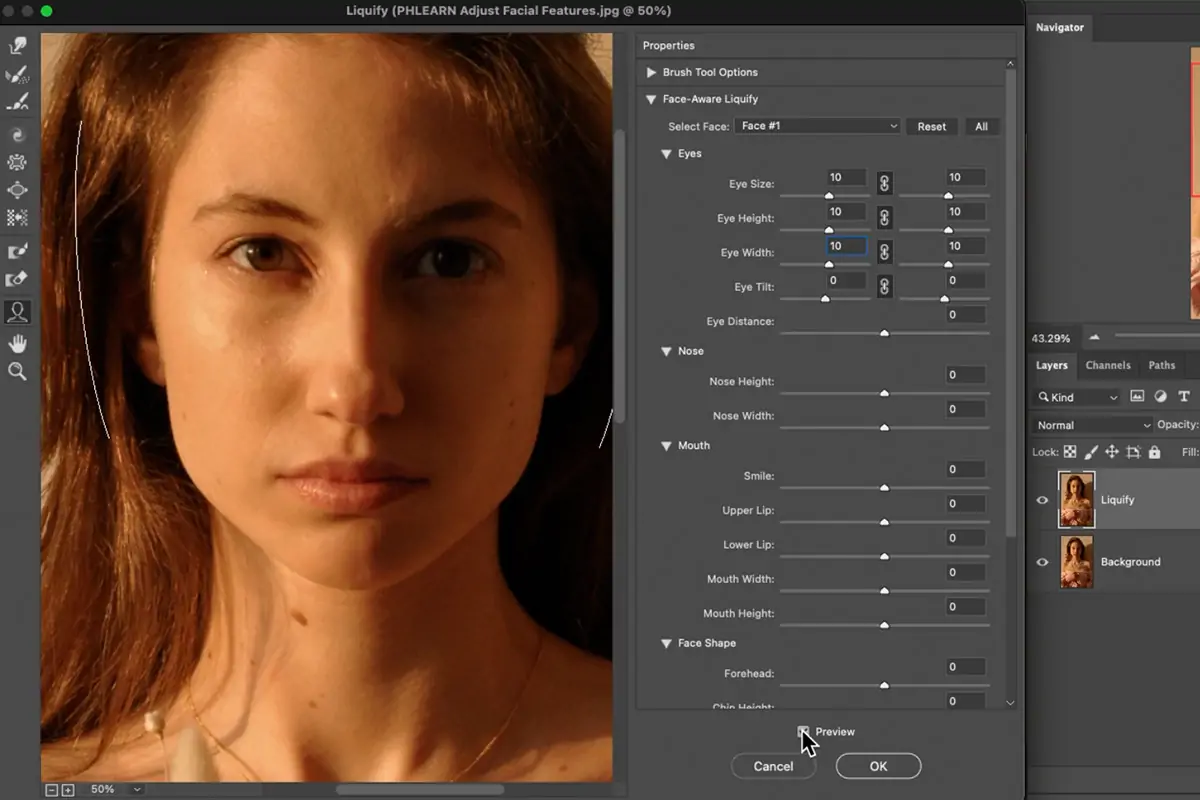
Get to Filter > Liquify to access the Liquify dialog box.
Within the Liquify dialog, click on the Warp Tool from the toolbar on the left or use the shortcut W.
Alter the size, density, and pressure of the brush as per the zone you need to manipulate. Bigger brushes work way better for wide distortions, while smaller brushes are excellent for petty details.
Tap and drag parts of the image to stretch limbs, necks, or other features. For illustration, delicately drag the neck to make it look longer and more smooth.
Utilize the Reconstruct Tool to relax and refine the edges of your distortions as required, guaranteeing the changes look deliberate and smooth.
After completing, press Ok to apply the modifications and return to the main Photoshop workspace.
Step 2: Hue And Saturation Enhancement
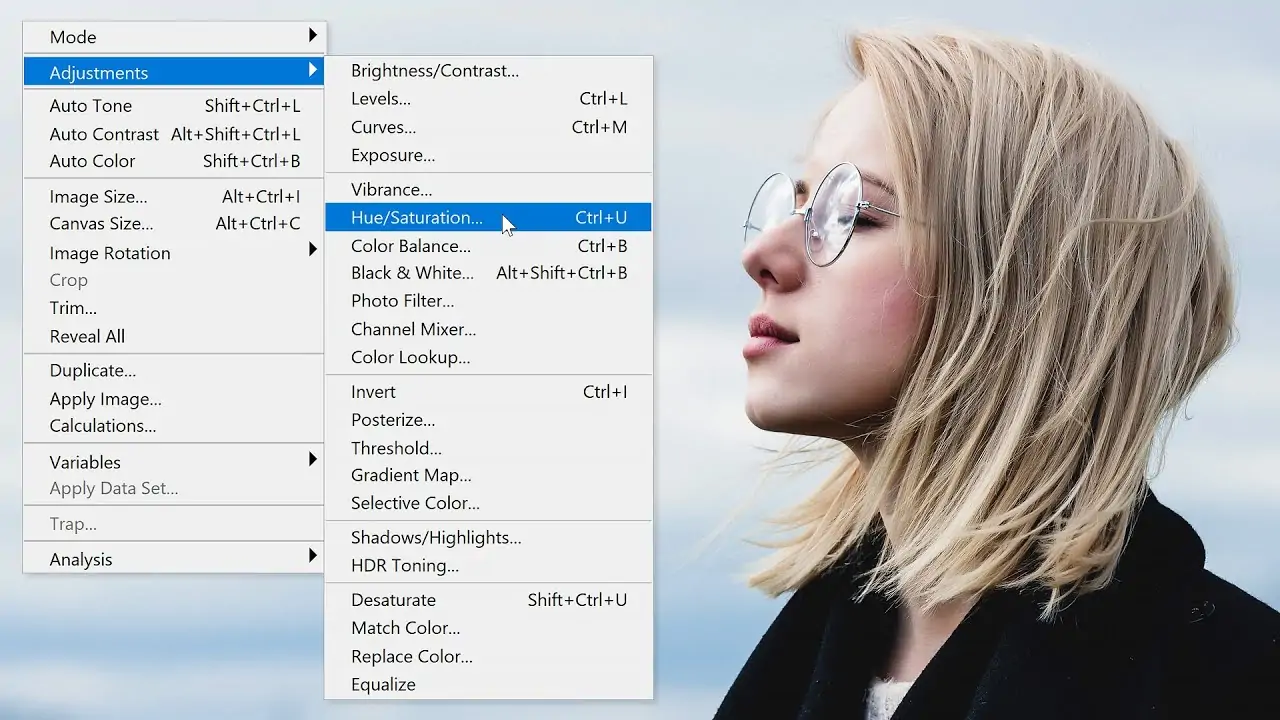
In Photoshop, navigate to the image, and next click Adjustments, then Hue/Saturation.
Utilize the Saturation slider to extend dynamic quality. Revise it to amplify colours without making them emerge unnatural unless intended.
Move the Hue slider to alter general colour tones. This could make exceptional and distinctive combinations.
Utilize the drop-down menu to choose particular colour ranges like Reds and yellows for detailed alterations.
Make sure that the Preview option is checked to see alterations in real time.
Accommodate lightness for brightness and darkness impacts, refining until content is reached.
Press Ok to finalize changes and return to your primary workspace, upgrading your picture with dynamic, expressive colours appropriate for Mannerist aesthetics.
Step 3: Adjusting The Pose
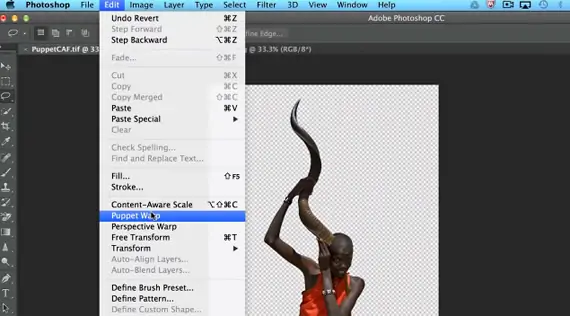
Keeping the photo open in Photoshop, find the Edit menu and select Puppet Warp.
Click on particular points of the picture where you need to make anchor points to regulate the deformation in the image.
Adjust the density of the mesh if essential. A denser mesh gives more exact dominion over the deformation of the picture.
Tap and pull any anchor point to revamp and reshape that range of the image. That lets you vary postures to be more dynamic and inflated.
Include additional pins as required to control more regions of the image. To erase pins, just right-click on them and choose Delete Pin.
Utilize smaller developments to form subtle alterations, ensuring the pose shows up naturally inside the setting of the general photograph.
Persistently review your adaptations by toggling the visibility of the work (shortcut Ctrl+H) to glimpse the adjustments in context with the rest of the picture.
Once fulfilled with the posture alterations, press Enter or Apply within the options bar to conclude the changes and return to the main workspace, protecting the open image all through the method. This tool aids in accomplishing emotional and expressive poses that are characteristic of Mannerist art.
Step 4: Enhancing The Complexity
Utilize the Layers panel (or use F7 to toggle visibility) to handle and improve components.
Copy layers (shortcut Ctrl+J) to play openly without modifying the initial. Utilize Ctrl+T to transform layers, accommodating size, rotation, and perspective.
Utilize Ctrl+T to resize, rotate, or skew layers. Hold Shift and keep dragging corners to retain proportions.
Include layer masks to merge and reveal regions of different layers. Operate brushes to paint on masks, adapting opacity and flow for slight moves.
Use Edit > Transform to manage perspective. Utilize Distort and Warp for more complicated adjustments.
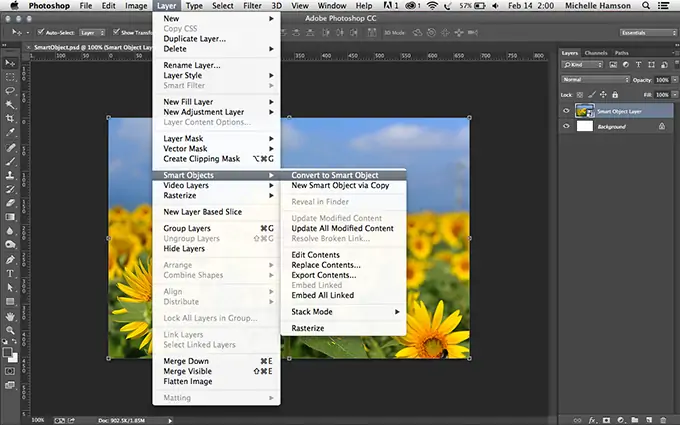
Transform layers to smart objects by Right-clicking on Convert to Smart Object. It will help retain versatility and non-destructive editing.
Group associated layers (shortcut Ctrl+G) to preserve organization. Utilize adjustment layers for global effects without changing the original substance.
Routinely check progress. Toggle layer visibility or alter layer opacity (0-100%) for natural-looking outcomes.
Step 5: Including Artificial Lighting
Make a new layer of the image you made changes to in step 4.
Pick the Brush Tool (B) from the toolbar. Revise the brush measures and hardness as required for your lighting impact.
Select a colour for your light source. Specify the foreground colour within the toolbar.
With the Brush Tool chosen, press and drag to paint where you want the light to seem. Begin with subtle strokes and construct up intensity continuously.
Within the Layers panel, alter the blend mode of the light layer to Overlay or Delicate Light to blend the light with the fundamental image.
Alter the opacity of the light layer to control its intensity. Utilize the Eraser Tool (E) with a delicate brush to refine edges and fuse the light more naturally.
Alternatively, apply Filter > Blur > Gaussian Blur to moderate the edges of the light effect, making a more realistic illumination.
Rehash steps 1-7 to include additional light sources or highlights, shifting colour and intensity to mimic depth and complexity.
At last, merge all light layers (Ctrl+E) if you want to and save your progress (Ctrl+S).
Step 6: Including Textures
Begin together with your image as of now open in Photoshop. Make a new layer by clicking on the New Layer logo at the base of the Layers panel (Shift+Ctrl+N).
Select the Brush Tool (B) from the toolbar. Select an appropriate texture brush from the brush presets or download extra brushes for mixed impacts.
Adapt the brush size, opacity, and flow within the choices bar, agreeing to the wanted texture level and coverage.
Tap and drag with the Brush Tool to apply texture overlays on the new layer. Try using distinctive strokes and pressures to get different textures.
Within the Layers panel, try diverse blend modes, such as Overlay, Soft Light, or Multiply, to blend the surface with the basic image. Alter layer opacity value as required.
Include a layer mask to the texture layer. Utilize a delicate brush to paint with dark to cover up and white to uncover parts of the texture, refining edges and transitions.
Copy the texture layer and apply different textures or blend modes for layered impacts. Utilize adjustment layers such as Hue/Saturation or Levels to elevate the general texture appearance.
Zoom in and add further touches with smaller brush areas of interest or include complex components.
Step 7: Working On Expressions
Begin together with your image open in Photoshop. Zoom in (Ctrl++) to centre on particular zones for elaborate enhancements.
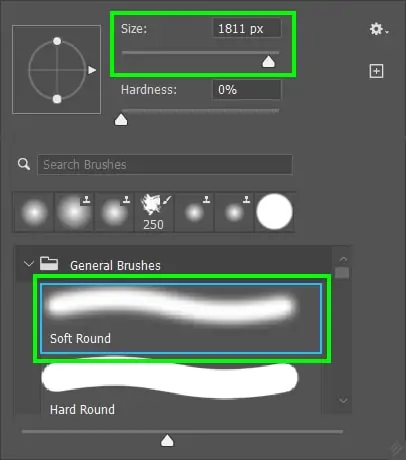
Choose the Brush Tool from the toolbar. Select a soft round brush with suitable measurements and opacity for precise alterations.
Precisely paint over facial highlights like eyes, mouth, and eyebrows to intensify expressions. Alter brush opacity values for progressive changes.
Utilize the Frequency Separation method to separate surface and tone. Alter levels and employ the Clone Stamp Tool (S) for mild skin rectifications.
Work on details, including clothing folds, jewellery, or extras. Utilize the Dodge (O) and Burn (O) devices to highlight and shadow zones, including profundity and authenticity.
Set hair strands and background components utilizing small, textured brushes. Alter contrast and colour balance to conform with the general composition.
Step back occasionally to assess the general adjustment of details and expressions. Flip layer visibility (Ctrl+Click on the layer thumbnail) to compare alterations.
After you are pleased with the improvements, save your work (Ctrl+S). Export the final image within the wanted format and resolution for display.
Conclusion
In conclusion, by applying the practices and strategies highlighted in this blog, you can create artwork containing mannerism features. You can also remake your existing images into works that echo the unique qualities of this art approach. Especially you can manipulate your portraits by making deliberate moves such as emphasizing facial features, touching up details, and regulating the across-the-board image configuration with the help of advanced editing software and techniques. Ultimately, you can achieve a thorough and expressive portrayal illuminated by mannerist artistic directions, which is extremely thrilling and immensely appealing to the viewer’s perception.
