How To Add A Vortex Water Effect To Images
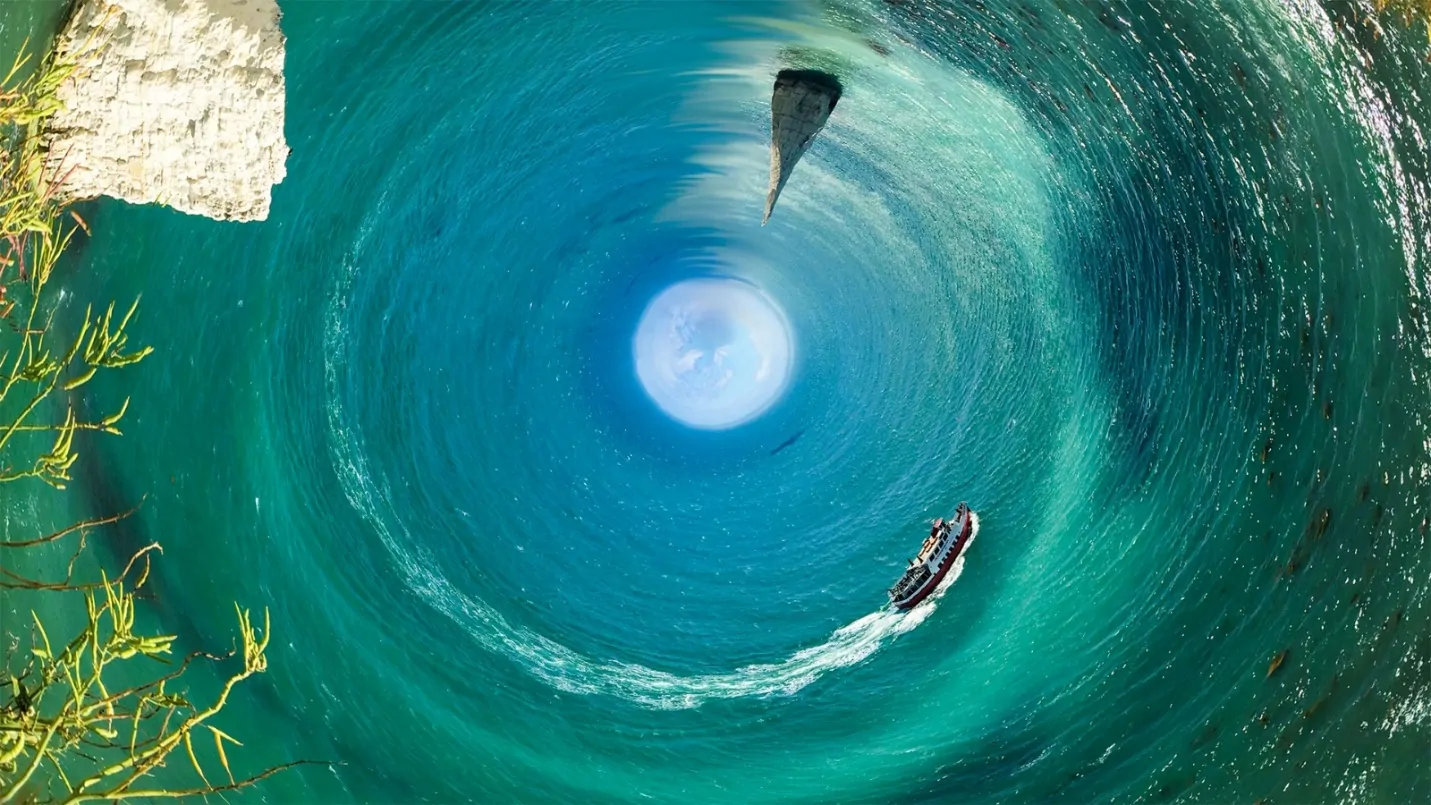
The natural phenomena of water vortex formation are caused by water molecules self-organizing or clustering together in an admiringly structured and specialized manner. In nature, vortices can be seen in tornadoes, whirlpools, weather systems, and even galaxies. Objects are pulled into the center of a vortex and then miss, which is the essence of a vortex. On the vortex’s water surface, spiral waves develop. As these waves rise through the downward-flowing water, they seem to move slowly, creating an unexpected visual image. Likewise, this interesting behavior of water is also inspiring the digital artist to stimulate the water vortex effect in images comprising of water bodies like seas, lakes and so on. In addition, various digital tools are also available to manipulate images or animations using realistic enhancements like representing swirling water movements. The resultant compositions can prompt dynamism and activity while representing the natural beauty existing within them. In the field of image editing, the artists can both create vortex water patterns from scratch or edit images with this approach using specific techniques as spotlighted in this blog as well.
Step 1: Choosing Base Photo
Before you begin creating the vortex water effect, you have to choose your base photo with vigilance.
Opt for high-resolution images of water, ideally those including ripples, waves, or calm textures. Make sure that the chosen image has sufficient detail to work with and is free from diverting components.
In case the image has multiple components, crop it to center on an area with symmetrical water patterns or central points where the vortex can seem to be natural.
Before moving to any modifications, duplicate the base image layer using your image editing program’s tools to protect the initial record for reference or adjustments subsequently.
Rotate or flip the photograph as required to correspond to the hoped swirl direction.
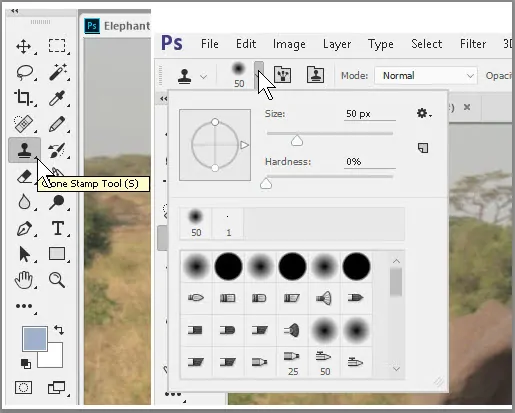
Utilize tools such as the Spot Healing Brush or Clone Stamp to tidy up any undesirable objects within the water.
Keep your project as a layered file to hold flexibility all through the editing process.
Step 2: Making Circular Selection
After readying your base image, focus on depicting the range where the vortex will be created.
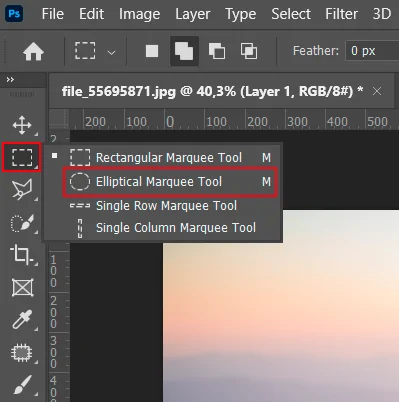
Locate and activate the Elliptical Marquee Tool in your editing program. That tool permits you to form a circular selection.
Tap and drag while pressing the Shift key to make a perfect circle. Alter the size to coordinate the desired vortex zone.
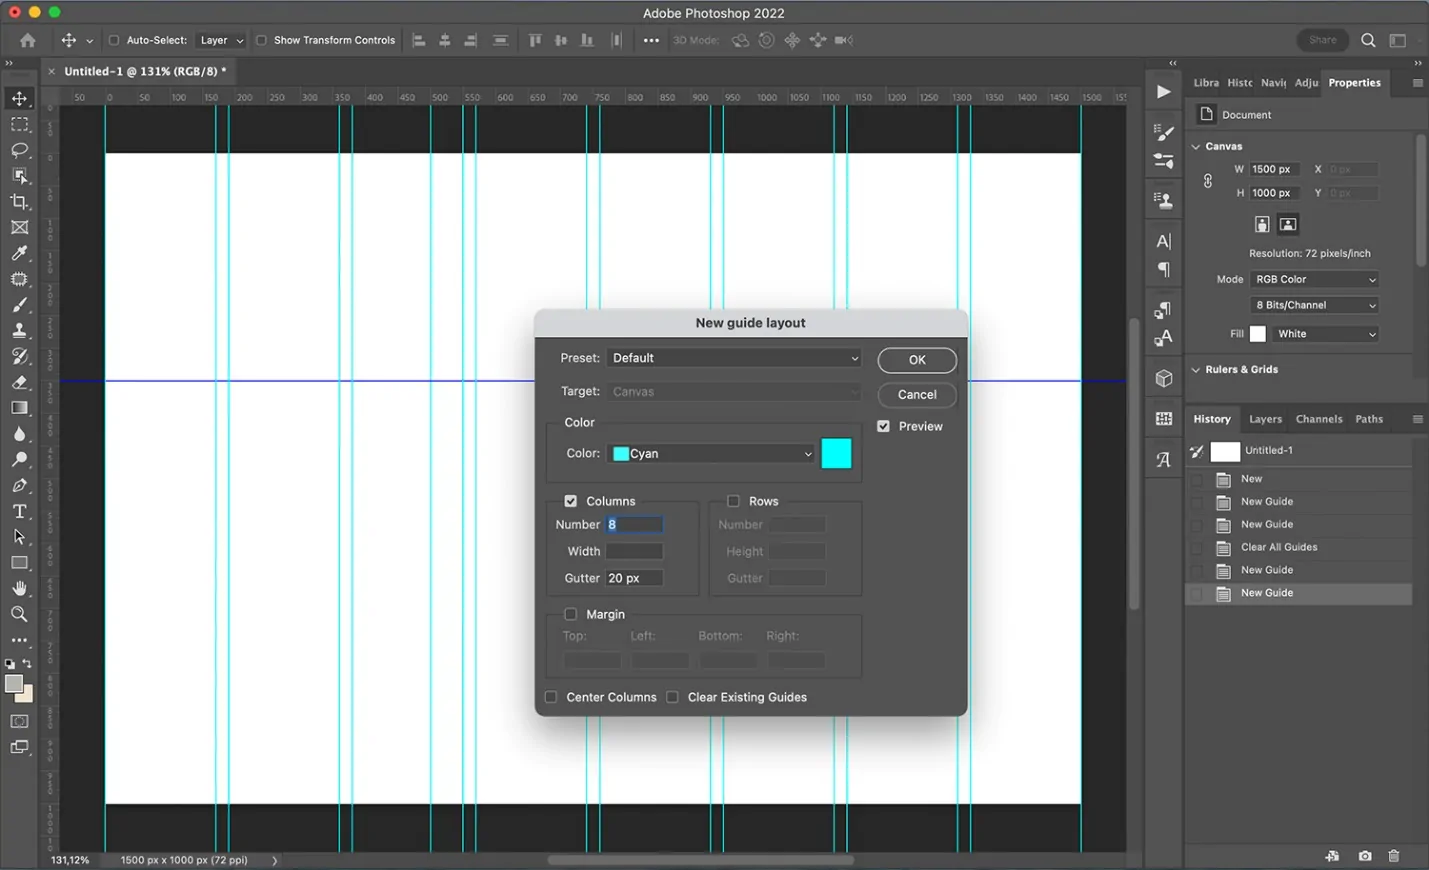
Set the circle within the center or wherever you want the vortex to seem. Utilize guides or rulers to ensure precise arrangement.
Proceed to the toolbar and set the feather value around 20 to 50 pixels. It will ease the fringes of your selection, making the shift into the vortex effect smoother.
Right-click and select Transform Selection if you find any need for size or placement adjustments.
Save the selection by getting to option Select, then Save Selection.
Step 3: Applying Distortions
To begin creating the swirling vortex effect, copy the specified circular region onto a new layer by using Ctrl + J. It will guarantee that the vortex effect is applied non-destructively.
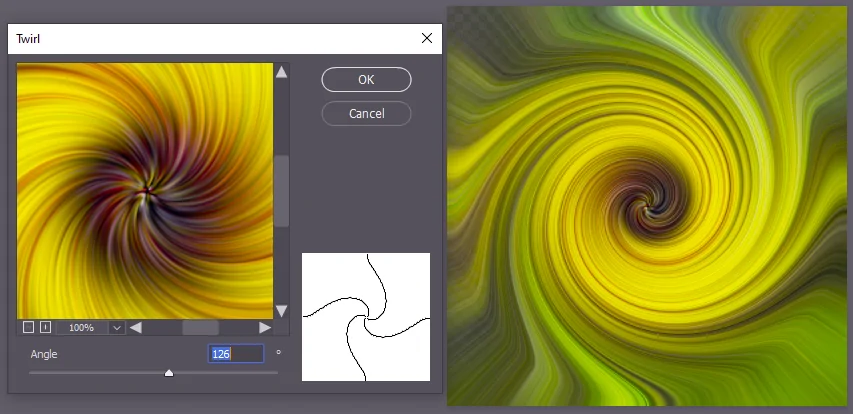
Move to the top menu and select Filter > Distort > Twirl. That tool makes a spiraling motion inside the chosen range.
Alter the twirl angle slider to decide the swirl level. Begin with a value between 100-300 degrees, according to the intensity you need the vortex to display.
Utilize positive values for a clockwise spin and negative values for anti-clockwise.
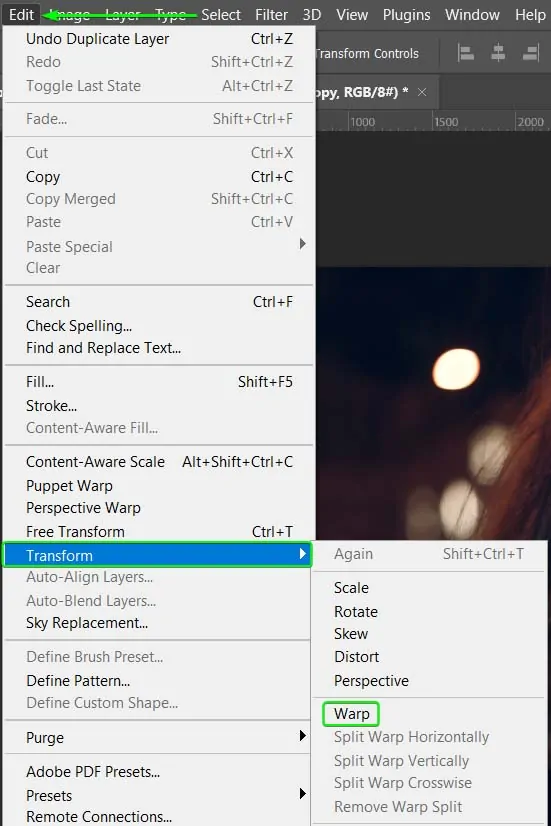
In case required, utilize Edit > Transform > Warp to polish the shape further, stretching or compressing areas to improve the vortex flow.
Utilize a soft eraser or a layer mask to meld the edges of the vortex layer smoothly into the surroundings.
Step 4: Mimicking Light And Shadows
To develop depth and flow into your vortex, utilize gradients to mimic light and shadow impacts.
Include a new layer over your vortex layer to add the gradients without modifying the initial picture.
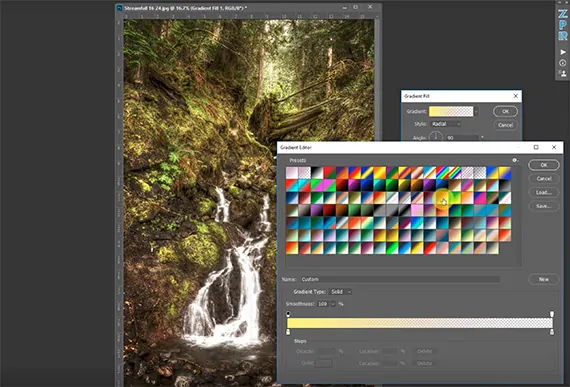
Click on the Gradient Tool from the toolbar. Pick a Radial Gradient to imitate the realistic depth of a vortex.
Utilize a blend of light and dark shades of blue or aqua. A standard gradient may range from bright cyan to the center to deep navy at the boundaries to show depth.
Press and pull from the center of the vortex outward to make the gradient. Modify the drag length to regulate the intensity of the effect.
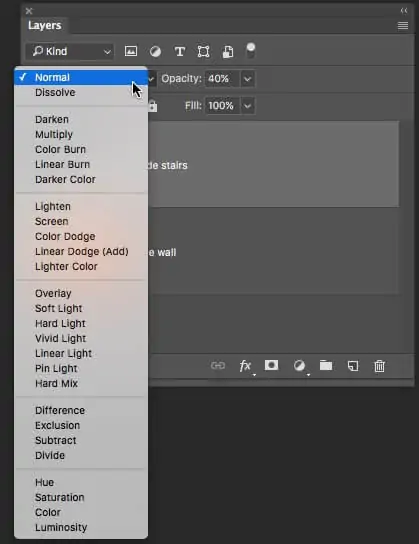
Vary the layer’s blending mode to Overlay or Soft Light for a natural formation that harmonizes with the primary vortex.
Decrease the opacity of the gradient layer to keep the effect nuanced and lifelike.
Step 5: Highlights And Reflections Application
To produce the vortex water effect that is so natural, you can get to simulate the natural light interactions with the water.
Here again, follow the practice of adding a new layer for highlights and reflections to perform non-destructively.
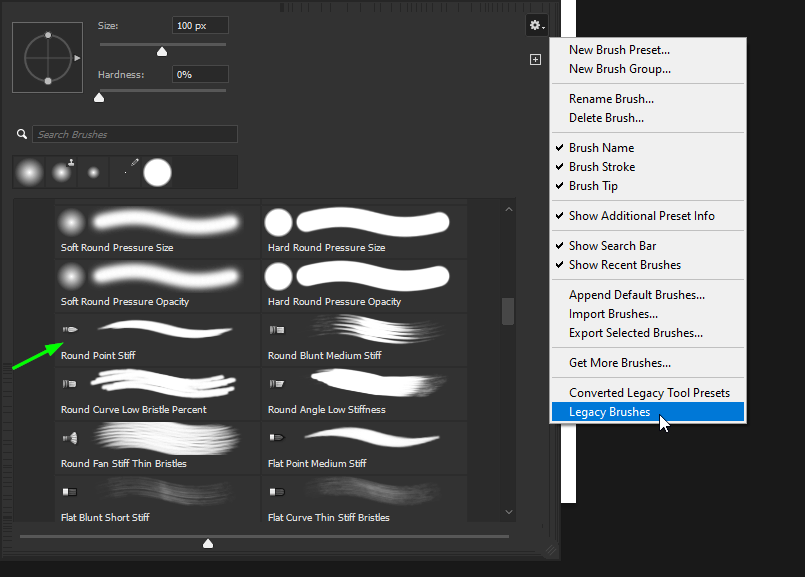
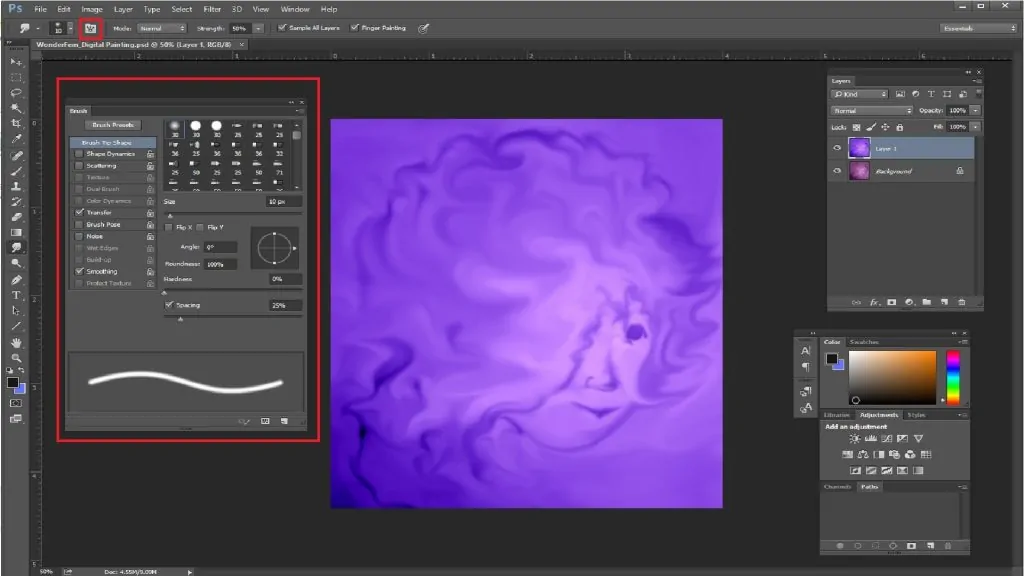
Select a delicate, round brush with a low opacity of 10 to 20 percent and change the color to white or light blue.
Delicately paint along the inward edges of the vortex where light would innately strike. Emphasize ranges where the water shows up to be catching the light or reflecting, particularly close to the center.
Put the layer’s blending mode to Overlay, Soft Light, or Screen to create the highlights that blend easily with the fundamental vortex.
In case your vortex is close to a surface, simulate reflections by painting subtle light streaks underneath the vortex. Alter the opacity and blur for a soft, reflective impact.
To equip the reflections with more naturalism, utilize the Smudge Tool with a low quality to drag some of the light outward from the vortex. It will imitate the way reflections blur and flow in water.
Step 6: Adding Blur And Transparency
To upgrade the naturalistic feel of the vortex effect, you need to make it flow consistently with the rest of the photo.
Construct a new layer over the vortex and gradient layers to apply transparency and blurs non-destructively.
Choose the vortex layer and decrease its opacity to around 80 percent or even lower. It can make a subtle, transparent impact at the rims of the vortex, helping it integrate with the background.
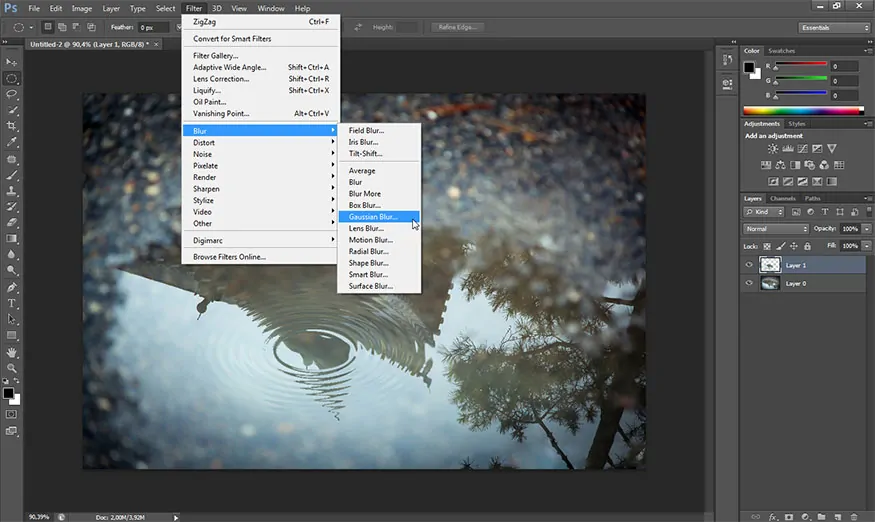
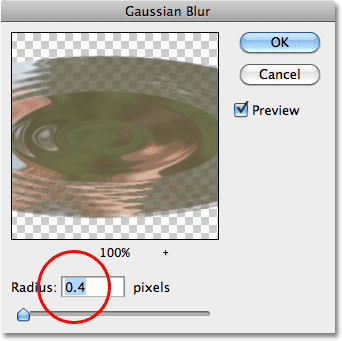
Move to Filter > Blur > Gaussian Blur. Add a blur to the vortex layer to relax the sharp edges and make a more fluid, energetic transition from the vortex to the encompassing water. Begin with a blur radius of about 5 to 10 pixels and alter as required for smoothness.
If you need the vortex to seem more energetic, apply Filter > Blur > Motion Blur. Assign the angle to coordinate the direction of the vortex and alter the spacing to manage the intensity of the flow. It could create the illusion of swift spinning.
Employ a Layer Mask for the vortex layer, then utilize a soft brush of low opacity to tenderly mask out zones, making the vortex fade into the encompassing water, making a smoother move.
Alter the opacity, blur, or mask until you accomplish a realistic, flowing vortex formation.
Step 7: Finishing The Vortex
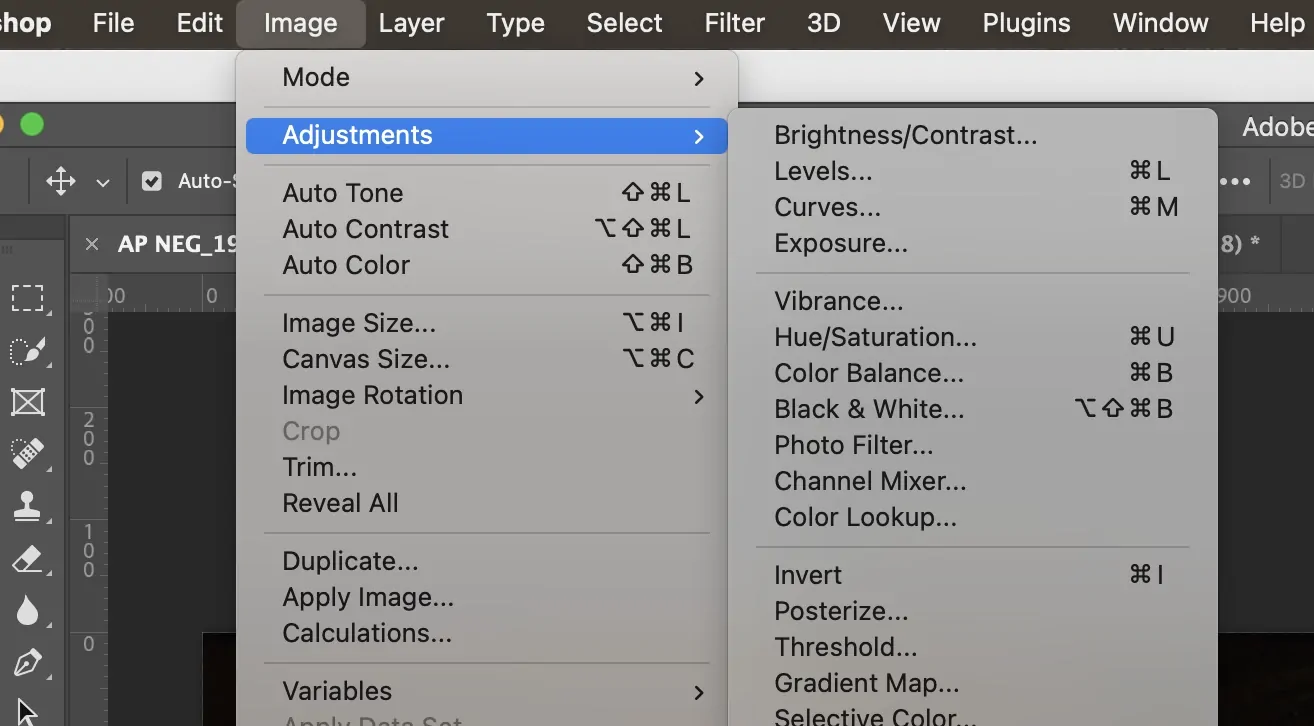
To upgrade the finishing appearance, start with the layer containing your vortex impact, then head to Image > Adjustments > Brightness/Contrast. Maximize or lower the contrast slightly to make the vortex catch the eye more from the background. Alter the brightness to either make it more dynamic or stifled based on the temperament you need.
Proceed to Image > Adjustments > Hue/Saturation. You’ll alter the hue to shift the color tone of the vortex and increase the saturation slightly to form the vortex colors that come into sight.
Make a Color Balance adjustment layer to tune the general color of the vortex, harmonizing the colors across the photograph.
Utilize the Selective Color adjustment to target particular colors in your vortex. You may need to elevate the blues and cyan tones to make the water look fresher and more dynamic.
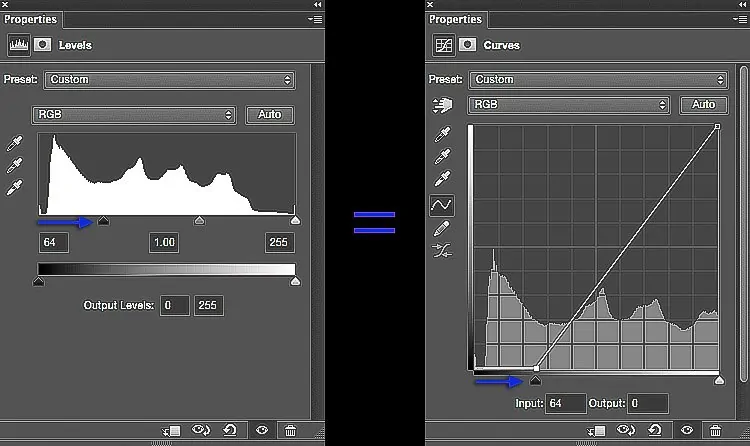
Move to Image > Adjustments > Levels to alter the shadows, midtones, and highlights, refining the contrast and presenting your vortex with a more tended, professional impression.
After accomplishing all the above finishing steps, your vortex water effect will turn into an energetic, realistic, and consistently integrated scene.
You can export your final composition within a suitable format and resolution according to your intended application.
Conclusion
In conclusion, adding a vortex water effect to digital graphics and image upgrades is a terrific way to highlight the beauty of the natural world around us and expand realism. This stunning and enchanting side of nature has enthralled man for generations. Even now, in occupied life, vortex water never fails to astonish and amaze everyone who has the privilege of seeing it with its amazing energy and majesty. In a similar vein, the fostering of this approach in digital representations can improve the existing ambiance and give images and digital graphics a more naturalistic and endearing appearance.


