How To Add A Solar Flare To Your Images
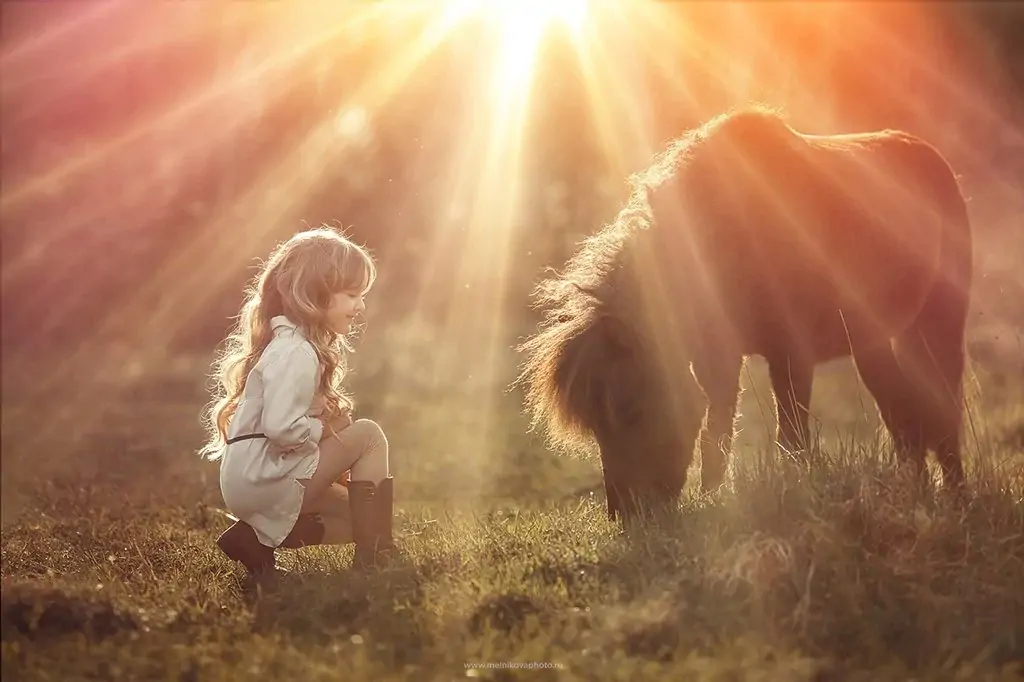
A solar flare is a common phenomenon witnessed in outdoor photography, which occurs when sunlight strikes the camera lens. This light could appear in different forms in the resultant photograph, such as rings, circles, starbursts, or a general haze. The solar flare was earlier thought to be a mishap brought on by camera lens imperfections, but it has now evolved into a purposeful aesthetic decision that may provide exceptional effects. Solar flares can illustrate landscape photos, give backlit portraits a warm softness, and organically create a sun-drenched or cinematic formation. Besides, each solar flare photo will be unique, adding a unique touch that can enrich your photographs. Apart from attaining a solar flare through natural means, editing and processing can also generate an artificial light flare. You can process almost anything you can imagine using modern editing software and strong tools, including creating a magnificent solar flare. The following blog will go through the steps and techniques to create a solar flare in images that look almost like a natural one.
Step 1: Existing Lighting Analysis
Analyze your photograph to decide the heading and level of the main light origin. That can be daylight, artificial lights, or any other noteworthy light-emitting component inside the scene.
Take it in the way shadows drop, and highlights are cast over the picture. This observation helps set the solar flare well while accommodating existing light arrangements.
Assess the general composition of your image. Decide where adding a sun flare would upgrade the visual mark without diminishing from the leading subject or story.
Be mindful of any normal lens flares or reflections already existing within the photograph. It can direct where you might coherently put extra light flares for equilibrium.
With respect to your analysis, select a key area for adding the solar flare. Preferably, it ought to adjust with the natural dispersion of light within the scene, improving the atmosphere or bringing attention to key components.
Opt for authenticity in your arrangement, guaranteeing the light flare commixes actually into the picture instead of showing up artificially forced.
Step 2: Gradient Layer Creation
Run any of your choice of photo editing programs, such as Photoshop or GIMP.
Start by making a new layer over your initial picture layer. This layer will accommodate the impact of solar flares.
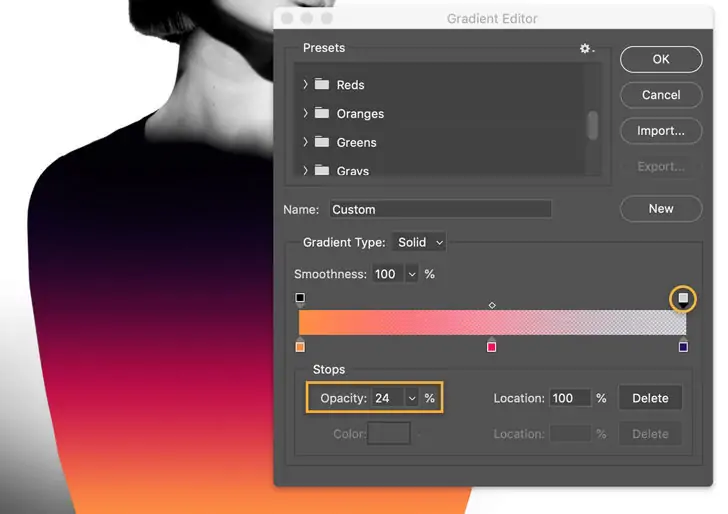
Tap on the gradient control option in the toolbar. Be sure it is set to a radial angle for a natural flare impact.
Tailor the gradient colours to imitate the warmth and intensity of sunlight. Regularly, begin with soft yellows and oranges, shifting to transparent.
Press and pull from the centre of where you need the solar flare to start. This move spreads the gradient outward, mimicking the outbreak of light.
Alter the layer’s opacity to readjust the intensity of the flare. A mild touch can mix excellently with the image while still boosting profundity.
Utilize transform options to reposition and resize the gradient layer as required. Make sure that it adjusts with the natural light sources and raises the general composition.
Save your work periodically to protect changes and encourage further alterations in the ensuing steps.
Step 3: Including Lens Distortion
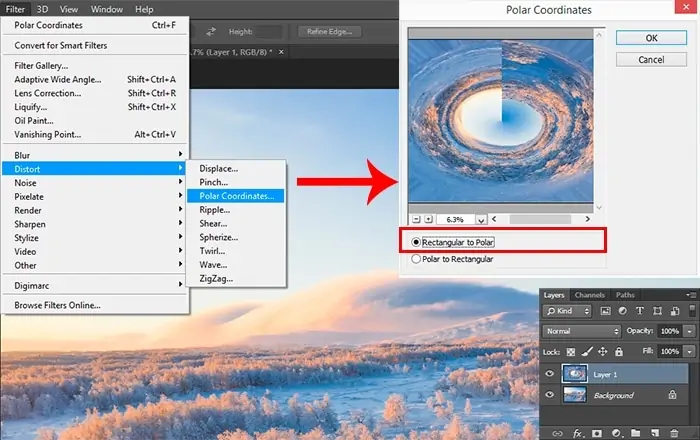
Make another layer above the gradient layer on which you united the solar flare impact.
Explore the filter menu and select a lens distortion impact that mirrors lens warping like halos or streaks. Lens Flare and Radial Blur are the standard filter options.
Modify the filter settings to reach the required intensity level and style of lens mutilation. Common parameters are brightness, size, and type of lens warping.
Set the centre of the lens distortion impact at the beginning of the solar flare, ensuring it transmits outward realistically.
Fix the blending mode of the lens mutilation layer to Screen or Lighten to incorporate it easily with the basic layers while protecting the flare’s radiance.
Alter the layer opacity to polish the dominance of the lens distortion effect. This step guarantees the flare’s overall impact complements instead of overpowers the picture.
Assess the combined outcome of the gradient layer and lens twisting on the photo composition. Do any fundamental alterations to positioning, opacity, or blending modes to get an adjusted and practical result.
Preserve your work to protect transformations and encourage advanced improvements in succeeding editing steps.
Step 4: Painting Flares

Next, after making the lens distortion layer, move to the brush tool within the toolbar.
Pick custom brushes planned particularly for making flares and light beams. You can employ these brushes to recreate the natural burst of light through a camera lens.
Revise the brush settings, including size, hardness, and opacity, to direct the intensity and expansion of the flares. Begin with softer brushes for discreet impacts and raise opacity as required.
Gradually paint extra flare components around the central region of the sun flare. Work on regions where light would practically scramble or reflect, upgrading the overall natural appearance.
Make a new layer for each set of flares to preserve adaptability in editing. Specify the blending mode for each layer, considering options like Screen or Lighten to guarantee they combine consistently with the basic image.
Try unique arrangements and orientations of the flares to attain an adapted and visually engaging composition. Look at the heading of the light and the existing components in the picture.
Utilize the eraser feature with a soft brush to delicately delete parts of the flare impacts that show up too harsh or unlikely, mixing them more naturally into the scene.
Evaluate the general impact and make the last alterations to opacity and position.
Step 5: Blending Modes Resetting
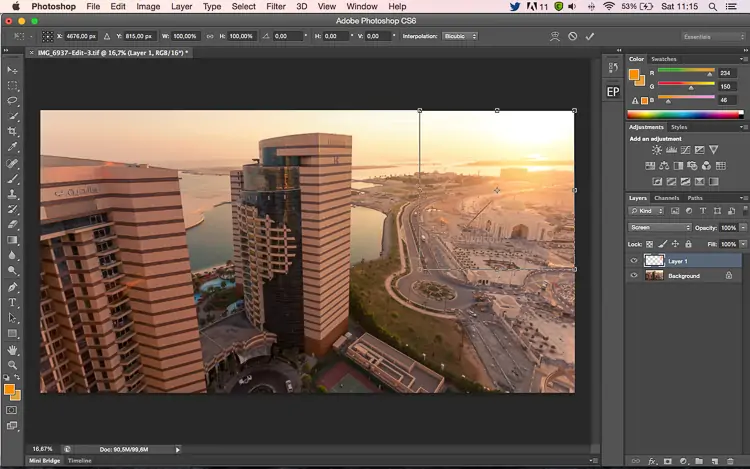
Guarantee you’re functioning on the layer containing the solar flare and supplementary flare components.
Shift the blending mode of this layer to the Screen, which helps remove the black backdrop of the layer, permitting the light pixels to appear through.
Polish the opacity of the flare layer to handle the intensity of the included light impacts. More down opacity values make a more subtle impact, whereas higher values raise the brightness and visibility of the flares.
Audit the arrangement of the sun flare and supplementary flare components inside the picture. Guarantee they glorify the composition and draw attention to central focuses naturally.
Evaluate the prevalent realism of the additional flares. They ought to mix credibility with the existing lighting and not show up excessively manufactured or distracting.
Accomplish any essential changes to the situating, opacity, or blending mode of the flare layer to attain the required visual effect. Utilize tools like layer covers or adjustment layers to perfect particular zones as needed.
Step 6: Enhancing Hues

Start by assessing the overall colour plot and temperament of your picture. Assume how the solar flare’s zeal and brightness can be the perfect addition to these components.
Utilize the Hue/Saturation adjustment layer to temper the colour of the solar flare. Alter the tint to coordinate the natural warmth of daylight or other light sources within the picture.
Tune up the lightness and saturation sliders to mix the flare’s colours harmoniously with the encompassing environment. Strive for a natural and proportional impression.
Use the Color Balance adjustment layer to advance and elevate the colour tones of the flare. Alter the sliders for highlights, midtones, and shadows to attain a cohesive guise that reconciles with the picture.
Explore Gradient Maps to include subtle colour varieties to the flare, upgrading its profundity and authenticity. Select gradients that mirror natural daylight varieties or create artistic impacts.
Compare the altered picture with the initial to guarantee the colour alterations upgrade the general arrangement without swamping the image’s principal subject or account.
Step 7: The Final Moves
Use layer masks in your solar flare and flare effect layers to specifically cover up or uncover parts of each layer without forever deleting any pixels.
Utilize a delicate brush with dark paint on the layer mask to delicately eradicate or mask out zones of the flare that show up too strongly or co-occur with imperative components within the picture.
After masking, you need to feather the edges of your masks to form a smooth movement between the flare and the foundation. This approach assists in preserving an organic impression and dodges unanticipated changes in lighting.
Alter the opacity of your flare layers and masks to regulate their general intensity. Lower opacity values can make a more subtle effect, while higher values enrich the visibility and brightness of flare.
Scan the overall composition of your modified photograph. Make sure that the sun flare and flare effects improve the visual influence and temperament of the scene while keeping up a true-to-life and congruous appearance.
After you are content with the alterations and polishes, save your conclusive edited photograph.
Conclusion:
To summarize, with the addition of a solar flare to images, you can discover the wonders of the natural sun flare effect, inserting realistic sun rays into your images to fabricate a little reality. With the help of this effect, you can create lifelike sunflare shots from your photos by incorporating subtle hints of warm hues, gorgeous circular light, and a variety of other naturally occurring special effects into your composition. As a final product, you will have your own sun flare collection in which each shot radiates a warm glow and vibrant aura.
