How Do I Create A Collage Of Images In PicMonkey
PicMonkey is a popular online photo editor that offers a variety of tools for enhancing and customizing your images. One feature that sets PicMonkey apart is its collage maker, which allows users to create stunning collages of their favourite photos. Whether you want to create a photo grid, a themed collage, or a unique design, PicMonkey’s collage maker offers endless possibilities. In this blog, we will explore the step-by-step process of creating a collage in PicMonkey, including tips for creating stunning collages to impress your relatives and friends. So continue reading to learn how to create beautiful collages in PicMonkey, whether you want to do it for a blog post, your social media accounts, or just fun.
Creating a collage of images in PicMonkey is easy, with only a few steps. Here’s a step-by-step guide to help you create a beautiful photo collage in PicMonkey:
Step 1: Open PicMonkey and select “Collage”
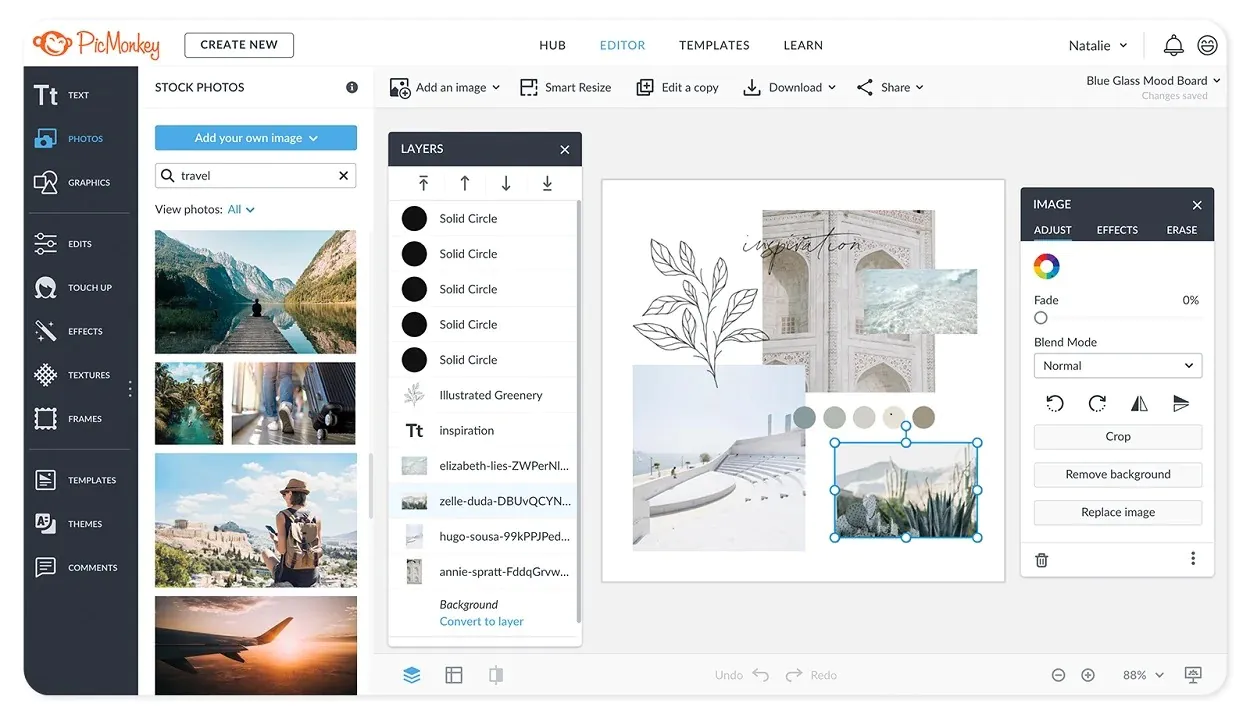
To create a collage in PicMonkey, you first need to open the application and select “Collage” from the main menu. PicMonkey is an online photo editor offering various tools for editing, enhancing, and creating images. To open PicMonkey, you can go to the official website and sign in to your account if you have one. Create a new one for free if you don’t have an account. Once you are signed in, you will be taken to the main menu, where you can select “Collage” to start creating your collage.
Step 2: Choose a layout
This step is important because it will determine how your images will be arranged and the overall look of your collage.
To choose the layout and size of your collage in PicMonkey, follow these steps:
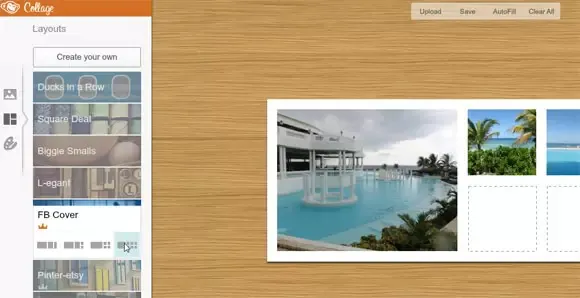
After selecting “Collage” from the main menu, you will be taken to the collage creation screen.
In the collage creation screen, you will see a variety of layout options to choose from. PicMonkey offers various layout options, including grids, mosaics, and scrapbook-style layouts.
Select the layout you want to use for your collage by clicking on it. You can also hover your mouse over each layout to see a preview of what your images will look like in that layout.
Once you have chosen your layout, you can select the size of your collage by clicking on the “Size” drop-down menu. You can choose from various pre-set sizes or enter a custom size.
After selecting your size, you can adjust the spacing between your images using the “Spacing” slider.
Now click the “Apply” button to apply your chosen layout and size to your collage.
Step 3: Add your images
Now it’s time to add your images to the collage. Click the “Add images” button and select the images you want to include from your computer or device in your collage. You can also drag and drop your images directly into the collage editor.
Step 4: Arrange your images
Once you’ve added your images, you can arrange them in the order you wish to appear in your collage. You can drag and drop the images to rearrange and resize them to fit the layout. Additionally, you can use the “Autofill” option to have your images automatically added to the collage.
Step 5: Add text and graphics
If you want to add text or graphics to your collage, PicMonkey makes it easy to do so. Click “Text” in the PicMonkey interface to add text and select the font, colour, and size you want to use. You can then type in your text and move it around your collage. To add graphics, click the “Graphics” option in the PicMonkey dashboard and select your desired graphic. You can then resize and move the graphic around your collage.
Step 6: Customize your collage
Once you have added your images, text, and graphics, you can customize your collage further by adjusting the background colour or adding a texture or pattern. To do this, click the “Background” option in the PicMonkey dashboard and select the colour, texture, or pattern you want to use.
Step 7: Save and export your collage
Once you are happy with your collage, the final step is to save and export it. You can save your collage to your computer, share it on social media, or print it out. To save and export your collage in PicMonkey:
Click the “Save” button in the top right corner of the screen.
Select the file type you want to save your collage as (JPEG, PNG, PDF).
Choose the quality of the image you want to save.
Select the location on your computer where you want to save the file.
Name the file.
Click “Save” to export your collage and save it to your computer.
That’s it! You can follow these simple steps to create a beautiful collage of images in PicMonkey. Whether creating a photo collage for your blog, social media account, or business, PicMonkey makes it easy to create a stunning and professional-looking collage in just a few minutes.
Tips To Follow:
Here are some of the top tips and tricks to help you create stunning collages in PicMonkey:
Choose the right layout: The first step in creating a stunning collage is choosing the right one. PicMonkey offers a variety of layout options, from simple grids to more complex scrapbook-style layouts. When choosing your layout, consider the number of images you want to include and the overall look you are going for. If you have a lot of images, a grid layout may be the best option. A scrapbook-style layout may be a better choice if you want to create a more intricate design.
Experiment with different sizes: Another important aspect of creating a stunning collage is experimenting with different sizes. You can choose from a range of pre-set sizes in PicMonkey or enter a custom size. Try different sizes and see what works best for your images and layout. A larger size allows you to showcase your images more effectively, while a smaller size creates a more intimate and cohesive look.
Use high-quality images: When creating a collage, it’s important to use high-quality images. Images that lack the standard or blur can ruin the aesthetic of your collage. Choose images that are clear, sharp, and high-resolution. Make sure to resize your images before including them in your collage.
Play with colour: PicMonkey offers a range of colour options that can help you create a stunning collage. You can adjust your images’ colour balance, saturation, and brightness to create a more cohesive look. You can also experiment with colour overlays and filters to add a pop of colour or create a vintage look.
Add text: Text can add an extra dimension to your collage and help tell a story. PicMonkey offers a variety of fonts and text editing tools that allow you to add text in various styles and sizes. Consider adding a title or caption to your collage to give it more context and meaning.
Use frames and borders: Frames and borders can add a finishing touch to your collage and help create a more polished look. You can choose from several frame and border options on PicMonkey to suit your requirements. Find your college’s ideal border or frame by experimenting with various designs and hues.
Use overlays and textures: Overlays and textures can add depth and interest to your collage. PicMonkey offers a range of overlays and textures, from grunge and vintage textures to geometric shapes and patterns. Experiment with different overlays and textures to find the perfect complement to your images and layout.
Crop and adjust your images: Before adding your images to your collage, take the time to crop and adjust them as needed. That will help ensure your images fit well in your chosen layout and look their best. PicMonkey’s editing tools can crop, adjust brightness and contrast, and sharpen your images.
Use layers: PicMonkey’s layering feature allows you to add multiple images to your collage and move them around as needed. It can help you create a more complex and visually interesting collage. Use layers to add depth and dimension to your collage, and experiment with different layering techniques to find the perfect look.
Save your work often: Finally, save your work as you go, which will help ensure that you keep all progress if your internet connection goes out or there is a problem with the PicMonkey platform itself. By saving your work often, you can protect yourself against these risks. If you encounter a problem or need a break from your work, you can save your progress and return to it later.
Conclusion:
In conclusion, creating a collage of images in PicMonkey is a fun and easy way to showcase your favourite photos. You can make an impressive collage by following the easy steps listed above. Remember to choose high-quality images, use a consistent colour scheme, experiment with different layouts, and add variety to make your collage more interesting. You can create a visually appealing and meaningful collage with these tips and tricks. So, start exploring PicMonkey today and let your creativity shine!
