

How to Make 3D Printer Models & Files
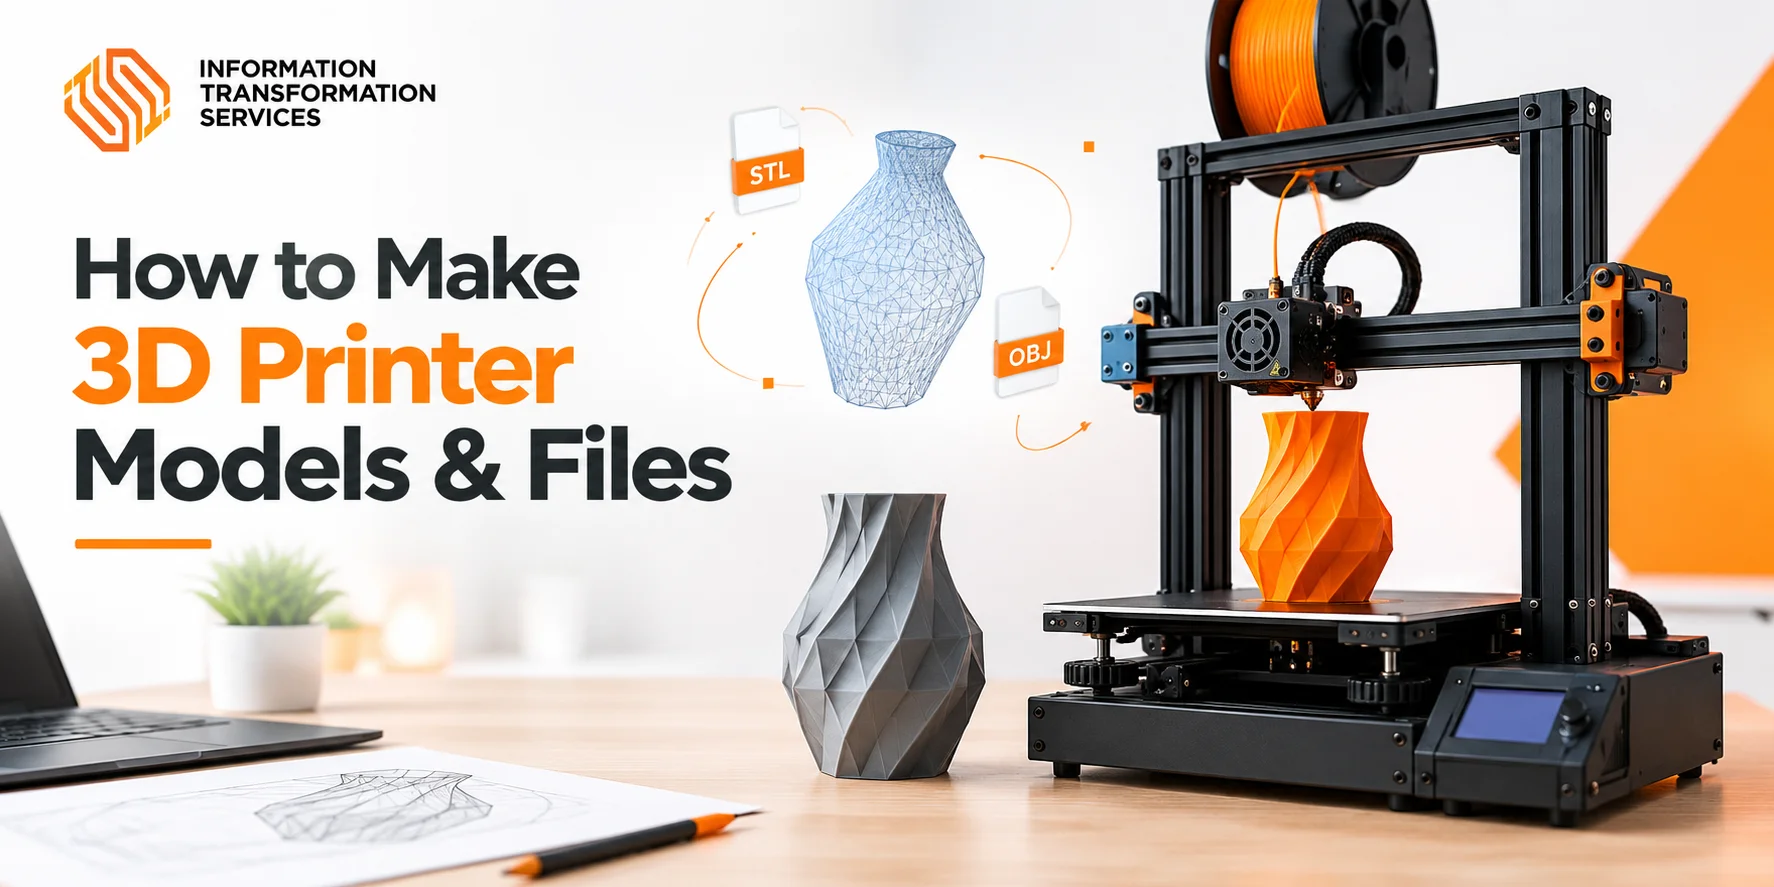
To make your own 3D printer models, pick a free tool like Tinkercad for beginners or Blender for organic shapes, design your object with the printer in mind, then export it as an STL file and slice it into G-code your printer can read. That is the whole loop, and every guide you will read online is just a longer version of those four steps. The mistake most beginners make is jumping into modeling before they understand that a 3D printer file is not the same as a design file, which is why the first print often fails.
When you first search for ways to make 3D models, you land on tutorials written for industrial engineers or animated by companies selling printers. They talk a lot about the software and very little about what you actually do. We have spent years producing 3D models, furniture, and mechanical parts for clients, so we are going to show you the exact workflow our modelers use, from a blank screen to a file that prints clean on the first try.
In this guide you will learn how to choose the right tool for your project, how to make your first model in Tinkercad, how to build organic models in Blender, how to turn a photograph into a 3D model, how to make your file actually printable, and how to export and slice it. You will also find the difference between FDM and resin printing laid out plainly and a pre-print checklist that catches most failures before you waste your filament.
Why Your First 3D File Fails Before You Print
Almost every failed first print is not a printer problem. It is a file problem. A design that looks perfect on your screen can be hollow, too thin, or not watertight, and the printer faithfully reproduces all of it.
The two biggest file defects are open geometry and walls too thin to print. Open geometry means the mesh has holes, so the slicer does not know where the inside ends and the outside begins, and the print comes out broken. Walls that are too thin simply do not stick together layer by layer, so the model crumbles.
Understanding these two facts changes how you design. You are not drawing a picture. You are describing a solid object that has to physically hold together, and every choice you make, from wall thickness to overhang angle, affects whether it survives. Get the file right, and the printer does its job.
Choose the Right Tool Before You Start
The tool you pick should match the shape you want to make, not the name most people recognize. This one decision saves you hours.
For geometric objects like boxes, brackets, gears, and anything that is measured in millimeters, use a CAD program such as Tinkercad or Fusion 360. These tools are built around exact dimensions, so every face is precise and print-ready.
For organic shapes like figurines, characters, animals, and sculpted forms, use Blender or ZBrush. These tools let you push and pull a mesh like digital clay, which is the right way to model a creature or a bust but a frustrating way to build a precise bracket.
For real objects you already own, use a 3D scanner. A handheld or smartphone scanner captures the shape and creates a model you can clean up and print. This is the fastest route when the object already exists and you just want a copy or a replacement part.
If you are still not sure, start with this rule. Functional part means pick CAD. Artistic piece means pick sculpting. Existing object means pick scanning. That simple decision covers most projects a beginner will attempt.
How to Make Your First 3D Model in Tinkercad for Free
Tinkercad is the best place to start because it runs in your browser, needs no download, and is completely free. It is the tool we hand to clients who want to understand 3D modeling without a steep learning curve.
Create a free account at Tinkercad and open New Design.You will see a workplane with a box, cylinder, and pyramid on the side. Drag shapes onto the workplane to start your model.
To build something real, make a simple keychain tag. Drag a box onto the workplane and set its height to 3 millimeters. This becomes your base, and 3 millimeters is thin enough to print fast but thick enough to stay strong.
Place a cylinder on top of the box as the hole for a keyring. In Tinkercad, a shape can be a solid or a hole. Select the cylinder, open its properties, and switch it to Hole. Position the hole cylinder through the top corner of the box.
Select both the box and the hole, then click Group. The hole cuts through the box and leaves a perfectly round opening. You now have a printable keychain blank. Click Export and choose STL to download the file your printer needs.
That is your first model, and it took minutes. The same drag, resize, convert to hole, and group method builds far more complex parts, because every advanced Tinkercad design is just many simple shapes arranged and grouped.
How to Make 3D Models for Printing in Blender
Blender is the free tool for organic models, and although it looks intimidating at first, the modeling workflow for 3D printing is simpler than it seems once you ignore the parts you do not need.
Download Blender and start in the default scene. Delete the cube, then add a primitive shape such as a UV sphere or cylinder from the Add menu. This is your starting ball of clay.
Use the Edit mode to shape it. In edit mode you can select vertices, edges, and faces. With the scale tool you pull them into the form you want. For a character or a plant pot, this push-and-pull method works well.
Add details with the Extrude tool. Select a face and extrude it to pull the surface outward. This is how you grow arms, legs, stems, and handles. Keep the geometry fairly simple; detail you cannot see is just extra file size.
When you are happy with the shape, check that it is solid. In Blender, go to the 3D Print Toolbox add-on and run Check All. It flags open edges, thin walls, and non-manifold geometry, the exact problems that break a print.
Export as STL from the file, then export. Blender produces great organic files, but always run the printability check before you export, because sculpted meshes are the most likely to hide internal holes.
How to Make a 3D Model for Printing From a Picture
You do not always have to build from nothing. If you have a photograph of the object or artwork you want, you can turn it into a printable 3D model, and this works for lithophanes, logos, and simple shapes.
A lithograph is the easiest picture to print. It is a thin curved plate where the thickness of the plastic creates the image; light passes through it and shows different shades. You create one by converting a photo into a thickness map, and free tools like ItsLitho and the Lithophane Maker do this automatically in minutes.
For a flat shape like a logo or a cartoon character, trace it in CAD. Upload the picture into Tinkercad as a shape, then draw outlines on top of it and group them into a raised 3D design. This turns a flat logo into a printable relief.
For a full 3D object from many photos, use photogrammetry software such as Meshroom, which is free and open source. You take dozens of photos of the object from every angle, load them into the software, and it builds a 3D model from the shared points. The result usually needs cleanup in Blender before it prints cleanly.
The method you choose depends on what your picture really is. A photo of a face or object works best as a lithophane plate; a flat logo becomes a raised relief, and a real object captured from many sides becomes a scan. Match the tool to the source, and you skip most of the frustration.
The Difference Between FDM and Resin for Your Design
Your printing technology changes what your model needs to survive, so design with the machine in mind.
FDM printing, which uses plastic filament and is what most home printers use, works layer by layer with a hot nozzle. It is excellent for functional parts, strong and cheap, but it shows layer lines and struggles with steep overhangs. Design for FDM by keeping overhangs under about 45 degrees, ensuring walls are at least 1 to 2 millimeters thick, and letting gravity help you instead of fighting it.
Resin printing uses liquid resin cured by light and produces far finer detail with smoother surfaces. It is ideal for miniatures, jewelry, and detailed models, and it thrives on the organic shapes that FDM dislikes. The tradeoff is that resin is messier and needs cleaning and curing, and the uncured material is toxic to handle.
The practical rule is simpler than it sounds. Functional and sturdy means FDM. Detailed and smooth means resin. Most beginners start with FDM because it is cheap and forgiving, then add resin later when they want finer miniatures.
How to Make Sure Your 3D File Is Print Ready
Before you export anything, run your model through a quick mental checklist. These five checks catch the failures that ruin a print.
Make it watertight. The model must be a closed solid with no open holes. Use the mesh repair tools in your slicer or in Blender to close any gaps automatically.
Set the wall thickness. Thin walls will not print. Keep a minimum wall thickness of about 1 to 2 millimeters for FDM, and more if the part carries any load. Your slicer will show thin wall warnings, so pay attention to them.
Check the overhangs. Angles steeper than about 45 degrees need supports. Let the slicer add supports, then remove them after printing, or widen the angle in the design to avoid them.
Mind the scale. A model designed for a large decorative print will print tiny if you forget units. Set your dimensions in millimeters and confirm the piece is the size you actually want before you slice.
Run a mesh check. Before export, check the model for non-manifold edges and intersecting faces. Free tools like the Blender 3D Print Toolbox and external mesh repair services fix these in one click.
How to Export and Slice Your Model for the Printer
Your finished design is not a printer file yet. Export it as an STL, then slice it, because the printer cannot read an STL directly.
Export as STL. In Tinkercad, Fusion 360, or Blender, choose Export and select STL. This format describes the surface of your model with triangles and is the universal language of 3D printing.
Load the STL into a slicer. Popular free slicers are Cura and PrusaSlicer for FDM and Chitubox for resin. The slicer converts your model into G-code, the layer-by-layer instructions your printer follows.
Set your print settings. Choose your layer height, infill, and print speed. Lower layer height gives finer detail but takes longer, and higher infill makes the part stronger but uses more plastic. For a first print, keep infill low and the layer height standard.
Preview before you print. Every slicer lets you watch a simulation of the print layer by layer. Check where supports will be placed and confirm the whole model fits on your build plate. Catching a problem in the preview costs nothing, while catching it mid-print wastes filament and hours.
How to Make 3D Printer Models & Files: A Step-by-Step Workflow for Your First Print
Now that you know how to make 3D printer models and files, here is the complete path we recommend for the first piece you actually print, so you can see how every step connects.
Step 1: Pick a simple model. Start with the keychain tag from the Tinkercad section, not a detailed sculpture. Simple geometry teaches you the loop fastest.
Step 2: Export it as an STL. Download the file to your computer.
Step 3: Load it into Cura or PrusaSlicer. Import the STL and set your material to PLA for the easiest first print.
Step 4: Auto arrange and slice. Let the slicer position the model on the plate and choose standard settings. Watch the preview to confirm it looks correct.
Step 5: Save the G-code to your SD card and print. Level the bed first, then start the print and watch the first layer go down.
Step 6: Remove the print and clean it up. Take it off the bed, remove any supports, and sand rough edges if you like.
That is the entire skill. After one successful print you stop thinking about the process and start thinking about what to design next, and that is exactly where the fun begins.
Where to Make 3D Printer Files Without Designing at All
If modeling is not how you want to spend your time, you can still get custom 3D printer files without learning a single tool.
Download ready-made models. Sites like Thingiverse, Printables, and MyMiniFactory host thousands of free and paid STL files you can download and slice right away. For many projects the perfect model already exists.
Use AI model generators. New tools turn a text prompt into a printable model, though results still need cleanup. They are worth trying when you have a rough idea and no time to sculpt.
Outsource the modeling. If you need a precise bracket, a product prototype, or a part that has to match exact dimensions, send your sketch or specs to a professional 3D modeling team. This is where outsourcing shines, because you skip the learning curve entirely and get a print-ready file in days.
When to Let Professionals Make Your 3D Models
There is a point where learning the tool stops being worth it. If your model has to carry a load, match exact tolerances, or be ready for manufacturing, a professional CAD modeler will save you weeks of trial and error.
Information Transformation Service (ITS) provides professional 2D and 3D modeling services, including 3D character modeling, mechanical 3D modeling, architectural rendering, and photorealistic rendering, handled by a team that has produced models for clients since 1997. Our 2D and 3D modeling specialists work with CAD and the same tools you are learning here, but they do it daily, so a model that takes you days takes them hours.
Whether you need a functional bracket, a product prototype, or a detailed model file ready to print, we deliver accurate, print-ready files at a competitive price, with quick turnaround and round-the-clock support.