How To Create An Ice Flame Effect
Ice flame is an amazing visual art theme that exhibits the two extreme concepts of fire and ice in an aesthetic way. Its application expands in various fields, including graphic design, digital art, gaming, films and even image enhancement. Especially in image editing, the ice flame effect can create an interesting narrative by manipulating the existing climate of the images. It results in a composition that flaunts chill colours and even some abstract elements with a cool, soothing ice-fire effect. Various image enhancement tools and techniques are utilized for this purpose, including background enhancement, use of fire textures, use of ice textures, employment of ice colour palette, layering, masking, blending mode settings, opacity adjustment, liquify tool, dodge and burn, vignetting, sharpening and many more. Nevertheless, you can’t use these resources randomly erratically as it can result in unnatural outcomes. You must be proficient at these techniques before enhancing an image with an ice flame effect. The blog will provide a step-by-step process to skillfully use image enhancement techniques and tools and create a natural-looking ice flame effect.
Step 1: Image Selection
Choose a photograph that will go with the Ice Flame effect. Choosing a shot with a dark or neutral foundation functions best to highlight the shining effect of fire and ice. In case the picture contains too much clutter, the impact may not look impressive.
Utilize software such as Adobe Photoshop, GIMP, or Procreate. If using Photoshop, you will proceed to File, then choose Open and select your picture. Make sure that the resolution is high enough for detailed edits.
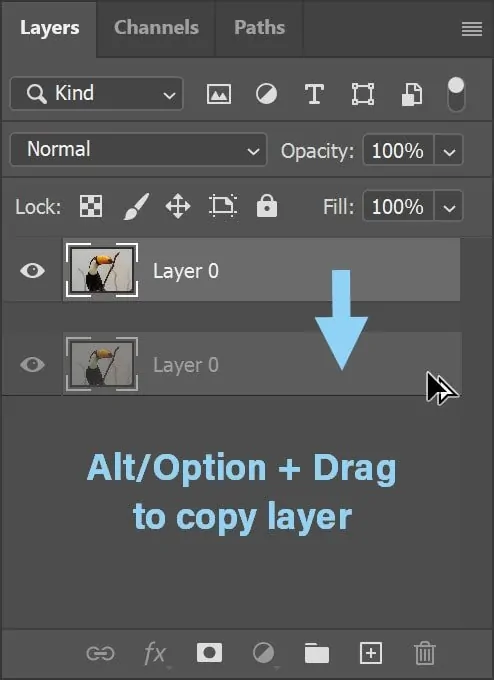
Before you make any changes, make a duplicate of the initial photo layer. It can keep the initial picture safe if you would like to retrieve changes.
If the photograph is too bright or dark, head to the Image and then click Adjustments and Brightness/Contrast to ensure the Ice Flame effect is pronounced.
Include a new clear layer over the picture using Shift+Ctrl+N to keep impacts separate from the first photograph. It will make edits non-destructive and flexible.
Step 2: Applying Fire Textures
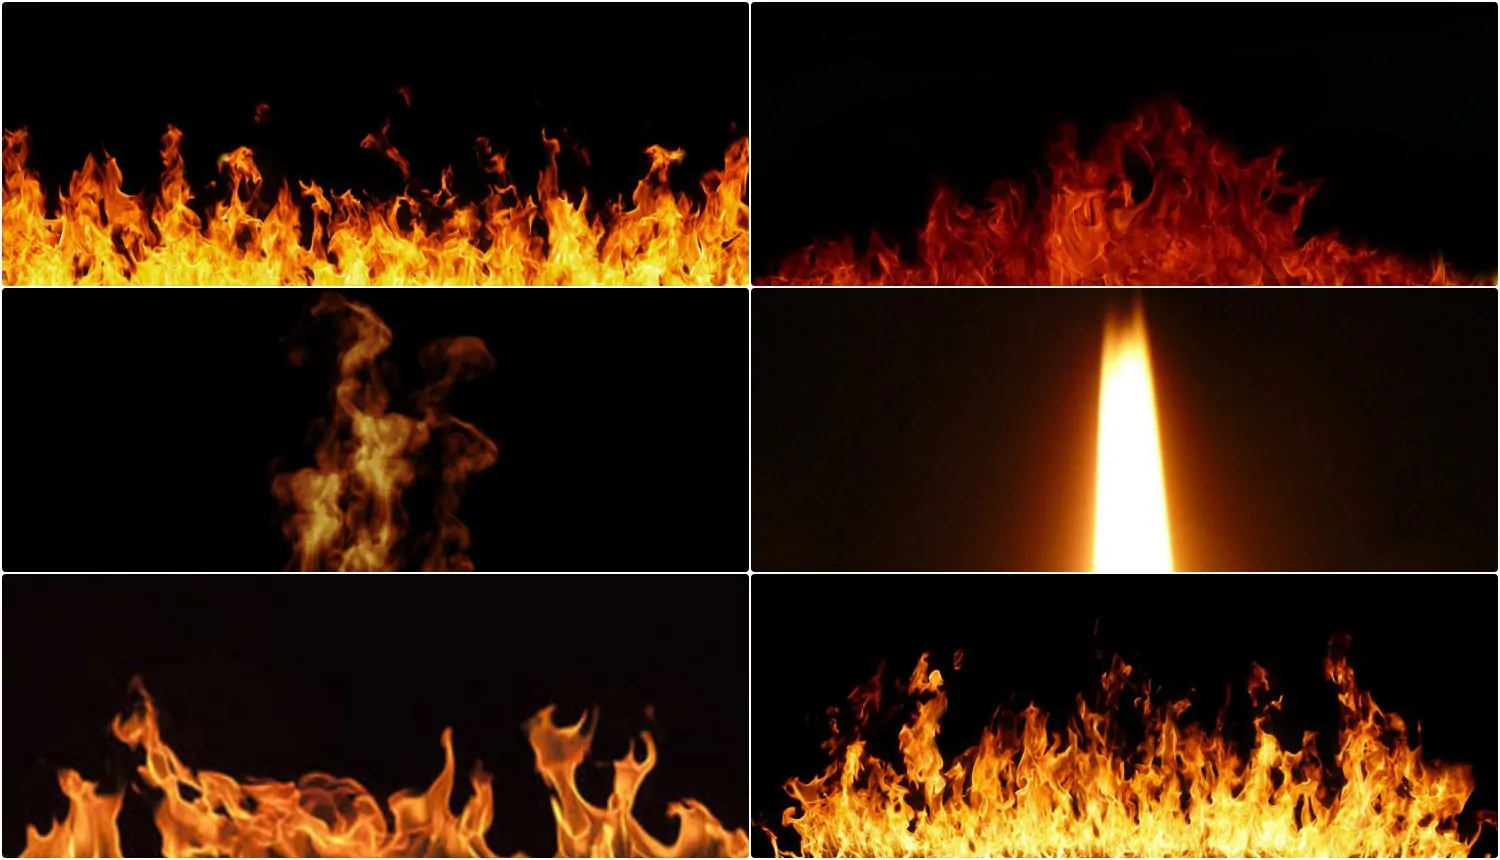
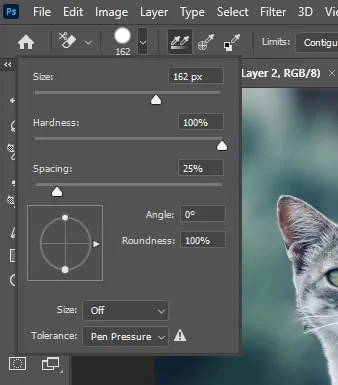
Look for a high-quality fire image that has a transparent background or utilize the fire brushes that are available in Photoshop. If you are employing a fire image, guarantee it has obvious flames with incredible detail.
Pull the fire picture into your project or paint flames utilizing brushes on a new layer. Resize and position the flames where you need the Ice Flame impact, like around an object, a hand, or content.
Utilize the Eraser Tool, which has a delicate brush to remove any sharp edges and integrate the fire inherently with the picture. Also, you can utilize a layer mask to erase non-destructively.
To naturally set the flames around objects, move to Edit, then click Transform, select Warp and alter the curves to make them flow realistically.
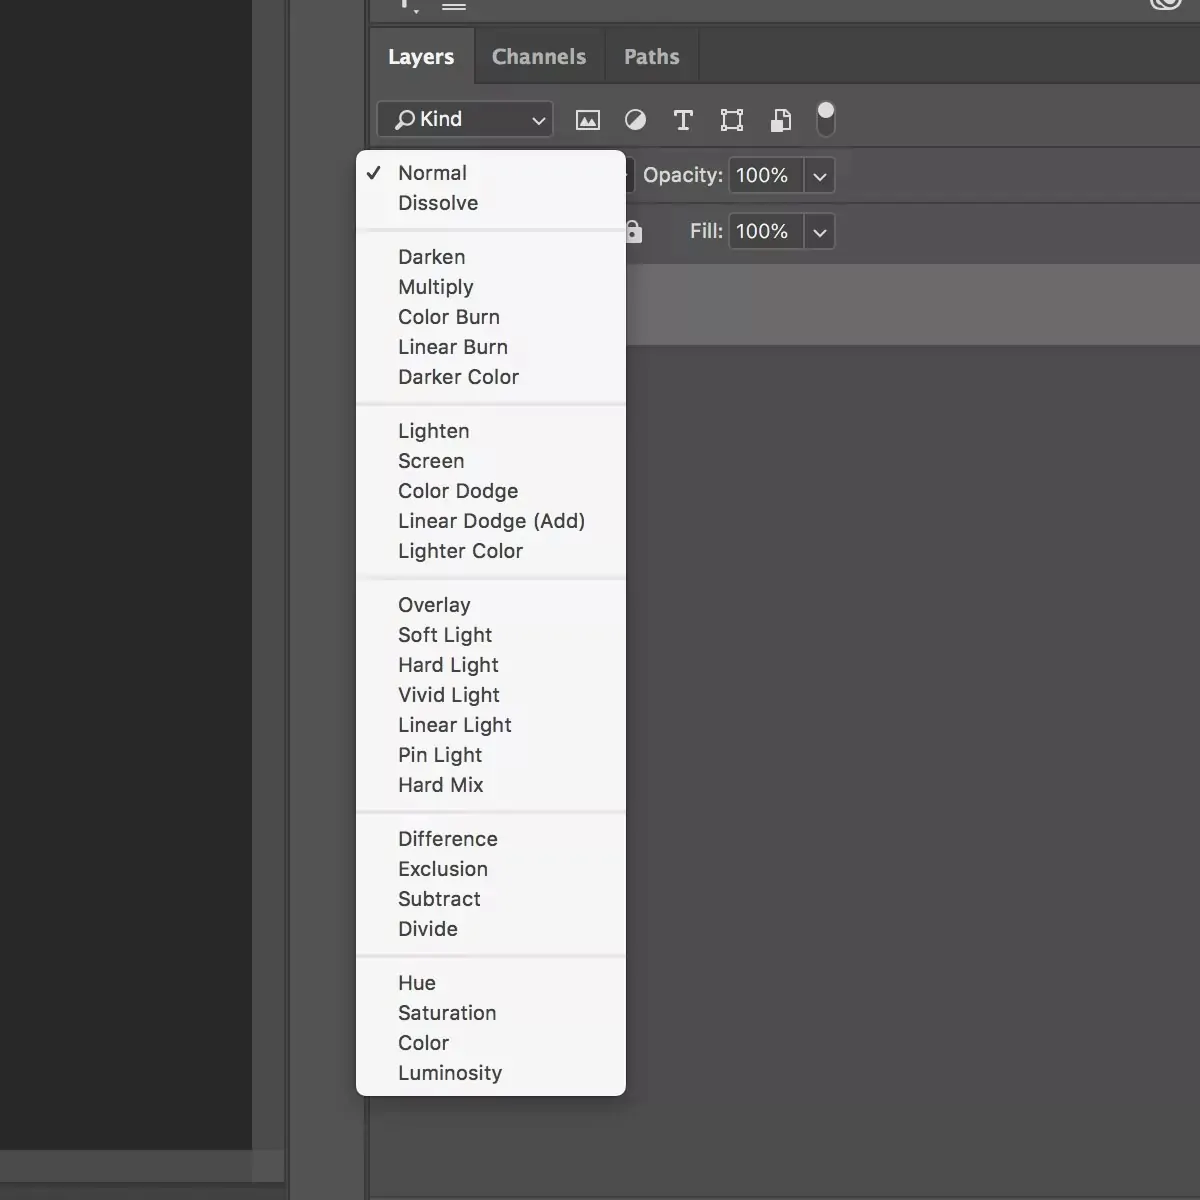
Put the layer blending mode to Screen, Lighten, or Overlay to make the fire look integrated with the picture. Alter the opacity to attain a smoother transition.
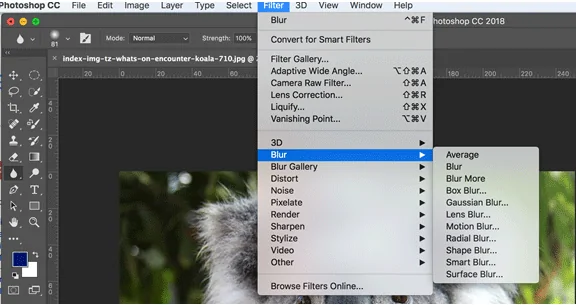
Make a duplicate of the fire layer and lay Gaussian Blur utilizing Filter > Blur > Gaussian Blur to create a natural glowing effect.
Step 3: Creating Ice Flames
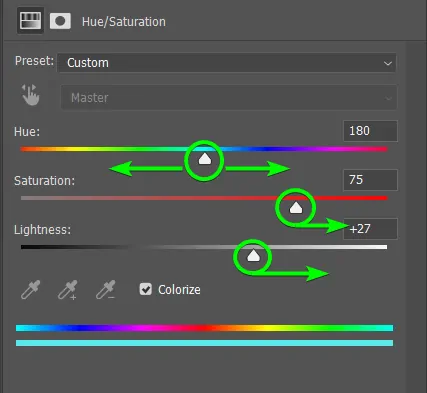
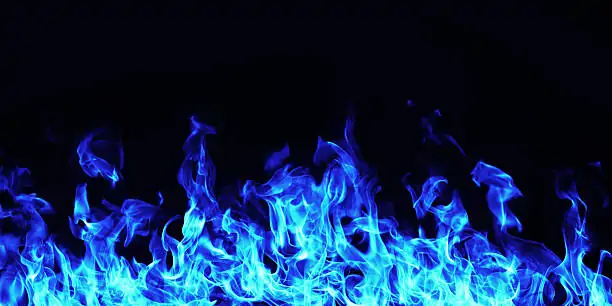
Click on the fire layer to activate it, move to Image, then Adjustments, and select Hue/Saturation. It will permit you to alter the colour of the fire while keeping up its texture.
Within the Hue/Saturation panel, drive the Hue slider to shift the fire’s colours from red/orange to blue, cyan, or white. Alter Saturation to regulate spirit and Lightness as required.
In case the hue adjustment is not immaculate, move to Image, click Adjustments, then Color Balance and expand cyan and blue tones while decreasing red/yellow. It can create a more natural frosty formation.
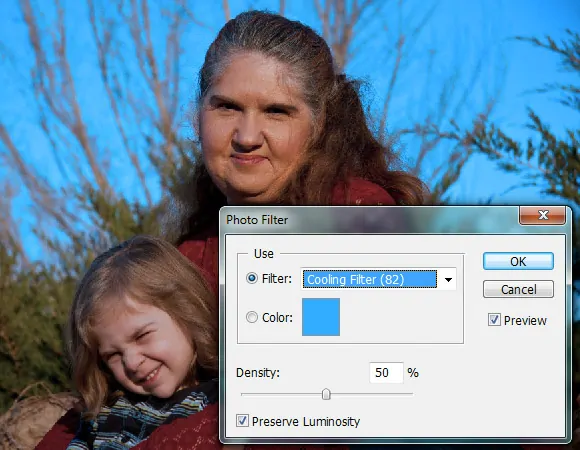
Utilize a Cooling Filter to upgrade the cold effect. Specify the density to around 25-50% for a nuanced yet natural transformation.
Make a duplicate of the ice flame layer, add Gaussian Blur, and put its blending mode to Screen mode to get a frosty glow.
Utilize a layer mask and a delicate brush to eradicate undesirable regions, guaranteeing smooth integration with the picture.
Step 4: Applying Ice Elements

Get ice textures online, like frost patterns, ice shards, or cracked ice. Seek for transparent PNGs or pictures containing high contrast that can integrate nicely with the fire.
Put the ice surface into your project and place it deliberately over the flame to create a frozen development. Resize it utilizing Ctrl+T and rotate it as required.
Set the layer blending mode by choosing options from Screen, Overlay, or Lighten to harmonize the ice surface with the flames. Alter opacity to regulate the intensity.
Include a layer mask and utilize a delicate brush to erase parts of the ice that look eccentric or overlap inaccurately with the flame.
Head to Filter, click Liquify and delicately push the ice surface in a flame-like direction to conform to the development of the fire.
Include a blue Outer Glow from Layer Styles to make the ice show up colder and more harmonizing with the flame.
Step 5: Adjusting The Blending
Tap on the layers containing the blue flame and ice textures. These need to be incorporated smoothly into the picture for a natural effect.
Specify the flame layer’s blend mode as Screen, Lighten, or Overlay to expel dark ranges and make it glow. Also, use the same action for the ice surfaces to blend them consistently.
If you find the effect too assertive or artificial, decrease the opacity of the flame or ice layers to make them more nuanced. Choosing a value between 60 and 90 per cent regularly performs excellently.
Include a layer mask for both the flame and ice layers. Utilize a soft black brush to eradicate severe edges, making a natural transition between components.
Use Gaussian Blur on the edges of the flame and ice layers. A little blur of 2 to 5px helps incorporate them into the picture naturally.
Utilize Hue/Saturation or Color Balance alterations so that the ice and fire tones correspond to the lighting and climate of the photo.
Step 6: Adding Glow Effect
Select the flame and ice layers, head to Layer Styles and set the colour to bright blue or cyan. Alter the opacity and spread to make a delicate, shining atmosphere around the blazes.
Include a new layer over the ice flame layers and put its blending mode to Screen or Overlay. Utilize a soft circular brush with light blue/white colour and gently paint around the edges of the flames for additional glow.
To let the flames show up more realistic, make a new layer underneath the flames and utilize a delicate black brush to paint shadows where the light from the flame wouldn’t reach. Decrease opacity for an inconspicuous impact.
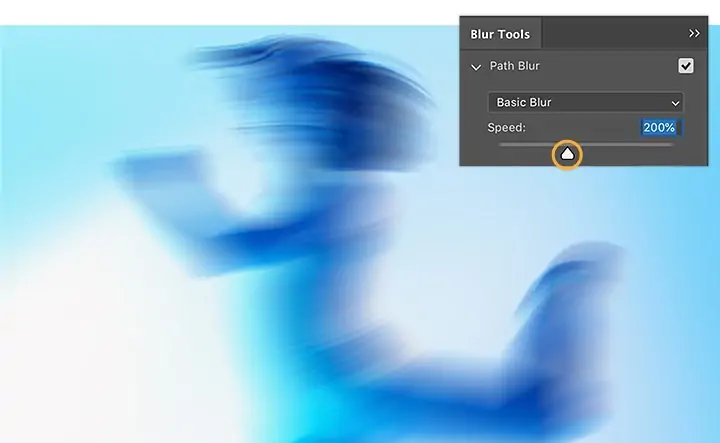
On the off chance that you need a dynamic appearance, make a duplicate of the flame layer, move to Filter, click Blur, then Motion Blur, and set the direction to correspond to the flame’s movement.
Activate the Dodge Tool to brighten zones where the ice flame shines. Utilize the Burn Tool to darken shadows, including contrast and realism.
In case any glow or shadow shows up too abruptly, utilize a layer mask and a soft brush to eliminate and integrate ranges smoothly.
Step 7: Polishing The Image
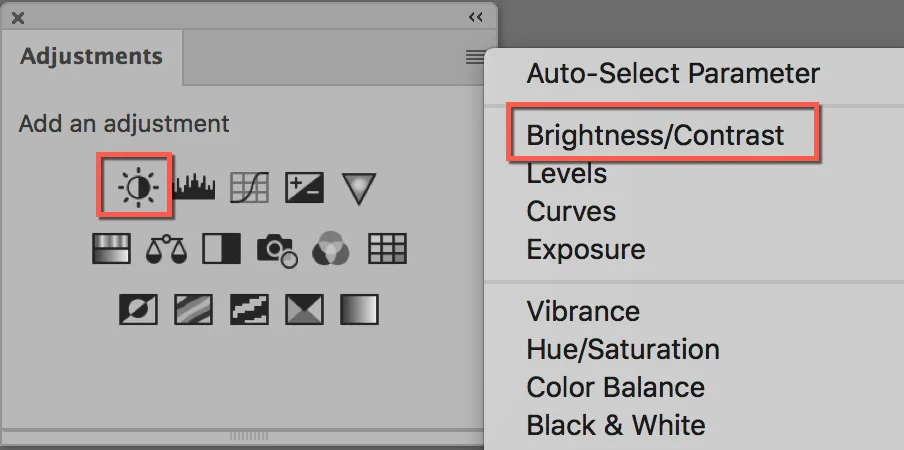
Navigate to Image, click Adjustments, then Brightness/Contrast, and slightly increment contrast to let the ice blazes pop. Alter brightness to be sure that the shine does not overwhelm the picture.
Utilize Hue/Saturation or Color Balance to guarantee the ice flames conform well with the initial photo’s lighting. Alter blues, cyans, and whites for a more natural frosty appearance.
Select Filter, then Sharpen and Unsharp Mask to improve the crispness of the blazes and ice surfaces. It will help highlight intricate, subtle elements, particularly in high-resolution pictures.

Make a vignette effect by including a new layer, filling it with black, and, at that point, utilizing the Elliptical Marquee Tool to eradicate the centre. Decrease the opacity to quietly darken the edges, bringing attention to the Ice Flame effect.
As required, make a duplicate of the ice flame layer, use Gaussian Blur, and put it to Screen mode for a more grounded glow effect.
Spare the ultimate picture in PNG or JPEG for the greatest quality through File, then Export and Save for the Web to preserve the most excellent resolution and detail.
Conclusion
To sum up, the application of an ice flame effect into images makes them present a powerful environment with surreal vibes. Alongside transforming the overall environment through this ingenious approach, the critical components and the subject also attain an otherworldly aura, hence becoming the centre of the viewers’ attention. The unification of two paradoxically opposing concepts of fire and ice yields phenomenal pieces. Moreover, by employing a precise approach like the one highlighted above, you can achieve natural and realistic compositions that can even make the onlooker believe in what is unimaginable otherwise.
