
How To Create A Lattice Effect
A lattice refers to a grid structure or a network of specific points, also called nodes, that are hooked with lines. It is also employed as an image manipulation approach where the lattice is used as an overlay onto photographs to create unique transformations or distortions, which sometimes also lead to surreal climates within images. In this editing approach, the image gets divided into portions with a grid application, which facilitates the selective distorting of particular image areas. On the other hand, relying only on transformation tools makes the whole image distorted without paying any specific emphasis to zones of interest. Manipulating the nodes within a lattice image, editors and digital artists can apply twist, stretch, warping, perspective modification, and other transformations to the pinpointed areas without making any changes to the areas that are meant to be untouched based on the overall composition’s requirements. The lattice effect is employed in graphic designs and digital artworks as well to create innovative visual effects. In image editing, besides transformation effects, it also offers image depth, dimensions, and a textured feel, thus expanding the overall charm of the composition. The detailed steps to apply a lattice effect onto images, as well as designs, are as follows.
Step 1: Initiate Your Software
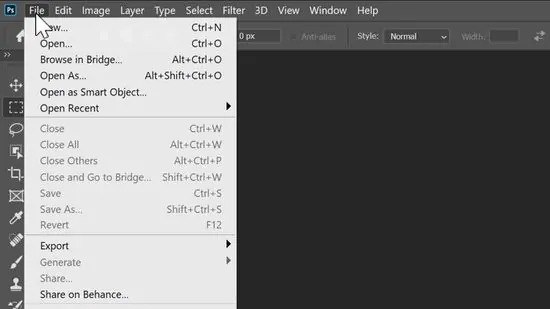
Select a program that supports grid-based or lattice editing highlights, like Adobe Photoshop, GIMP, or Blender. Be sure that it is installed and ready to utilize.
Choose the photograph you need to edit. It can be a photograph, graphic design, or any digital work of art suited for applying a lattice.
Initiate the selected program and assign a new project or get to an existing one.
Utilize the Import or Open button to load your chosen photograph. Make sure that the image conforms to the canvas dimensions or resize it as essential.
Confirm that the resolution is appropriate for thorough editing. Alter DPI or dimensions on the off chance that is required to preserve clarity.
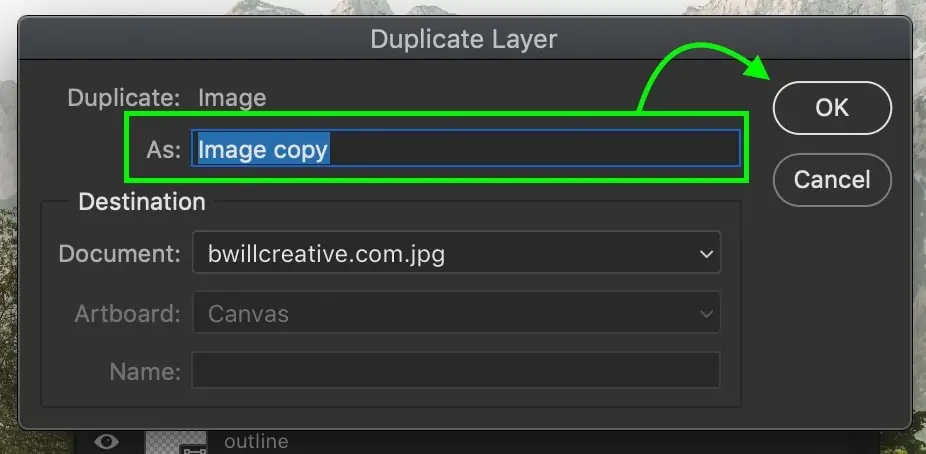
Make a copy or save a backup of the initial picture to prevent permanent changes. Save your progress frequently.
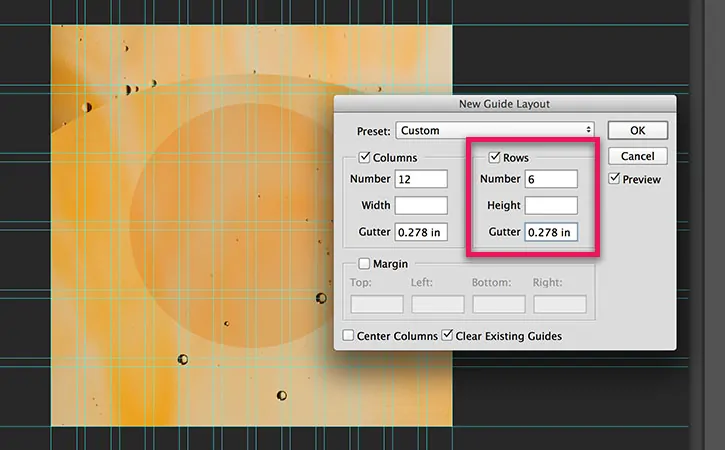
Step 2: Apply The Grid Overlay
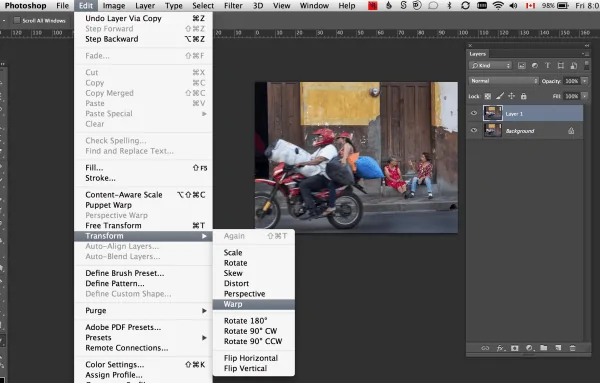
Get to the grid or lattice highlight in your program. It could be labelled as Warp Grid, Mesh Transform, or Lattice Tool, according to the software.
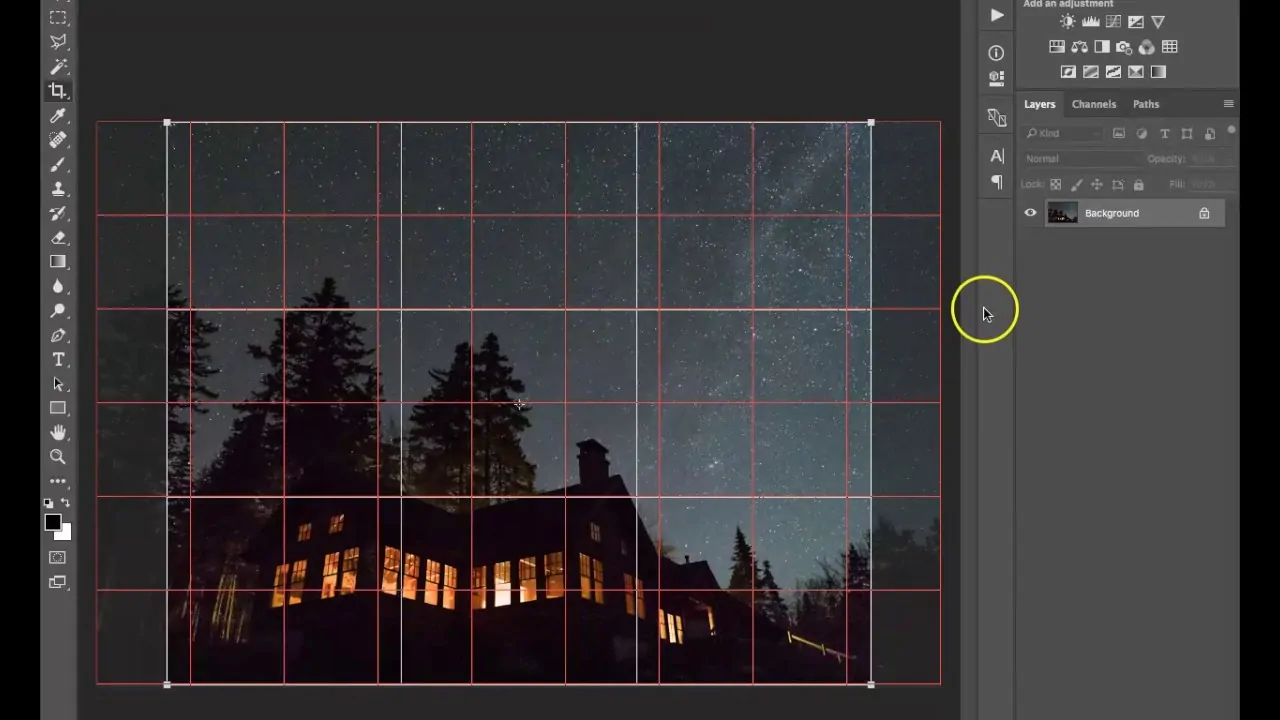
Apply the grid overlay on your photo. That will show a framework of lines or nodes for control. Alter grid visibility, as fundamental, for clarity.
Modify the density or dividing of the grid lines or nodes. A denser lattice permits more accurate control, whereas a sparse framework works for broad changes.
Adjust the grid over your picture, ensuring it coats the whole range you intend to edit. Resize or reposition your grid if needed.
Activate snapping choices to accommodate components more precisely with grid points.
Audit the grid overlay to confirm the appropriate arrangement before continuing. Make changes as required.
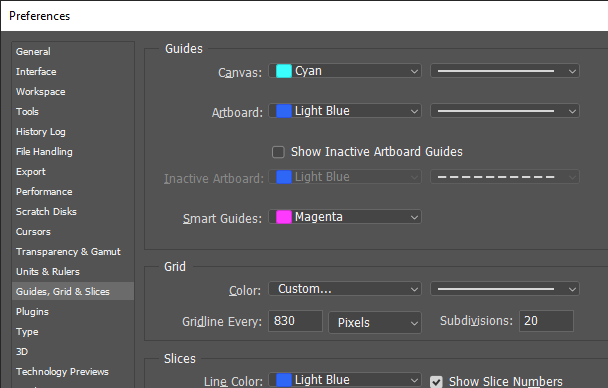
Step 3: Refine The Grid Layout
Find the parameters related to grid or lattice resolution in your program’s toolbar or properties panel. It decides the finesss or coarse of the grid structure is.
Alter the number of nodes or control points on the grid. A better resolution puts in more nodes, permitting detailed edits, while a lower resolution streamlines the framework for extensive changes.
Choose whether to preserve equal spacing for a consistent effect or change the grid density at particular zones.
Check the alignment of the grid with your photo. Make sure that critical regions of the picture including the objects or curves have adequate grid detail for detailed manipulation.
Make little grid alterations to test how responsive the controls are for your picture size and type.
After being satisfied with the resolution, affirm the settings and save your progress before continuing.
Step 4: Reset The Lattice Nodes
Enable the lattice or mesh tool to foster manipulation. Most software highlight grid nodes after that tool is employed.
Select particular nodes you need to move based on the range of the photograph you point to transform. Emphasize edges, curves, or points of interest.
Press and drag the chosen nodes to deform or reshape the photograph. For instance, move nodes inside to compress a region or outside to expand it.
Make the transitions smooth by manipulating neighbouring nodes to dodge spontaneous changes and keep up a natural formation.
In case your layout needs harmony, activate symmetry tools to reflect changes on interrelated sides automatically.
Use the Zoom in tool on detailed ranges while editing little segments of the lattice to guarantee exactness.
Frequently check the general impact of your node edits on the picture. Fix or refine movements if required.
Step 5: Smooth Out The Specific Areas
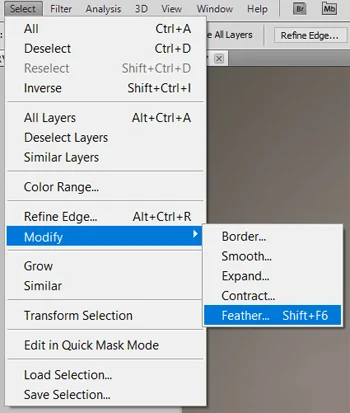
Survey the areas carefully where lattice nodes have been accommodated. Search for any unintended distortions, overlaps, or inconsistencies within the composition.
Utilize smoothing tools or manually alter adjacent nodes to blend deformed regions consistently with the untouched regions. Never go for sharp lines or blunt changes unless deliberate.
Make little alterations to individual nodes to rectify mistakes or upgrade the appearance of basic highlights.
Polish particular sections by expanding the grid resolution in highly detailed ranges while keeping other zones simpler.
Wok on edges, contours, or surface details that may have lost clarity during manipulation. Fix or enhance these points of interest for a polished impression.
Add the lattice effect only to particular regions of the photograph by masking areas you need to protect or exclude.
Assess the whole photograph to ensure that the deformation ranges accommodate your artistic intent or project objectives.
Step 6: Apply Lighting Effects
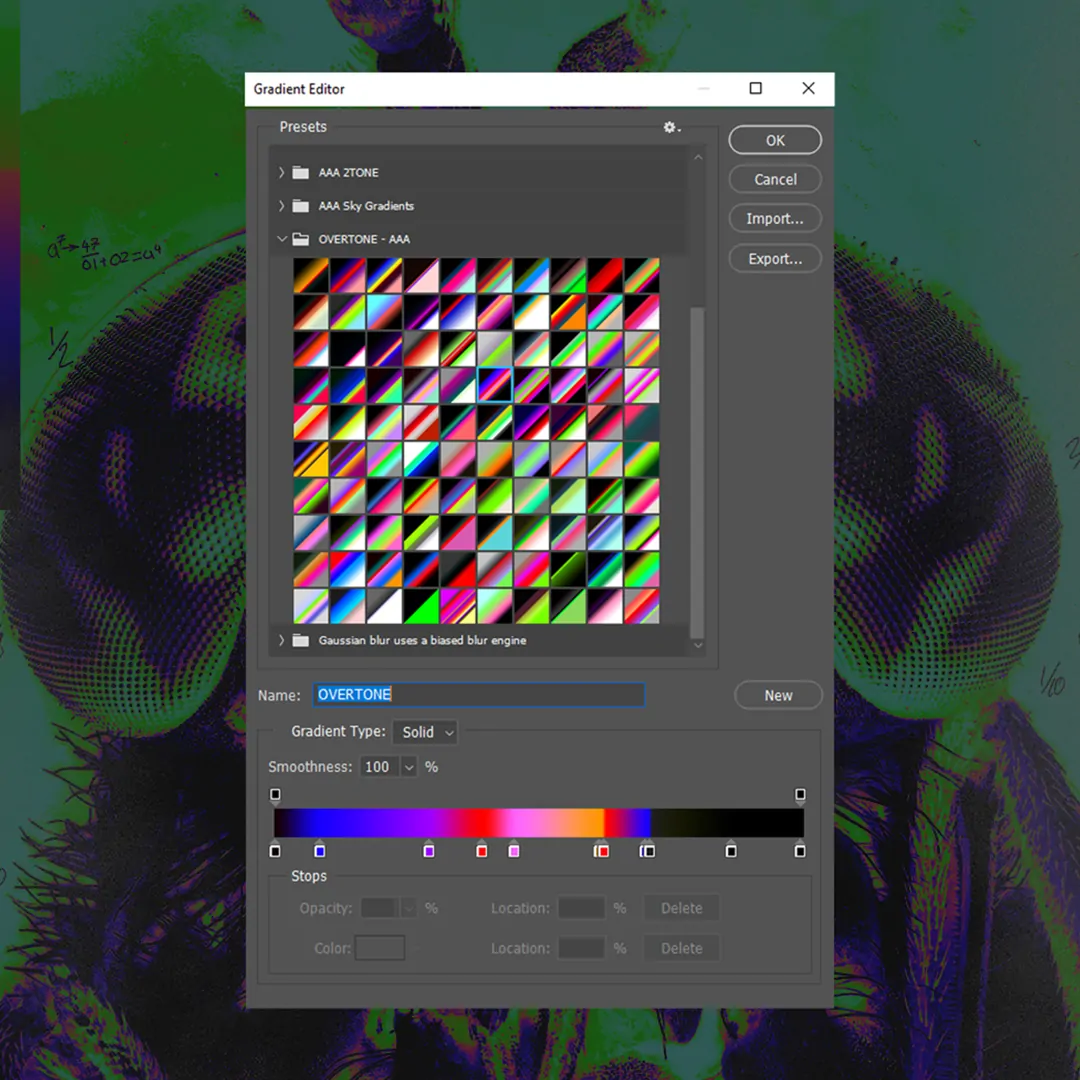
Play with blending modes to incorporate the lattice effect seamlessly into the photograph. It will help harmonize the modified areas with the initial regions.
Present subtle lighting effects or shadows to enhance the dimensionality made by the lattice manipulations. It will add depth and realism.
Utilize texture overlays or sharpening tools to refine regions where subtle elements were lost during deformation. Alter opacity to make it natural.
Alter hues, saturation, or contrast within the manipulated sections to either highlight or integrate the effect with the rest of the picture.
Apply creative filters, like gradient maps, vignette effects, or glows, to exalt the general elegance of the image.
Include additional emphasis on focal points of the picture, like objects, characters, or dramatic curves shaped during the lattice adjustments.
Make sure that all additional upgrades are adequate, and save the picture with a new version or title for safekeeping.
Step 7: Save The Image
Before you export the final image, give the entire composition a final audit to confirm all preferred changes and enhancements are applied accurately.
Set a suitable file format for your project like JPEG, PNG, or TIFF for picture clarity or PSD for protecting layers and future alters.
Modify any pertinent settings like resolution, quality, and compression. For web use, a smaller file size could work best, while for print high resolution is required.
Provide the exported photograph with a clear, expressive file title to effectively identify the version and prevent overwriting other files.
Select a destination folder on your gadget or cloud storage to keep the final image. Ensure to keep it organized.
Recheck the exported image by opening it to confirm that all adjustments rendered accurately with no visual artefacts were generated during the export process.
Consider backing up the original file to preserve an untouched duplicate for future use or alteration.
Conclusion
In summary, a lattice effect in image editing is a creative approach offering the artists thorough control, unlike standard transformations applied to images. Moreover, it can help create new images containing striking lattice structures, making viewers adore the magnificence found within both symmetrical and abstract layouts. In graphic design and other relevant fields like textile, interior decoration, architecture, and product design, the use of latices is common. Lattice also ushers an illusion of a 3D effect in images to offer more in-depth coverage of the presented visual content and enhance the thematic aspect of that visual narrative.
