How To Create Macro Photography Effects
Macro photography is a particular style that involves capturing extremely close-up photographs of tiny objects to make them look bigger. This photography technique emphasizes the intricate details of those objects, including textures and patterns that are usually imperceptible to the naked eye. The primary features that are manipulated in macro photography involve enhancing magnification up to 1:1, employing shallow depth of field strategy, enhancing details like intricate patterns found on objects’ surfaces, and light and exposure control. This photography genre is common in capturing natural objects, and products (especially of smaller dimensions like jewellery items), exploring texture details of objects to create aesthetic images, and many others. Though macro photography requires specific equipment, cameras, and certain settings, this approach is rather prevalent in image enhancement, digital artworks, and designs. In these fields, certain editing tools and techniques like cropping, simulation of the depth of field, sharpening tools, lights and shadow manipulation, colour modification, exposure/contrast settings, and vignetting are employed. All these techniques together work to mimic the look of a close-up shot captured using macro lenses, thus creating a unique aesthetic in common photos. The step-by-step process of creating macro photography effects is as follows.
Step 1: Cropping The Image
Begin by importing your photograph into an editing software such as Photoshop, Lightroom, or GIMP.
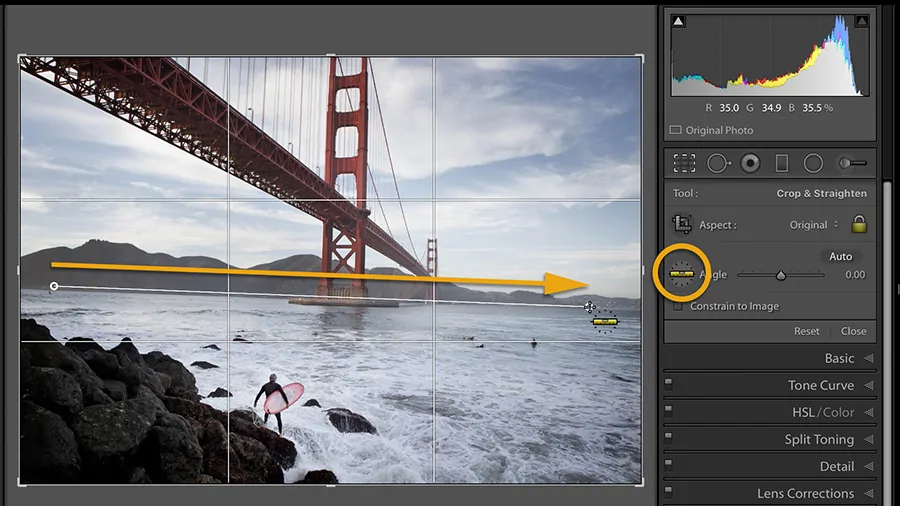
Find and activate the Crop tool within the toolbar of your editing tool.
Determine the key region of interest in your picture, like a flower, an insect, or a textured entity.
Pull the edges of the crop box to zoom in firmly on the subject while eradicating pointless background components.
As required, lock the aspect ratio to confirm consistency within the photo’s proportions.
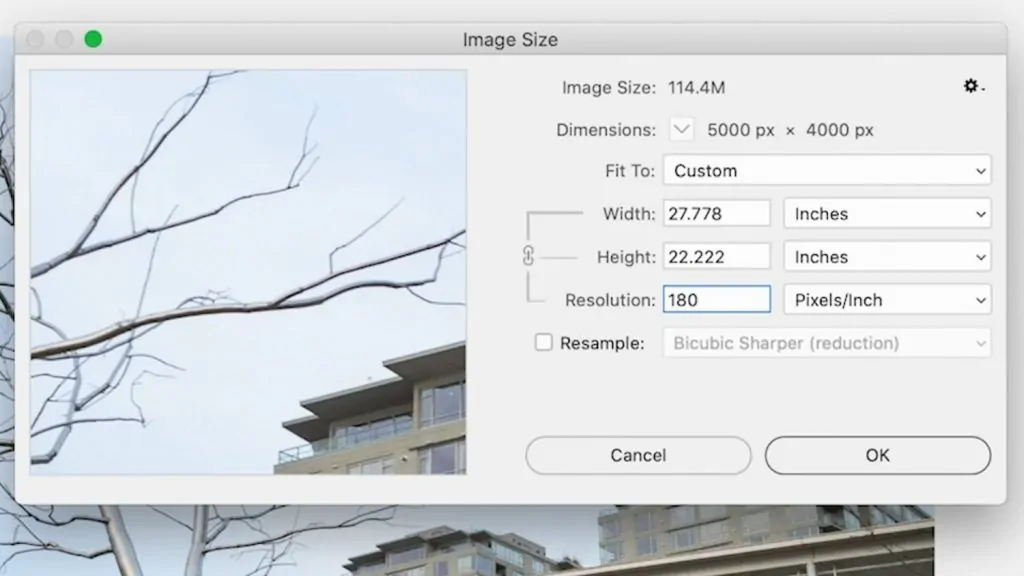
Make sure that the cropped range has sufficient resolution to hold sharpness and clarity for detailed edits.
After you are done with the framing, press Apply or Enter to affirm the crop.
Step 2: Sharpening The Image
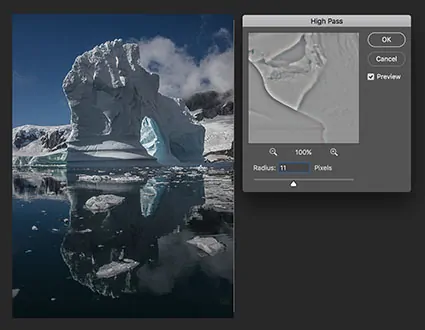
In Photoshop, utilize the High Pass Filter to sharpen tune details. To begin with, duplicate the picture layer, apply the High Pass filter, and specify the layer mode to Overlay or Soft Light. It will bring out surfaces without making harsh edges.
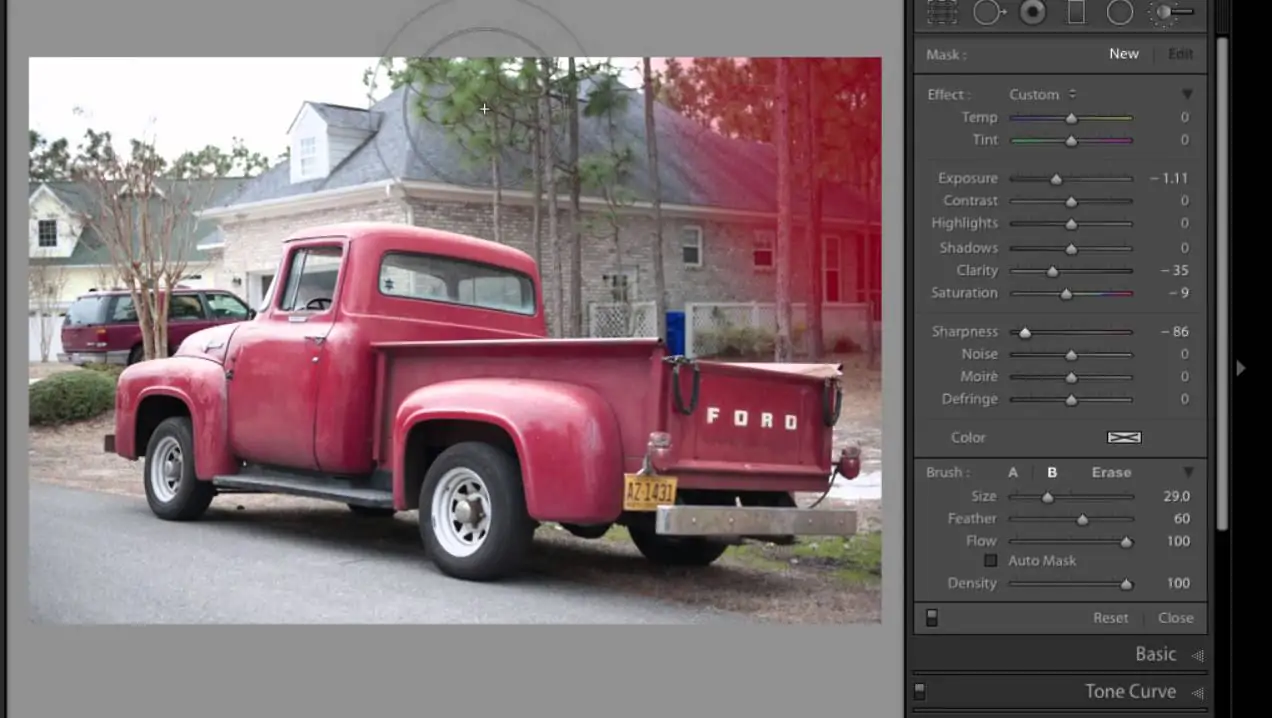
In case you use Lightroom or other editing tools, alter the Clarity slider to improve midtone contrast. It will make surfaces and nuanced details within the subject more articulated.
Utilize the Texture slider or comparative tools to improve little details without influencing the general smoothness of the photograph. It functions well for highlighting skin, fabric, or natural surfaces such as leaves and petals.
Utilize Edge Sharpening tools or the Unsharp Mask to polish edges. It helps make the subject stand out more distinctly from the backdrop.
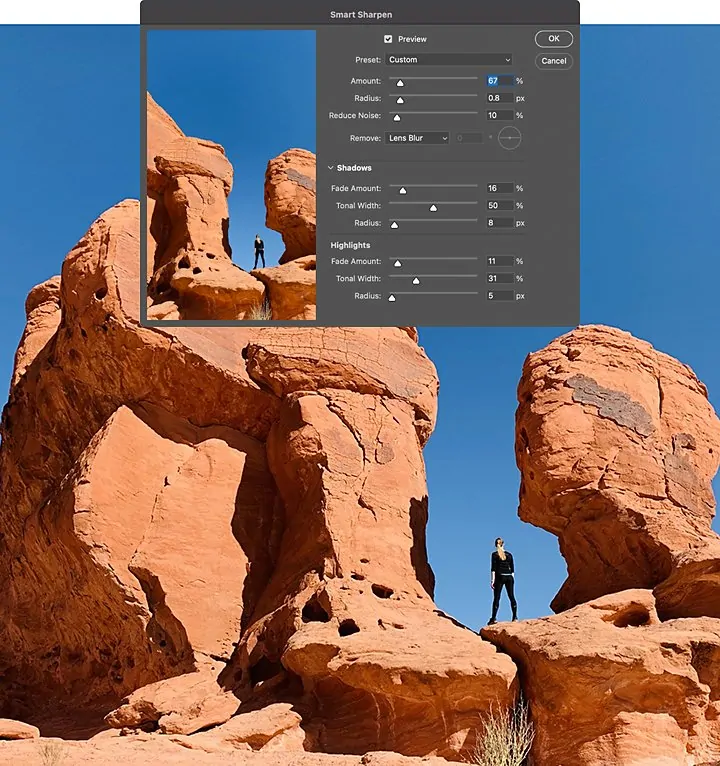
Use Zoom in onto the photograph to guarantee the details are sharp and modify the effect for a natural-looking upgrade.
Once done with sharpening, audit the picture to ensure the enhancements look smooth and detailed, not outrageous.
Step 3: Creating Shallow Depth Of Field
Employ a selection tool to carefully select the background or ranges around the subject you need to blur.
After the background is selected, make a layer mask to keep the subject in the centre while permitting you to apply effects only to the background.
Keep the mask active and apply a Gaussian or Lens Blur. If using Photoshop, proceed to Filter > Blur Gallery > Lens Blur for a more realistic bokeh effect. Alter the blur radius to your preference.
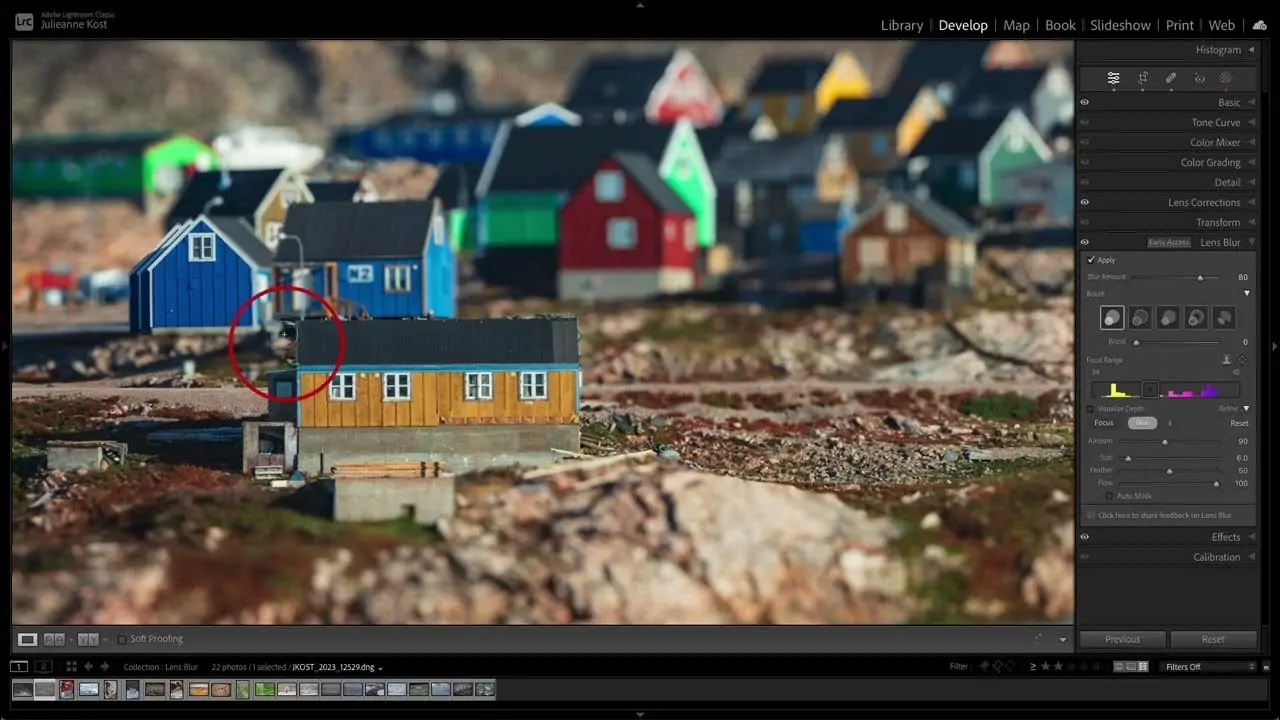
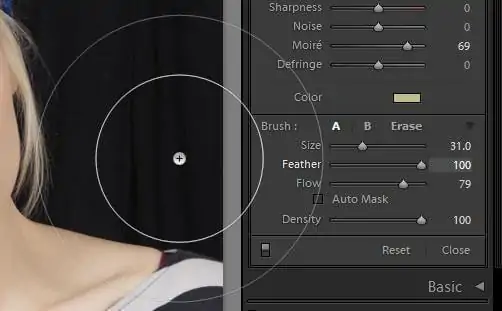
In case fundamental, utilize a soft brush to polish the edges of the mask, and get a smooth transition between the in-focus subject and the blurred foundation.
Ensure that the subject remains intense and clear, whereas the blurred background makes a visually delightful division.
Alter the intensity of the blur effect to attain an organic, shallow depth of field that mirrors macro photography.
Survey the composition and adjust the blur settings if fundamental for a more realistic macro impression.
Step 4: Enhancing Contrast And Clarity
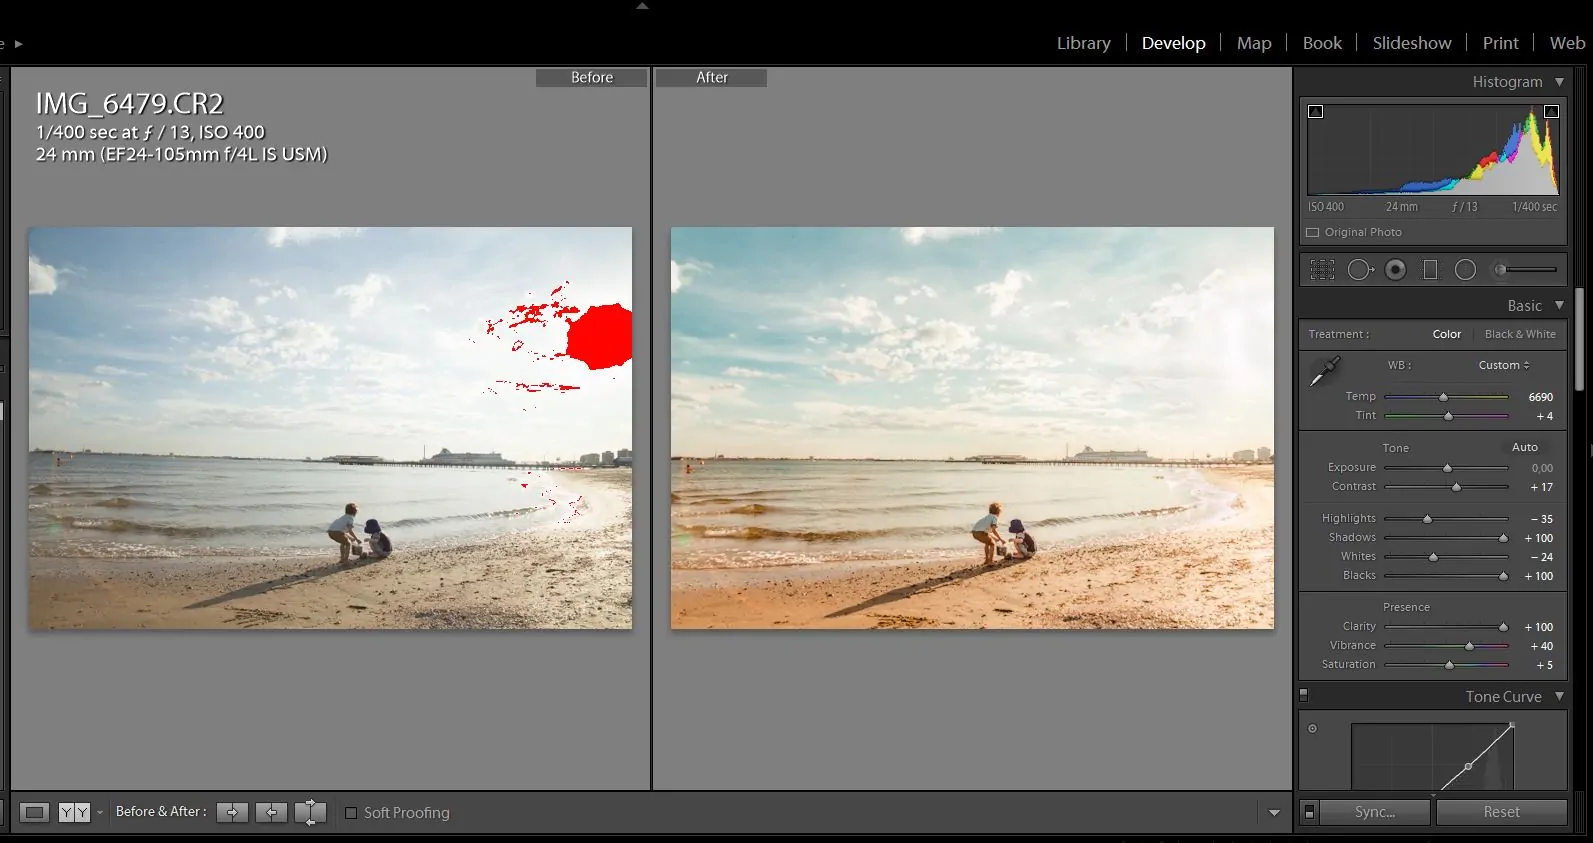
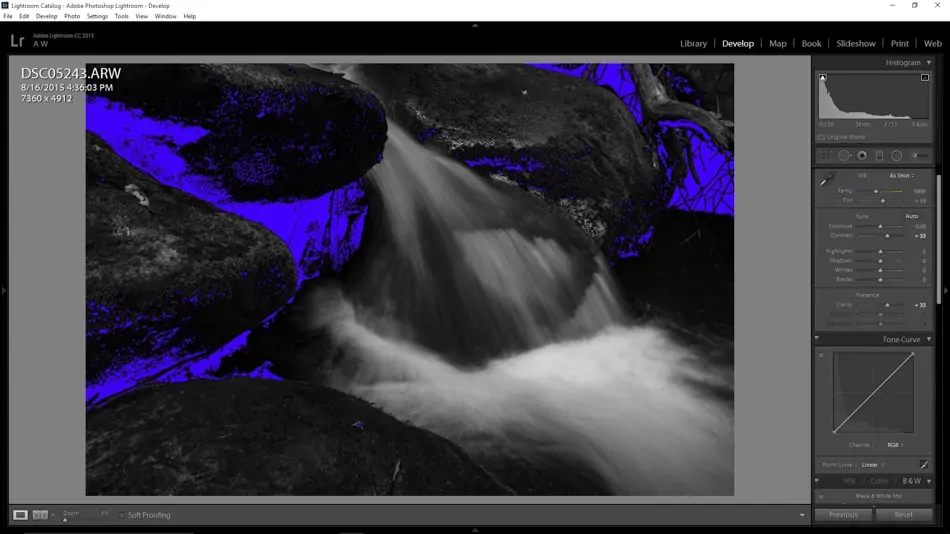
Proceed to the Contrast slider which is easily accessible in Lightroom, Photoshop, and many advanced tools. Slightly raise the contrast to make the light zones brighter and the dim zones deeper. It will help get more definitions between the subject and its background.
Tune the Highlights and Shadows sliders. Reduce highlights to maintain bright elements within the subject and boost shadows to include depth. That alteration emphasizes surfaces, particularly in small, detailed subjects such as insects or leaves.
In Lightroom or a similar application, utilize the Clarity slider to upgrade the midtones. Expanding clarity highlights intricate surfaces, making surfaces appear sharper and more detailed. It is particularly beneficial for highlighting designs and structures within the subject.
Utilize the Dodge and Burn features to include contrast to particular regions. Lighten or darken regions of the subject to highlight subtle elements and make a more dynamic visual impact.
Once done with adjustments, survey the composition. Make sure the contrast is balanced and the subject stays the focal point, with affluent details rising from the background.
Step 5: Enhancing Lighting Conditions
Examine the photograph to specify the direction of light and ranges that require improvement. In macro photography, lighting has a significant function in accentuating surfaces.
Utilize the Dodge Tool to lighten ranges where you need to bring attention like the subject’s critical features. Employ the Burn Tool to darken ranges that ought to recede into the background, developing depth.
Make soft highlights employing a soft brush and a low-opacity setting. Paint onto the spots that naturally capture the light, including edges or raised surfaces, to make them stand out.
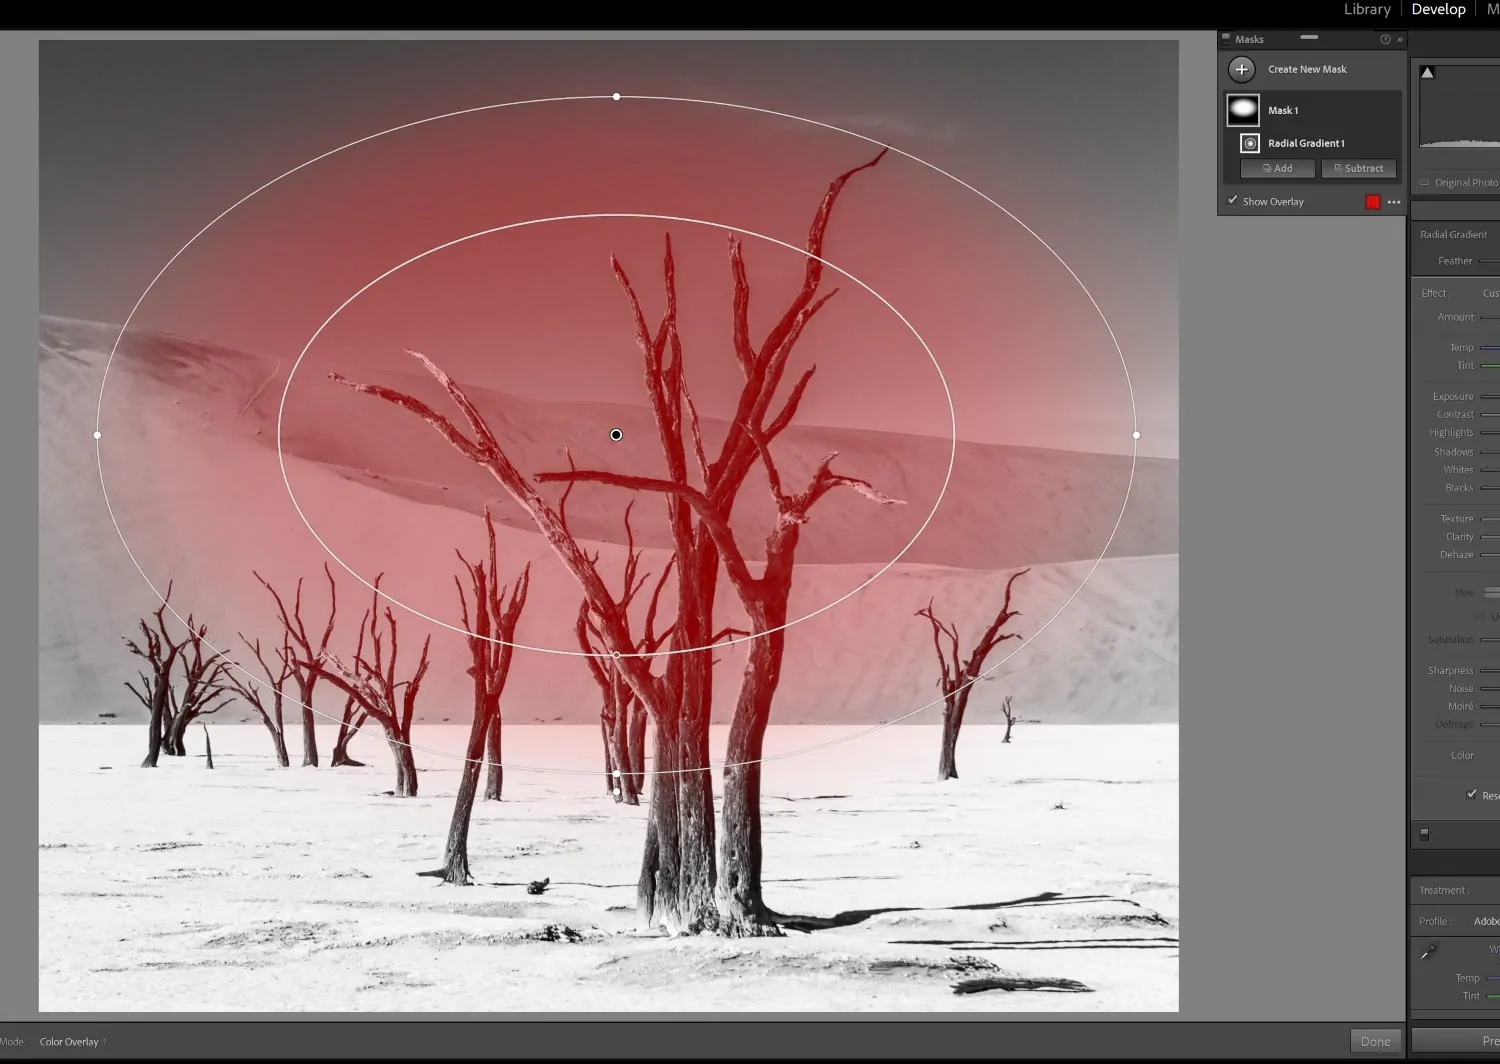
Use a gradient adjustment layer to mimic lighting effects. For instance, a radial gradient can include a spotlight effect, focusing light on the subject while making the background dark.
Change the overall exposure to be sure that the subject is sufficiently lit without overexposing subtle elements. Regulating exposure settings helps accomplish natural balance within the photograph.
Step 6: Modifying Saturation And Colour Settings
Expand the Vibrance slider to intensify the colours of less saturated zones without exaggerating the already rich zones. It will make the subject stand out without artificial tints.
In case the photo needs more colour intensity, alter the Saturation slider. Do not oversaturate, because it can result in an unnatural, harsh colour plot. Work on subtle improvements.
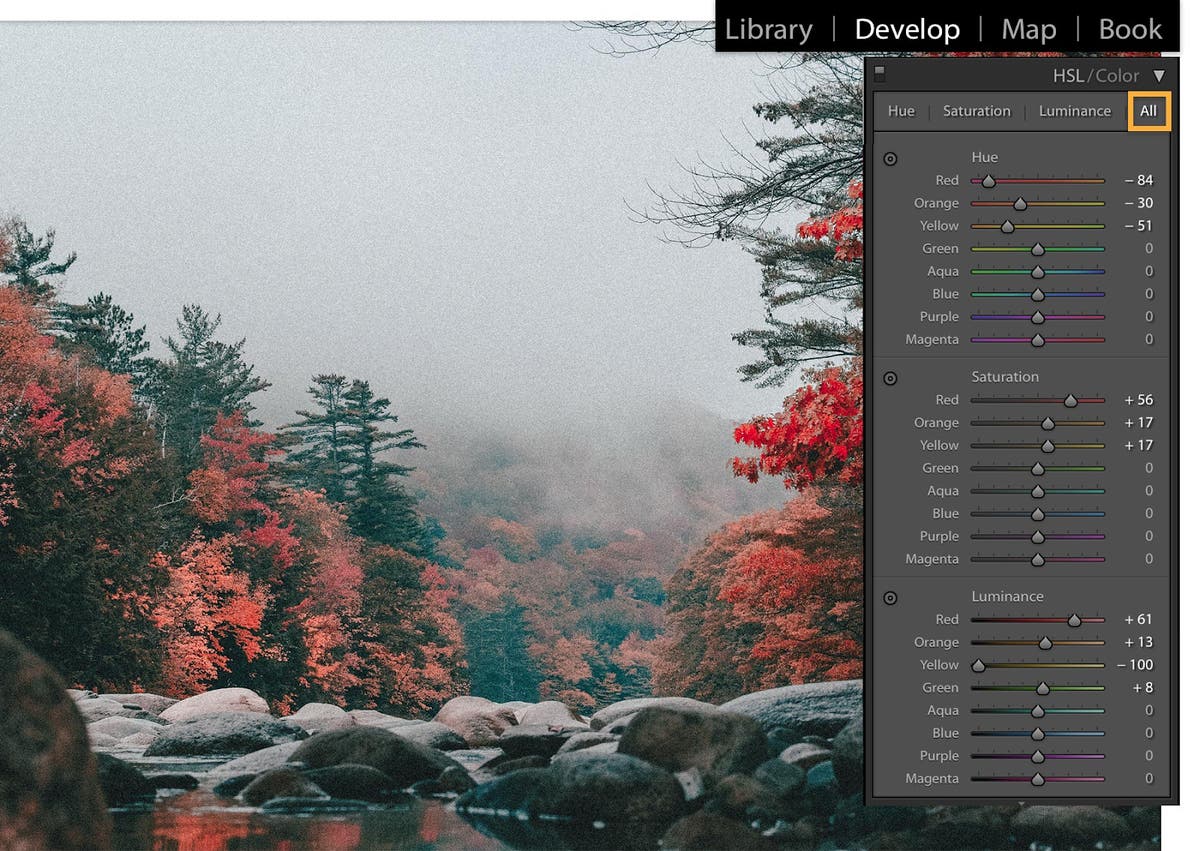
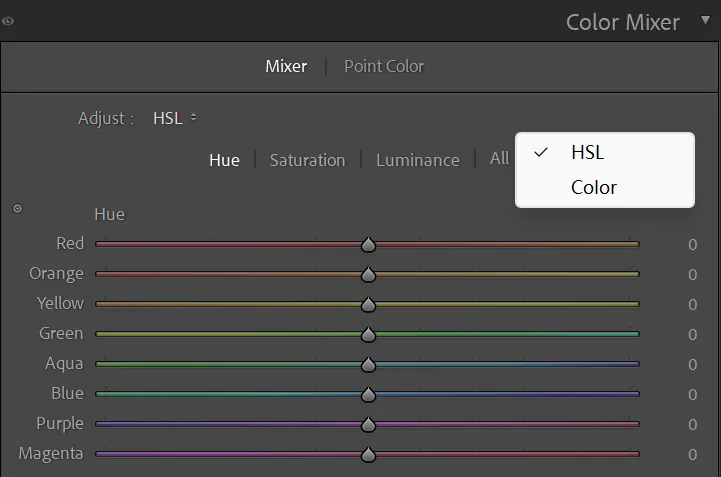
Utilize HSL/Color Adjustments to work on specific colours within the photo. For instance, raise the saturation of greens to form foliage more dynamic or alter reds to create flower pop.
Polish the White Balance to rectify colour temperature. Altering the warmth or coolness can enhance the genuine colours of your subject and harmonize the photograph.
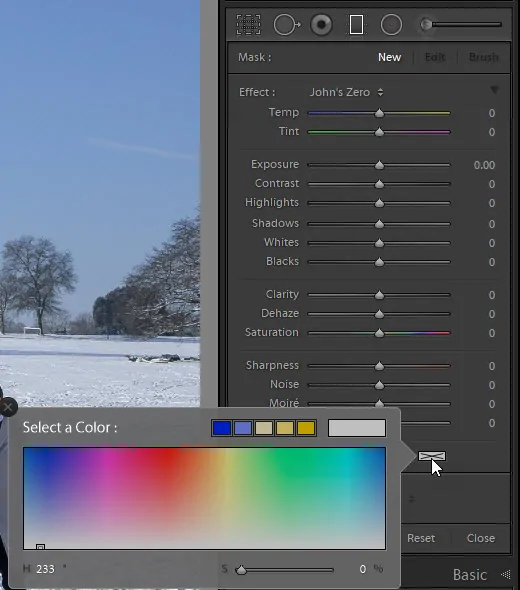
Utilize selective colour editing to improve particular regions. For instance, you can include more warmth to the colours of the subject while keeping the foundation tones more hushed for contrast.
Step 7: Finalizing The Image
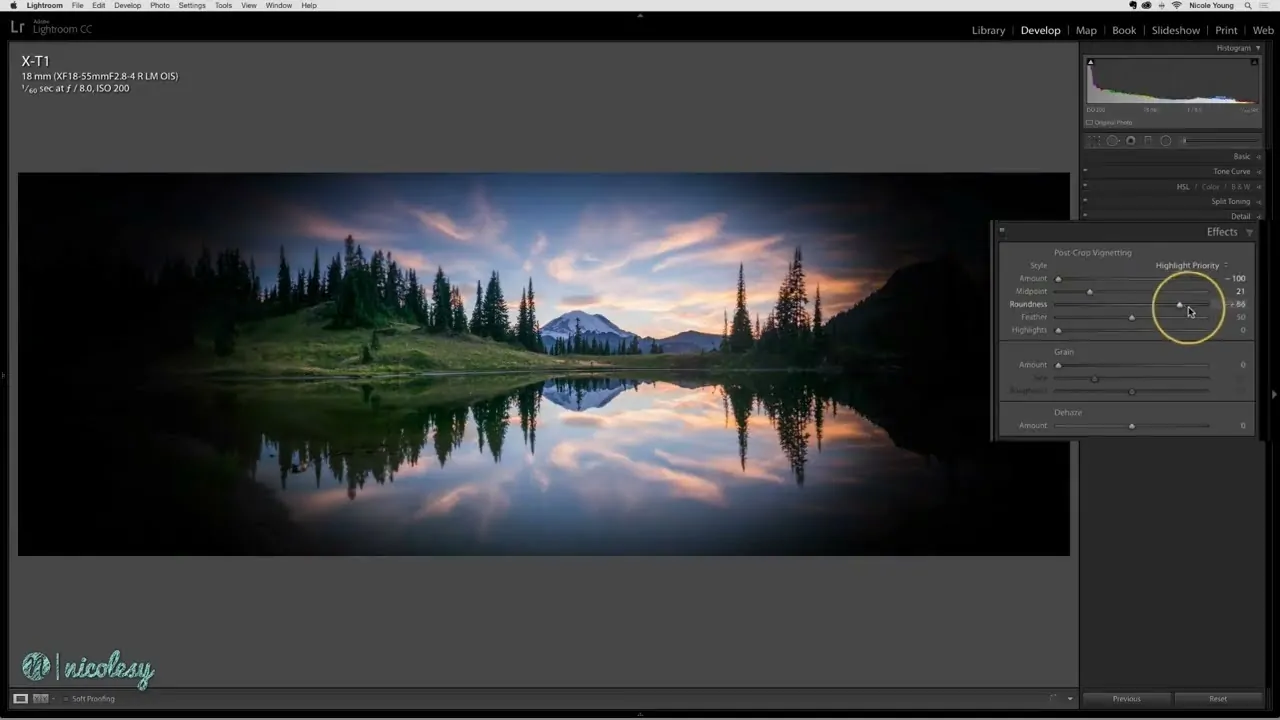
Consider adding a vignette effect to quietly darken the edges of the picture, leading focus toward the subject. If using Lightroom, you can utilize the Post-Crop Vignette slider, altering the amount, midpoint, roundness, and feather to form a delicate, natural transition.
To imitate the blurred, circular highlights of macro bokeh, include a bokeh overlay or utilize a delicate brush tool, set in a blur in Photoshop. Adjust these highlights around the subject to boost the shallow depth of field.
Tailor the vignette’s shape to conform to the subject’s placement. For instance, a circular vignette operates well for centred subjects, while an elliptical shape suits well to off-centre compositions.
Smoothen the rims of the vignette or bokeh with a feathered brush to get a consistent shift from the subject to the blurred background.
After being fulfilled with the ultimate adjustments, export the photograph in the specified file format like JPEG or PNG, ensuring to select fitting resolution and quality settings for your aimed application.
Conclusion
In short, macro photography effects simulated using digital tools provide creative latitude to play with unusual aesthetics and create striking compositions. Also, it is not common for every photographer and digital artist to have access to macro lenses and specific tools, and digital techniques aid them with cost-effective solutions, creating similar macro photography effects in everyday images. Artists can experiment with various kinds of images, including natural ones, product designs, and even day-to-day life occurrences. Yet, adhering to a particular set of steps and techniques is essential to attain desirable results in your final images.
