How To Turn An Image Into Stencil Art
Traditional stencil art is a kind of visual manifestation that implicates creating designs or pictures by cutting or carving materials like paper, cardboard, or metals, thus creating aesthetic negative spaces through which paint can be spread onto any surface. This technique allows artists to reproduce intricate designs with precision and efficiency. The yore of stencil art can be followed back thousands of years, with proof of early stencil strategies found in old cave canvases and on artifacts from different civilizations worldwide. Nevertheless, stencil art, as a recognized art form, gained dominion within the 20th century, especially amid the blossoming of street art. The flexibility to use a wide range of materials enables artists to work on myriad textures, including walls, canvas, fabric, or even urban settings like sidewalks and structures. The prevailing scope of digital artworks and extensive use of painting software and stencil art inspire the artist to create digital manifestations in minimal time and effort. The following are the practical steps for creating elaborate stencils using digital techniques.
Step 1: Picking Up The Initial Photograph
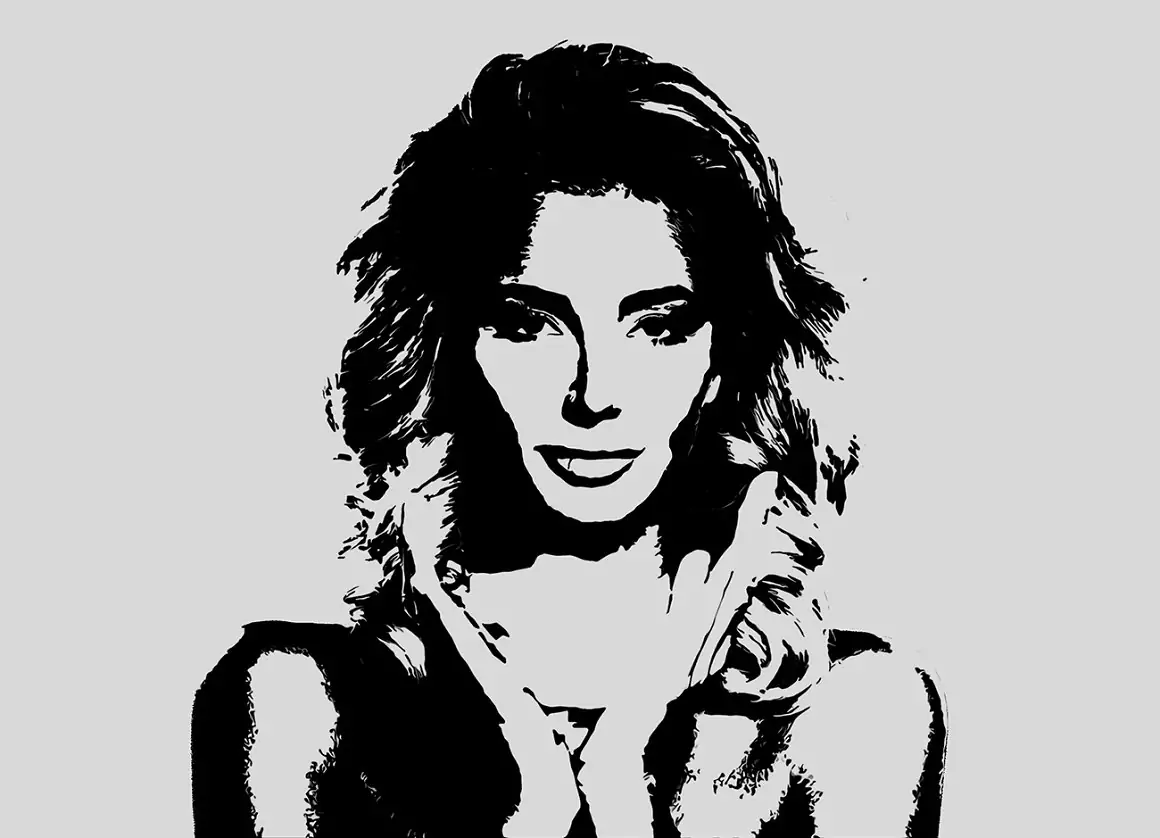
To begin with, select a digital image appropriate for change into stencil art.
Seek pictures with particular shapes and well-defined traces, which will be interpreted viably into stencil designs.
Review the overall composition and clarity of the image to guarantee ideal results within the transformation plan.
Attention to detail, such as contrast and clarity, can affect the ultimate stencil art result.
Point for pictures with a strong visual effect and conducive to rearrangements without losing their basic characteristics.
Consider the intended utilization of the stencil art and any particular inclinations or subjects you need to communicate through the artwork.
Keep in mind that the victory of the stencil art transformation depends greatly on the quality and appropriateness of the initial picture chosen for the method. Hence, take your time to carefully select an image that aligns with your aesthetic vision and goals.
Step 2: Preparing Image With Initial Edits
Start the simplification practice to equip the chosen image for transformation into stencil art.
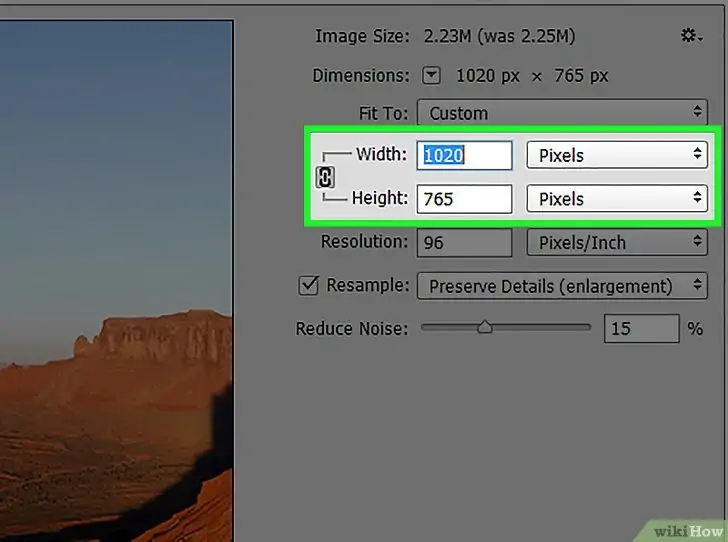
Use image editing software to access the vital tools for this assignment, guaranteeing a smooth transition from the initial image to the stencil design.
Load the picture file within the chosen software platform and prepare it for altering.
Continue to monitor the image and decide the foremost effective strategies for rearrangements, considering variables such as shape complexity and level of detail.
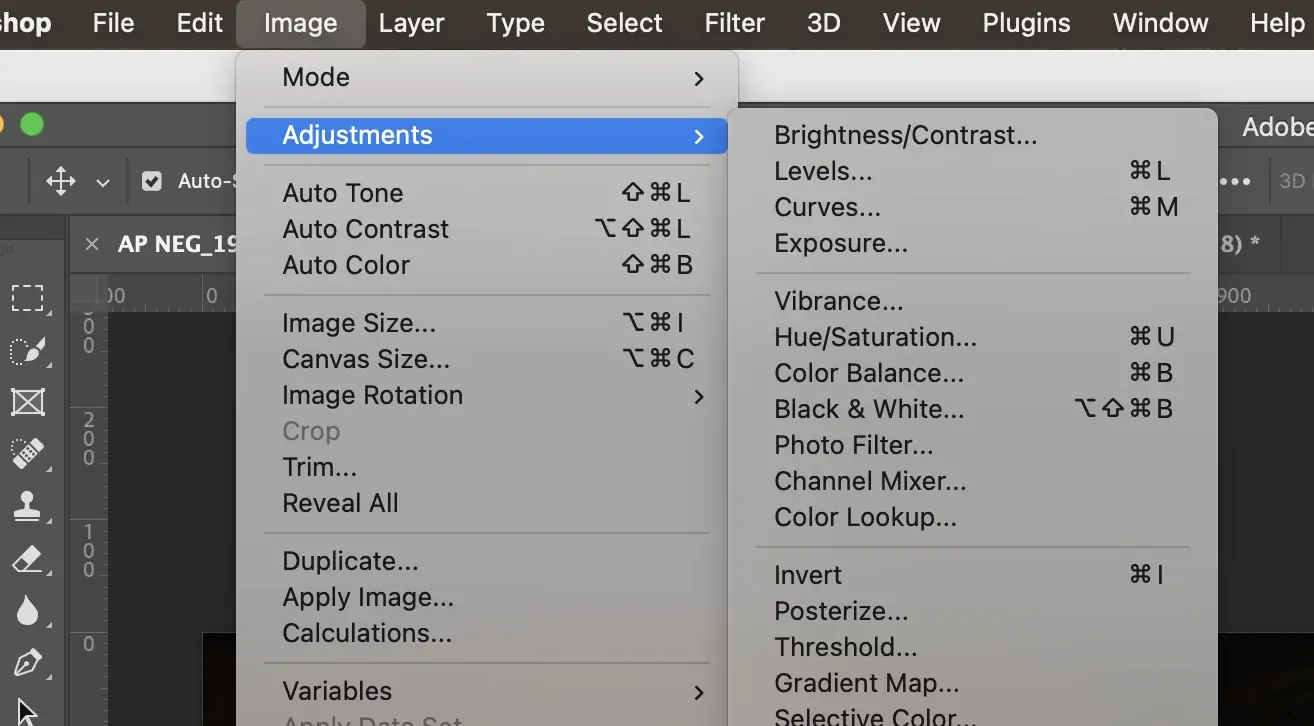
Utilize different strategies accessible inside the software, such as posterization or threshold adjustments, to reach the required effect of diminishing the image to its essential shapes and outlines.
Play with distinctive settings and adjustments until you accomplish a simplified version of the picture that holds its fundamental visual components.
Strive for clarity and accuracy within the rearrangement process, preserving the first composition’s integrity while encouraging its transformation into stencil art.
Polish the image as required, making it a substantial foundation for the ensuing steps in the stencil art creation process.
Step 3: Simplifying The Image Content
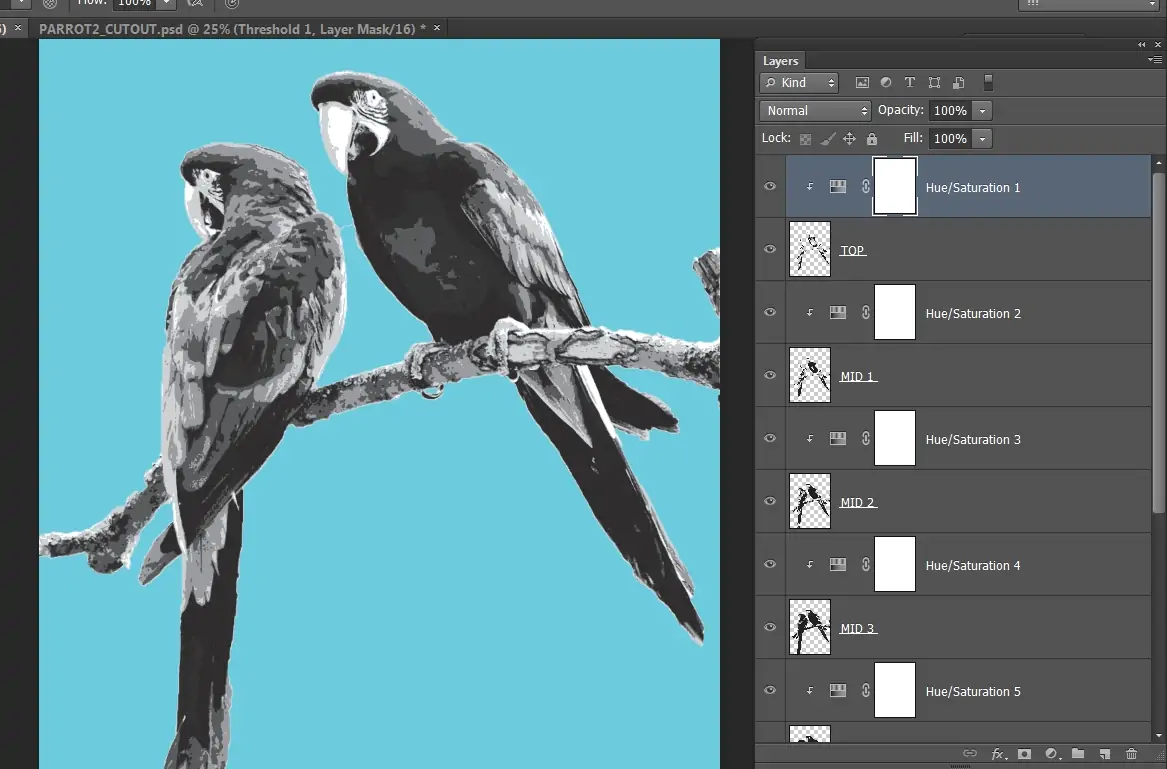
After image rearrangements, continue portioning the streamlined image into particular layers, a pivotal step in the stencil effect creation process.
Explore the layer management tools to start this segmentation errand in your chosen image editing program.
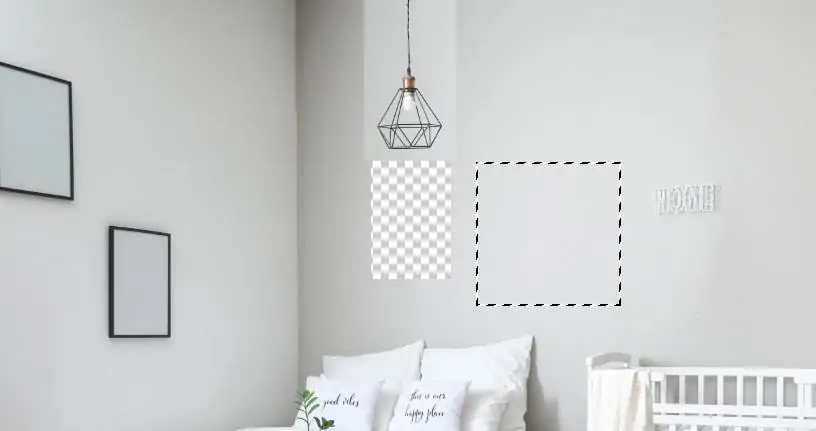
Use selection tools or masking strategies to isolate personal components or shapes inside the image, successfully isolating them into separate layers.
Look to ensure that each layer speaks to a particular component of the initial picture, such as different objects, shapes, or regions of color.
Keep organization and clarity inside the layer structure as you portion the image to encourage ensuing editing and manipulation.
Title each layer expressively to effectively identify its comparing component inside the composition. Refine the layer boundaries as fundamental to ensure clean division between components and minimize overlap.
Proceed with this preparation until the complete photograph has been sectioned into discrete layers, each containing a particular angle of the composition.
Step 4: Separating Image Components
Once the image is fragmented into particular layers, continue to distill each layer to improve the clarity and accuracy of the stencil art design.
Look at each layer independently, focusing on its shapes, traces, and points of interest.
Utilize modifying tools inside your software to refine the boundaries of each shape, guaranteeing fresh edges and clean lines.
Alter the contrast, brightness, and saturation as required to improve the visual clarity of the stencil art.
Remove any unessential components or artifacts that will diminish from the, by and large, composition, keeping up a laser center on the basic components of the picture.
Observe zones of overlap between layers, ensuring consistent integration and cohesion inside the stencil art plan.
Take your time to regulate each layer carefully, opting for accuracy and consistency throughout the complete composition.
Keep referring back to the initial image to check that the stencil art steadfastly captures its substance while consolidating any vital rearrangements or modifications.
Step 5: Adjusting Individual Layers
After refining each layer, prepare the stencil templates for further processing and application.
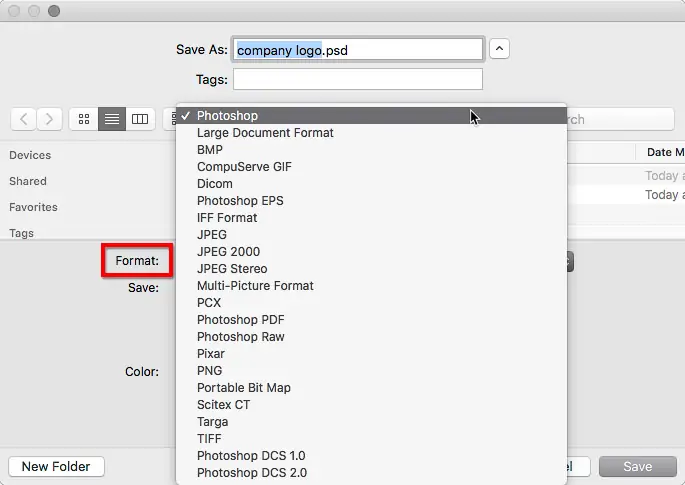
Begin by exporting each refined layer as separate files in an organization that underpins transparency, such as PNG or TIFF. This guarantees that the stencil templates maintain their sharpness and can be effortlessly controlled in subsequent steps.
Arrange the exported files in a devoted folder for simple get-to and management.
Name each file descriptively to compare with its stencil layer inside the composition.
Confirm that all essential layers have been exported and that no fundamental components are lost from the stencil set.
Survey each stencil template to guarantee that it precisely speaks to the aiming shapes and outlines of the first picture.
Make any final alterations or refinements before continuing to the following step.
With the stencil layouts arranged and organized, you’re all set to apply them to different surfaces, either digital or physical, using your preferred application method.
Step 6: Final Export Of Stencils
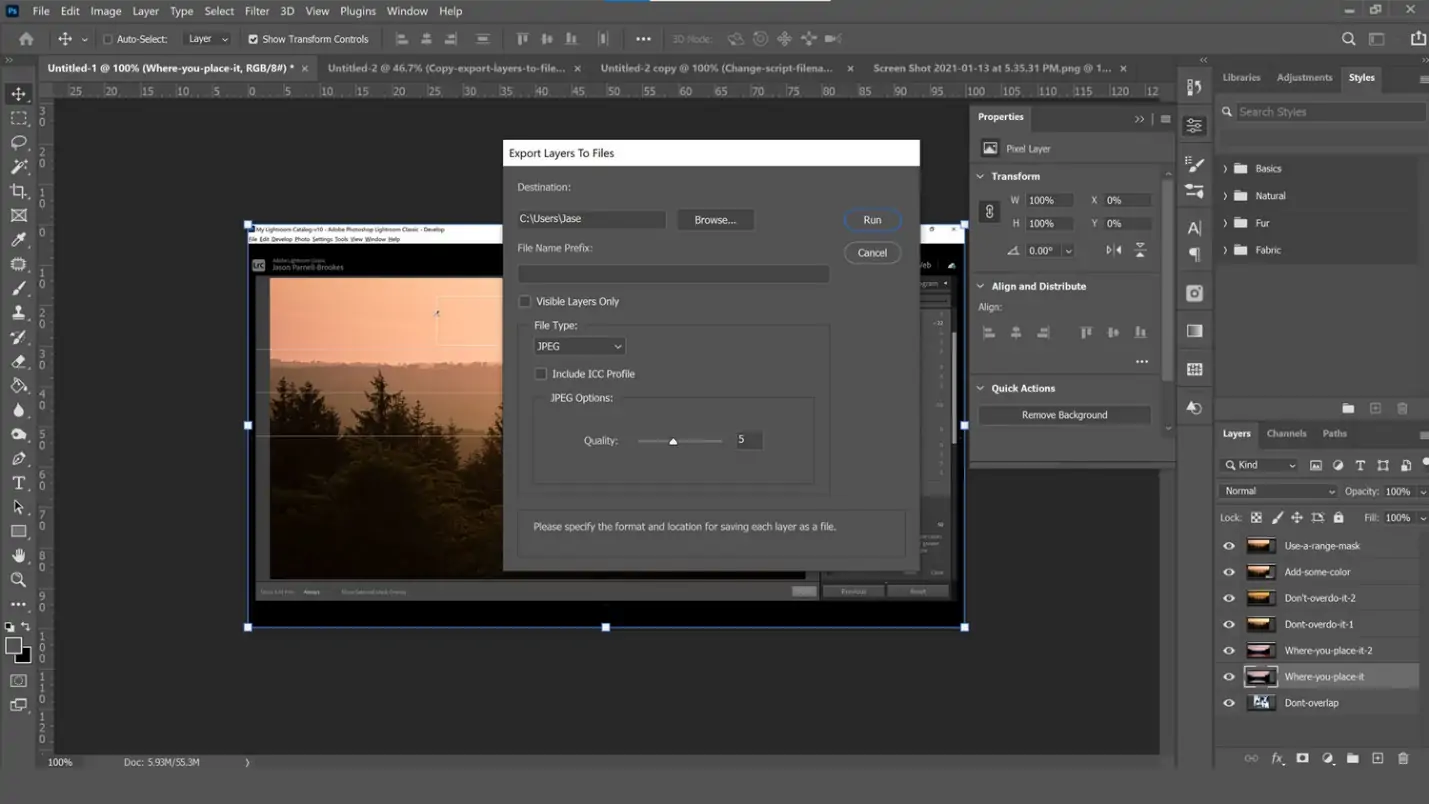
Export each stencil layer exclusively as an isolated record, guaranteeing that the arrangement supports transparency to preserve stencil integrity.
Name each exported file expressively to recognize its corresponding stencil layer inside the composition. Confirm that the exported stencil files precisely speak to the aiming shapes and traces of the initial picture.
Check for any missing components or imprecision within the stencil templates that have been sent out and make fundamental alterations as required.
Arrange the exported stencil records into a committed organizer for simple get-to and administration. Consider making subfolders inside the main stencil folder to assist in categorizing and organizing the stencil templates if it is fundamental.
Guarantee that the exported stencil layouts are saved in an area where they can be effortlessly accessed to encourage processing and application.
Once all stencil layouts have been exported and organized, you’re prepared to proceed to the next step within the stencil art creation process, where you may apply the stencil templates to different surfaces carefully or physically.
Step 7: Applying Stencils To Surfaces
Apply the exported stencil templates to your chosen surface carefully or physically, depending on your favored strategy of application.
Considering digital applications, bring the stencil templates into your digital painting software and adjust them onto your digital canvas.
Utilize painting tools inside the software to fill the stencil openings with colors or designs, following the outlines characterized by the stencil templates.
On the other hand, for physical application, secure the stencil templates onto the specified surface utilizing tape or adhesive.
Make sure that the stencil templates are immovably pressed against the surface to avoid paint drain or smearing.
Utilize spray paint, brushes, or other painting instruments to apply paint evenly over the stencil openings, taking care to cover the whole region without oversaturating.
Let the paint dry totally before removing the stencil templates to uncover the wrapped-up stencil art.
Once the paint is dry, carefully lift the stencil layouts from the surface to unveil the completed stencil art plan. Review the finished stencil art for any imperfections or ranges that will require touch-ups, and make any vital alterations for the specified result.
Conclusion:
To summarize, stencil art has been an energetic and flexible medium that has charmed artists and viewers for centuries. With its origins in age-old conventions and its proceeded evolution in modern settings, stencil art remains an effective strategy for creative expression and social exploration. Following the procedure portrayed in this blog, you can also create catchy stencil art compositions that engage the viewers on both visual and notional levels. After the stencils are made, they function as reusable tools for replicating the content of the original image. You can layer diverse stencils to construct the composition with varied colors and tones of your liking.
