
How To Use AutoHotkey For Creating Custom Data Entry Hotkeys In Windows
With AutoHotKey, a macro program, you can create keyboard shortcuts that initiate any number of mouse clicks or keystrokes on a Windows computer. In addition to manipulating windows and controls, it can mimic keystrokes and mouse movements. Users can boost productivity, automate tiresome operations, and create personalized shortcuts via scripts. Further, AutoHotkey offers a straightforward yet effective scripting language for data entry and task automation. By doing away with repeated tasks, it can save time and effort which could otherwise be spent on more meaningful activities. AutoHotkey provides efficiency and versatility for data entry automation, program start, and keyboard shortcut customization. From straightforward shortcuts to intricate automation workflows, it can automate a variety of operations. The robust scripting features let users personalize and automate their computer experience to conform to their own requirements. The detailed steps to create your custom data entry hotkeys using AutoHotkeys are as follows:
Step 1: Installing The Program
To start utilizing AutoHotkey for making custom data entry hotkeys, first, you preferably have to install the program on your Windows framework. AutoHotkey or AHK could be a lightweight, open-source scripting language outlined to automate redundant tasks, such as text development and keyboard shortcuts.
Begin by going to the official AutoHotkey site at autohotkey.com. On the homepage, you’ll discover the Download button. Tap on to it to approach the latest adaptation of the program. You’ll be given installation choices, generally like Current Version and Older Versions. It is suggested to download the most recent stable release to be sure of compatibility and security.
After the download concludes, open the setup file where you’ll be prompted to select an installation kind. The default choice, Express Installation, is appropriate for most clients because it installs the essential components fast. In any case, if you’re an advanced user, you’ll choose Custom Installation to adjust installation settings.
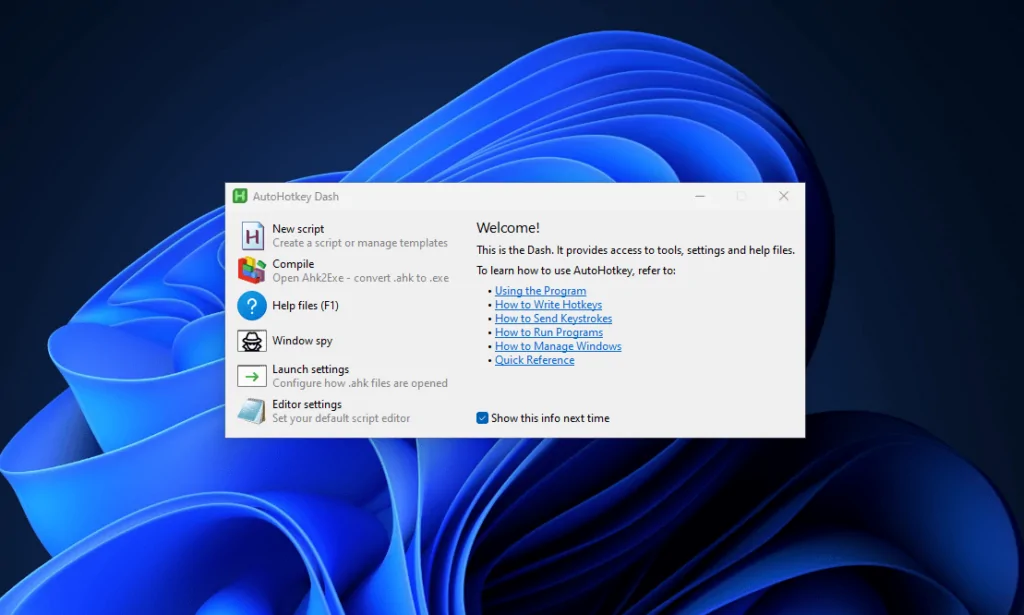
Once the installation is over, AutoHotkey will be accessible on your framework. You’ll verify this by looking for AutoHotkey within the Start menu. After that, you’re ready to form and execute scripts that will define custom hotkeys for effective data input.
Step 2: Creating A New Script
After the AutoHotkey is installed, the second phase involves creating a new script where you can define your custom data entry hotkeys. AutoHotkey scripts are straight text-based files with the .ahk extension that include the guidelines for automating keystrokes, text expansion, or other monotonous chores.
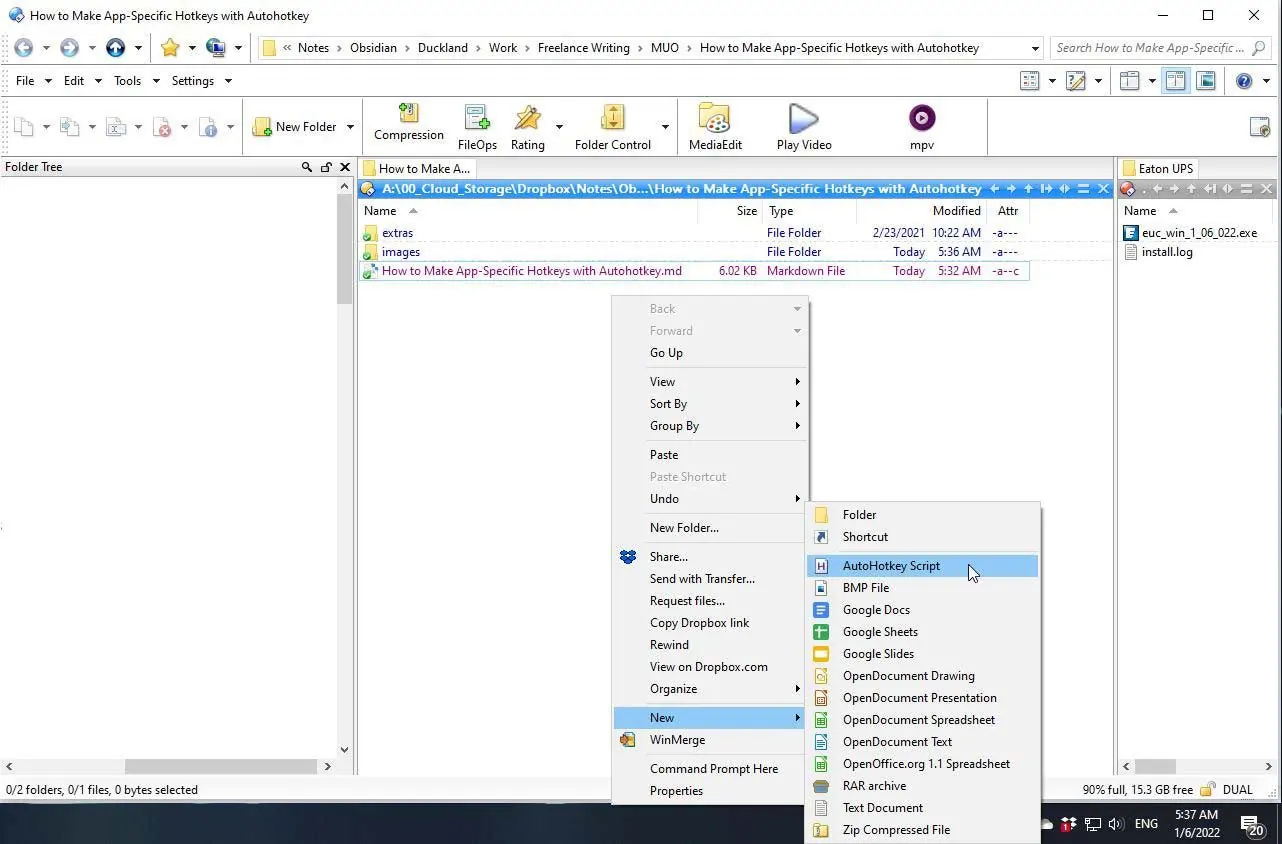
To form a new script, begin by heading to your desktop or any desired folder. Right-click on an empty space and click New and AutoHotkey Script within the context menu. On the off chance that you are unable to catch this alternative, you can make a new text file manually and rename its extension from .txt to .ahk. Select a meaningful title for your script, like DataEntryHotkeys.ahk, so you can effortlessly specify its basis later.
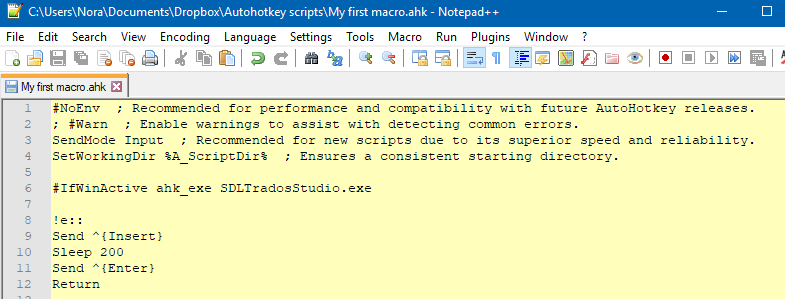
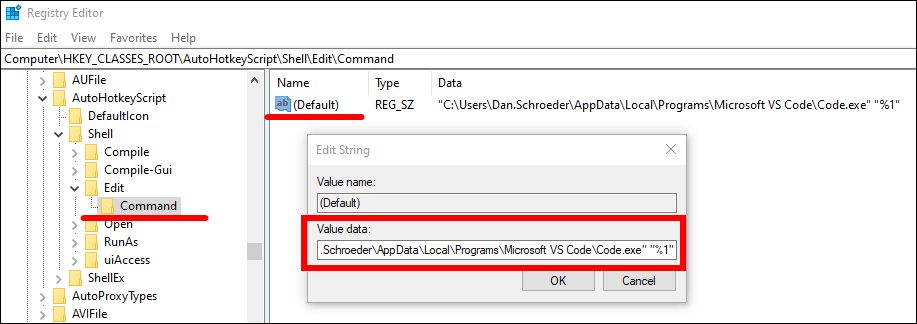
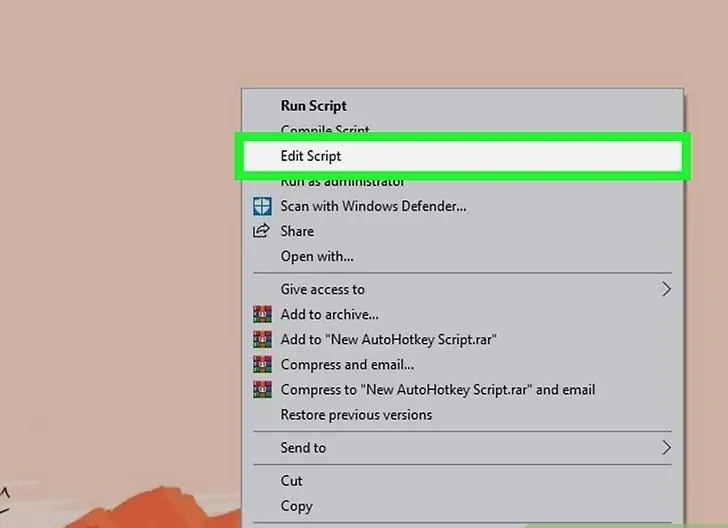
Once you have created the script file, you can readily open and modify it. Right-click on the recently developed .ahk file and select Edit Script. By default, it’ll open in Notepad, but you can utilize any text editor, like Notepad++ or Visual Studio Code, for way better coherence and syntax highlighting.
Currently, your script will be empty, but in the next one, you’ll start including custom hotkey definitions to facilitate your data entry productivity.
Step 3: Editing The Script
Presently you have made a new AutoHotkey script file, the third phase is about altering it by including your custom hotkey commands. That script will define the particular key combinations and automated actions for information entry.
To start, right-click on the .ahk file you made and choose Edit Script. The file will open in Notepad by default, while you can utilize an advanced text editor such as Notepad++ or Visual Studio Code for more useful readability and organization.
On the top of the script, you may notice some default text included by AutoHotkey. Under that, you just can begin representing your hotkeys. AutoHotkey follows a basic syntax:
To swap a shortcut with a text phrase, utilize the text expansion syntax just like the following way:
::addr::1234 Main Street, New York, NY
Writing addr after a space will automatically substitute it along with your complete address.
To allow a keyboard shortcut to send text, utilize the Send command. Here is an example;
^h::Send, Hello, welcome to our system!
By tapping Ctrl + H you can instantly input the phrase.
After you have included your desired hotkeys, save the script, and you are prepared for the fourth phase to run and test it.
Step 4: Defining The Hotkeys
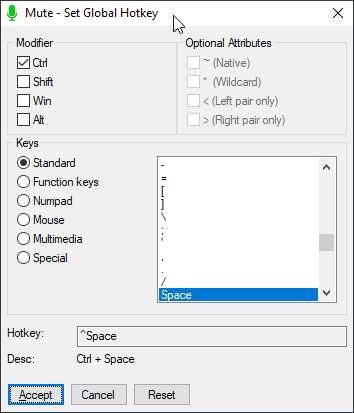
After opening and editing your AutoHotkey script, you have to define the hotkeys that will automate information entry. AutoHotkey permits you to allot particular key combinations to execute predefined activities, like inserting often utilized text, filling out shapes, or running commands. These hotkeys can altogether decrease typing exertion and accelerate tedious tasks.
For defining a hotkey, you will have to utilize the right language structure in your script. For instance, in case you need to make a shortcut that replaces a small keyword with a full phrase, you’ll utilize the text expansion strategy
and type::email::myemail@example.com guarantees that at whatever point you type “email” after a space, AutoHotkey will automatically replace it with your full mail address.
An additional approach is to set a keyboard shortcut to send text. Using ^n: : Send, Name: John Doe{Enter}Address: 1234 Elm Street makes tapping Ctrl + N immediately insert the name and address in any text field. You’ll also include more complex commands, like inserting timestamps or automating form navigation. Once you have defined the specified hotkeys, save your script to continue to the following step of running and testing it.
Step 5: Saving And Executing The Script
Once you have defined your hotkeys within the AutoHotkey script, the 5th step is saving and executing the script to activate your custom shortcuts. After you have wrapped up editing, tap File > Save or use Ctrl + S in your text editor to guarantee that all changes are stored. The script file stays a standard text file, while AutoHotkey deciphers it and runs the allowed commands.
To execute the script, find your .ahk file and double-tap on it. That activity will launch the AutoHotkey process within the background, empowering the hotkeys you have defined. You may notice an AutoHotkey symbol showing up within the system tray, demonstrating that the script is dynamic. In case you ever have to stop or restart the script, right-tap the AutoHotkey symbol and choose Exit or Reload Script to execute changes immediately.
At this stage, your custom information section hotkeys are presently utilitarian. You’ll be able to test them in any application where content can be entered, such as Scratch pad, Word, or a web browser. In case any hotkey does not perform as anticipated, audit your script for errors, adjust them, and reload the script to apply the updates. The ultimate step is to polish and perfect the script for smooth execution.
Step 6: Testing Your Custom Data Entry Hotkeys
Along with your AutoHotkey script operating, the ultimate step involves testing your custom data entry hotkeys and refining them as required. Open any text field, like Notepad, a web form, or a document editor, and look into utilizing the shortcuts you defined. For instance, if you set : : e-mail: :myemail@example.com, type “email” after adding a space and affirm that it expands accurately. Likewise, if you assigned ^n: :Send, Name: John Doe, use Ctrl + N and inspect if the content shows up as envisioned.
On the off chance that any hotkeys don’t work accurately, there could be a syntax mistake in the script. Right-tap on the AutoHotkey symbol within the system tray, select Edit Script and audit your code for errors. Typical cases incorporate missing colons in text expansion shortcuts or inaccurate key symbols in hotkey assignments. Once you have made the necessary corrections save the script and choose Reload Script from the framework tray menu to apply the changes without restarting your PC.
After all things go smoothly, look into optimizing your script by including more shortcuts, progressing proficiency with variables, or setting it to execute automatically at startup. It will guarantee that your custom hotkeys are always available, simplifying data entry tasks for ultimate productivity.
Conclusion
To sum up, AutoHotkey goes beyond the fundamental concept of keyboard shortcuts by enabling you to design unique shortcuts for practically any computer operation you perform. Since it enables users to automate tedious processes, create shortcuts, and optimize workflows, AutoHotkey becomes a useful tool for increasing productivity. It advances worker efficiency and saves time by automating repetitive duties and minimizing manual input. Eventually, AutoHotkey’s powerful presence enables users to modify their computer experience, creating a more individualized and productive setting.
