How To Create Plaid Patterns
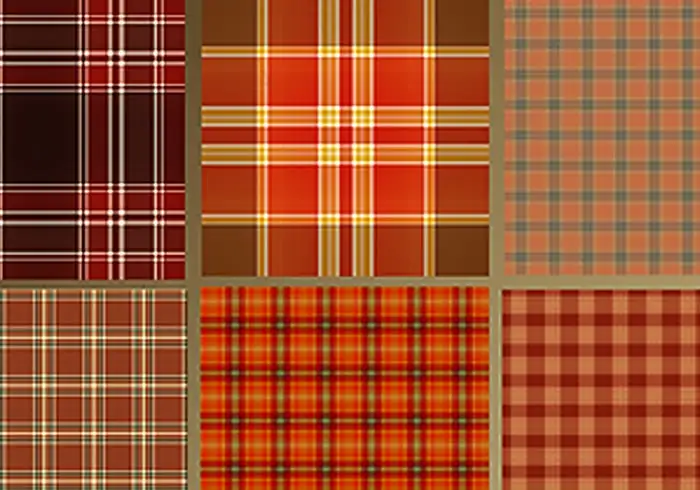
Plaid design is most commonly used across the globe, which includes crisscross patterns varying in colour and can be both horizontal and vertical. Plaid patterns, because of their symmetry and versatility, are employed by designers in different fields, including textiles, interior, product design, branding and even graphic art and digital imagery. When it comes to digital art, plaid patterns are utilized for various purposes to ingrain images with sophisticated and symmetrical textures containing angular layouts. Plaid artists employ lines of various colours and widths to produce a multifaceted, intricate design. These lines are repeated in the same order throughout the design. The notable approaches operated via the use of advanced digital tools include the application of grids and guides, drawing tools, layering strategies, colour adjustments, opacity settings, texture overlays, masking techniques and many more. In this blog, we will go through the step-by-step process to help you organize your workflow while creating plaid patterns and getting pristine final compositions with the most harmony and excellence.
Step 1: Canvas Settings
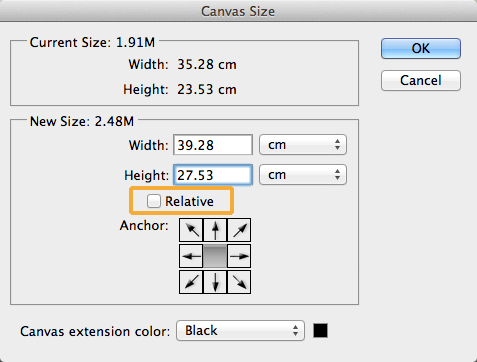
Commence your plaid art project by selecting the suitable canvas dimensions for a definite starting point. You can choose a square canvas of 1000×1000 pixels, which is perfect to guarantee consistent tiling afterwards.
Decide the resolution based on your project requirements. For instance, in the case of digital use, 72 DPI is considered a standard. Likewise, 300 DPI is way better for print purposes.
Make a new document with the chosen canvas dimensions and resolution.
Begin with a basic background layer, like white or transparent, to readily see and alter the lines you will include onto it.
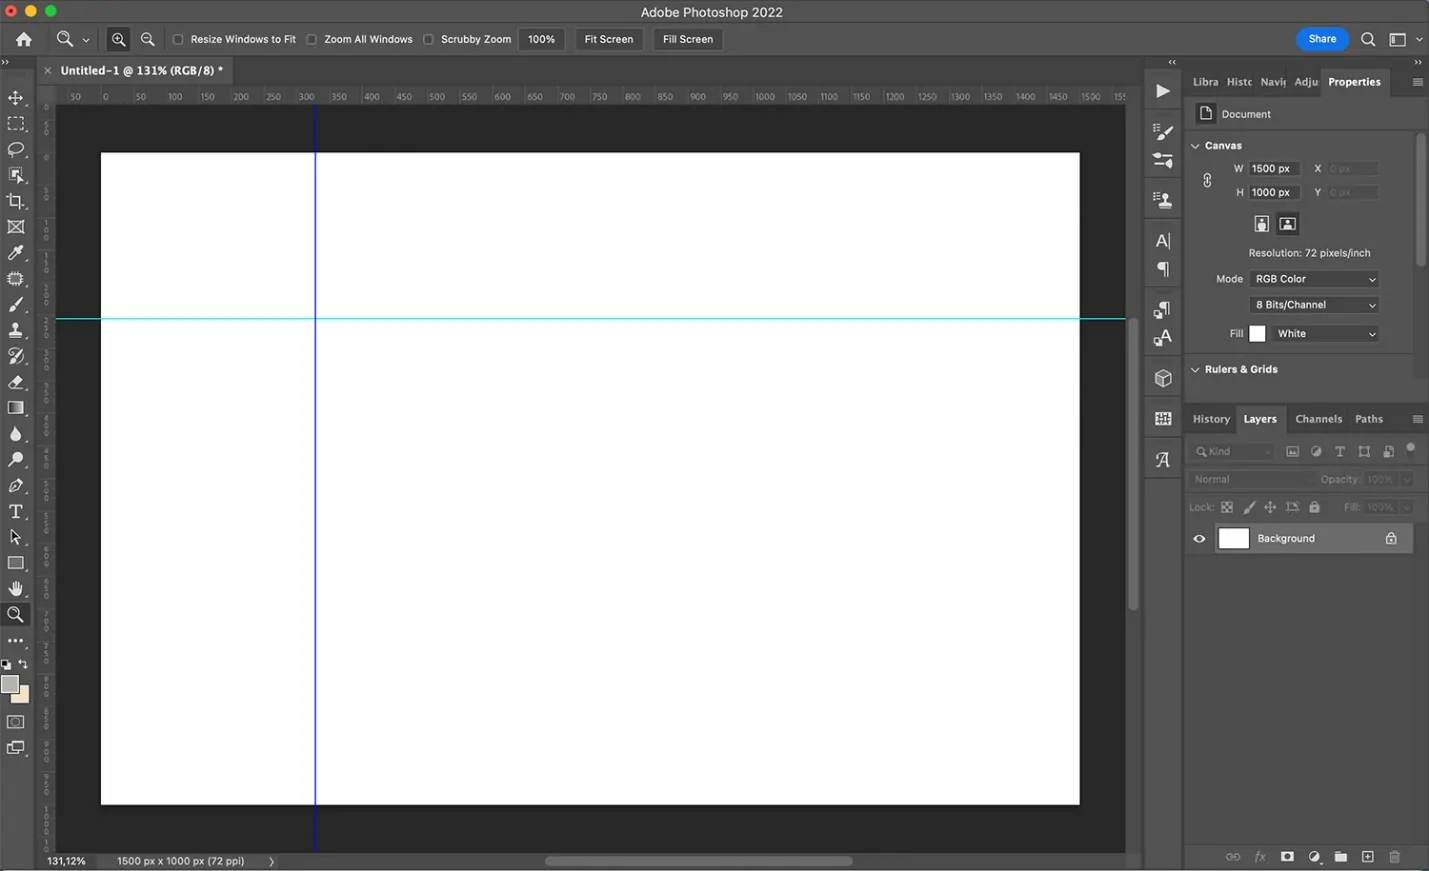
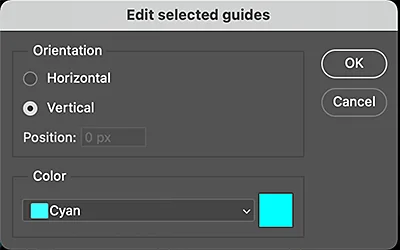
Activate guides or a grid in your program to help you adjust the lines precisely. That can guarantee that your plaid design is even and exact.
Create different layers for distinctive components of the plaid design, making it easier to alter individual details as you move on.
Step 2: Base Creation
Select the line or shape tool from your software’s toolbar; that tool will be utilized to draw the horizontal and vertical lines that shape the establishment of your plaid pattern.
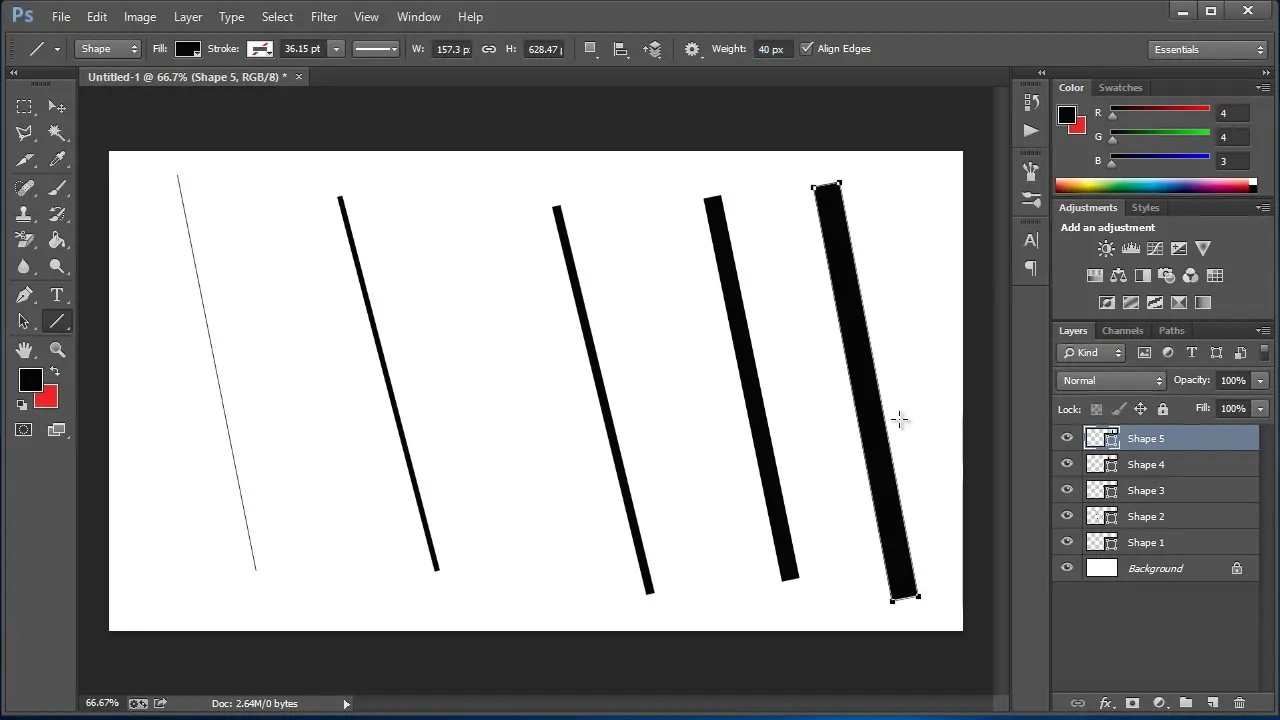
Choose the thickness of the lines. Plaid designs regularly highlight a blend of thick and thin lines, so select a beginning thickness that conforms to your design concept, such as 10 pixels for thicker lines and 5 pixels for thinner ones.
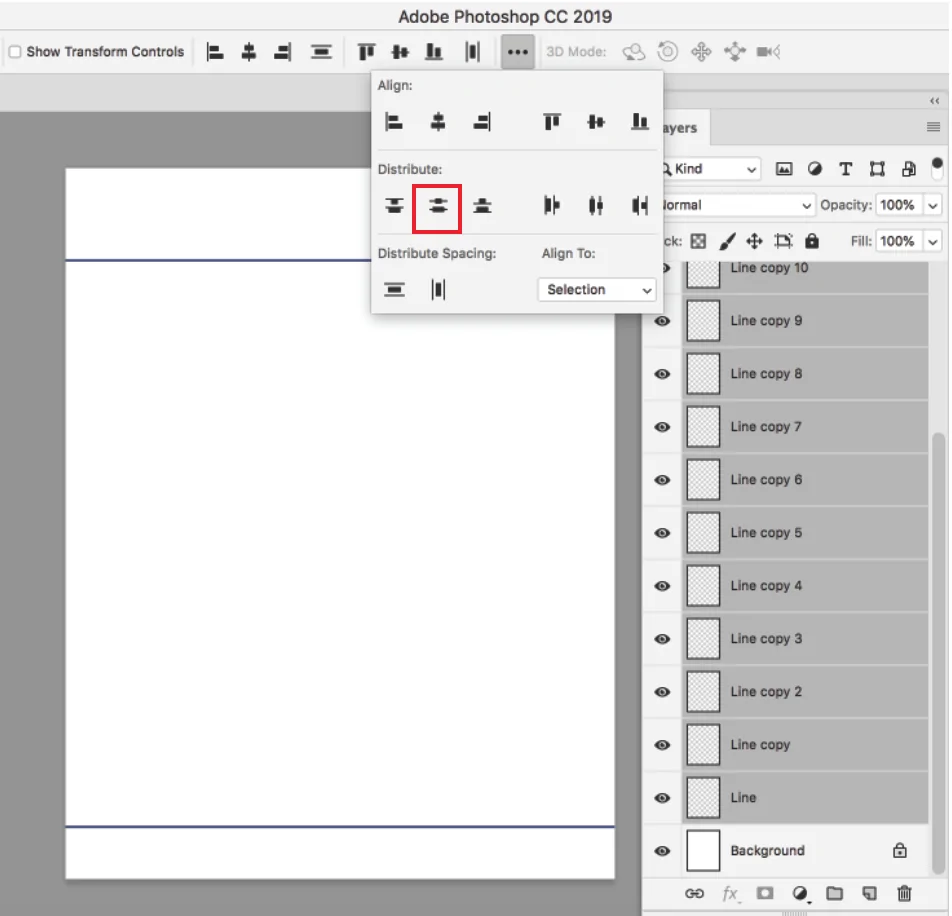
Begin by drawing the horizontal lines over the whole width of the canvas. Position the lines at regular intervals to make a reliable pattern. For example, put them 100 pixels separated.
After that, draw the vertical lines in the same way, crossing the horizontal lines at right angles. Keep up the same dividing and thickness as with the horizontal lines for symmetry.
Put the horizontal and vertical lines on isolated layers, which will allow for simpler adjustments afterwards, like changing colours or opacity, without influencing the whole layout.
Confirm that your lines conform to the grid or guides you established in the first step, which helps in keeping up an arrangement and consistency all through the design.
Step 3: Lines Thickness Settings
Begin by determining the layers where your horizontal and vertical lines are found. It will assist you in easily choosing and adjusting the lines you need to alter.
Choose which lines are gonna be thicker or more slender. In conventional plaid designs, changing the thickness of the lines is typical to include visual profundity and appeal.
Utilize the line or shape selection device in your software to tap on the lines you need to adjust and separate particular lines for alterations.
Alter the thickness of chosen lines by varying the stroke weight or pixel value from your software’s toolbar. You can grow the thickness of key lines to 20 pixels and decrease others to 3 pixels for contrast.
Be sure that the variations in thickness are balanced over the design. Do not make any single line too overwhelming unless you are aiming for a particular impact.
After altering the thickness, also zoom out to see the complete arrangement. This way you can assess how the changing line weights link and the overall pattern’s proportion.
Accomplish any concluding alterations to the thickness so that the design looks balanced and visually engaging.
Step 4: Color Settings
Begin by selecting a colour palette that serves your design’s pursuit. Conventional plaid designs often utilize a mixture of matching and polar colours. Look into employing a tool like Adobe Color to make a harmonious colour plot.
Choose the horizontal lines layer, then utilize the fill or colour adjustment feature to apply your first colour to the lines. Think of alternating colours for distinctive lines to include profundity and divergence.
Swap to the vertical lines layer and apply a distinctive colour from your palette to those lines. The intersection of various colours will naturally make new tones, adding to the general elaborateness of the pattern.
Adjust the opacity of certain lines to form a layered, woven effect. For instance, fixed the opacity of a few lines to 70% so they harmonize subtly with crossing lines, imitating the appearance of covering threads in the fabric.
Be sure that there’s sufficient contrast between the colours so that the plaid design looks highlighted clearly. If required, alter the brightness or saturation of particular colours to upgrade visibility and disparity between lines.
For attaining modern addition on plaid, consider applying gradient fills to a few lines, which can include an energetic, shifting color effect.
Step 5: Opacity Adjustments
Decide which layers or particular lines inside your plaid design will benefit from transparency alterations. Commonly, transparency is used to make a layered impact where lines cross, mirroring the appearance of interlaced strings.
Select the particular lines or ranges where you want to add transparency. that could be done by assigning the lines specifically on their corresponding layers with the help of the selection tool.
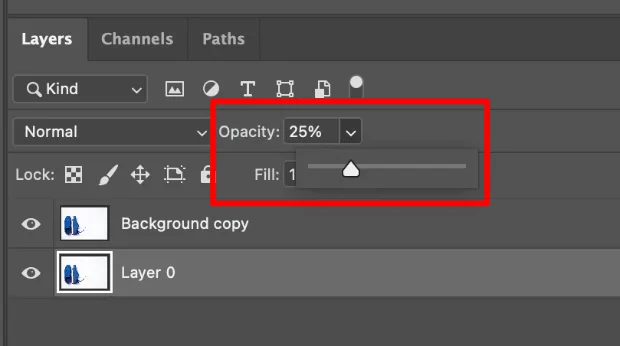
Find the opacity or transparency settings in your software’s layer panel. Slowly decrease the opacity of the chosen lines or ranges, generally between 50% and 80%, to let the fundamental colours and designs appear.
To attain a realistic impact, apply more downward opacity to lines where they cross with other lines.
After altering the opacity, zoom out to observe how the transparency impacts the general design. Make sure the overlapping ranges look natural and also the plaid pattern still keeps up its structure and clarity.
If you find certain ranges appearing too transparent or not sufficiently transparent, tune the opacity settings on those particular lines.
After getting satisfied with the transparency impacts, lock the layers you’ve adapted.
Step 6: Pattern Reproduction
Highlight the complete plaid pattern you’ve made, guaranteeing all lines and colour alterations are covered. Utilize the selection tool to surround the design zone you need to tile.
Copy the chosen range using the copy function. As a result, you will position the pattern onto your clipboard, prepared for duplication.
Make a new document with the same measurements as your initial canvas or bigger in case you need to test how the design rehashes on a bigger scale.
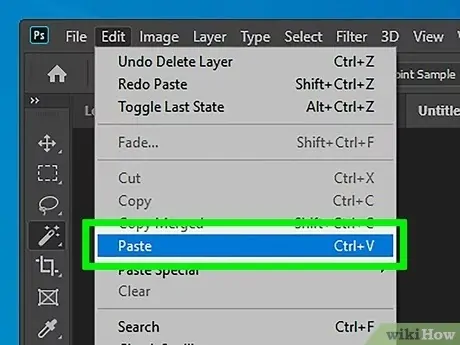
Paste the replicated pattern onto the new canvas using Ctrl+V. Adjust the pattern to the edges of the canvas, guaranteeing it begins at the top-left corner.
Utilize the duplicate or copy-paste function to make numerous duplicates of the design. Place these duplicates adjoining to each other both horizontally and vertically to scan how the pattern tiles over the canvas.
Assess the edges where the copies meet to check that there are no obvious creases or misalignments. Revise the situating if essential to create beyond any doubt the pattern repeats consistently without any discernible breaks.
Step 7: Final Moves
Select the fitting export settings according to your plan to utilize the pattern. Standard formats incorporate PNG for raster pictures with transparency, JPEG for standard pictures, and SVG for vector plans.
In the event that you wish the design for digital utilize, export it as a PNG to protect transparency and keep up high quality. If you aim to print or scale, consider exporting as SVG for vector formats that can be resized without losing quality.
Provide your file with a graphic title associated with the plaid pattern, and select a location on your PC where you’ll easily discover the file afterwards.
Adjust the trade alternatives as required. For PNG, guarantee you select the right determination (e.g., 72 DPI for web or 300 DPI for print). For SVG, check settings to guarantee appropriate scaling and compatibility with other design app.
Once exporting is done, open the file to audit its quality and ensure it matches your desires. Look into any issues with transparency, arrangement, or resolution.
Finally, preserve the original project file with all layers and settings intact to ease up future alterations.
Conclusion:
Plaids, since their arrival tracing back several centuries ago, have a rich history as a clan’s identity. They continue to endure in the design world of modern times, including their traditional use in clothing expanding to graphic art. Plaid will persist to be a cherished and dynamic feature in designs for years to come due to its versatility in embodying diverse cultural narratives and adapting to changing design movements. Creating plaid patterns facilitates you to convey tradition and sophistication while experimenting with modern techniques and variation in lines, scale, and colours, making it favourable for modern artists.


