How To Create Dali Art Effects
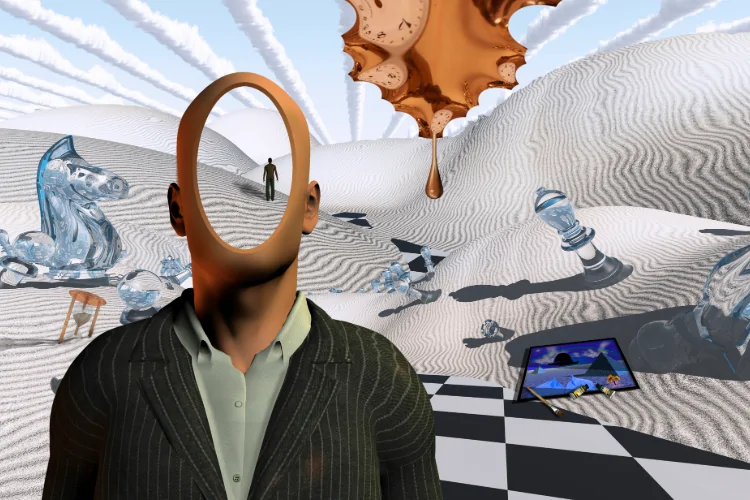
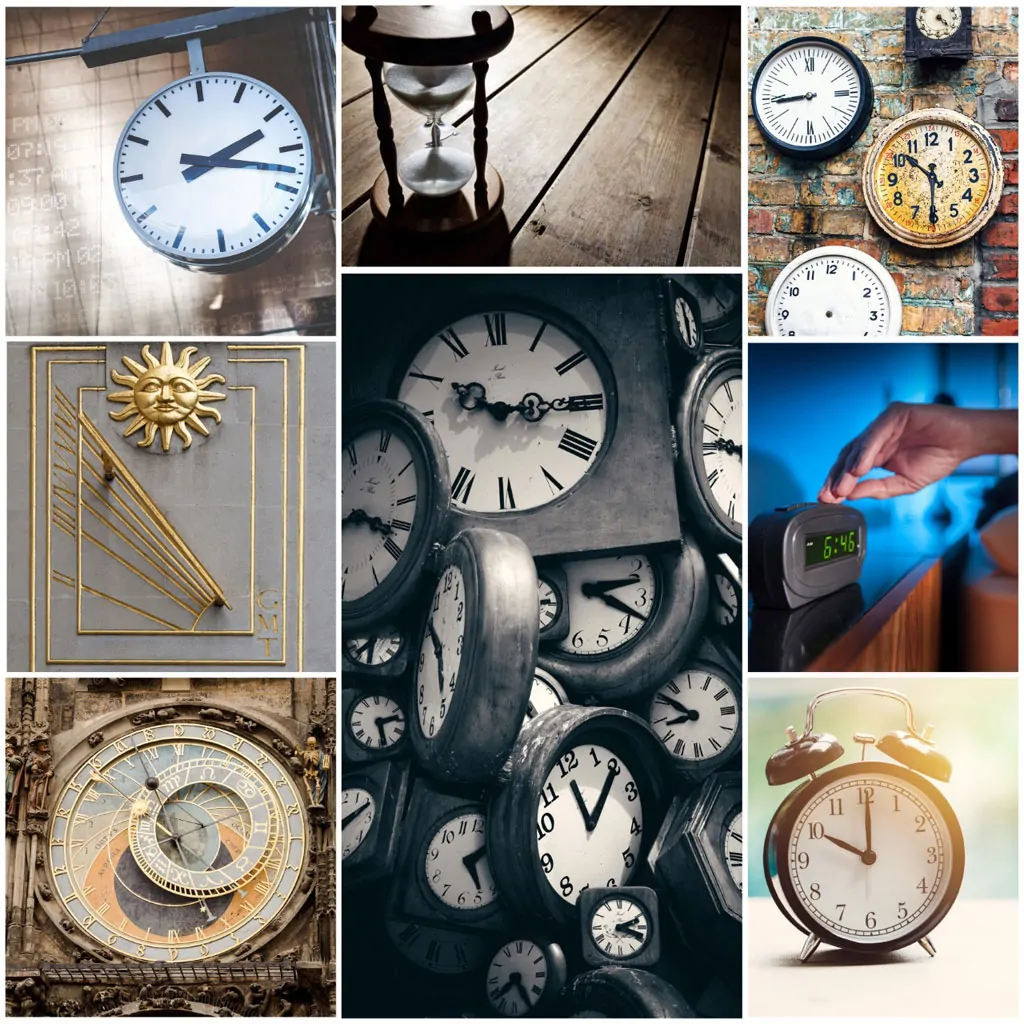
Salvador Dalí is widely regarded as a prominent 20th-century artist. Millions of people throughout the world have been enthralled by his paintings, which are often characterized by a fusion of realism and surrealism. Investigating the subconscious mind was one of Dali’s primary subjects in his Surrealist paintings. He thought he might uncover secrets about the human psyche by probing his own ideas and dreams. The idea of time was another prominent element in Dali’s artwork. Many of his paintings include melting clocks or other warped timepieces since he was captivated by the ways in which time might be altered and twisted. The dreamy and opposite-to-reality themes of Dali artworks are still valued by up-to-date artists who apply similar components in their paintings. Dali art effects are likewise being used by digital artists and image editors to enhance photos, designs, and compositions. The following blog will present the step-by-step process of enhancing digital artworks and images using Dali art effects.
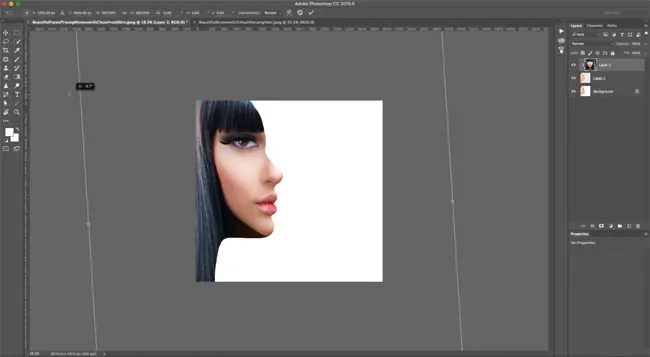
Step 1: Selecting A Suitable Base Image
The first step is about selecting a suitable base image on which you will apply interesting Dali art components and edits.
Opt for a sharp photograph to make your edits look smooth. Do not go for hazy or pixelated pictures, since they can make distortions look untidy.
Utilize a picture having objects that can be modified effectively, like faces, clocks, scenes, or daily life objects. All these objects will help in making strange effects later.
A simple foundation performs best in case you plan to include floating objects or twists. Occupied backdrops can make surreal components less discernible.
In case the photograph has depth, it will be more suitable to easily make Dalí-style illusions, including dissolving objects or bizarre reflections.
Before editing, look into what you need to adjust. Will you make objects stretch, melt, or float? Having a wild view can aid you in applying effects more viably.
This step puts the establishment for turning a normal photograph into a surreal wonder.
Step 2: Adding Surreal Distortions
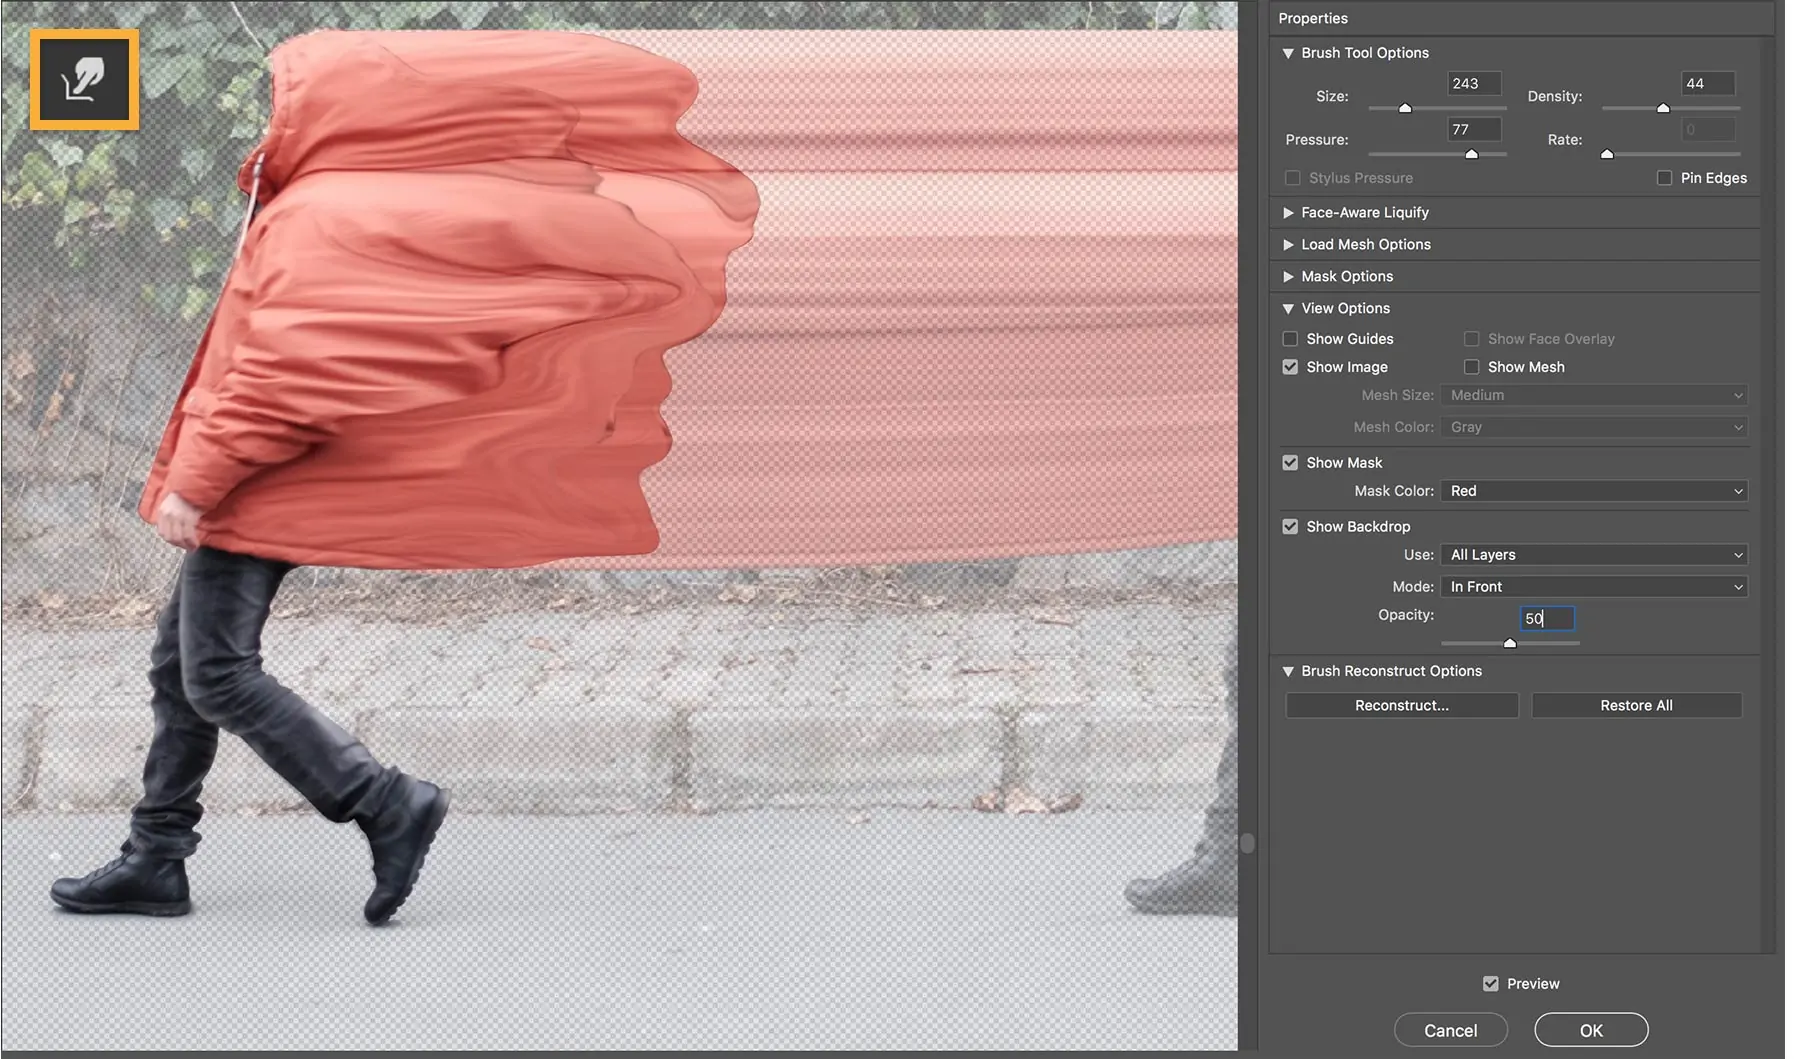
If using Photoshop or any advanced software, utilize the Liquify or Warp feature to stretch and twist objects. It is the best technique to make Dalí-style melting impacts on clocks, faces, and landscapes.
Adjust proportions by making certain elements longer or smaller than usual. For instance, stretch an elephant’s legs to make them look outlandishly thin, as seen in Dalí’s works of art.
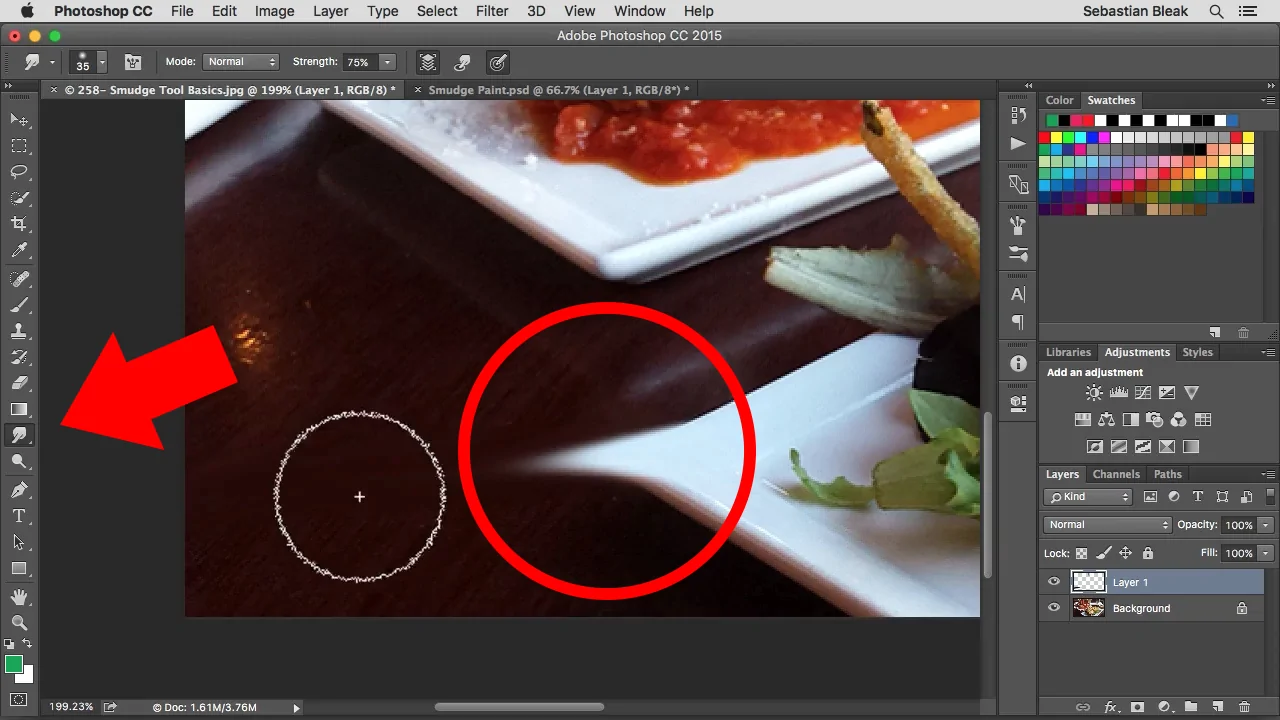
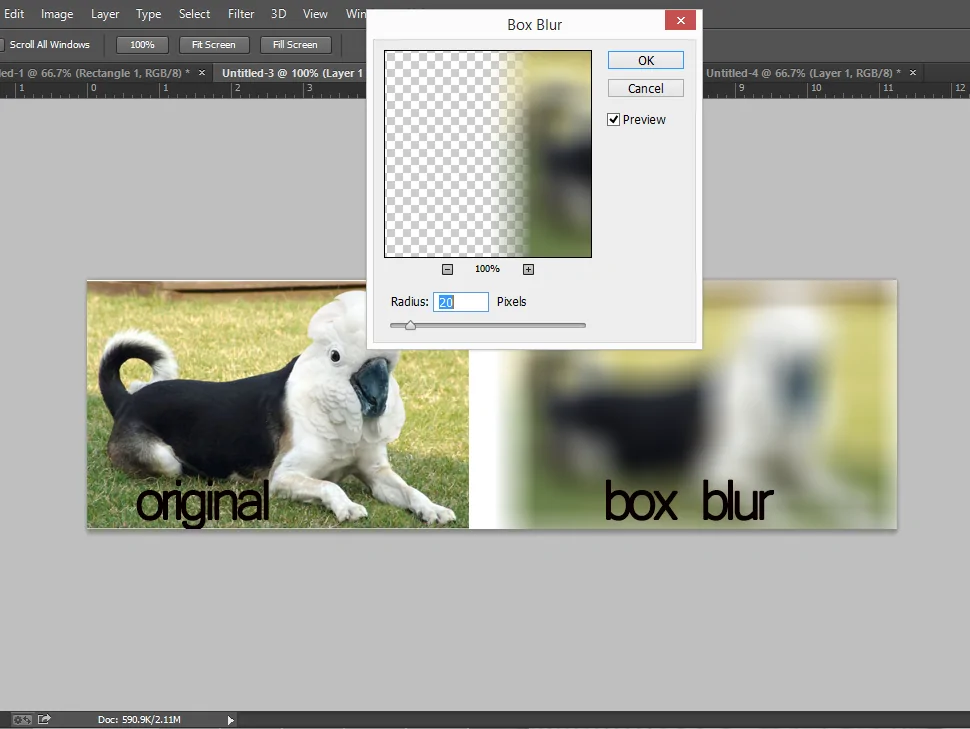
To make distortions seem natural, incorporate edges employing a smudge or blur tool. It will help make a dreamlike, fluid effect instead of harsh, artificial modifications.
Make objects show up as they are melting or dripping by precisely pulling down edges using a delicate brush or liquifying tool. Add this to solid items like furniture, clocks, or human features.
Try tilting, skewing, or rotating elements of the photograph to surpass typical spatial rules, creating an illusion of floating or bending realism.
Step 3: Applying Optic Illusions
Include unexpected components that disregard gravity, such as suspending chairs, fish swimming in the sky, or individuals strolling on walls. Utilize layer masks to conform them consistently to the scene.
Experiment with optical illusions by uniting two irrelevant objects. For instance, you can turn tree branches into human veins or clouds into creature figures. It will imitate Dalí’s use of hidden symbolism.
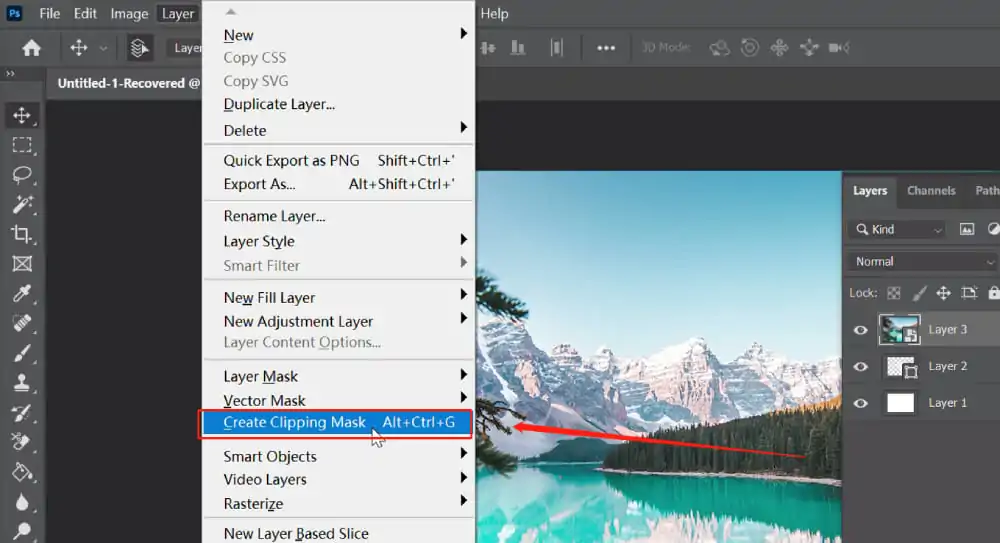
Switch typical textures with surreal ones, like swapping skin with split soil or turning water into a fabric-like texture. Utilize clipping masks or blending modes for a realistic merge.
Make tiny objects massive and large objects small. A monster eye within the sky or a tiny individual standing on a hand makes a fantasy effect. Utilize transform tools to resize components.
Blend irrelevant things, such as a clock melting over a tree or a staircase driving into the sky. It will improve the surreal climate.
That step can upgrade your image into an inventive, surreal world.
Step 4: Applying Surreal Surfaces
To change the current backdrop with a strange setting, such as a vast desert, cloudy skies, or a deep underwater setting. Utilize layer masks to blend them naturally.
Utilize smudge, liquify, or blur tools to make the dream of objects dripping, flowing, or dissolving. It will work pleasingly on clocks, furniture, or human faces.
Put startling surfaces, such as cracked earth on skin, metal turning into texture, or eyes filled with water. Utilize blending modes to combine them consistently.
Adjust reflections in water or glass to show something diverse from reality. Stretch or bend shadows to make them seem unnatural and spooky.
Include glow impacts, fog, or delicate highlights to improve the strange impression. A slight motion blur can also make components seem like they exist in a peculiar reality.
Step 5: Adjusting Colors And Lighting
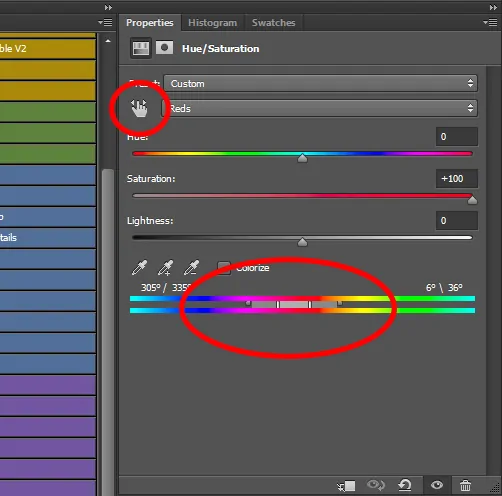
Move colours to surreal tones, such as deep blues, dynamic oranges, or spooky purples. Utilize Hue/Saturation adjustments to make ordinary objects look unnatural.
Improve light and shadow to get a dramatic effect. Dalí frequently utilized sharp, overstated shadows, so utilize Dodge and Burn tools or contrast adjustments to make this.
Blend warm and cool tones in unexpected ways. A blue sun or a ruddy sky adds to the illusionary quality.
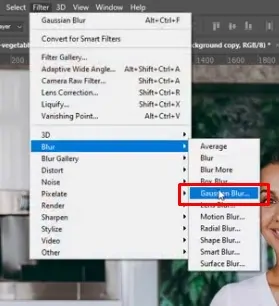
Include a soft shine around objects utilizing Gaussian Blur or light brushes. It will help make an enchanted or floating impact.
Play with inverted colours or Gradient Maps to convert the temperament. Creating bright shadows and dark highlights can shatter the typical decrees of reality.
At the end of the step your image will feel more dreamlike by modifying natural color and light connections.
Step 6: Blending And Layering Components
Decrease the opacity of certain components to make ghostly or semi-transparent objects, making them show up as existing between reality and dreams.
Utilize surfaces like cracked surfaces, bubbling water, or cloudy fog to develop depth. Utilize blending modes like Soft Light, Overlay, and Multiply to consolidate them consistently.
Coalesce two pictures, making scenes like a face blending into a landscape or a giraffe morphing into the sky. Utilize layer masks and gradient fades to coordinate them smoothly.
Include subtle motion blurs, ripples, or displacements to objects, making them seem like they are shifting, melting, or dissolving.
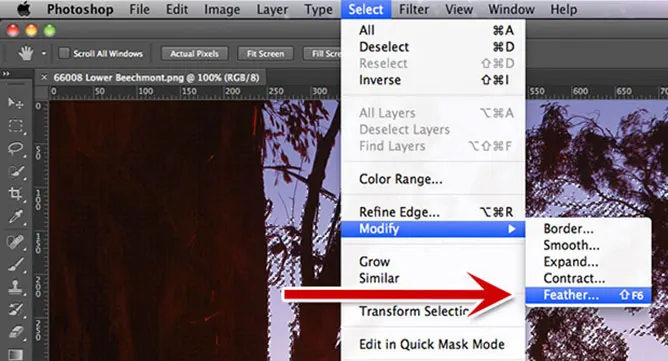
Bypass hard edges by utilizing feathering, delicate brushes, or eraser tools to mix diverse parts naturally. It will help to make the surreal elements seem like a portion of the initial scene.
That step will guarantee that all distortions and dreamlike components blend efficiently into one cohesive, dreamlike composition.
Step 7: Polishing The Artwork
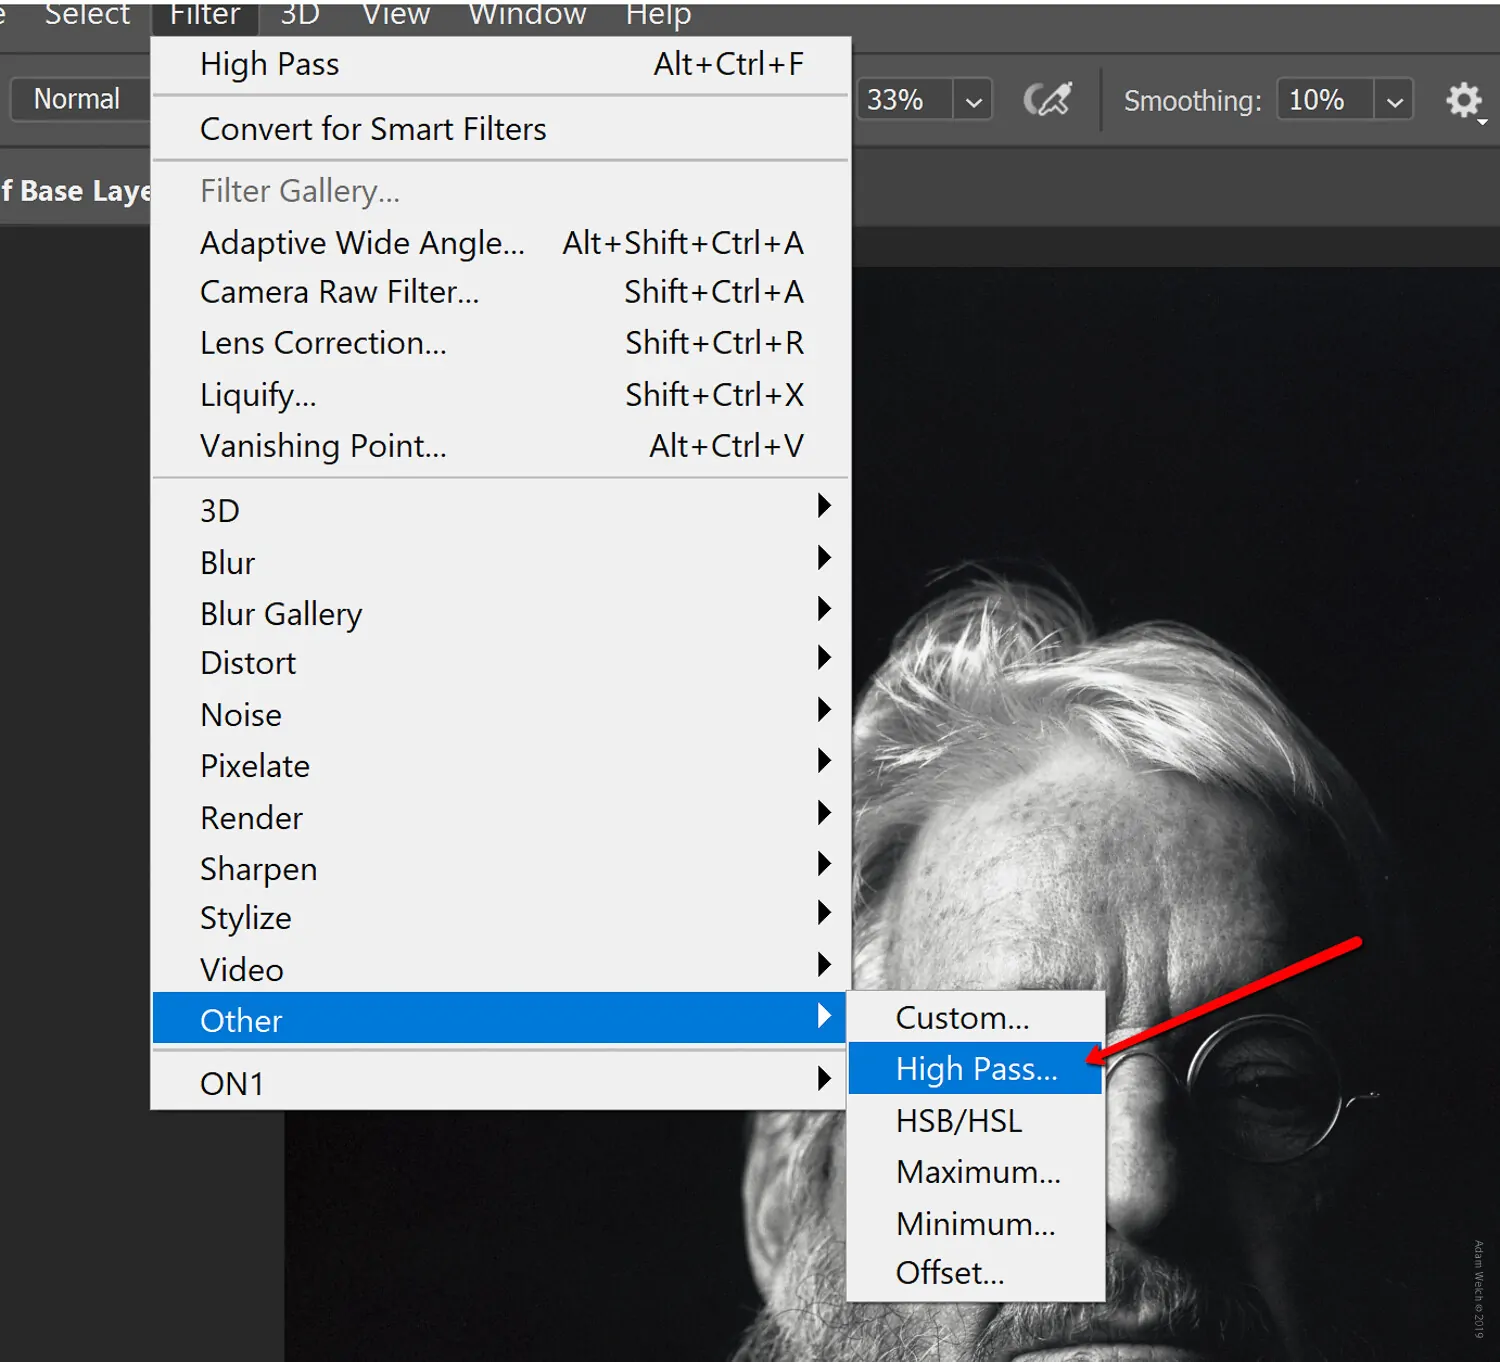
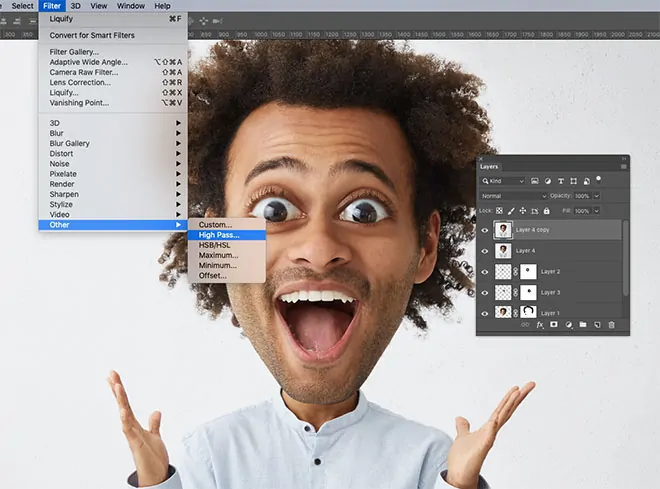
Utilize the Sharpen tool or High-Pass filter on vital ranges such as eyes, clocks, or distorted objects to upgrade focus and contrast, making them highlighted.
Present subtle elements such as tiny floating objects, concealed faces on surfaces, or distorted reflections to reward close observation.
Utilize Selective Color or Color Grading to polish the dreamlike climate. Subtle hues of blue, purple, or sepia can improve the dreamlike impression.
Make sure that all distortions, lighting, and surfaces seem naturally blended. Utilize layer masks, delicate brushes, and blur tools to smooth out unpleasant transitions.
Include a delicate vignette around the edges or a gentle glow utilizing Gaussian Blur & Overlay mode to form a cinematic, dreamlike finishing touch.
The final step harmonizes everything together, making the surreal effects seem tended and hypnotic.
After you are satisfied with the surreal alter, you will save the ultimate work in high resolution as per your usage.
Conclusion
To sum up, the surrealist beauty, enchantment, and oddity of Dali art, encourage you to present many daring concepts into your images and artwork. Bypassing the conscious mind and speaking straight to the subconscious, this artistic approach provides an immediate experience. Surreal imagery stimulates your audience and compels them to consider the image, which can sometimes help you convey your point more effectively than you can. By evading the traditional norms of realism and perfection, your photos will become more compelling with richer storylines.
