How To Create Constructivist Art
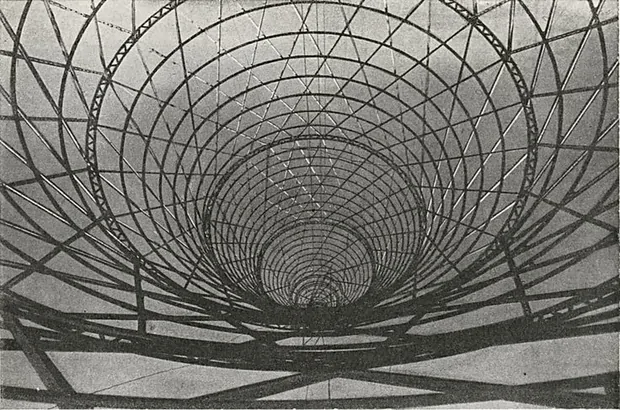
Constructivism is an experimental and dynamic style of modern art that has influenced how we think about creativity for decades. To provide a cohesive visual impression that uses abstract shapes and forms to communicate intellectual concepts, this distinctive style blends aspects of painting, sculpture, architecture, and design. In order to produce dynamic visual energy, the initial constructivist works frequently used geometric forms and industrial materials like glass, metal, and wood, frequently grouped in straightforward yet effective compositions. Constructivism transformed the notion of innovation and abstraction in art by fusing aspects of architecture, design, sculpture, and painting into a single cohesive piece. To produce striking images that evoke strong emotional reactions in viewers, constructivist artists employed a wide range of artistic techniques, including collage, superimposition, fragmentation, repetition, and scale manipulation. Certain visual components can be found in all of these strategies. Modern artists and image creators are also creating artworks and images that display constructivism-inspired themes by taking into account those recurring elements, which include geometric shapes and forms, the use of industrial materials, the creation of a unified visual image, bright colours, and strong lines.
Step 1: Choosing And Uploading The Photograph
Start by choosing and uploading the photograph you need to alter. Be sure that the image has a great quality since Constructivist effects depend intensely on clear, solid contrasts and sharp, subtle elements.
Open your photograph into a adept photo editing program like Photoshop, GIMP, or mobile apps like Snapseed. It can grant you full power over the desaturation and tone settings.
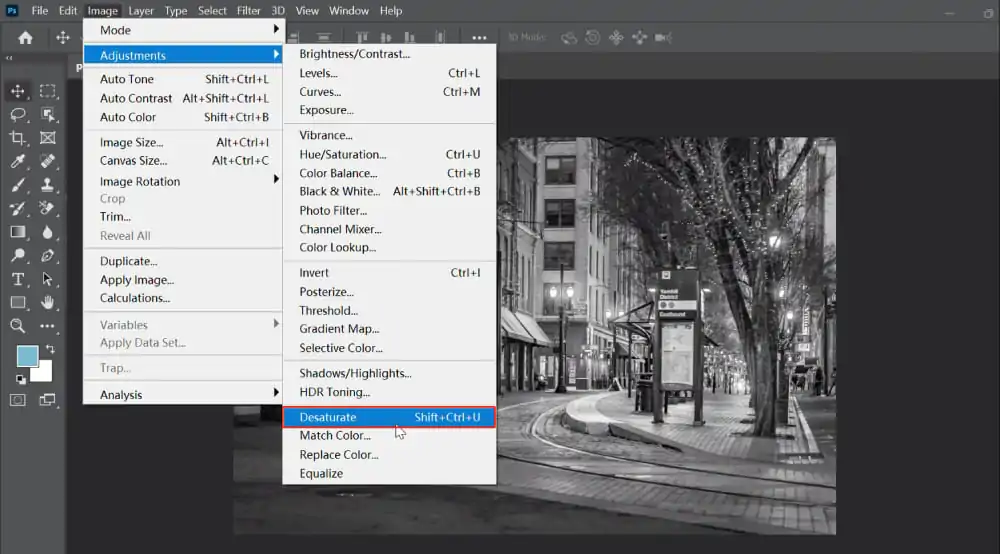
Expel all colours from the picture by turning it into a grayscale. If using Photoshop, you can do it by getting to Image and then clicking on Adjustments and Desaturate. It will strip away diversions, bringing focus to structure and form.
Once you are done with desaturating, manually change the brightness and contrast levels. Constructivism prospers on challenging visual effects, and a flat, grey picture is not going to work. Extend contrast to extend blacks and brighten whites without losing excessive detail.
Utilize dodge and burn tools to upgrade critical zones, including faces, machinery, or architecture. This specific lighting resonates with the deliberate and capable style of Constructivist art.
Before you proceed to the next step, keep a duplicate of your black-and-white picture separately. It lets you easily return without beginning over.
Step 2: Overlaying Geometric Forms

Set up a new layer over your black-and-white image. It will keep the initial picture secure while permitting you to include components without harming the base.
Select strong, simple shapes such as rectangles, circles, triangles, and lines. Adhere to clean, strong plans and don’t go for anything that is too complex or intricate.
Utilize a limited colour palette. For instance, you can prefer red, black, and white as core colours. Sometimes, quiet tones, including grey or beige, are worthy, but the focus must be on a high contrast.
Set the shapes over or around your subject to lead the viewer’s eye. Do not centre everything, as constructivist art flourishes on diagonal development and off-balance formats for vitality and motion.
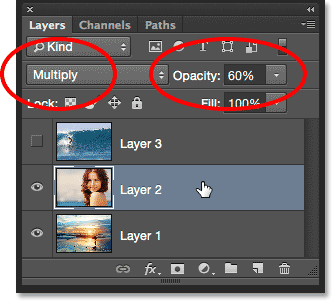
As required, decrease the opacity or look into blending modes such as Multiply or Overlay to combine shapes naturally with the image. Shapes ought to seem assertive, though not overwhelm most pictures.
After the fundamental shapes are set, save a new version. Keep working in stages to avoid losing a solid draft if you need to alter it later.
Step 3: Adding Photomontage Effect

Create a duplicate of your black-and-white image layer. That copy will be used for cutting and repositioning elements without spoiling the initial structure.
Employ selection tools, including the Lasso, Pen Tool, or Object Selection, to cut critical parts of the photograph. For instance, you can choose a face, a machine, or an architectural detail. Look into the components that speak to strength or movement.
Put these cutouts on new layers. Moderately shift, rotate, or scale them to form energetic overlaps. The objective will be to break the conventional perspective and get a sense of modern, built reality.
Between photo parts, include surfaces such as crumpled paper, steel, concrete, or worn paint. Such textures can fill gaps and upgrade the industrial, gritty disposition characteristic of Constructivist artwork.
Do not opt for consistent blending. Stiff edges and sharp moves between image pieces correspond to the mechanical and crude feel of the movement.
Set all components to be layered independently. That adaptability helps you polish the composition or move pieces effectively later without restarting.
Step 4: Adding Grid Lines
Make a new layer over your montage. That new layer will hold the grid lines or directional components without influencing your photo edits underneath.
Utilize the Line Tool or Pen Tool to create clean, straight lines. Concentrate on verticals, horizontals, and especially diagonals. The use of diagonals will include a sense of movement and criticalness, a central trait of Constructivism.

Adhere to strong black, white, or red for the lines. These colours ought to pop evidently against the foundation without mixing into the photo or shapes already set.
Make an uneven, dynamic grid instead of a perfect square network. Lines can be erratically divided or angled to provide a perception of construction and expansion.
Set lines to frame imperative parts of the photo, like a face, a raised clenched hand, a tower, or a machine. The lines ought to unpretentiously direct the viewer’s eye over the composition.
Shift the line thickness to include rhythm-like thicker lines for significant divisions and thinner ones for secondary support. However, you must keep the general style neat and powerful.
Step 5: Including Industrial Text

Include a new layer, particularly for text. Keeping text partitioned permits simple alteration and maintains the design flexibility if you wish to reposition it later.
Utilize strong, industrial fonts such as Futura, Helvetica, or Bebas Neue. Do not go for decorative or handwritten styles since constructivism holds worth for clarity and impact over magnificence.
Utilize minimal wordings like Revolution, Progress, Construct or Future that match the style flawlessly. The objective should be communication, not narration.
Place the content along the edges of shapes or follow the points of the grid lines. That integration will aid the typography in feeling like a portion of the general structure, not a separate, afloat component.
Adhere to red, black, or white shades for the text to preserve the capable, pressing visual language. Confirm that the text looks distinctive against the foundation.
Experiment with font size, tight letter spacing, and striking weight to extend visual strength without stuffing the composition. Simplicity rises to control here.
Step 6: Including Industrial Surfaces
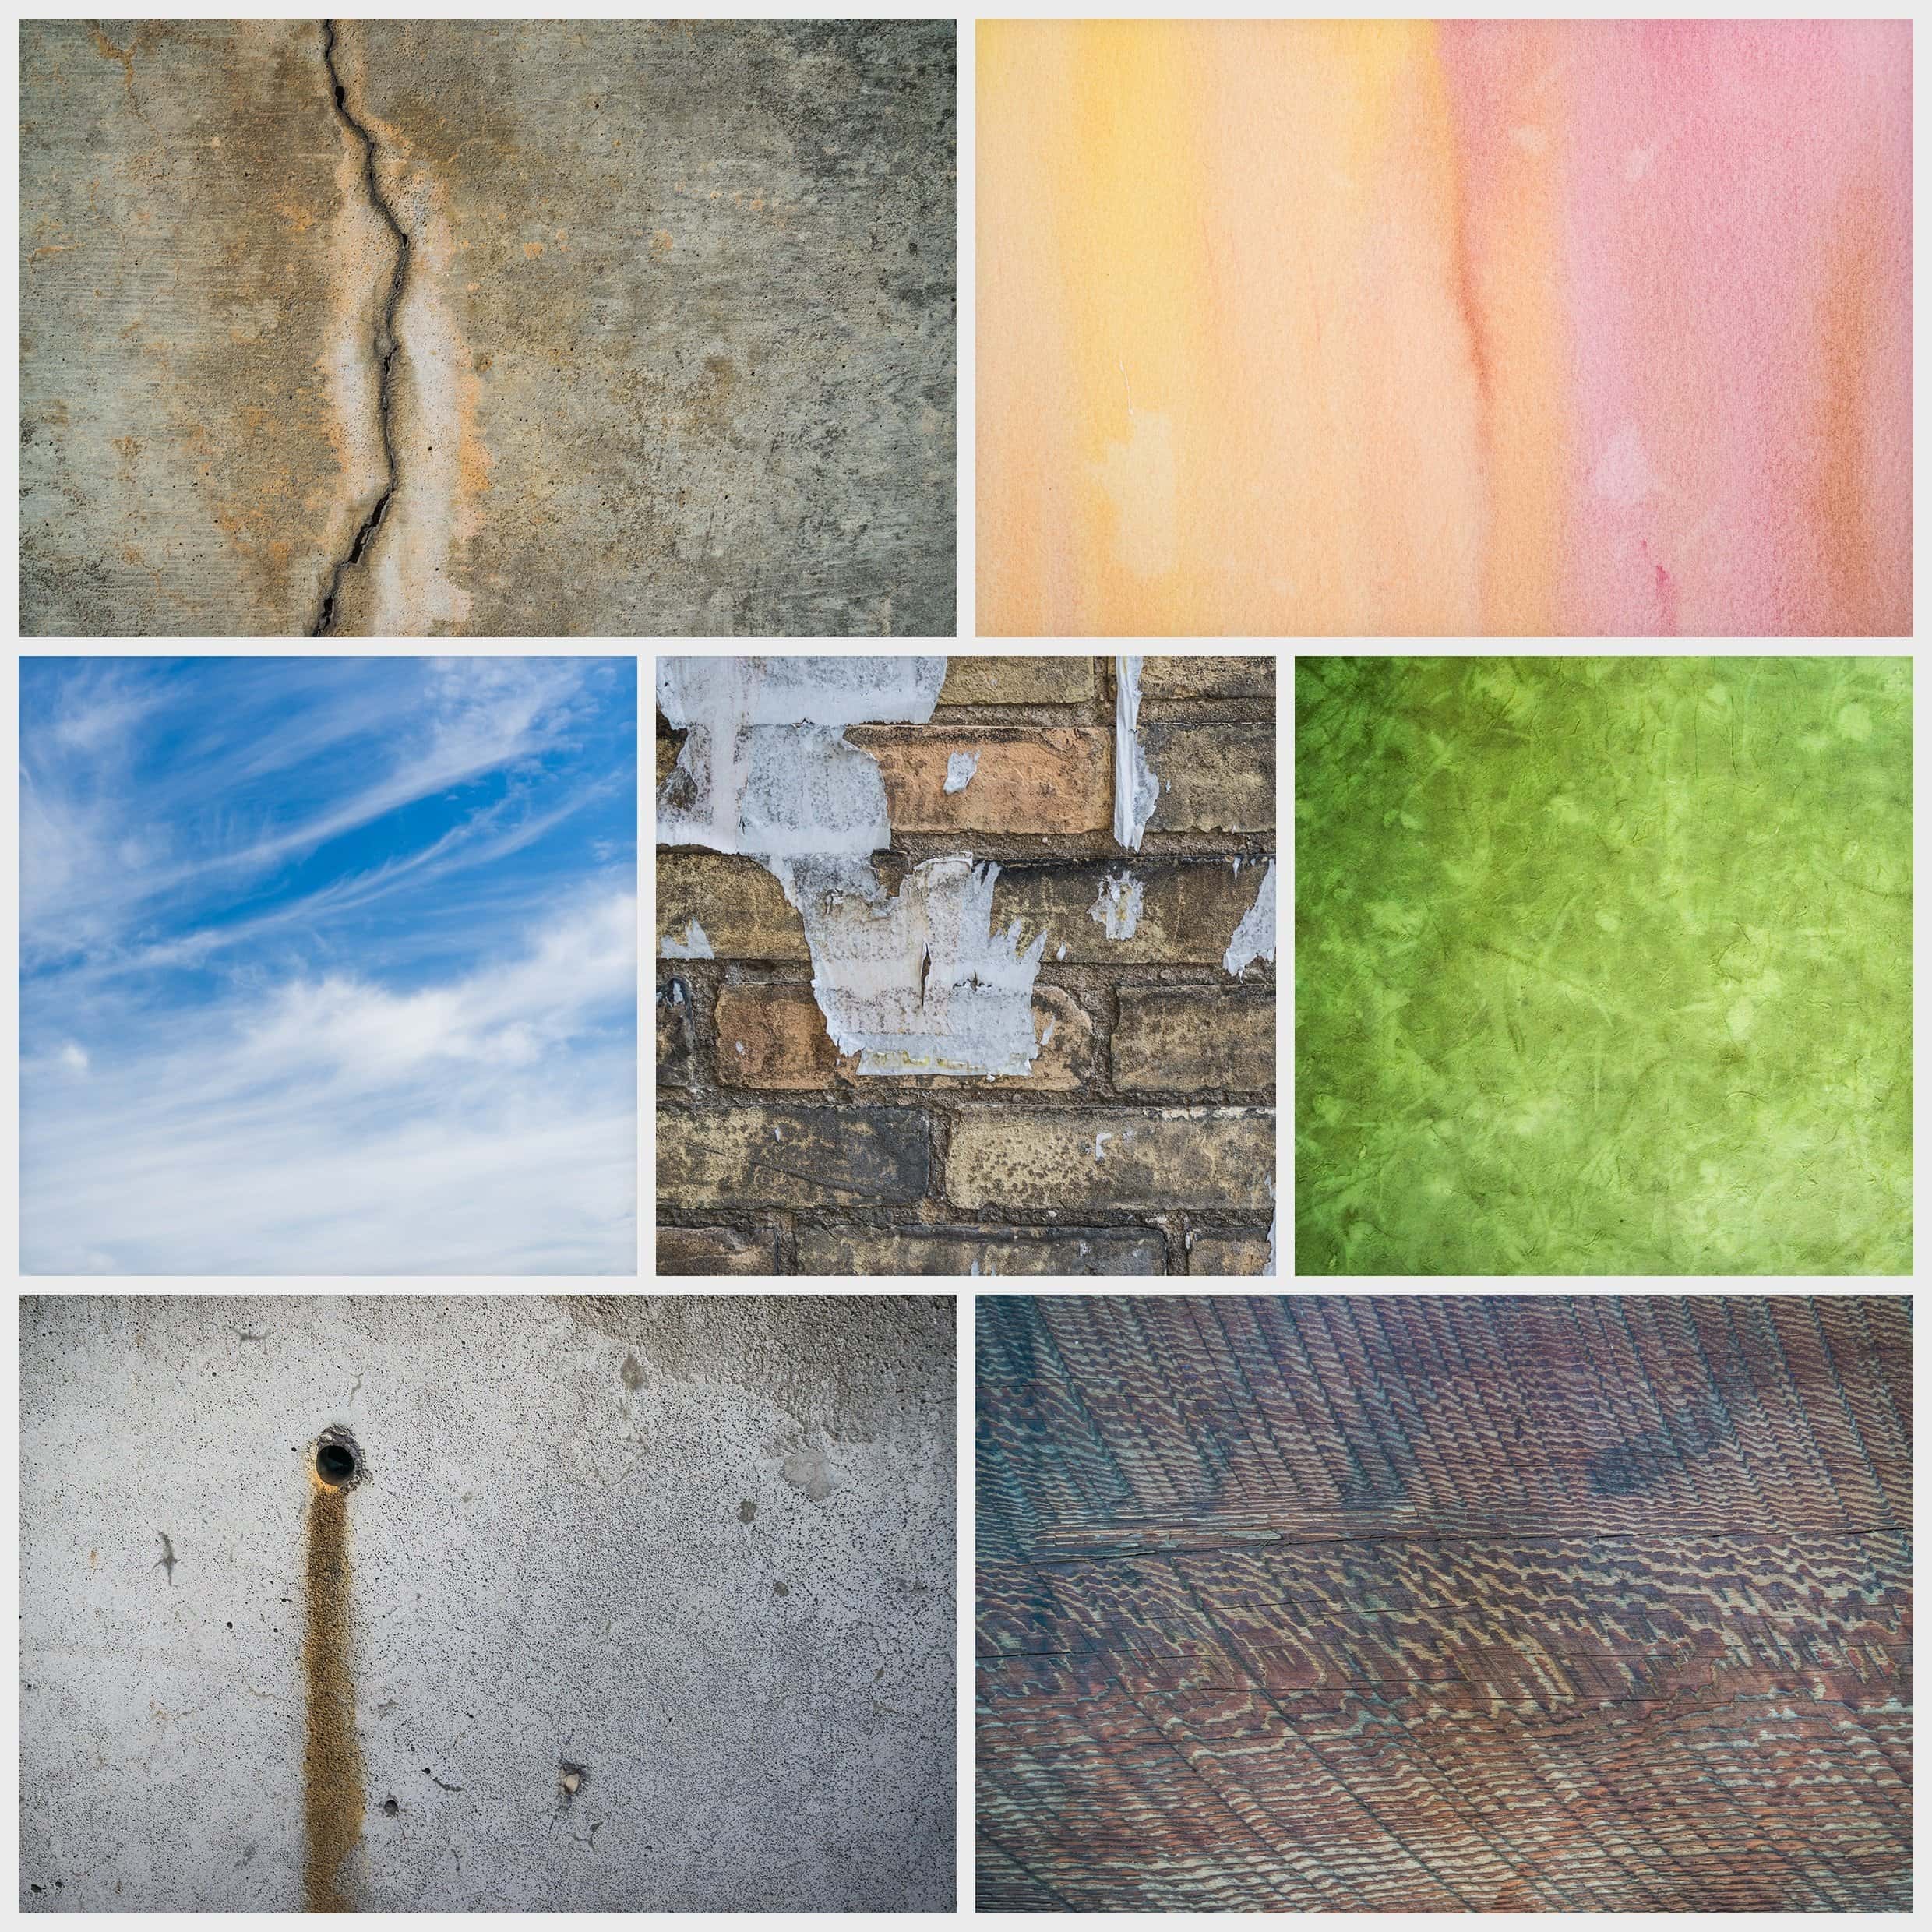
Discover high-resolution surfaces such as rusted metal, cracked concrete, scratched surfaces, or brushed steel. These include a raw, mechanical feel that accommodates the Constructivist aesthetic.
Fetch the surfaces into your project as partitioned layers over the existing picture, shapes, and text. Put each surface on its own layer for more manageable alterations.
Put the surfaces carefully so they improve key ranges without overpowering the photo or design. Scale them appropriately, since if they are too large, they will lose detail; similarly too small will make them chaotic.
Modify the surface layers using blending modes such as Overlay, Multiply, or Soft Light. These modes aid in blending the texture naturally into the picture, including grit without hiding vital visual components.

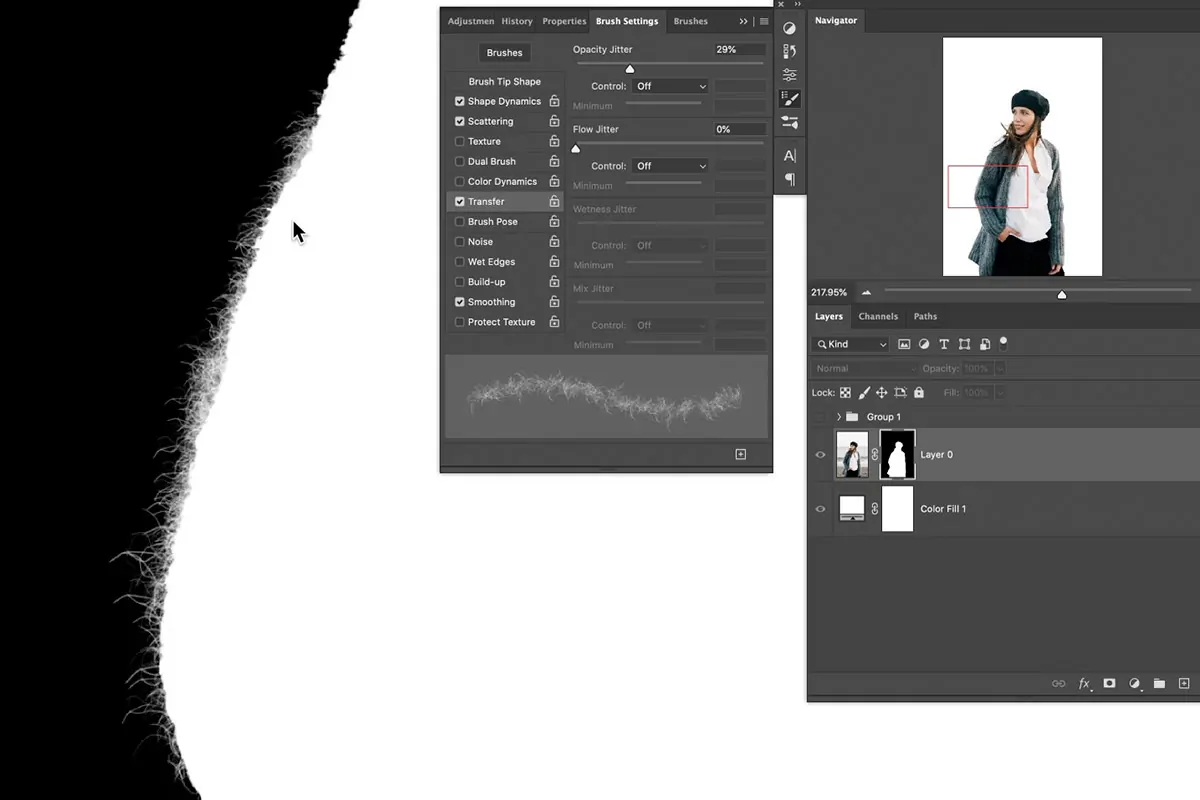
Utilize layer masks to hide parts of the surface where it is too overwhelming or diverting. Emphasize the coarse effects on the backdrop, edges, or less critical regions.
Decrease the opacity somewhat if the surface feels too prevailing. You need it to support the industrial disposition, not get attention from the essential shapes, lines, and text.
Step 7: Finalising the Composition
Observe the entire composition, including shapes, text, and surfaces, together. Inspect if everything is centred or equally adjusted; if so, it may have to attain more tension and development.
Tote the photo parts, shapes, and content slightly off-centre. Push key components toward corners or along diagonals. A little disharmony will usher in vitality and mirror the Constructivist drive for transformation and dynamism.
Rather than mirroring components, adjust the image by visual weight. A huge, dim shape on one side can be adjusted by a few smaller components on the other side.
Allow shapes or text to expand past the edges of the picture as required. It will present a sense that the construction proceeds past the viewer’s vision, a solid approach in Constructivist work.
Slant lines marginally, cover shapes erratically, and produce tension between components. The composition ought to feel purposeful but not flawlessly pristine or controlled.
After you are fulfilled with the asymmetrical harmony, proceed to save and export the final composition according to its intended usage.
Conclusion
In conclusion, modern constructivism is a creative and useful design approach that blends concepts from early constructivism with contemporary needs and technology. This flexible style works well in a variety of settings where clean lines and adaptability are desired, such as interior design or visual artwork and designs. Neutral hues with vivid highlights form the foundation of the colour scheme, which produces a lively and effective ambience. Geometric abstraction lies at the heart of constructivism. The visual space is dominated by lines, circles, and rectangles. In addition to offering creative options, these shapes give your photos a sense of the machine era.
