How To Create A Palladium Print Effect
The classic wet-chemistry method of palladium printing has been used since the middle of the 1800s. It is a costly and time-consuming process that produces prints with a wide tonal range and excellent archival quality. In this painstakingly created procedure, fine paper is coated with a mixture of palladium salts and then exposed to a negative. The outcome is a print that is sought after by both photographers and collectors for its unmatched depth, durability, and aesthetic value. Palladium prints are notable for their remarkable resistance to fading, which guarantees that your photos will last for many years. Photography professionals have been particularly interested in palladium prints because of these factors since the very beginning of this invention. Likewise, the muted sepia-hued appearance of traditional palladium prints is enormously cherished by modern artists and image editors who, by using advanced image manipulation tools and techniques, are transforming their images with a palladium print effect. The following steps of this blog will elaborate on the process of turning photographs into digital palladium prints while retaining the aesthetics of traditional palladium pieces.
Step 1: Converting Your Photograph To Black And White

Begin your editing by converting your photograph to black and white. It will eliminate diversions and set the basis for the palladium appearance, which stands upon tone, not colour.
Using software like Photoshop or Lightroom, locate the black-and-white alteration instead of directly desaturating. It will let you regulate how each original colour converts to grayscale, offering you sufficient contrast management.
The traditional palladium prints are famous for soft, detailed midtones. As you change over, be sure that skin tones, skies, and surfaces keep up clarity without becoming bland.
Overlook harsh black-and-white filters. The palladium impact needs an adjusted grayscale base which is soft, natural, and scarcely muted.
Flip between original and black-and-white forms as you edit, to confirm that imperative components do not get lost in transformation.
Continuously work non-destructively. Make a duplicate layer or virtual copy so you’ll be able to return to the coloured version as required.
Step 2: Creating A Soft Contrast
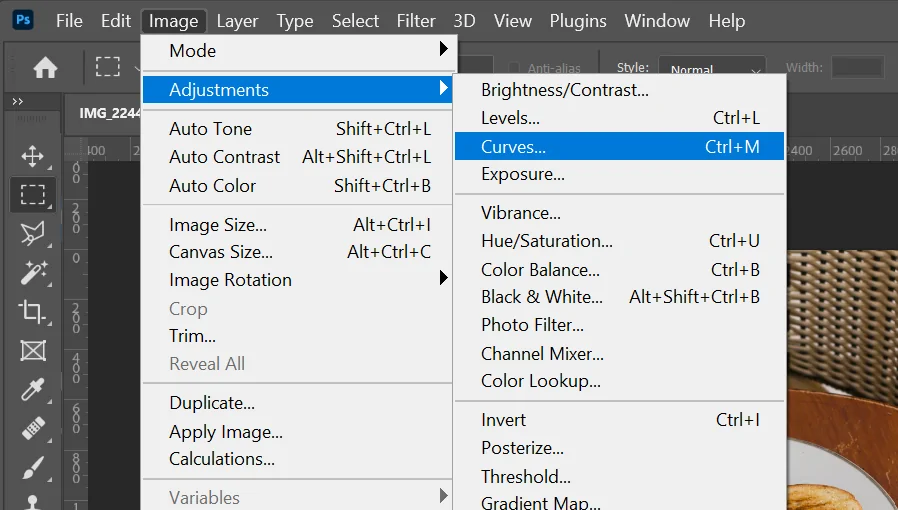
Activate the tone curve tool and make a tender S-curve. Marginally raise the shadows and drop the highlights to minimize overall contrast without smoothing the photograph.
Drag the lower left point or shadows upward a little. It will soften blacks and make a faint, vintage appearance, an eminent characteristic of palladium prints.
Get the upper right point highlights a little down. It will keep the brightest zones from getting too sharp or washed out.
Alter the midtone curve to preserve depth. Applying nuanced movement here will help preserve skin surface, sky gradients, and texture details.
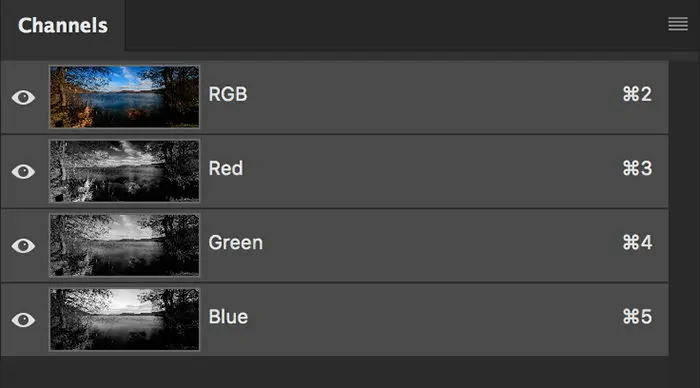
Utilize the RGB channels separately to refine warm tone transitions. For instance, raising the red channel in shadows can naturally develop a delicate brown tint.
Look into the overall image temperament. If it feels harsh or excessively punchy, get back to curve alterations until it looks calm, quieted, and smooth per the hallmarks of the palladium appearance.
Step 3: Creating Warm Tones
Include warmth utilizing the colour grading or access the split toning panel. Concentrate on applying delicate brown or sepia tones to both highlights and shadows.
In highlights, present a light golden or warm cream tone. It will keep brighter regions feeling delicate and glowing without shifting to orange or yellow tones.
Inside the shadow settings, apply a deeper brown or reddish-brown hue. It will envelop the picture with warmth and profundity, mirroring the chemical tones featured by palladium prints.
Adjust the saturation carefully. Be careful about presenting too much colour as it will ruin the subtle elegance and stick to a faint warmth that naturally blends into the grayscale instead of overwhelming it.
Alter the balance slider as accessible toward the shadows to foreground warmth in darker zones while keeping highlights tidied.
Utilize a reference photograph or preset for harmony on the off chance that you are working on batches. It will help keep up a uniform appearance, particularly in photo series or portfolios utilizing the palladium effect.
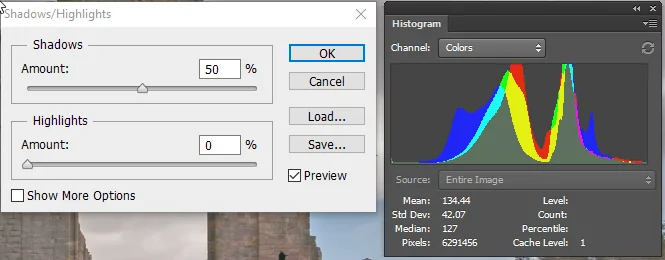
Step 4: Decreasing The Highlights
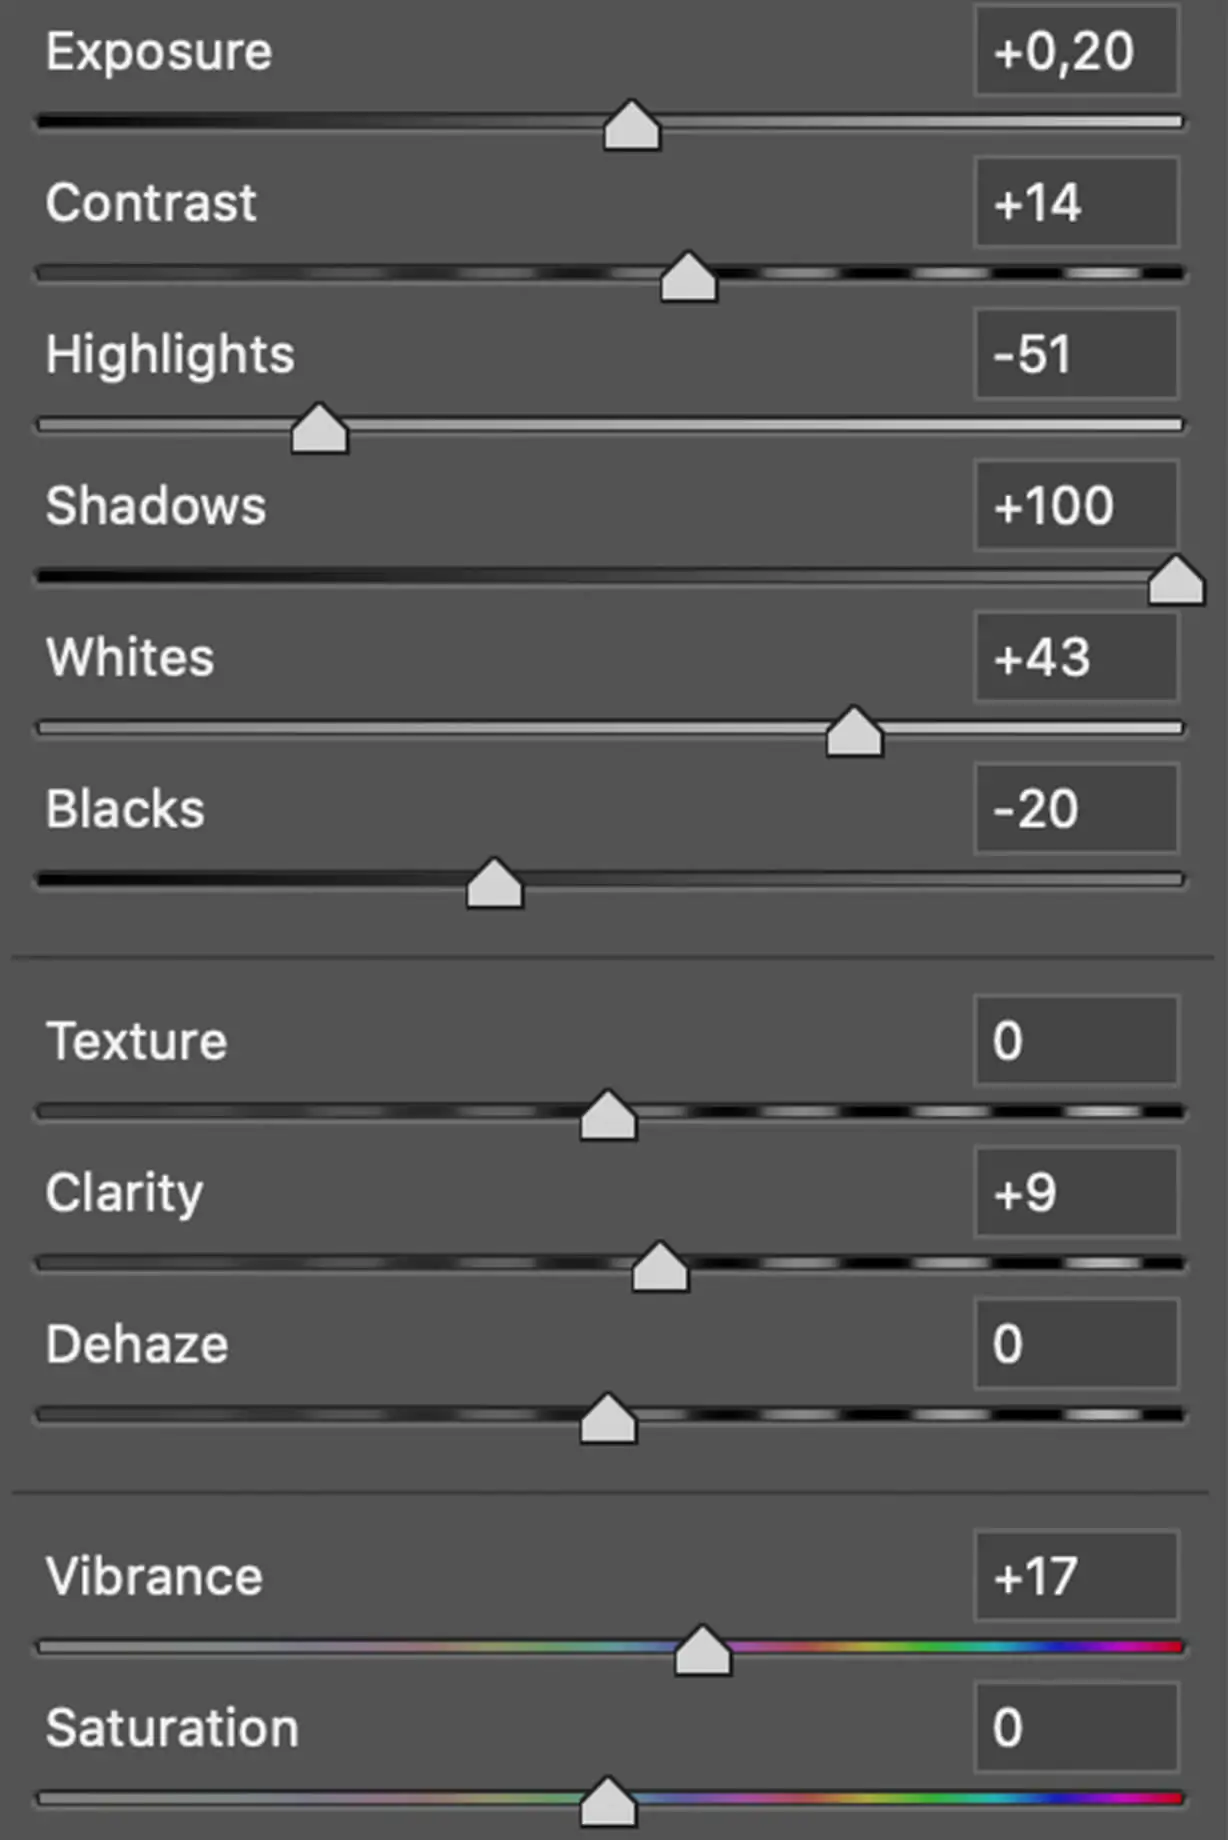
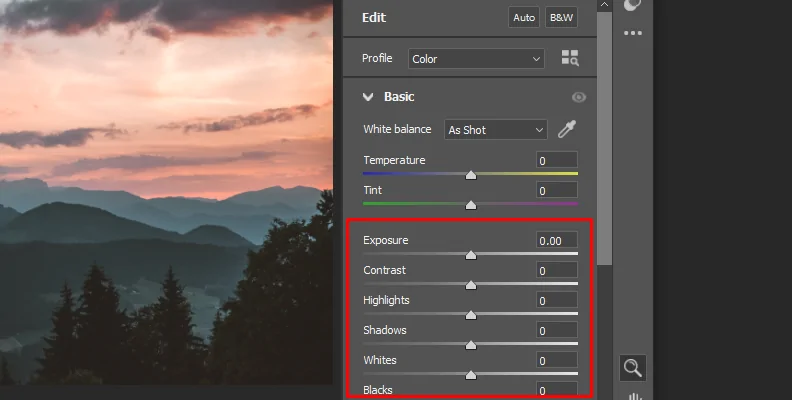
Moderately decrease the highlights utilizing the fundamental exposure or tone panel. It will soften bright spots and prevent regions such as skies or clothing from showing up too sharp or blown out.
Tenderly raise the shadows to uncover more detail in darker zones. Palladium prints often exhibit delicate blacks instead of profound contrast-heavy tones.
Prevent making blacks totally flat and retain sufficient depth to keep the picture dimensional while protecting the quieted, airy feel.
Utilize the Whites and Blacks sliders to polish edge focuses without influencing the whole midrange. It will maintain tonal harmony.
Alter exposure as required after lifting shadows. In some cases, opening up the darks can make the composition seem too bright overall.
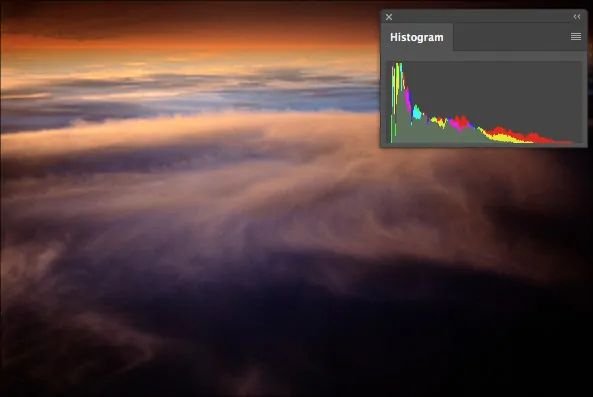
Continuously check the histogram for clipping. The objective should be to preserve the full tonal range without difficult edges at either end. Every zone ought to feel delicate and progressive.
Step 5: Minimizing The Clarity
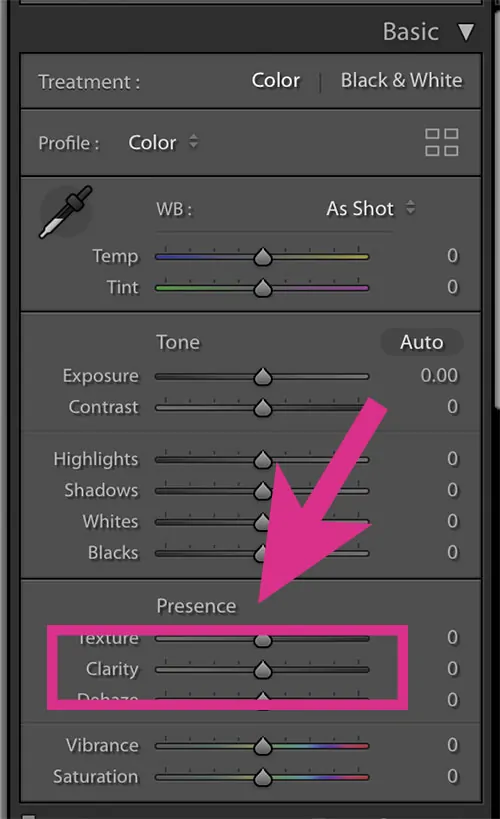
Minimize the clarity slider slightly to relax midtone contrast. It will decrease sharp edge transitions and offer the picture a smooth, matte wrap-up commonplace of palladium prints.
Never go for over-blurring and attain a little reduction around -5 to -15, which is sufficient to form the subtle haze without losing vital detail.
Amplify the clarity adjustment on particular ranges as much as possible. Utilize local adjustments or masks to soften foundations or skin while keeping key surfaces such as eyes, texture, or architecture intact.
Integrate with a slight reduction in texture for an absolutely gentler visual vibe. It will work satisfactorily on representations, landscapes, or anything with intricate detail.
Do not mistake clarity with sharpness. Receding clarity influences contrast in edges, not the precise detail resolution. Your image ought to still feel focused, simply less dramatic.
Audit the overall picture to guarantee the effect feels simple. The objective should be a delicate, polished finish, not a hazy or washed-out picture.
Step 6: Including Grain Effect
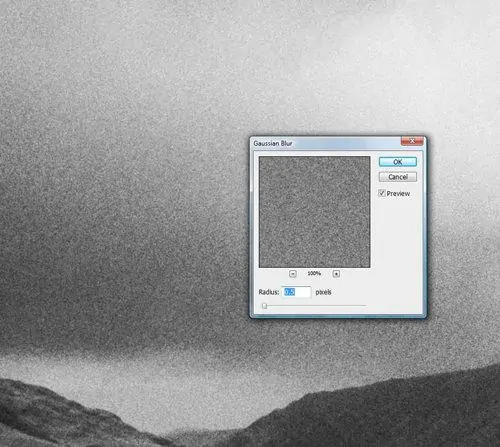
Present a subtle grain effect to imitate the surface of conventional palladium prints. Utilize the grain tool or a film grain overlay for a more genuine feel.
Alter the grain size and roughness to preserve a fine, gentle surface. Keep it low to prevent overpowering the picture or presenting too much noise.
Point for consistency over the photograph. Overuse of grain in certain zones can distract from the overall formation, so be sure that the grain is uniformly spread.
Make a slight increase in contrast with the grain to further imitate the appearance of a conventional print, providing it more depth and surface.
Put the opacity of the grain layer low, around 5 to 10 percent, to get a realistic, nuanced effect.
Survey the picture at full size to be sure that the grain does not end up too discernible. The objective is to upgrade the surface without bringing focus to it.
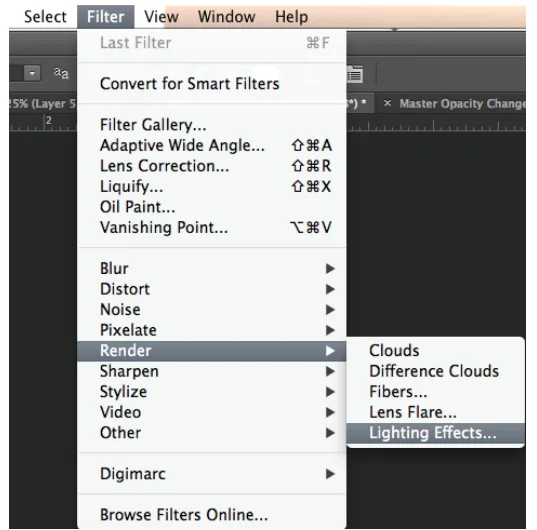
Step 7: Adding Warm Overlays
Include a textured paper overlay to mimic the feel of traditional photographic prints. Seek high-quality surfaces such as linen or watercolour paper to add a vintage touch.
Alter the opacity of the overlay between 10 to 20, confirming that it does not overwhelm the photograph but subtly upgrades the general impression.
Set the overlay layer above your image, so that it covers the whole picture evenly. You’ll be able to utilize a soft light or overlay blending mode to incorporate it effortlessly.
Play with distinctive paper surfaces. You’ll also alter the colour of the overlay somewhat to conform with the warm tones of your picture.
Utilize a petite vignette or edge burn effect to improve the vintage aspect. It will add to the depth and draw attention towards the centre of the picture, giving it a more natural development.
Utilize the zoom in and audit the picture at 100% to review that the surface shows up naturally and enhances the palladium impact without diverting from the shot’s primary subject.
After you are satisfied with the final palladium effect, proceed to the saving and exporting phase, picking an appropriate quality format to protect all details, then export in JPEG or the favoured record format for sharing or printing purposes.
Conclusion
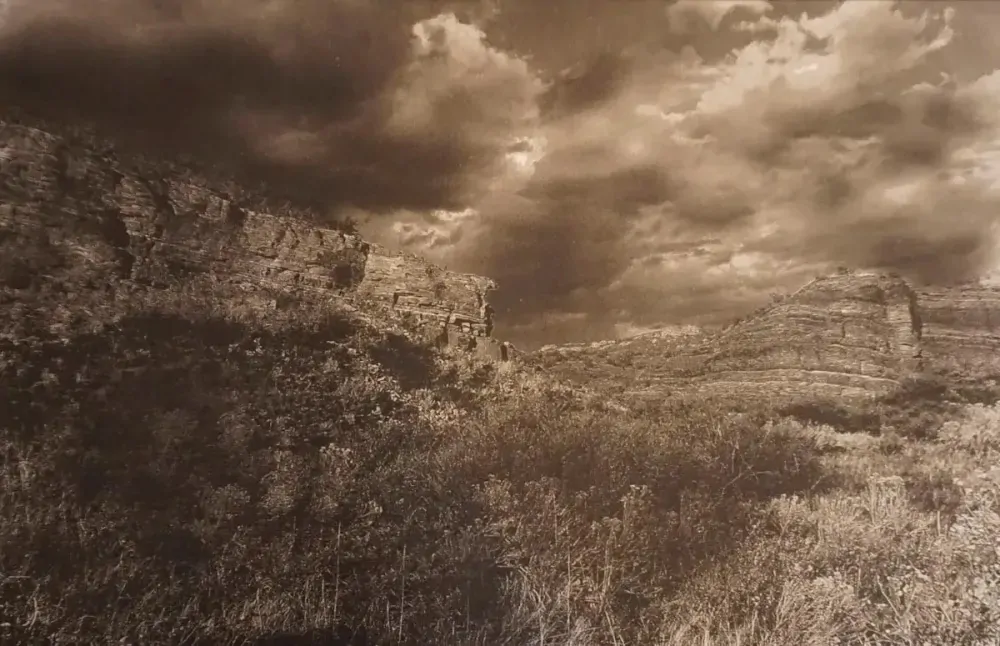
In conclusion, the palladium print technique gives images a delicate mood due to the amazing variety and smoothness of tones. It lends contemporary compositions the warm, brown tones mimicking classic sepia-tinted palladium prints. The composition’s prevailing sepia tone creates a cozy and nostalgic atmosphere by radiating warmth and reminiscence. In the end, the artists, designers, and image editors can embellish both their contemporary and vintage-inspired creations by deriving inspiration from classic palladium prints. In addition, alongside professionals, beginners can also use this innovative approach to experiment with their everyday photographs, owing to the advanced image manipulation software and techniques, while following practical guidelines like the ones highlighted in this blog.
