
How To Create A Norse Effect
Intricate and unique, Norse art was created by the Norse people during the eighth and eleventh centuries, during the Viking Age. It is renowned for its unique styles, which developed as a result of interactions with the natural world and various civilizations. Norse art, which adorned everything from jewellery to ships, was deeply ingrained in both daily life and religious rituals. In addition to its roots in the older Nordic and Germanic traditions, Norse art also drew inspiration from Celtic and Roman art styles as a result of commerce and raiding. This art developed over centuries in discrete stages, each distinguished by its own distinctive themes and forms. Norse art’s elaborate patterns, such as its recognizable knotwork and animal motifs, had an impact on following European creative movements and were incorporated into Romanesque and Gothic architecture. Throughout Europe, these components also found their way into art, metalwork, and manuscript illumination. The resilience of this ancient art practice continues to inspire and transform contemporary art forms. The modern artists and designers are frequently utilizing Norse art themes in their pieces. Moreover, the digitalization of art has made it more adaptable to infuse themes of ancient artworks, like as Norse art, into designs, illustrations and even in enhancing images. This blog will proceed with a step-by-step process to employ Norse art themes and integrate them into digital images.
Step 1: Preparing The Image
Choose a photo that serves the Norse aesthetic, like a scene of the forest, snowy field, or mountains or a subject exemplifying Viking or Norse mythology, like a warrior or figure in an ensemble. That photograph should inspire strength and mythic features.
Import your photo in an editing software like Photoshop, GIMP, or Lightroom. Be sure that the picture has a high quality and is adequately exposed for ideal editing.
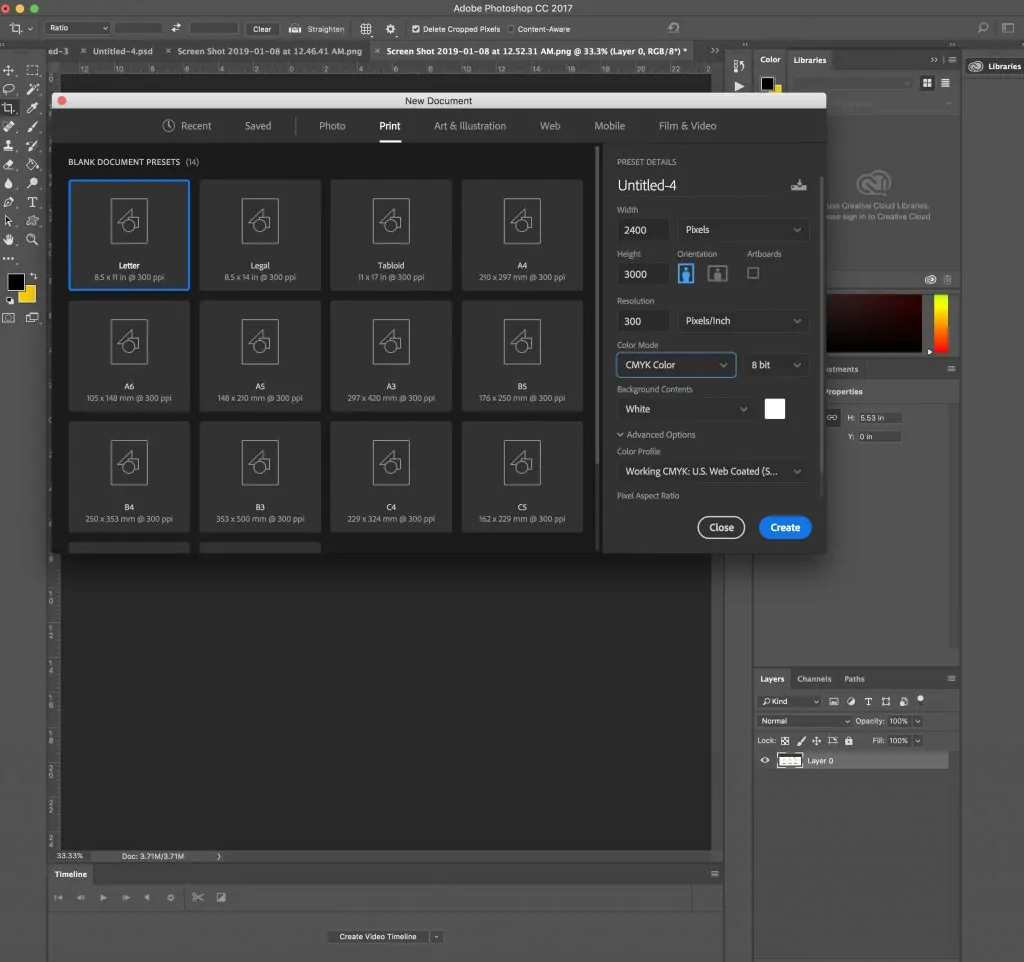
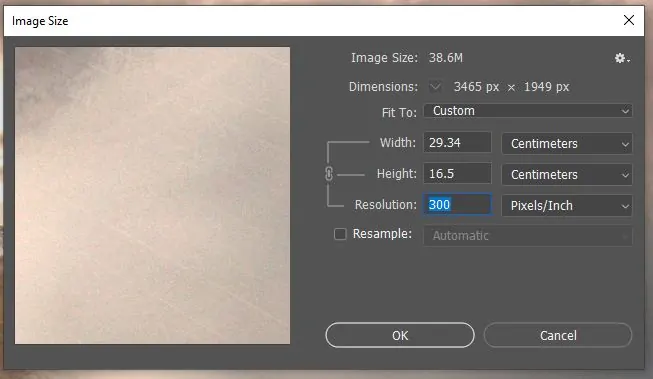
Alter the canvas size based on the intended utilization. In the case of a print, set the resolution to 300 DPI; for digital use, choose 72 DPI. Resize agreeing to the output prerequisites.
Assess the image’s composition and crop or reposition the subject as essential. Opt for a central or heroic posture to reflect Norse art’s focus on a sensational scale.
Keep the picture as a working file such as PSD for Photoshop or .XCF for GIMP to protect layers for future alters.
Always keep a duplicate of the initial picture to retreat to as required during the editing process.
Step 2: Modifying Colour And Tone

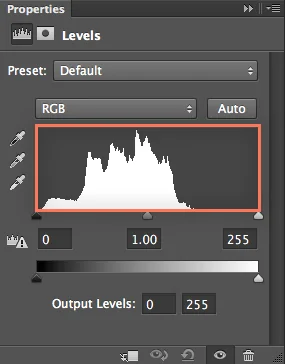
Begin by including a Curves or Levels adjustment layer. Decrease highlights and upgrade shadows to make a moody, climactic effect.
Move the colour balance towards cooler tones by decreasing the reds and greens and boosting the blues. It will make a cold, Nordic appearance. Then again, utilize a blue or teal filter.
Moderately desaturate the photograph to provide it an aged, tough appearance, reminiscent of Norse settings. Prevent over-desaturation to preserve critical details.
Maximize the contrast to highlight the stark differences between light and dark, just like the contrast level found in Nordic landscapes.
Modify the white balance to attain a cool, frost-like environment, dismissing any warm undertones.
Flip the adjustment layers on and off to confirm that the photograph keeps up the specified cold, dramatic tone.
Step 3: Adding Textures And Special Effects
Include textures such as stone, wood, or metal to grant the picture a raw, old feel. These surfaces should blend consistently into the foundation or particular parts of the picture, including clothing or weapons.
Utilize blend modes such as Overlay, Soft Light, or Multiply to merge surfaces with the photo. Alter opacity to accomplish a nuanced integration.
Present mist, fog, or snowfall utilizing brushes, surfaces, or atmospheric layers. These effects enhance depth and add a supernatural touch.
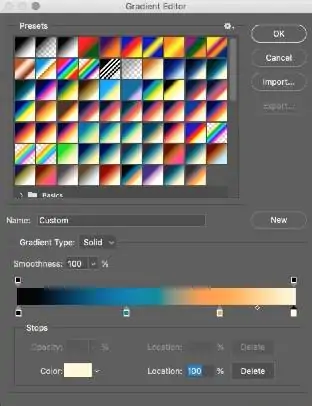
Utilize a gradient map with light and dark tones to recreate shadowed terrains or frost-covered situations, improving the scene’s depth.
Include soft lighting or shadow effects to imitate the atmospheric lighting of Nordic situations, like dim daylight or fog. Utilize gradient brushes to blend these regions.
After the surfaces and impacts are connected, polish their opacity, position, and blending to integrate them consistently into the photograph.
Step 4: Integrating Norse Motifs
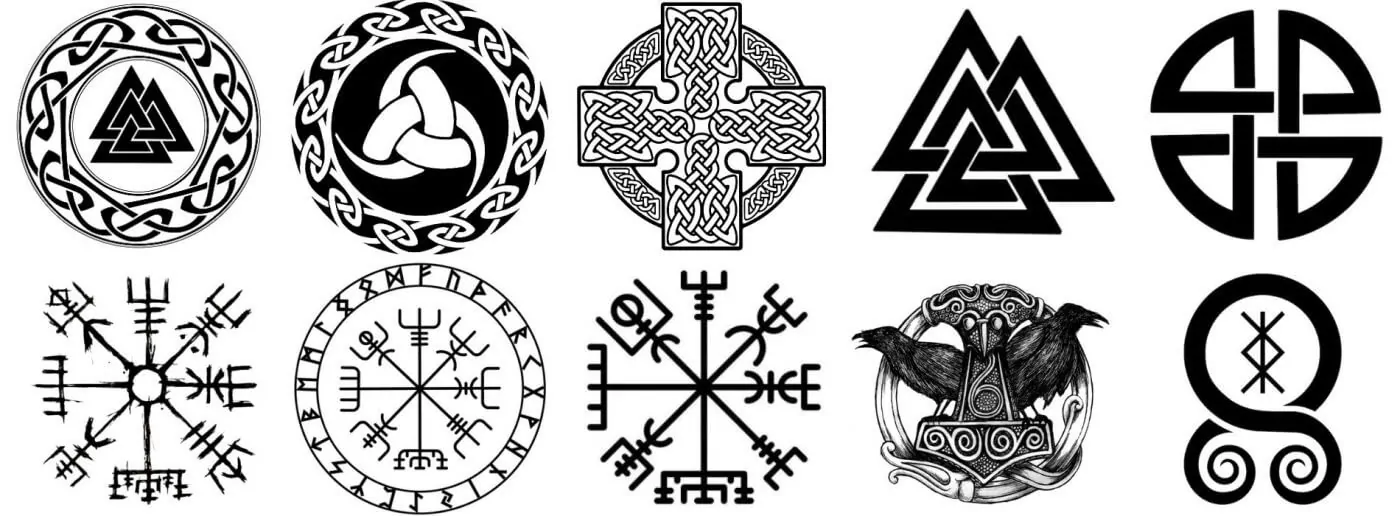
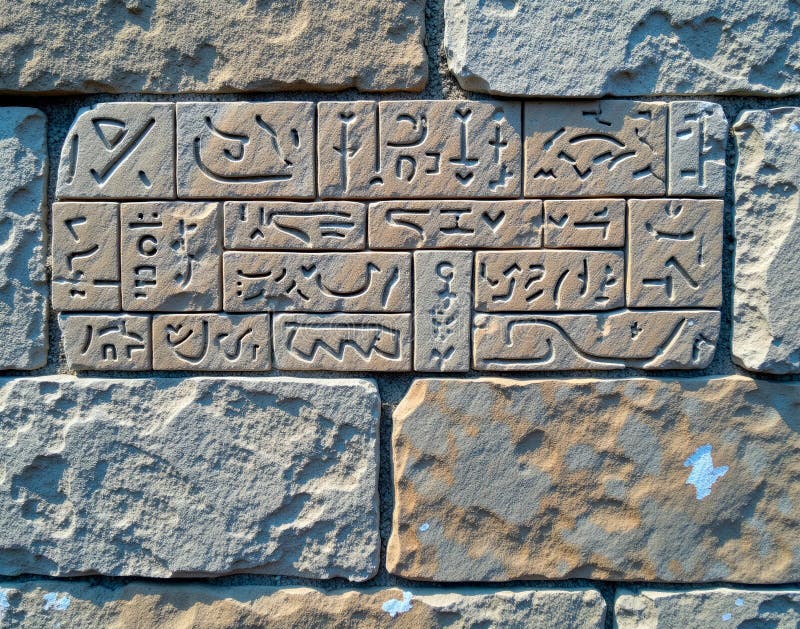
Pick Norse symbols such as runes, Mjölnir, or Fenrir or the ravens Huginn and Muninn. All these symbols add authenticity to the Norse theme.
Set the symbols within the corners, edges, or on props and clothing. It will guarantee that they upgrade the photograph without distraction.
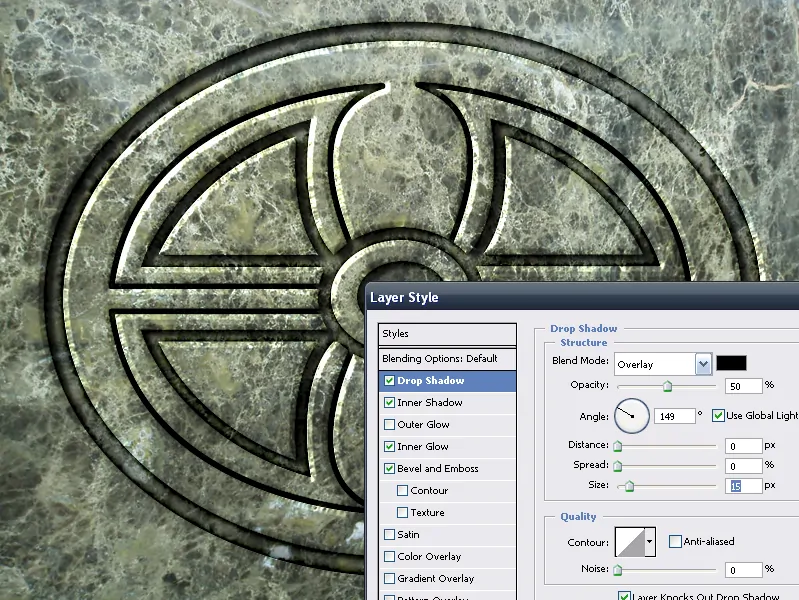
Utilize embossing or etching effects to make the symbols look as if they are carved into surfaces like stone or metal. That effect will help integrate the symbols into the scene.
Decrease the opacity of the symbols and play with blend modes such as Soft Light or Overlay to guarantee they consistently integrate with the composition.
Gather symbols to make patterns or motifs that can line the borders or fit as central design components. That is a standard feature in Norse works.
Reexamine the symbol arrangements to confirm that they elevate the composition without crowding the scene. Refine the positioning until they feel naturally integrated.
Step 5: Incorporating Viking Borders
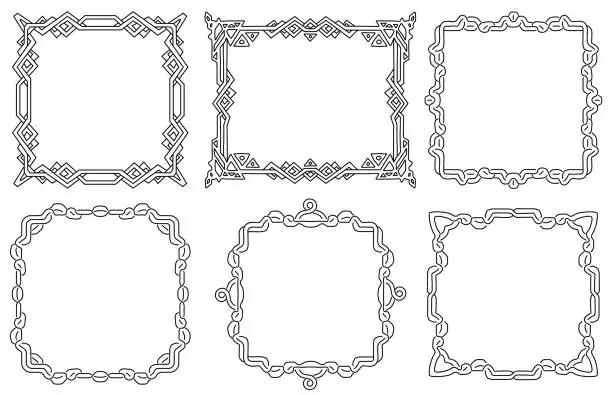
Consider the Viking-inspired borders, like knotwork, spirals, or interlacing designs. These components are commonly seen in Norse art and can be accessed as vectors or made manually.
Place the borders along the image’s edges or frame the subject. Whether unpretentious or striking, borders can aid in complementing the design.
Put intricate designs around key elements, such as a Viking weapon or shield, to highlight them. It will include visual interest and tie the design together.
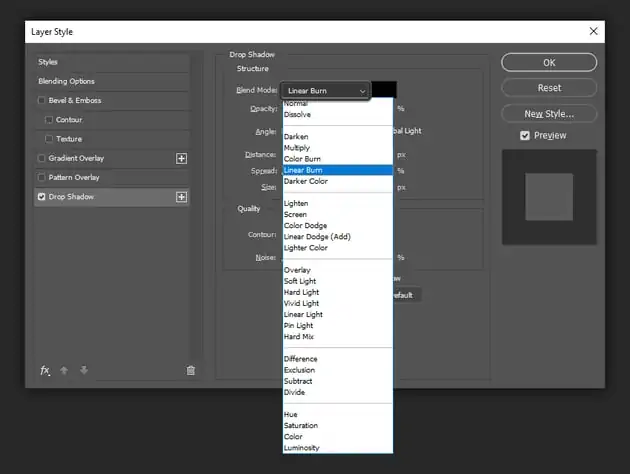
Utilize layer styles such as Drop Shadow or Inner Glow to form depth for the borders. Alter the opacity and blending mode to conform them to the picture.
Be sure that the scale of the borders coordinates the composition. They should outline the picture, not overwhelm it. Play with placement to discover the finest visual harmony.
After you have set the borders, alter their opacity or contrast as required. The borders ought to upgrade the Norse theme without pulling attention away from the primary subject.
Step 6: Fine-Tuning The Integration Of Elements
Refine the position of the subject to accommodate it inside the composition. Utilize the Rule of Thirds or a central positioning to make a powerful, heroic pose.
Norse art often highlights symmetry, symbolizing balance and power. You can also add asymmetry for more vigorous tension, relying on your visual story.
Upgrade the image’s emotional feel by adjusting shadows and highlights. Look into including a vignette to bring focus on the subject, and brighten key ranges to highlight them.
Ensure the background accommodates the subject. A rugged scene, such as mountains or mist, helps to strengthen the Norse environment. Employ a depth-of-field effect to blur undue details within the foundation.
Include unpretentious effects such as snow or mist, utilizing soft, low-opacity brushes to further improve the Norse air. These impacts ought to be mild yet captivating.
Once done with all the necessary adjustments, evaluate the composition. Be sure that the Norse aesthetic is present without overpowering the composition. Refine any irregularities in lighting, surface, or symbol placement.
Step 7: Saving The Final Image
Save the file within the native format like PSD for Photoshop or .XCF for GIMP to protect layers and allow future alterations.
Confirm that the photo is set to the proper resolution. Utilize 300 DPI for print and 72 DPI for web usage. Alter dimensions per the platform’s needs.
Audit the image for any last changes in brightness, contrast, or texture. Guarantee all components integrate well without overwhelming the central subject.
Send out the image within the appropriate format, like JPEG or PNG. Specify quality for print or optimize file size for online platforms.
Grant the ultimate image a descriptive file title to make it simple to find afterwards.
Back up the photo to cloud storage or an external drive. Share it on your stage of choice or further process it for printing.
Conclusion
In summary, the application of Norse themes into images will result in dramatic and mystic climates that can develop epic sentiments within the viewers. The images of warriors and mythological animals combined with a mystical setting might be particularly intriguing to fans of ancient art and mythology. The application of textures of wood, metal, mist and snow adds to the tangible aspect that enhances the depth and realism of the visual narrative. Eventually, every single component of Norse art incorporated into your composition will keep developing extended connotations, thus enriching the overall visual appeal.
