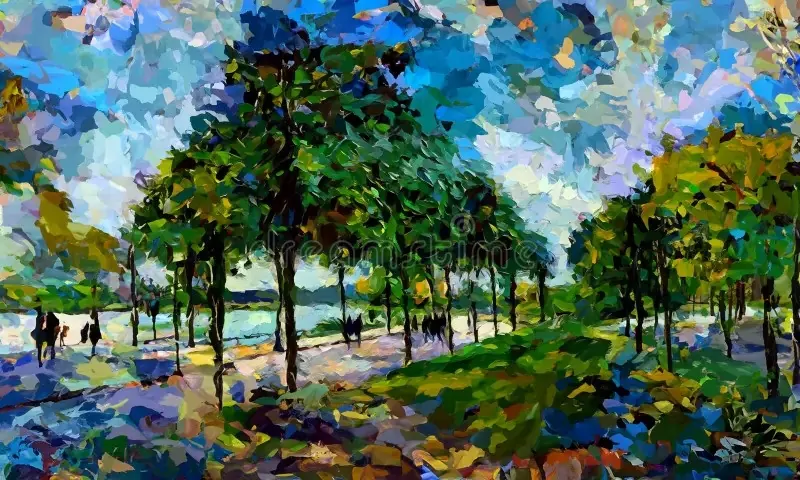
How To Create A Monet Effect
Claude Monet played a pivotal role in the Impressionist movement, which revolutionized French painting throughout the latter part of the 1800s. Monet often portrayed the scenery and recreational pursuits of Paris and the surrounding areas, as well as the Norman shore, throughout his career. By creating a distinctive style that aimed to depict on canvas the exact process of experiencing nature, he paved the path for twentieth-century modernism. The well-known technique used by Monet is to create works in series that depict the same topic in various lighting and weather situations. Back in the 21st century the monet art effects still persist as a distinctive art approach that inspires artists to create charming pieces. In addition with the development of digital paint tools and software digital artists and image editors are transforming their images and illustrations into adorable impressionist paintings. Choosing from a variety of different artistic styles, especially of Claude Monet they offer each frame the appearance of a novel painting by utilizing realistic paintbrush and canvas textures as well as multiple artistic effects. The following steps will describe the process of adding a realistic monet effect to your images.
Step 1: Open The Photograph
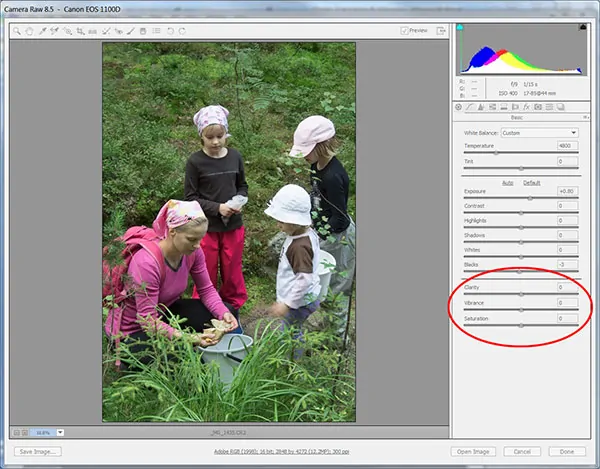
To attain the Monet Effect, the primary step is to open the photograph you need to enhance in your editing program and soften it by decreasing sharpness and including a tender blur. It will help imitate the painterly, impressionistic style where subtle elements blend consistently.
Utilize the Sharpening or Clarity tool in Photoshop or Lightroom to marginally minimize sharpness, making edges less defined.
Within Photoshop, proceed to Filter then Blur and click Gaussian Blur, altering the radius to make a mild, diffused effect. A slight blur of 2-5 pixels performs excellently.
A few software, such as Nik Collection or mobile apps, have soft-focus filters that help make a dreamy, painterly appearance.
In case the blur is too strong, utilize a mask of 30 to 50 per cent opacity to hold a few original details.
Utilize a light glow effect such as the Orton Effect to improve highlights and ease the across-the-board feel.
This phase will offer the foundation for the Monet Effect by making a smooth blending of details, imitating the look of brushstrokes.
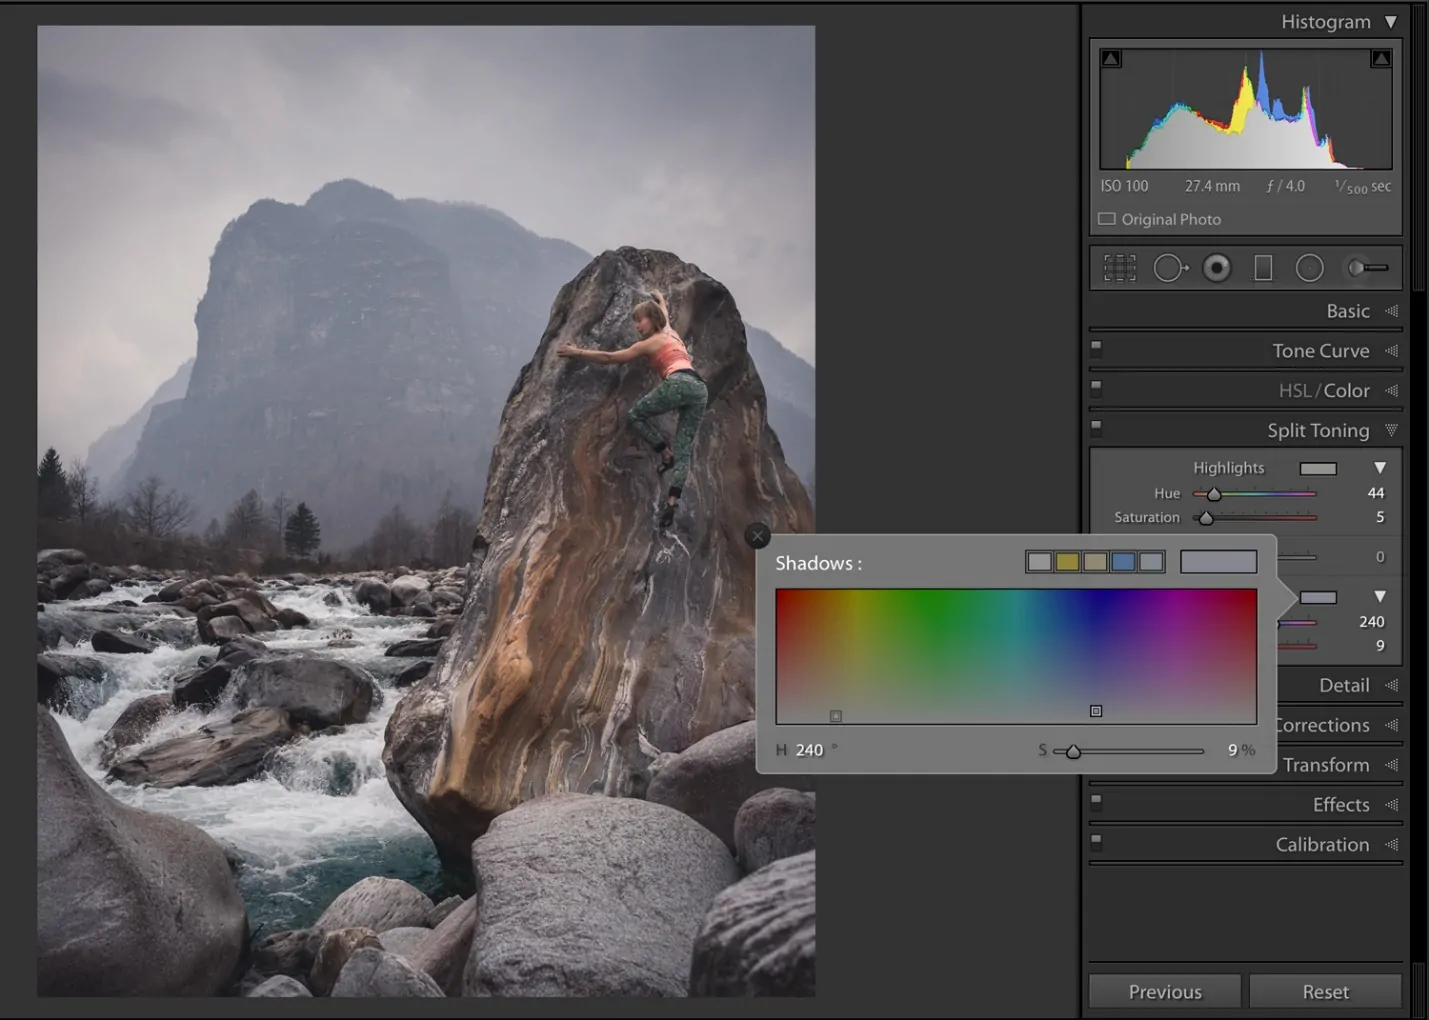
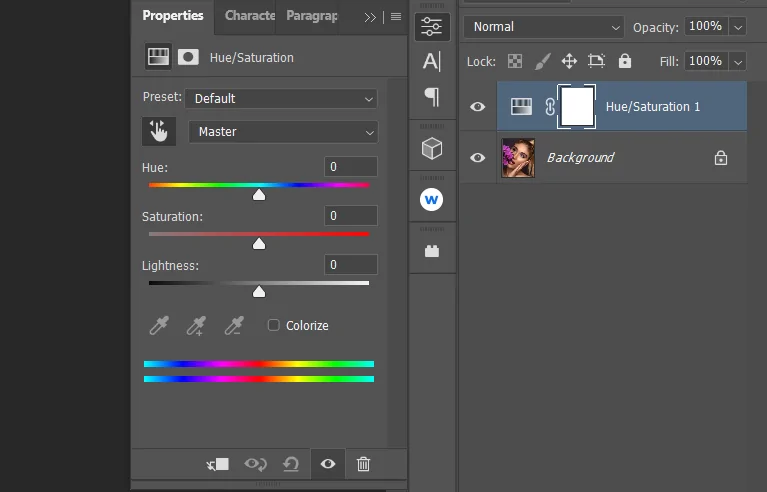
Step 2: Alter The Photo’s Colours
The Monet’s canvases were acknowledged for their dynamic yet delicate colour palettes, with pastel tints, warm tones, and a dreamy climate. This step will involve altering the photo’s colours to correspond to the impressionistic style.
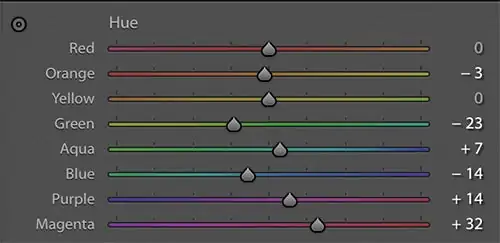
Expand yellows, blues, pinks, and greens to echo Monet’s characteristic colour scheme. Utilize the HSL panel in Lightroom or Photoshop to redirect the colours.
Expand the temperature and tint slightly towards warm tones to mimic the golden and warm light effect of classic monet works.
Decrease contrast minutely to let the shadows and highlights incorporate more smoothly, and prevent harsh edges.
Rather than oversaturating, increase vibrance to improve subtle colours without making them look unnatural.
Add a delicate blue-green tint in shadows and a brilliant tint in highlights to attain an even, painterly feel.
At the end of this step, the picture will transform into a more creative, impressionist-inspired composition, setting the stage to get further painterly effects.
Step 3: Present A Painterly Surface
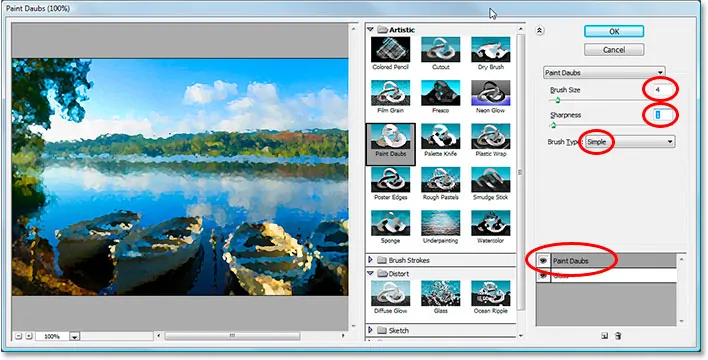
To truly mirror Monet’s impressionist fashion, you need to present a painterly surface that resembles brushstrokes.
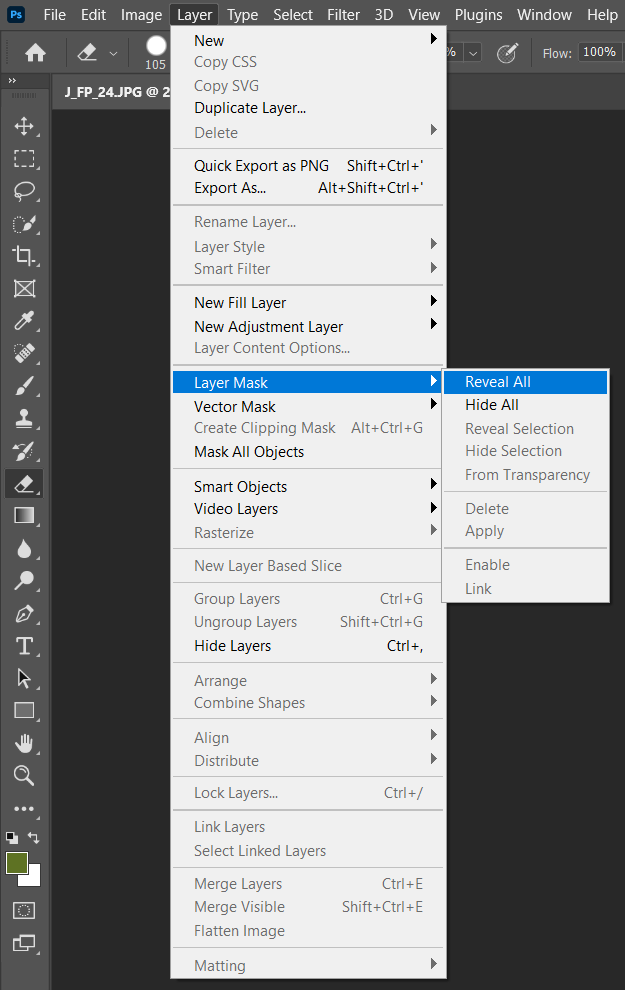
Head to Filter pick Stylize click Oil Paint and alter the Stylization and Cleanliness sliders to make slight, swirling brushstrokes.
Utilize filters such as a Dry Brush to include a finished, painterly effect to the picture.
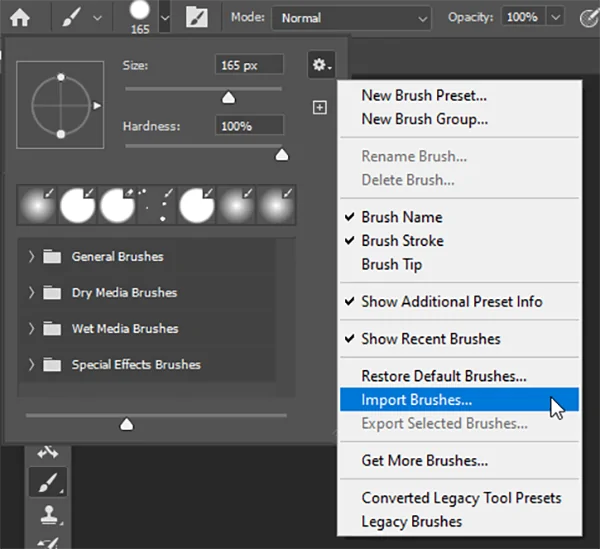
Consider utilizing soft Impressionist-style brushes to manually paint over zones, improving the brushstroke effect.
Include a subtle paper or canvas surface layer with a low opacity of 20 to 40 per cent to make the photograph akins to a genuine painting.
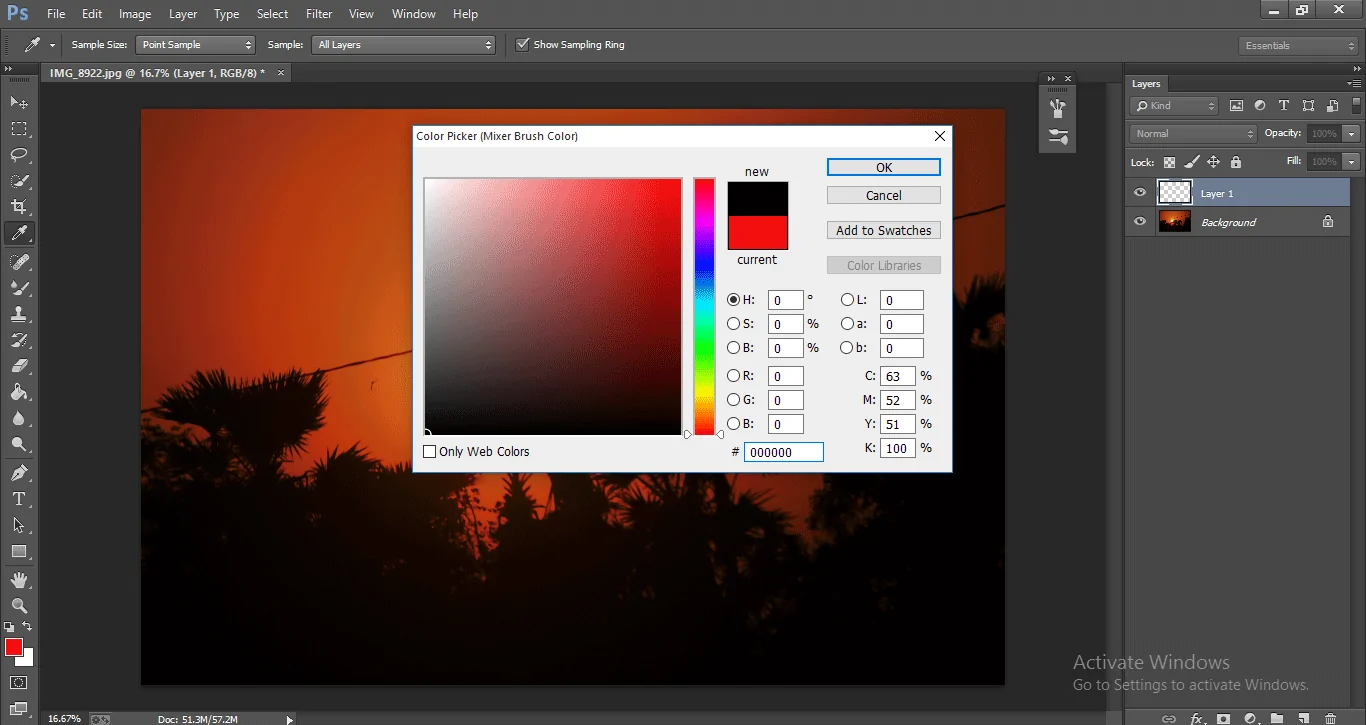
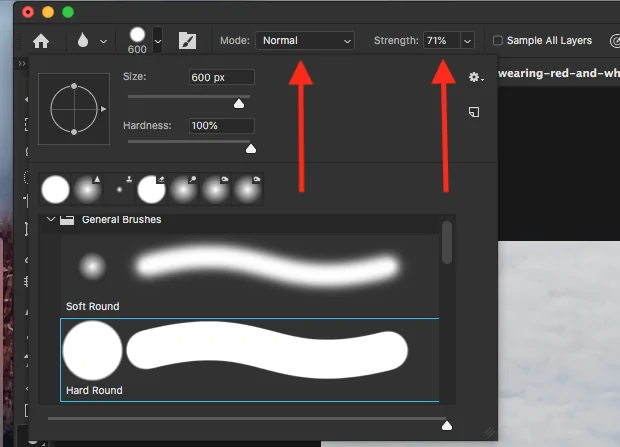
Utilize the Smudge Tool or Mixer Brush in Photoshop to delicately mix and soften subtle elements, mimicking the natural stream of paint.
It will improve the artistic look of the picture, making it seem like a true Monet-style artwork.
Step 4: Add Natural Light Effects
The traditional Monet’s works of art frequently capture the effect of characteristic light diffused through the climate, providing a glowing, nearly supernatural quality. That will improve that effect by softening highlights and spreading light in a natural way.
Make a duplicate of the photograph, add a Gaussian Blur of 5 to 10 pixels, and specify the blend mode to Soft Light or Overlay with decreased darkness of 20 to 50 per cent. It will enhance light while maintaining subtle elements.
Increase the highlights slightly while decreasing shadows to form a more glowing and airy effect.
Utilize the Dehaze tool in Lightroom or Photoshop and marginally decrease the value around -10 to -30 to make a soft barometrical effect.
Utilize a soft white brush of low opacity to paint over regions where natural light would spread, like the sky or water bodies.
In case the photograph features a light source, utilize a radial gradient or lens flare for a warm, glowing effect.
At the end of this step, your photo will get the signature delicate quality and profundity of Monet’s lighting, making it seem more like artwork.
Step 5: Add Water Reflections
The traditional Monet works were famous for water-themed depictions, particularly reflections in lakes and rivers. It is to make a natural, rippling effect that mirrors the development of water in impressionist art.
If your photograph has water, add Motion Blur in a horizontal or diagonal heading to mimic tender ripples.
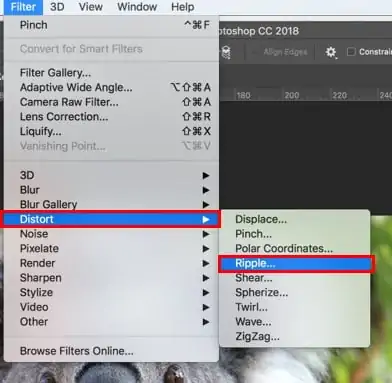
Proceed to Filter click Distort then Ripple or Wave, altering the settings to form subtle, organic twists in reflections.
Increment the saturation and vibrance in water regions to make reflections more distinctive, compared to Monet’s colour-rich water surfaces.
Utilize a soft smudge or mixer brush to make the reflection ranges vague, making them look fluid and natural.
As required, include a semi-transparent water surface layer to upgrade the authenticity of reflections.
At the end of these steps, the composition will own natural movement and depth, and feel more like an impressionist painting with perfectly blended reflections.
Step 6: Layer And Blend Surfaces
To thoroughly accomplish the Monet Impact, layering and blending diverse surfaces and effects is fundamental. It will integrate the photograph, guaranteeing all components blend naturally into a delicate, painterly arrangement.
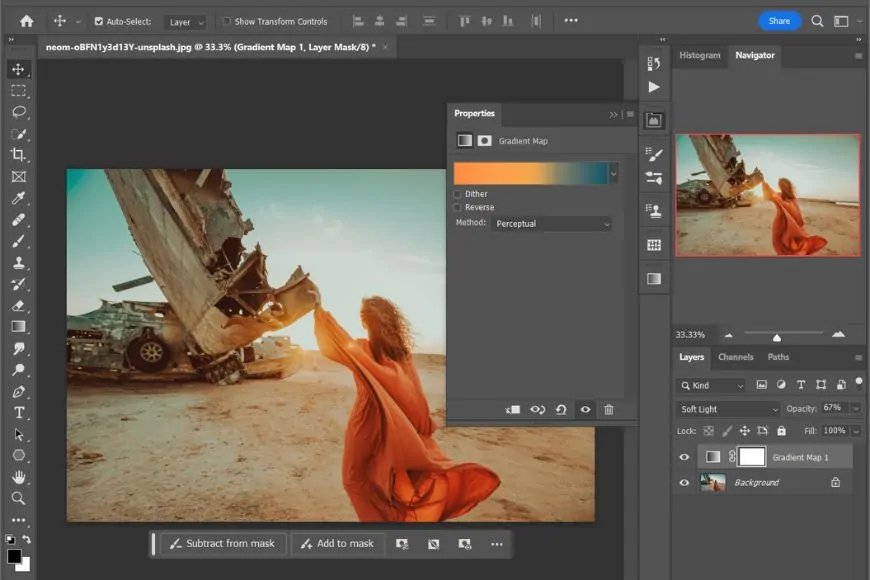
Within Photoshop, use layers for colour balance, curves, and gradient maps to polish tones and guarantee a rhythmic colour palette.
Make a duplicate of the picture, use a blur, and put it to Soft Light or Overlay with a lower opacity of 20 to 50 per cent to upgrade the dreamlike quality.
Utilize a canvas, watercolour, or grainy surface and put the blending mode to Multiply or Soft Light at low opacity to recreate a painted surface.
Utilize the Blur Tool or a mild eraser with low opacity to tenderly blend edges, expelling any sharp lines that do not fit the impressionist formation.
Include a gradient map layer in warm tones like gold, pink, and blue and alter opacity to make a soft, warm glow over the whole picture.
That step will guarantee all previous effects blend consistently, making the ultimate photograph look natural, aesthetic, and genuinely inspired by Monet’s impressionist canvases.
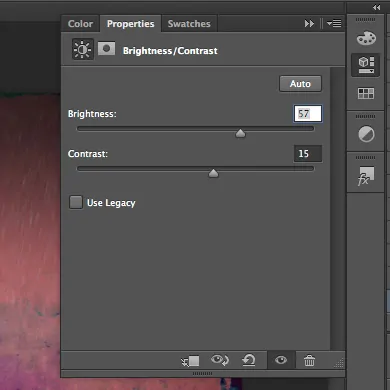
Step 7: Polish The Artwork
In the last step, you will perfect the artwork by making final polishes to the colour, surface, and general composition. It can guarantee a well-balanced, painterly look that completely grabs the Monet Effect.
Marginally alter saturation, brightness, and contrast to make the colours dynamic yet delicate, avoiding cruel tones.
Lay a last Gaussian Blur at low opacity to further relax any still-existing sharp subtle elements.
Utilize a vignette effect to ring attention to the centre of the picture, imitating the soft focus of impressionist works of art.
Include a subtle canvas or brushstroke-style border to strengthen the aesthetic vibe.
Use the zoom out and assess the illustration, making little changes to ensure a concordant blend of colours, surfaces, and lighting.
After you have brought all the components together you can save and export the composition.
Conclusion
In conclusion, you can transform ordinary photos into classic pieces of art by using the monet effect. Adding vivid colours and pastel tones will give your photographs a timeless appeal while turning them into unusual works of art reminiscent of Monet. Your photographs are ready to wow the viewers with their classic and refined style. Additionally, it provides a touch of nostalgia that is sure to arouse viewers’ recollections of tranquil natural settings and transport them back to the enchanted time of Claude Monet’s masterpieces. Eventually, with advanced editing techniques like the one this blog post highlights, your everyday shots will smoothly capture the wonder of Monet’s brushstrokes.
