How To Create A Lenticular Effect
The process of lenticular printing produces pictures that alter in appearance or appear three-dimensional depending on the viewing angle. A thermoplastic sheet of parallel-ridged lenticular lenses is used to print two or more perspectives of a scene. Specialized, high-quality lithographic presses with fine-tuning tolerances are employed to align the picture to the lens array. Millions of lenticular pictures have been produced since the 1940s on postcards, novelty items, political logos and advertisements that alter their message depending on the passerby. It makes it possible to make a visual change from one thing to another by using several perspectives. In addition, with the advancement of image enhancement approaches, the visual effects shown by lenticular prints are also inspiring image editors and digital artists to adorn the images and artworks with this innovative approach. This blog will proceed with the step-by-step process of adding an interesting lenticular effect to everyday photographs, offering them dimensionality and depth.
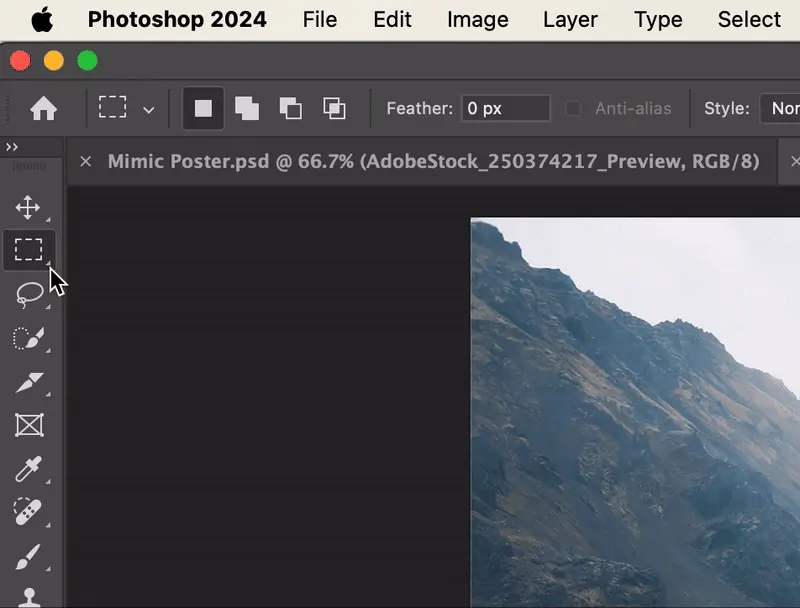
Step 1: Selecting The Base Images
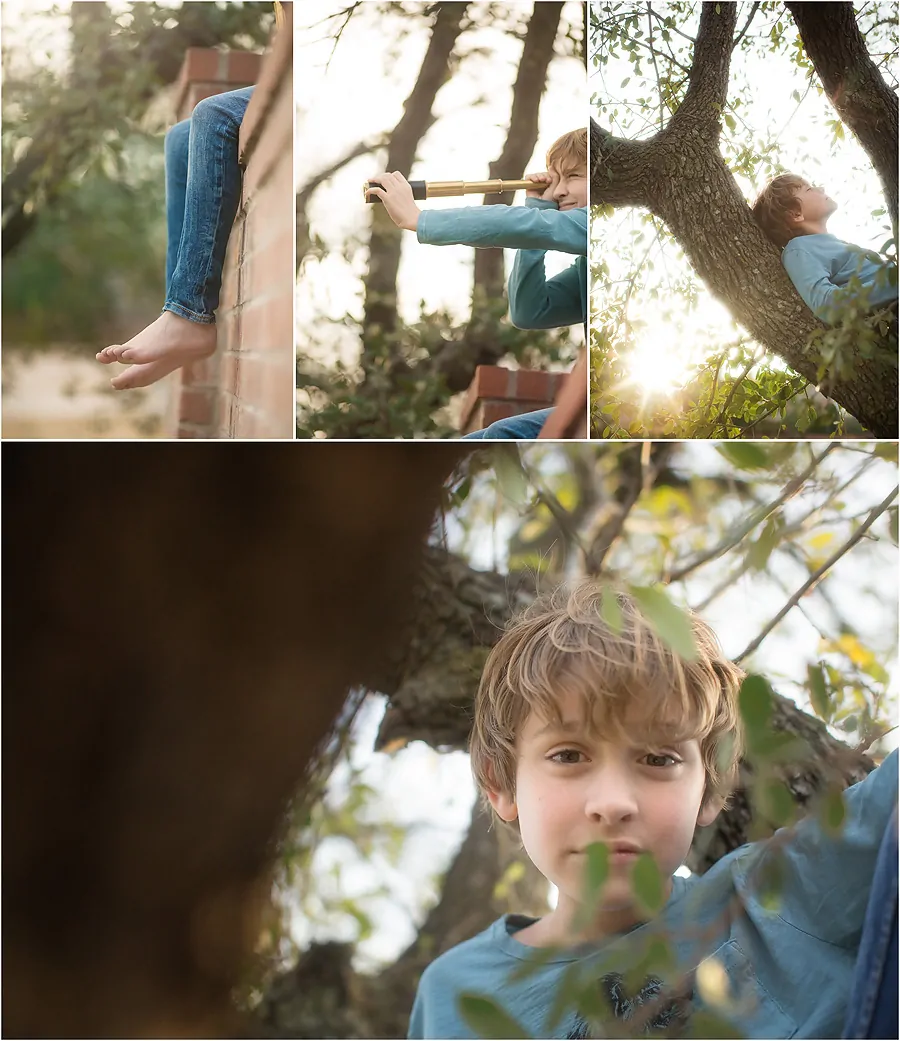
To add a lenticular-style effect, you need to begin with two or more photographs. These can be marginally diverse versions of the same subject, such as a head turned marginally, a hand raised, or even just myriad facial expressions.
Make sure that all photographs are shot from the same angle and distance. Variations in lighting or framing can destroy the arrangement and disorganize the visual effect.
The more precise the photographs, the better the effect will show up after slicing. Low-resolution shots may blur or pixelate as you split into strips.
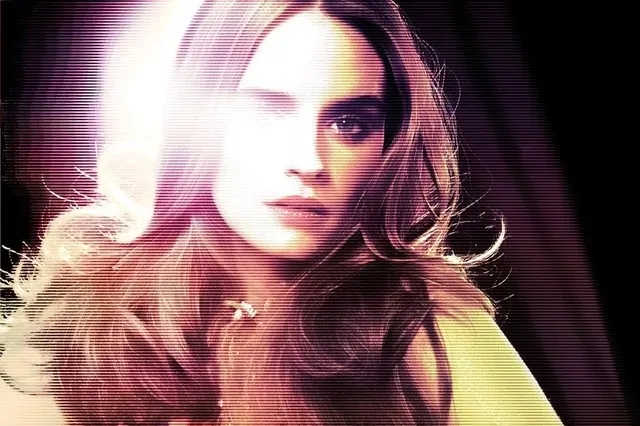
Perfect varieties incorporate small movements, colour changes, or object positions. The objective is to make the onlooker feel like the picture is moving or morphing when viewed from different angles.
Dynamic or diverse backdrops will make the transition between slices feel messy. Select photographs where the backgrounds are either plain or about identical for a cleaner, more proficient impression.
Step 2: Aligning And Resizing The Images
Set a new document in your editing program with dimensions corresponding to your chosen photographs. That will function as your working space for merging them.
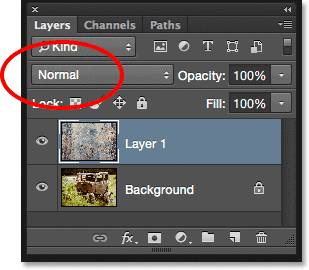
Put each base picture on a separate layer. Be sure that they are stacked specifically on top of each other for a simple arrangement. Name each layer clearly for quicker navigation.
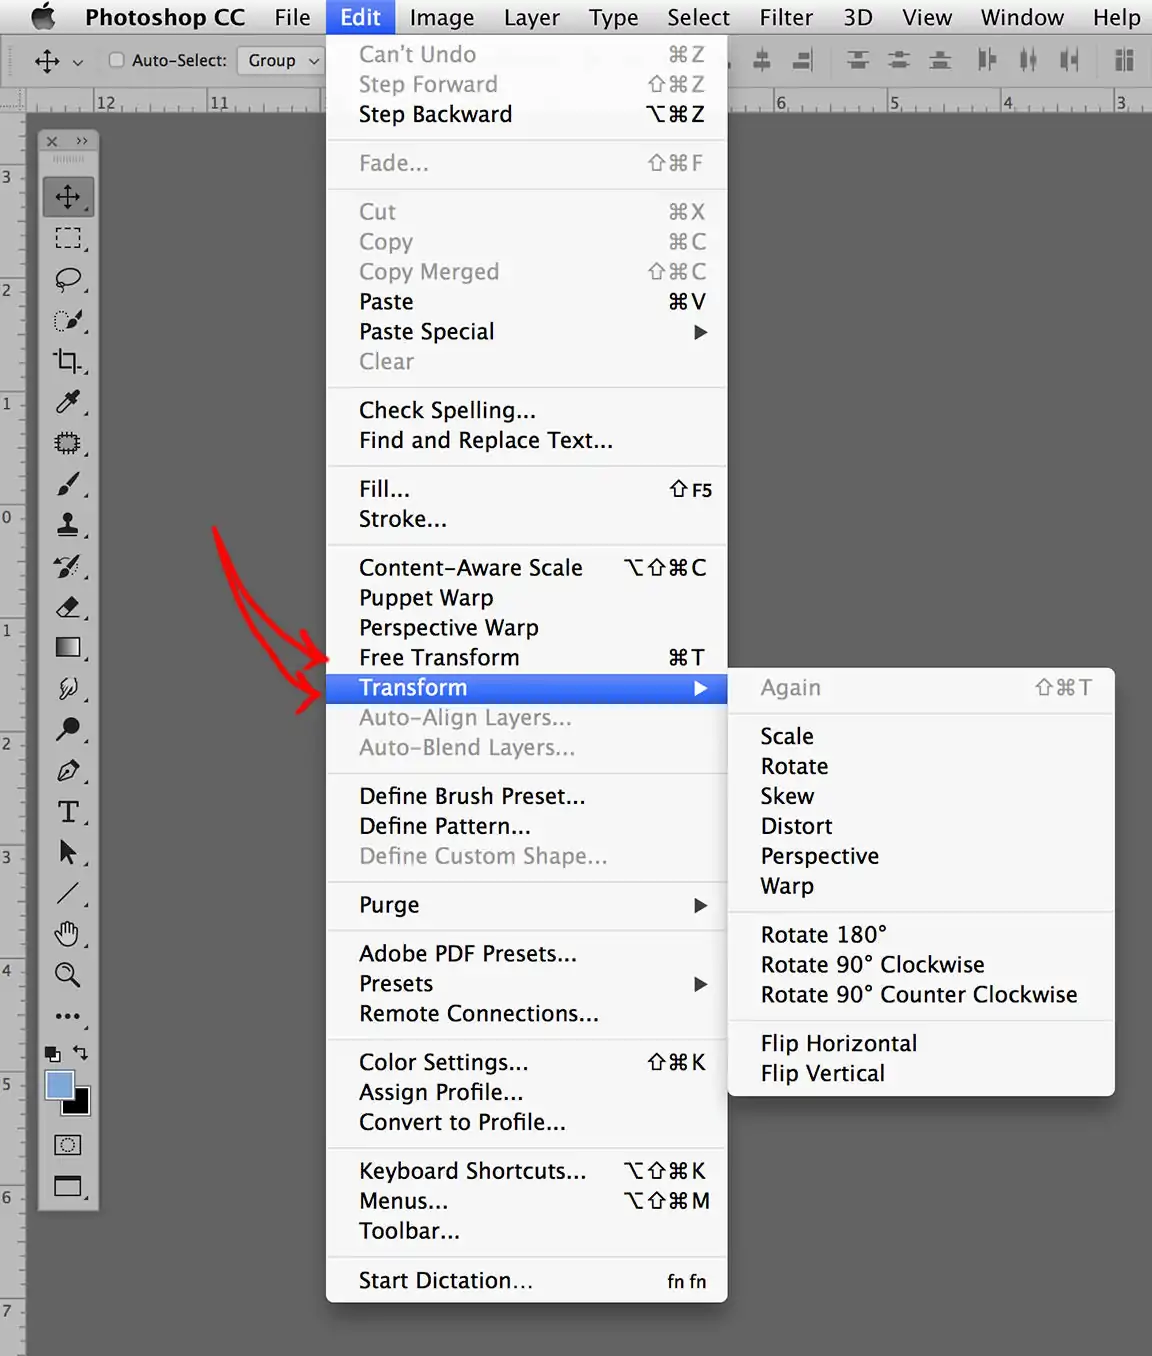
Utilize the transform tool to resize each picture so they all conform in height and width. If even one photograph is off, the striping effect will misalign and lose its neat wrap-up.
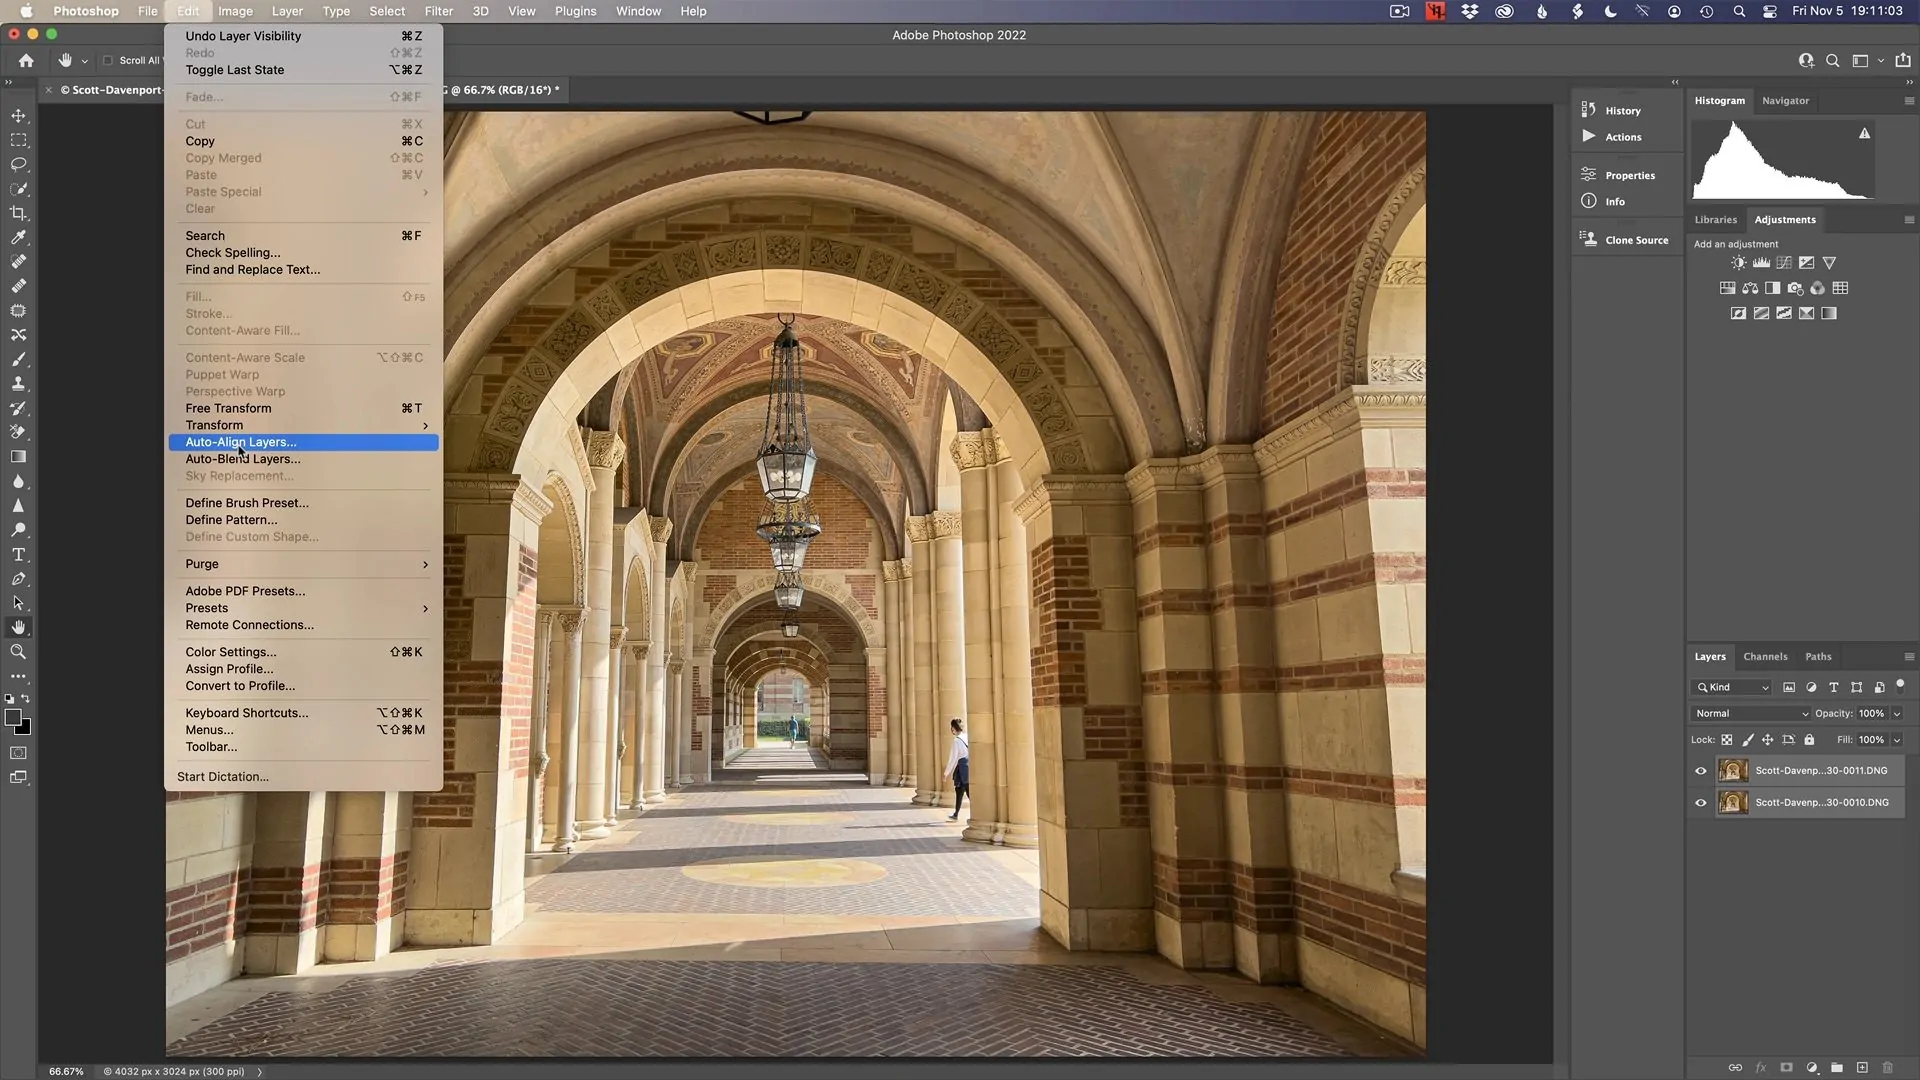
Most editing program has an Auto-Align Layers option, which you will use to adjust objects accurately. In case that function is not accessible, decrease the opacity on the top layers briefly to adjust manually utilizing key areas, including the eyes or edges.
On the off chance that your photos do not adjust perfectly, crop out the messy edges. The objective here is to plan a clean, balanced base where each picture conveys the precise frame and perspective.
Step 3: Creating Strips Of Images

Select the width of each strip, such as between 5–20 pixels. Narrow strips make smoother moves, whereas more extensive strips allow a more apparent flip effect. Keep it steady all through.
Utilize guides to keep out equal-width columns over your canvas. That will help keep slicing detailed. For instance, if your picture is 1000px wide and you need 10px strips, put guides every 10 pixels.
Employ the rectangular marquee tool to choose a vertical strip from one picture, then duplicate and paste it into a modern layer. Repeat this approach, alternating strips from each photograph.
Set the strips so that each one interchanges between your two source pictures. The arrangement could be such as a strip from Picture A, then Picture B, then A once more, and so on.
Turn on Snap to Guides or Snap to Grid to perfectly adjust the strips side-by-side without overlap or dispersing. It will guarantee that the ultimate composite looks consistent.
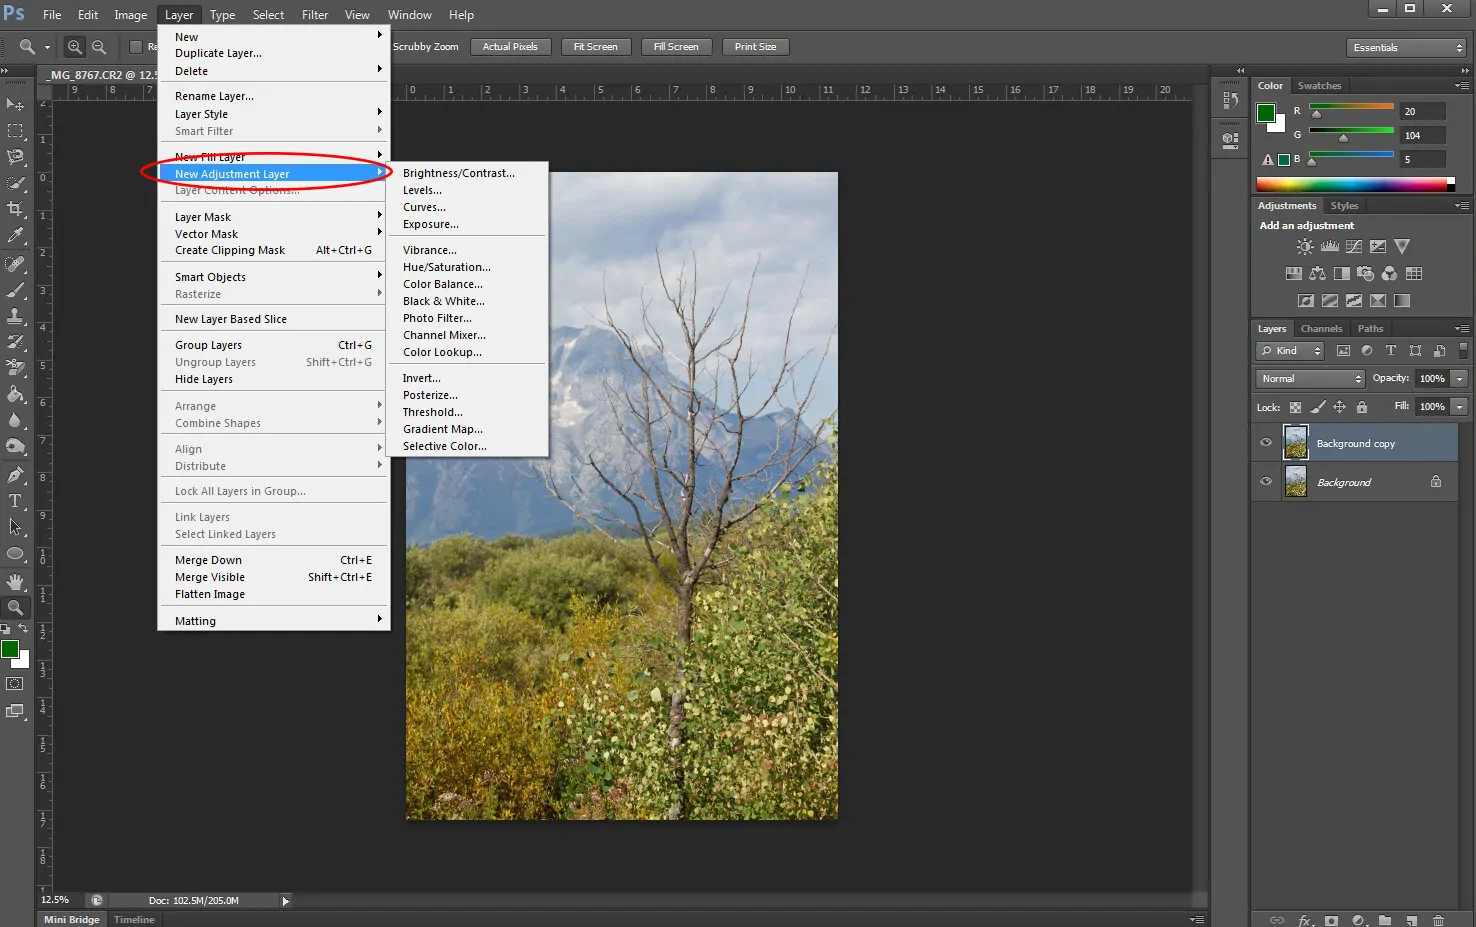
Step 4: Utilising Layer Mask And Blend Modes
After you are done alternating strips, you can group them into a single folder or smart object. It will keep your layers organized and make global alterations simpler.
Utilize layer masks for each strip or the entire bunch. Masks permit you to cover up or uncover parts of the strips smoothly without for all time modifying the photo.
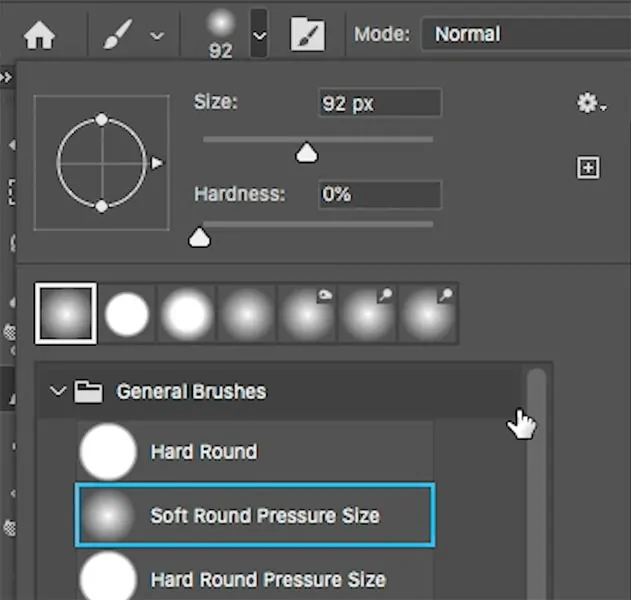
Choose a delicate round brush having low opacity and delicately paint on the mask edges. It will create a smoother blend between the strips, mirroring the progressive lens transition of genuine lenticular prints.
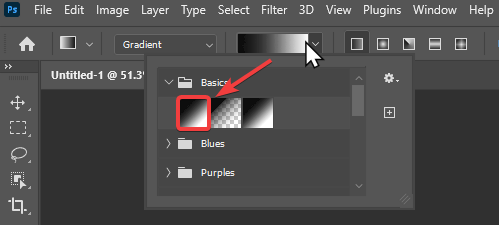
Look into applying gradient masks to make a flowing shift from one picture to the other over different strips. It will upgrade the illusion of movement or morphing.
Alter the opacity of certain strips or revise brightness and contrast on selected zones. Subtle varieties can help mimic lighting transformations, including realism to the lenticular effect.
Step 5: Adding Texture Overlays

Look for a lenticular lens surface online or make your own by planning an arrangement of vertical lines with shifting thickness. These lines ought to be transparent and put over the picture.
Bring the lenticular surface and put it on a new layer over your picture. Resize it to correspond to the dimensions of the picture and cover the whole canvas.
Alter the blend mode of the lenticular surface layer, choosing from options like Overlay or Soft Light. It will help the texture blend into the picture, including subtle profundity and interaction without overwhelming the composition.
Decrease the opacity of the surface layer to guarantee it is nuanced. You need it to mimic the lenticular effect, but not to overwhelm the picture. Usually, 10 to 30 percent opacity goes well.
In case the lenticular surface covers undesirable zones, including the backdrop or edges, utilize a mask or eraser tool to remove it from those regions. Be sure that it only remains over the ranges where you need to enhance the lenticular illusion.
Step 6: Enhancing The Colors
Polish the overall contrast and brightness to make the picture more energetic. Expanding the contrast will make the strips look more striking more clearer, upgrading the lenticular effect. Be careful not to exaggerate it, as you still need the picture to feel realistic.
Utilize adjustment layers such as Hue/Saturation or Selective Color to improve particular regions of the picture. Elevating colours in different parts can produce a sense of movement and include depth, which is key to imitating lenticular visuals.
Include a nuanced vignette around the edges of the picture. That will help in directing focus to the centre and intensify the visual impact, making the depth and transitions more pronounced.

Add a slight sharpening filter to the picture to be sure that all details are fresh. That can be especially imperative after blending and including textures because it can help bring back any softness misplaced during the procedure.
Audit the whole image. Observe it from diverse angles or utilize zoom in/out to guarantee the lenticular effect is reliable. Do any last changes to the opacity, blending, or texture till you attain a clean, proficient formation.
Step 7: Finalizing The Composition
Before you move on to the export phase, confirm that your photograph is at the appropriate resolution for the intended utilization. In the case of print intent, utilize at least 300 DPI. Similarly, for web usage, 72 DPI is generally adequate.
Check the file size to be sure that it is not too large if it is intended for online usage.
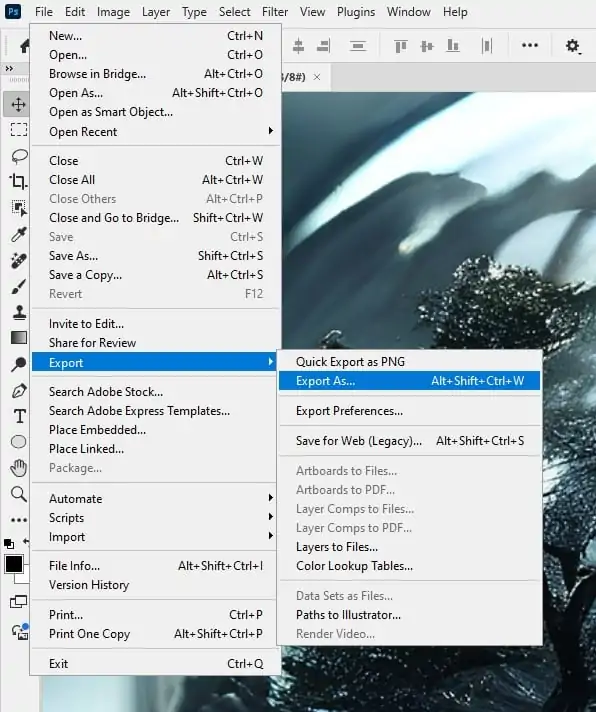
In the end, proceed to export the file in an appropriate format according to how it’ll be utilised.
For instance, for the high-quality prints, TIFF or PNG is ideal. The same way for the web or sharing JPEG or GIF is useful.
On the off chance that you are done altering and need to keep things simple, flatten your layers before exporting the final composition. Nonetheless, in case you plan on further edits afterwards, save a duplicate within the original PSD or layered format.
Analyze the exported file for any visible artifacts, like noise, banding, or ranges that do not transition easily. Be sure that the lenticular effect is intact and adequately displayed.
Look into keeping a backup of the initial record and the ultimate export. You will require it for future alterations or adjustments, particularly in the event that you are working with a lenticular print design that will require polishing afterwards.
Conclusion
In summary, the application of the lenticular effect to an image implies an impression of depth and dynamism. It adds interesting, varied perspectives that allow the viewer to experience interesting visual narratives as they view the composition from different angles. You can either use different images or use the different perspectives of the same scene to add a sense of motion and transformation to the subject’s appearance. With the addition of vertical and horizontal strips, either of similar or different images, the composition gives a layered effect that, because of the layer mask, looks well integrated and unified.
