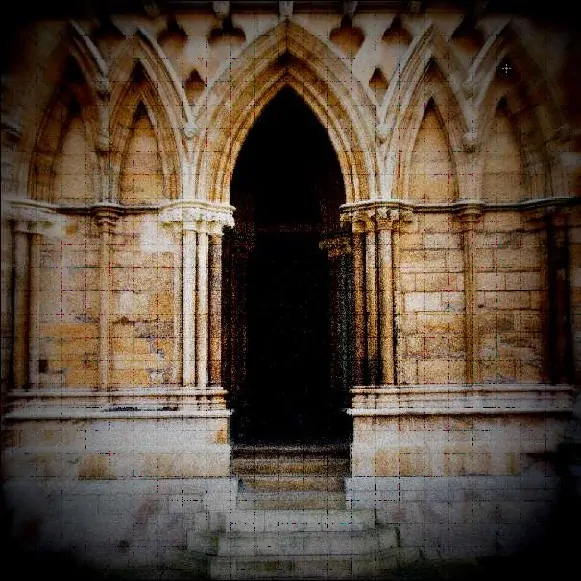
How To Create A Holga Effect
Holga cameras are renowned for their distinctive plastic design and capacity to generate odd yet surprising results. With the proper skills, you can employ one of these cameras to produce breathtaking images that stand out from the crowd. The unpredictability of the nature around us can also be advantageous when taking pictures with a Holga camera. When shooting in varying lighting settings, the Holga’s plastic lens and imprecise controls can yield unusual and captivating results. Even in the middle of a downpour or on a foggy day, you could get some very amazing images. The plastic lens of the Holga creates a gentle, surreal look that works especially well for close-up photography. Likewise, the trending visual effect produced by holga photography can also be attained using contemporary image enhancement tools and techniques. This way you can turn your common camera photos into holga shots exhibiting aesthetic variations. The step-by-step process of adding a Holga effect to a photograph is as follows.
Step 1: Creating Soft Focus
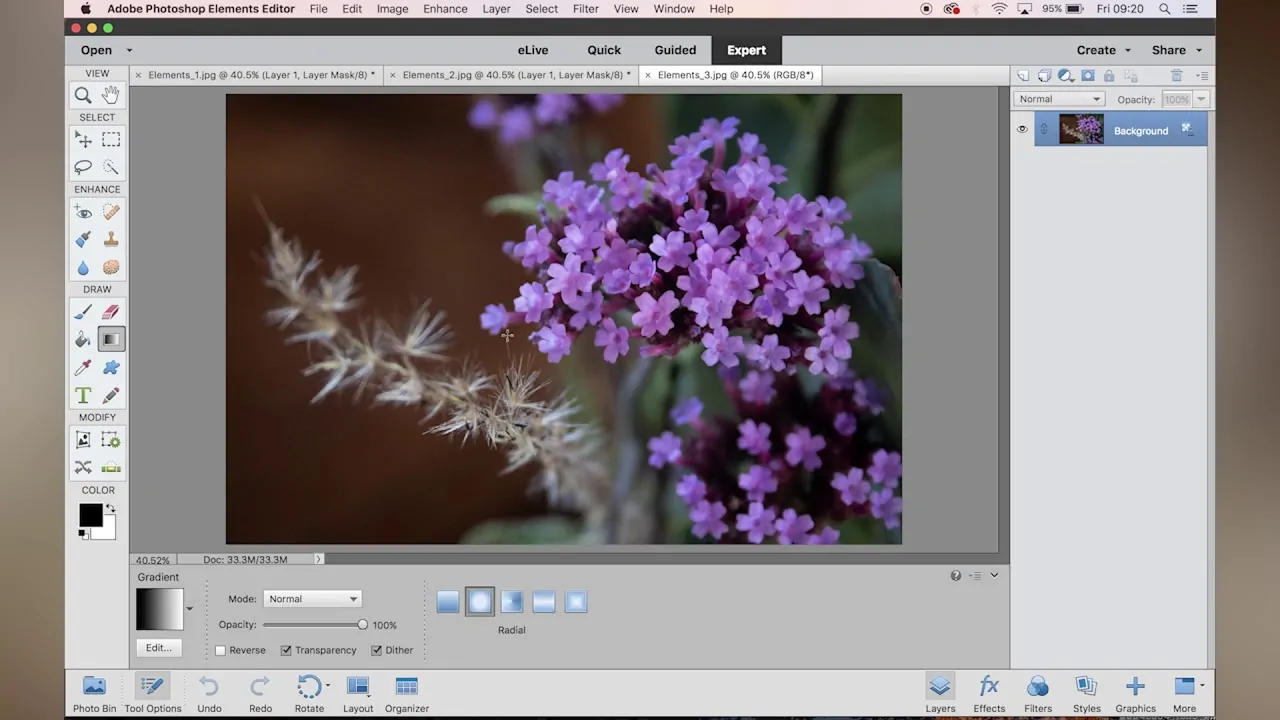
Import your image into your Photoshop app or any other editing program. If you are utilizing Photoshop, head to File, then click Open, pick your photograph, and copy the layer using Ctrl+J to keep the initial unharmed.
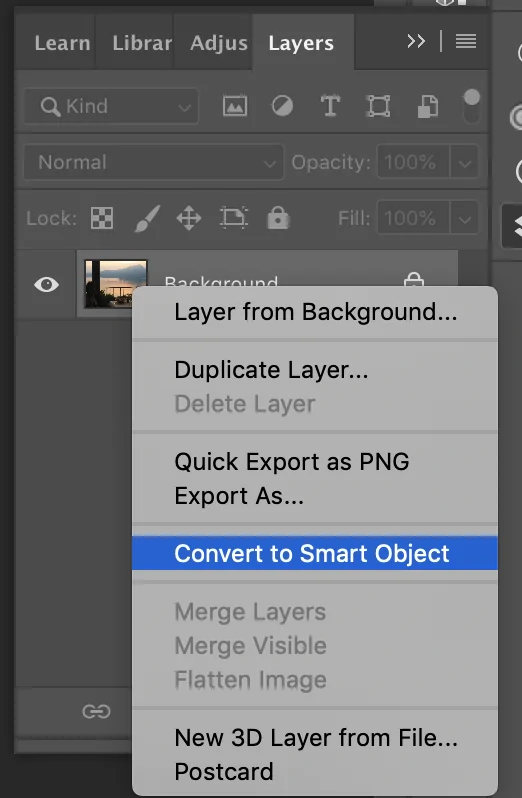
Right-click on the duplicate layer and choose Convert to Smart Object. It permits non-destructive altering, so you can alter blur settings later as required.
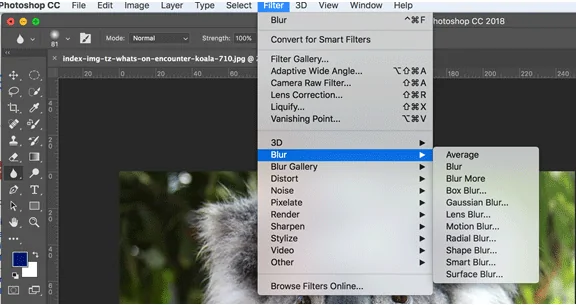
Proceed to Filter select Blur then Gaussian Blur. Put the radius between 2 to 5 pixels or alter it based on the photo resolution. It will soften the subtle elements, giving the incredible Holga-style blur.
Decrease the opacity of the blurred layer between 40 to 70 per cent so that the effect integrates naturally while keeping some particulars obvious.
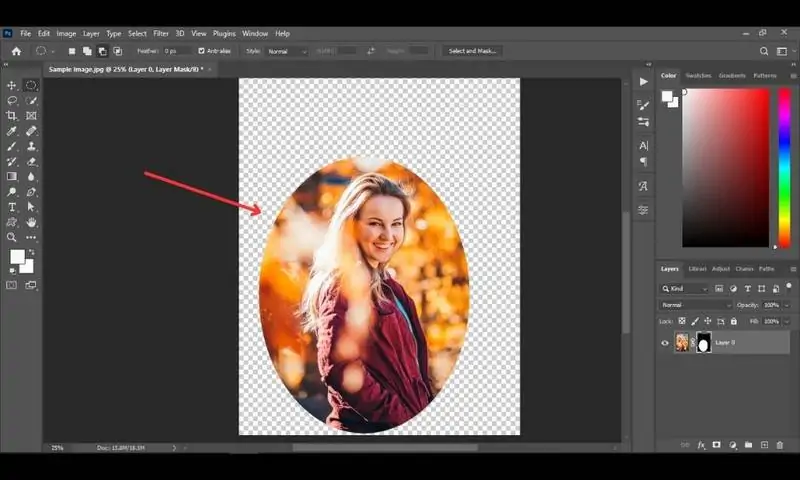
Tap the Add Layer Mask icon, choose a soft brush, and erase the blur from critical zones such as eyes, text, or the primary subject to preserve clarity as required.
Modify contrast and brightness moderately to improve the marvellous look while keeping the picture outwardly proportional. In the end, preserve your progress.
Step 2: Add A Vignette
Proceed to Layer the choose New Adjustment Layer and Levels. It can help in darkening the edges gradually without influencing the whole picture.
Choose the Elliptical Marquee Tool and draw a huge oval shrouding the centre of the photograph, leaving a few spaces near the edges. It will define the zone that will stay brighter.
Tap on Shift + Ctrl + I to invert the selection, to ensure that only the edges are influenced.
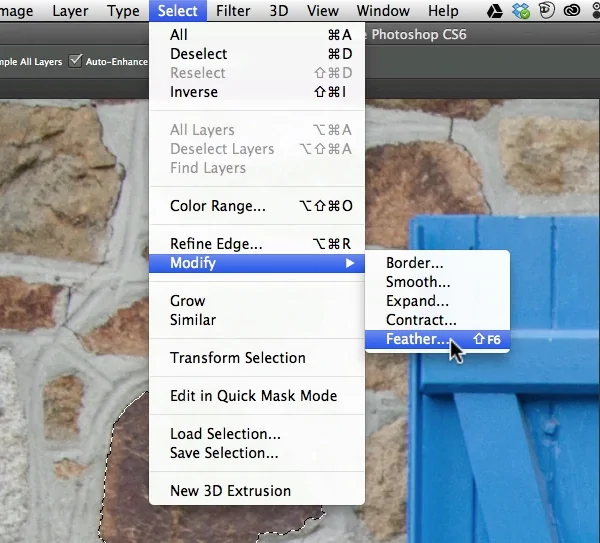
Proceed to select the option click Modify then Feather, and set the feather radius between 100 to 200 pixels according to your picture size. It can guarantee a soft, gradual fade instead of a harsh edge.
Keep the selection active, make a new Levels or Curves adjustment layer and nuancedly decrease the highlights and midtones. It can darken the edges, making a natural vignette effect. Alter opacity as required for a subtle, adjusted appearance. Finally, save your progress.
Step 3: Introducing Light Leaks
Tap on Shift + Ctrl + N to include a new layer. Put the blending mode to Screen or Overlay to get a natural light leak effect.
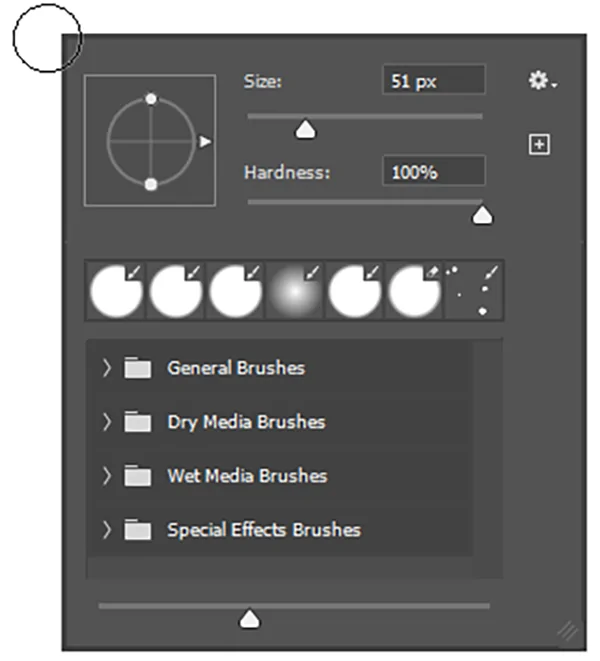
Activate the Brush Tool, specify the hardness to 0, and choose a warm colour such as red, orange, or yellow to imitate natural light leaks.
Press on the edges of the photograph and apply delicate strokes of colour. Keep it random to mimic how genuine Holga cameras permit light leaks.
Move to the Filter then click Blur > Gaussian Blur and place the radius between 50 to 150 pixels to diffuse the light leak naturally into the picture.
Decrease the opacity by around 30 to 60% and utilize the Eraser Tool with low opacity to remove excess colour as required. Try distinctive positions for a more true vintage feel. Save your changes in the end.
Step 4: Enhancing Contrast And Saturation
Move to Layer then New Adjustment Layer and Curves. Alter the curve to make a slight S-shape, developing shadows and boosting highlights for a stronger contrast.
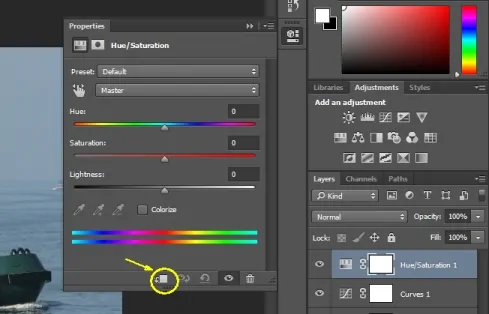
Make a Hue/Saturation Adjustment Layer via Layer > New Adjustment Layer > Hue/Saturation. Increment the Saturation slider by 10 to 30 points to improve colours while holding them naturally.
Proceed to Image, choose Adjustments then Selective Color and fine-tune person colors. Expand reds and yellows slightly to upgrade the warm, vintage Holga appearance.
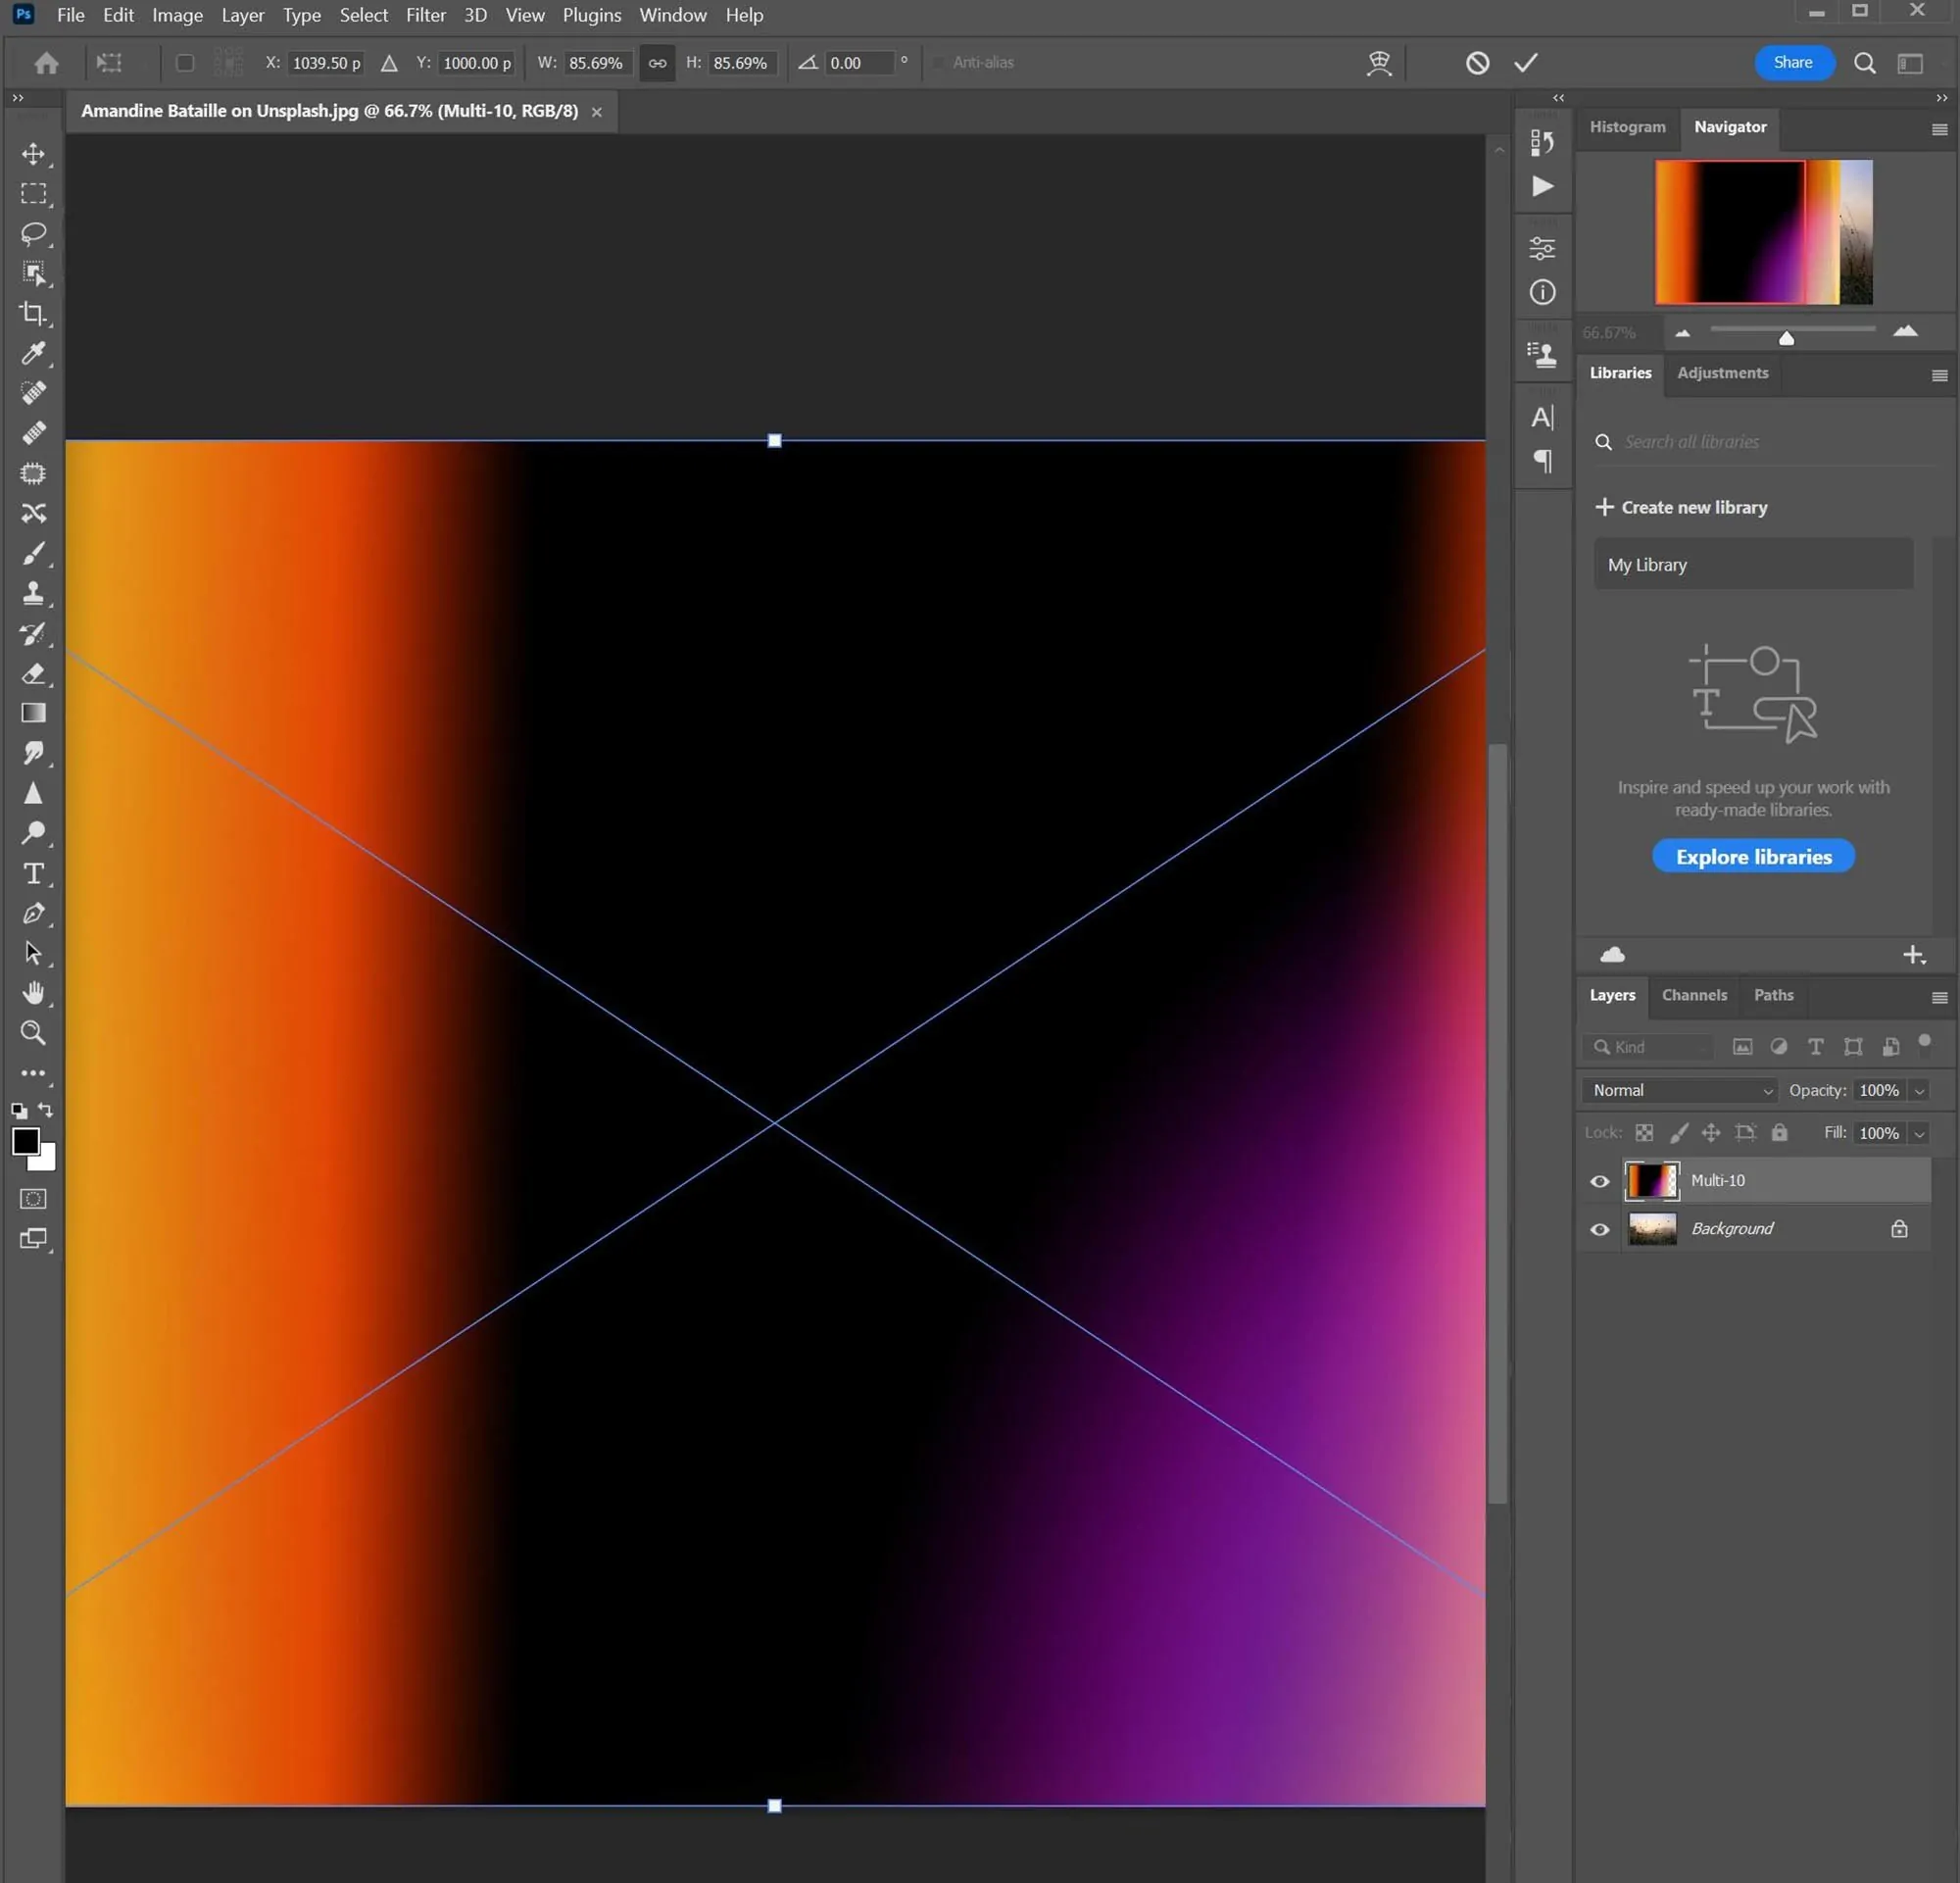
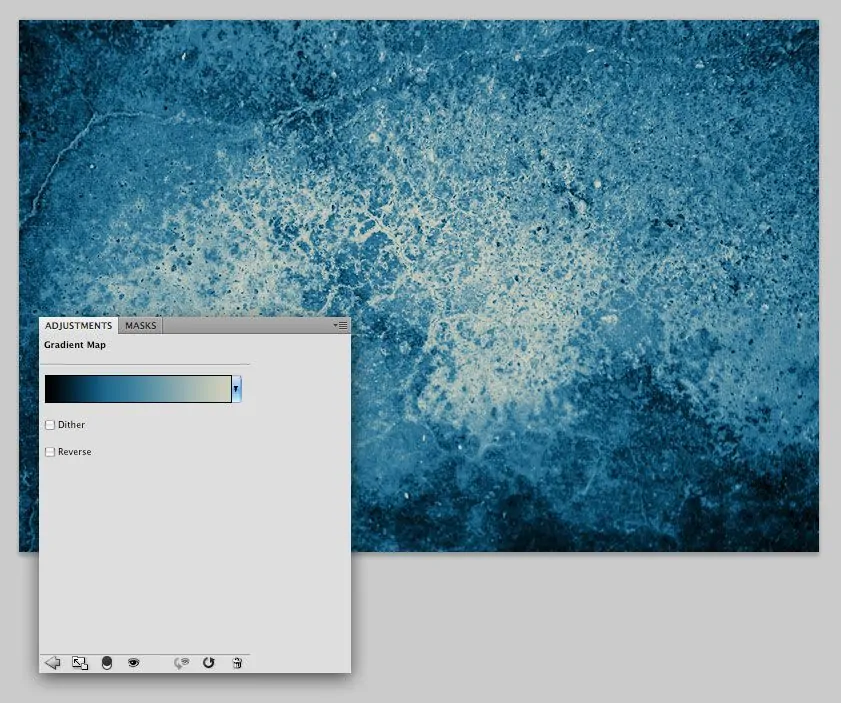
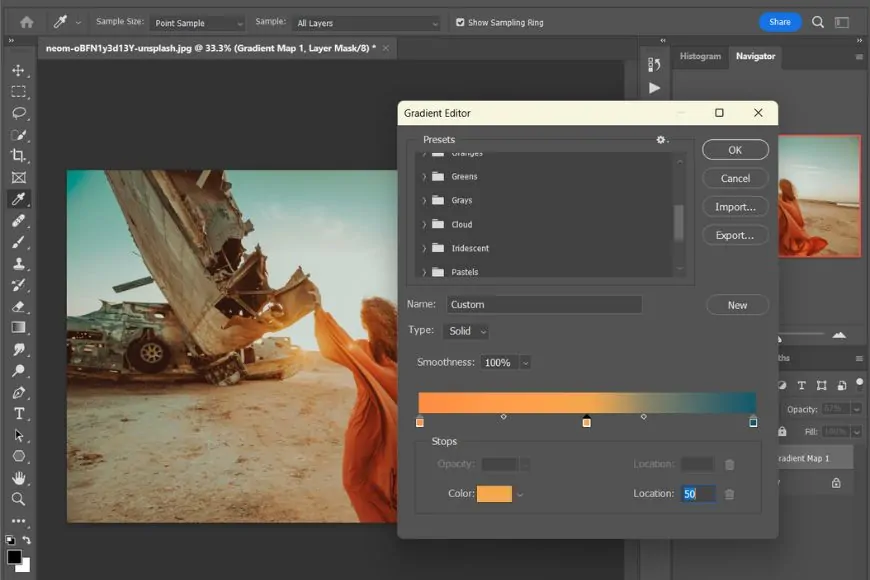
Include a Gradient Map Adjustment Layer, choosing a warm-to-cool gradient like orange to blue. Minimize the opacity to 10 to 30% for a nuanced colour toning.
Alter the opacity of each adjustment layer and play with blending modes Soft Light, Overlay, or Multiply to attain a striking yet adjusted contrast. Save changes in the end.
Step 5: Adding A Mild Blur
Tap on Ctrl + J to make a copy of your current photograph. It will guarantee that the effect is connected non-destructively.
Proceed to Filter, choose Blur > Gaussian Blur and specify the radius between 2-5 pixels. It can make a delicate, dreamy impression without totally losing detail.
Tap on Add Layer Mask, choose the Brush Tool with a delicate round brush, and put the opacity to 30 to 50 per cent. Delicately erase the blur from imperative zones such as the face, text, or central points.
Decrease the blurred layer’s opacity to 40 to 70 per cent to make the effect more modest and harmonized with the initial picture.
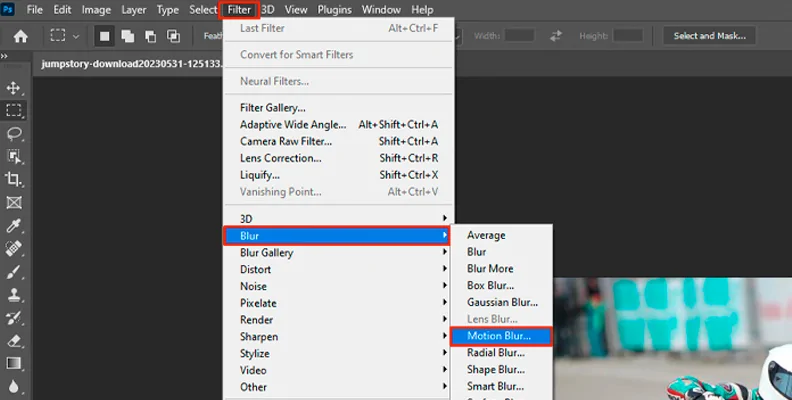
To achieve a more creative effect, try Filter choose Blur then Motion Blur and put a small angle and distance. It will include a slight movement impression, upgrading the vintage Holga style.
Step 6: Presenting Film Grain
Tap on Shift + Ctrl + N to include a new layer. Fix its blending mode to Overlay to attain a crude grain effect.
Move to Edit then Fill, select 50% Gray, and press Ok. It will help the grain blend easily with the image.
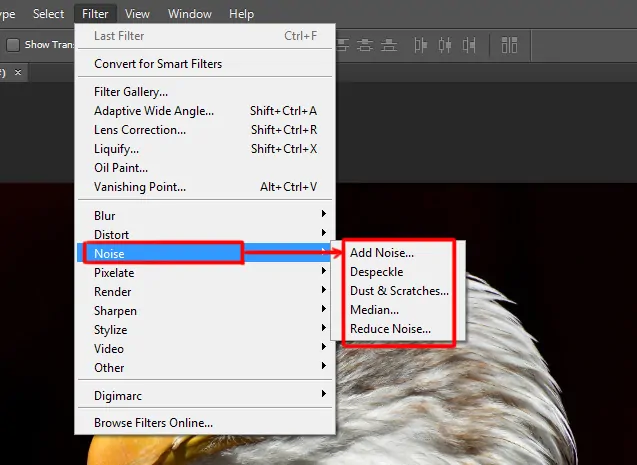
Move to Filter choose Noise > Add Noise and put the amount to 5 to 15%. Choose Gaussian and check Monochromatic to make a natural film grain effect.
Proceed to Filter then follow Blur > Gaussian Blur and add a 1 to 2 pixel blur to relax the noise slightly, avoiding an excessively harsh effect.
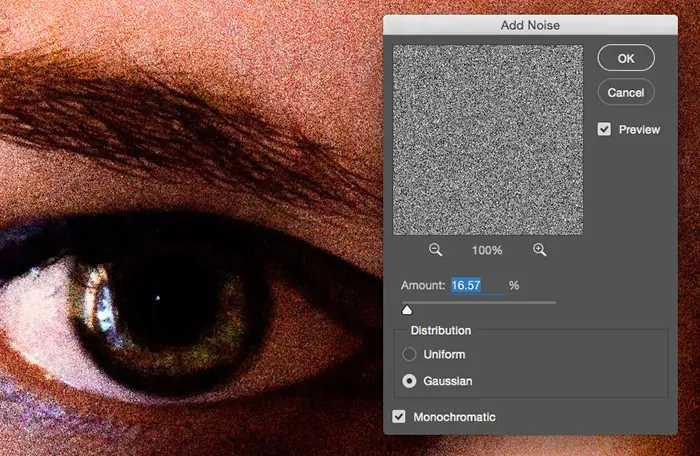
Decrease the layer opacity for a subtle effect. As required, utilize a layer mask with a soft brush to erase grain from zones such as faces while keeping it on backgrounds.
Step 7: Using Color Shifts And Finalizing
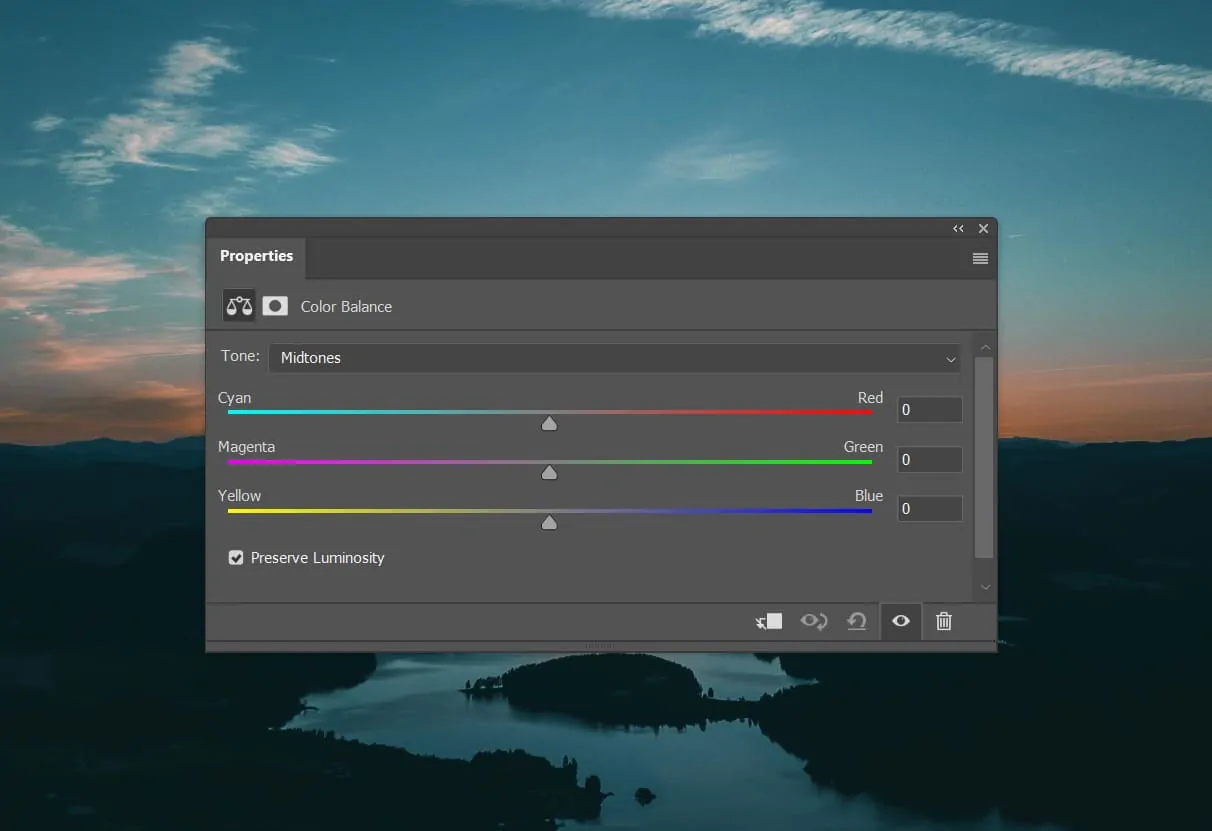
Move to Layer, choose New Adjustment Layer and Color Balance. Alter the shadows, mid tones, and highlights by including fine reds, yellows, or blues to make a wistful film-like colour cast.
Move to Layer then New Adjustment Layer and Photo Filter. Select a warm or cool filter, altering the density to around 15 to 30% for a pale vintage formation.
Discover the Split Toning panel of your software. Include warm shades to the highlights and cooler tones to the shadows for a genuine Holga-inspired look.
Move to Layer then New Adjustment Layer and Gradient Map, choosing a vintage-style gradient. Decrease opacity to 10 to 25% for adding a nuanced, aesthetic hue.
Polish the composition utilizing Brightness/Contrast or Curves to confirm a balanced, well-blended final appearance.
After you are satisfied, move to File and click Save As to keep a layered PSD form. After that, export as JPEG or PNG through File > Export > Save for Web to facilitate either sharing or printing per your objective.
Conclusion
To sum up, producing stunning images with the holga effect can be fascinating and fulfilling. You can produce photographs that are genuinely one-of-a-kind and unforgettable by highlighting the unpredictable nature of the weather, experimenting with various effects and playing with different blending modes thus stepping up close to the subject, and accepting imperfection. Turning an everyday image into the appearance of a holga photograph adds a dreamy blurry atmosphere and enhances the storytelling aspect. Also, the colour scheme shifts to a vibrant and oversaturated status that develops a trait of animation and vitality.
