How To Create A Drypoint Effect
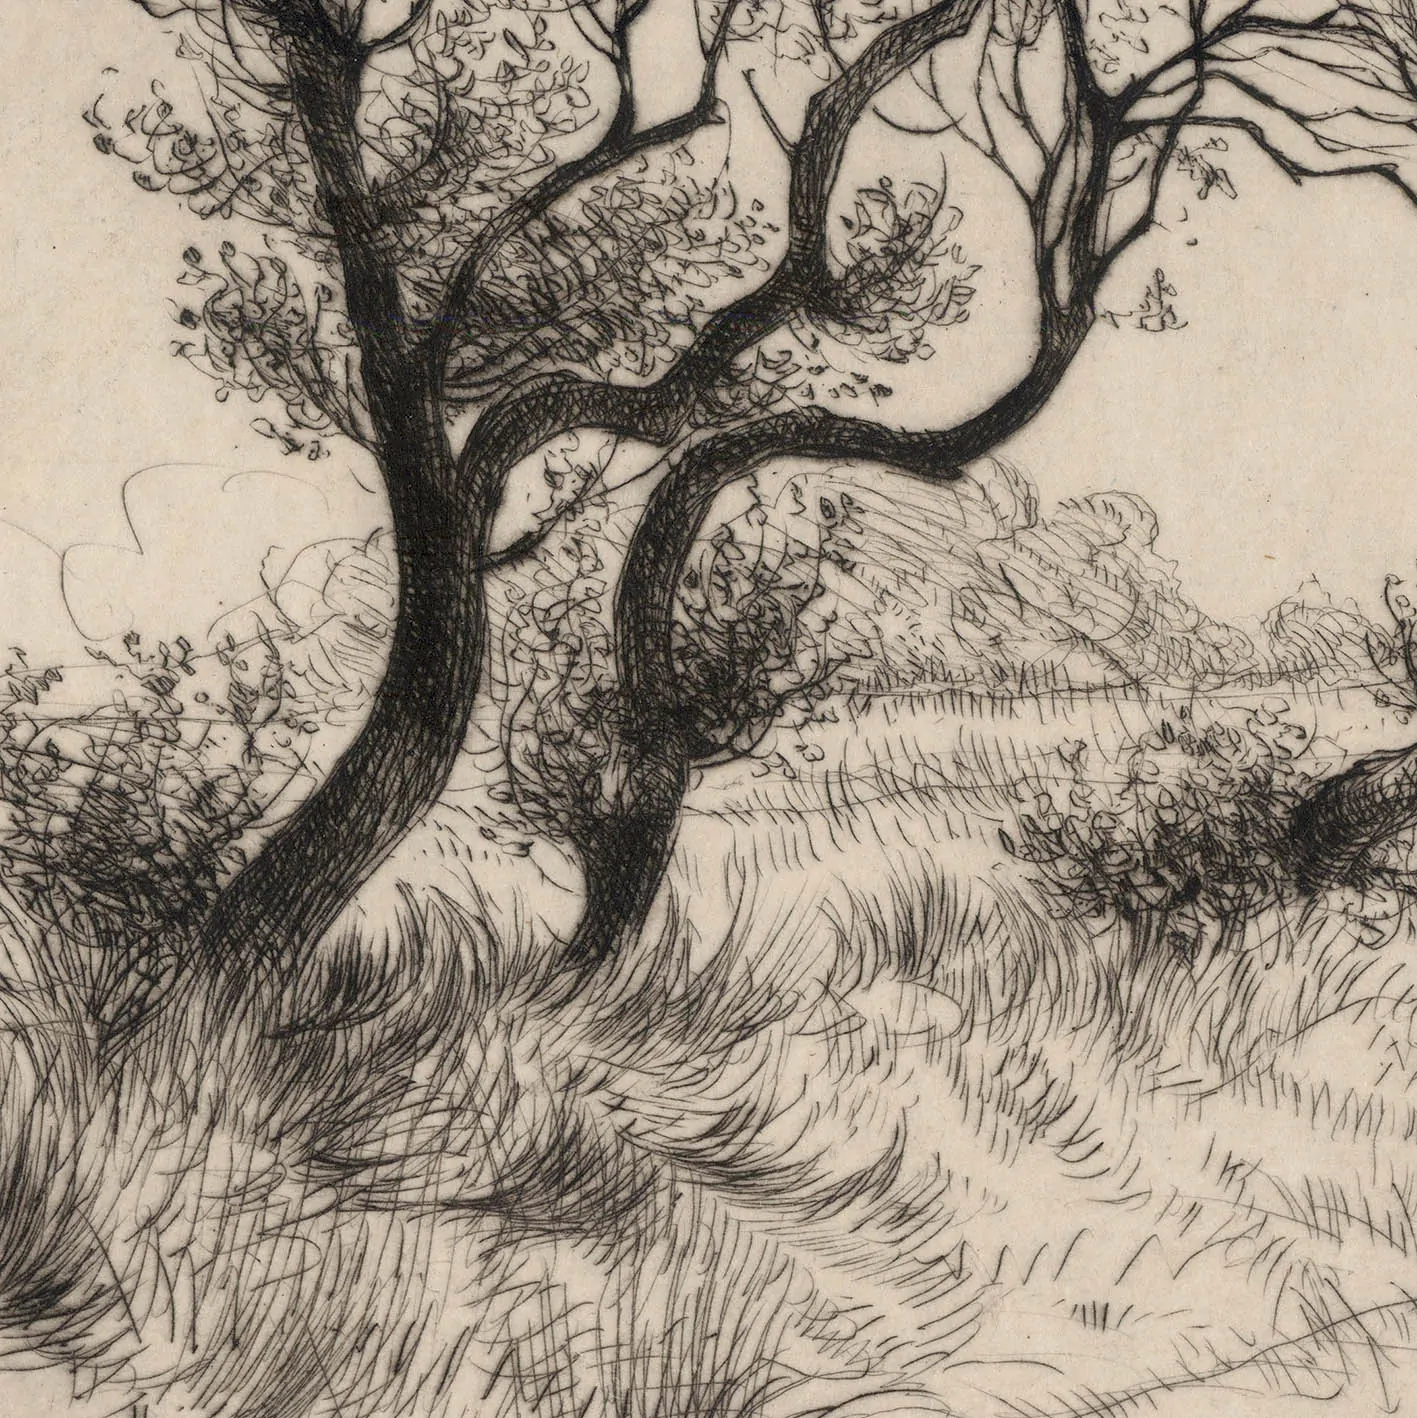
Drypoint is the most basic kind of Intaglio, which is the printmaking technique of forming marks on a metal plate, wiping ink across the plate so that it adheres to the marks, and then printing the ink onto paper or fabric. The artist creates a raised, rough edge of metal known as the burr by scratching their drawing directly into the plate with a sharp, pointed stylus. Drypoint prints frequently feature fuzzy, hazy lines as the ink is confined more loosely by the drypoint burr than in the neat grooves created by acid etching. Artists have been working with drypoint for a long time, discovering its moody beauty and potential. Furthermore, digital art tools have advanced this art form by making it more accessible with the least amount of resources and time. Nevertheless, digital art tools and techniques are considered easier to adopt, yet recreating meticulous art forms like a drypoint effect still necessitates certain considerations. The following steps of this blog can provide an adaptable step-by-step process to add an etched appearance like a drypoint print to images, artworks and designs.
Step 1: Desaturating The Image
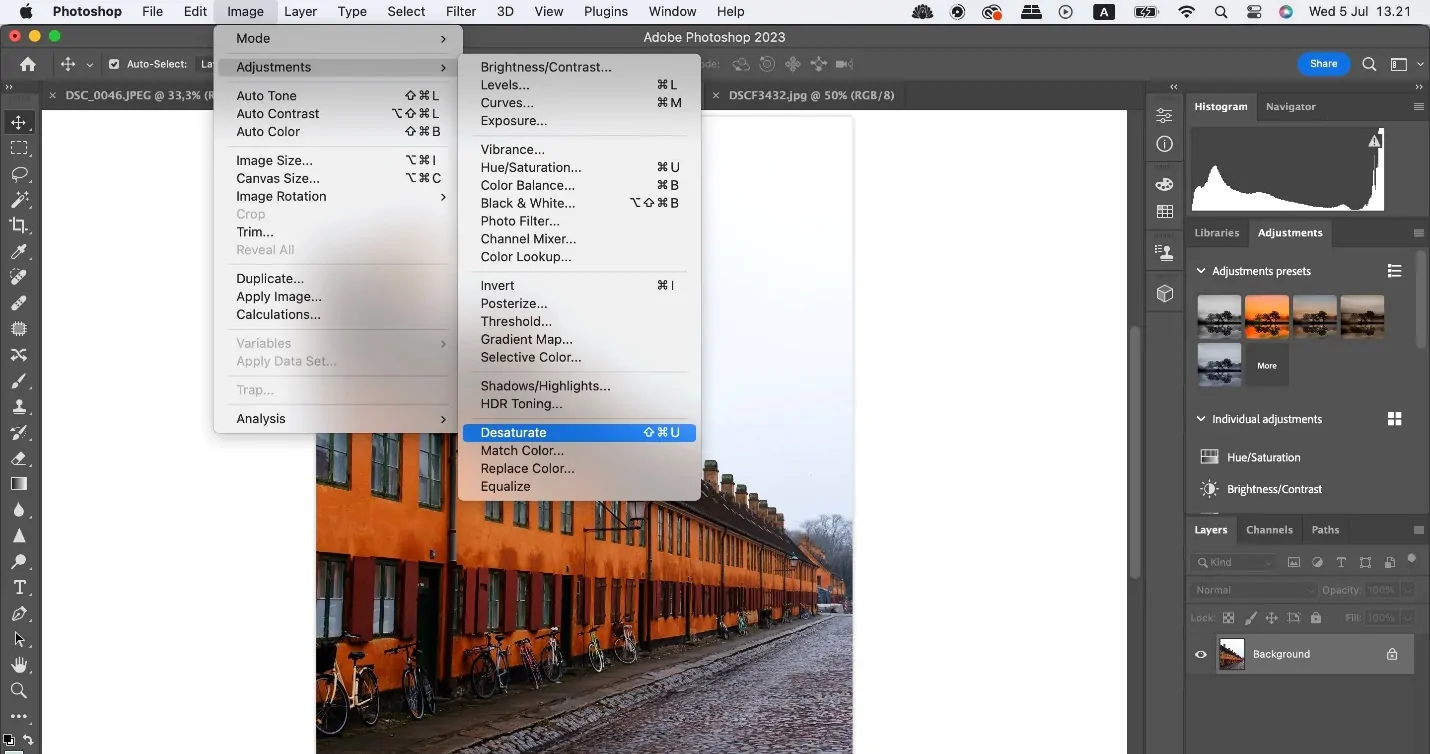
Begin by opening your chosen photograph in any editing program considering options like Photoshop, GIMP, or Photopea. Select a high-resolution picture for way better detail maintenance after Effects are connected.
Utilize the desaturation alternative via Image > Adjustments > Desaturate to clear all colours. It will give you a genuine monochrome base to work with, which is fundamental for accomplishing a drypoint appearance.
To attain more control, utilize the black-and-white adjustment layer rather than desaturating. It will permit you to physically alter how individual colours change over to grayscale, helping improve contrast and texture.
Be sure your grayscale image features an adapted range of tones, ranging from deep blacks to light greys. Drypoint art relies on strong light-dark flow to imitate ink depth.
Use the zoom in and review the photograph for sharpness and clarity. Grayscale change should protect the line definition without making the photograph muddy.
Once you are satisfied, either flatten the picture or save it as a layered file to permit adaptable editing in the coming steps.
Step 2: Enhancing The Contrast
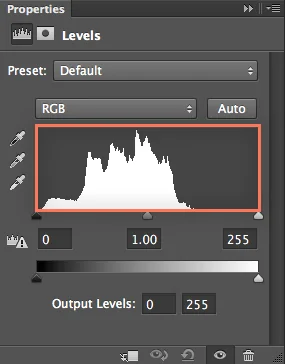
Head to the Levels using Ctrl+L or Curves via the Ctrl+M tool to oversee the brightness range. Drag the black and white sliders to expand the depth of shadows and highlights, which improves the drypoint development.
Highlight the darker regions by slightly dragging the shadow input level to the right. It will make linework and etched surfaces show up stronger and more prominent, imitating ink-heavy burr marks.
Delicately drive the highlight slider left to illuminate lighter zones without fading them out. Accommodated highlights help mimic the paper tone appearing through the ink.
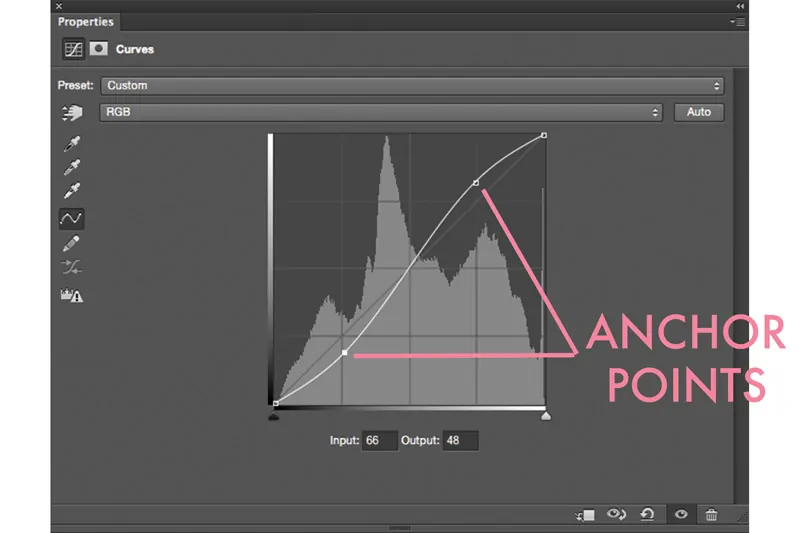
In Curves, make a shallow S-curve to boost midtone contrast. It will isolate tones more specifically, improving the illusion of depth and layering common in drypoint prints.
Prevent losing texture in shadows or highlights. Utilize histogram tools to scan the tonal range and be sure details stay obvious.
Flip the adjustment on and off to compare. In case the image begins looking too sharp or posterized, decrease the intensity slightly for a more natural drypoint effect.
Step 3: Integrating Etched Surfaces
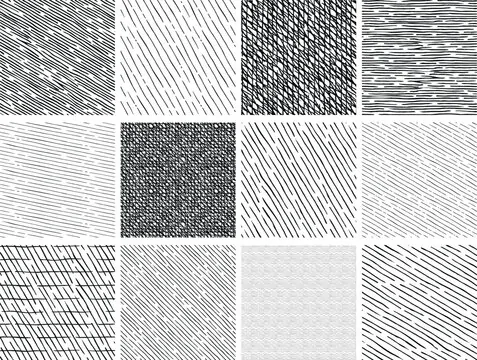
Choose a high-resolution scratch or etched surface photograph, like grayscale or transparent PNG. That texture mirrors the fine, sporadic lines made by the drypoint needle on a metal plate.
Bring the surface into your working file and put it on a new layer over the image. Resize and rotate it as required to coordinate the direction of your photo’s elements or hoped scratch pattern.
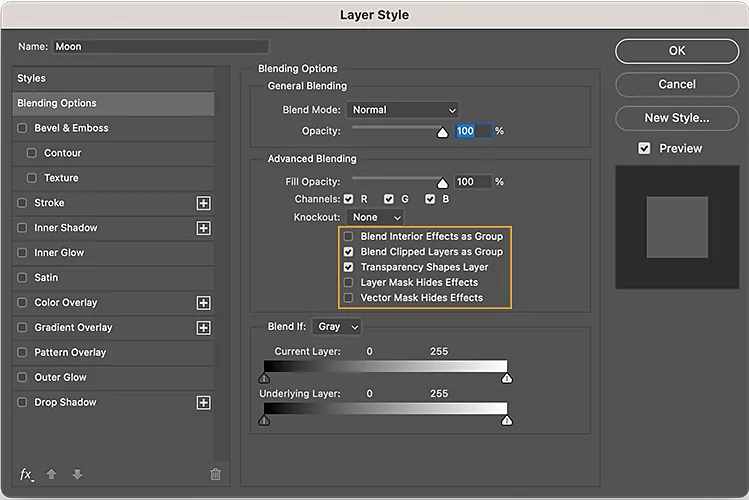
Alter the layer’s blending mode to Multiply, Overlay, or Soft Light, according to the tone of the surface. Multiply mode can darken the picture realistically, whereas Overlay mode will include energetic lighting to the scratched effect.
Include a layer mask on the surface and utilize a soft brush to erase or blur out regions that overlap primary regions, including faces or central points, where scratches can be unnatural or diverting.
Reduce the opacity if the texture seems overly definite. Utilize Levels or Curves on the surface layer to fine-tune contrast, making the scratches more defined or subtle as required.
To get a wealthier, more chaotic carved appearance, make a copy of the texture layer and rotate or flip it. Combine different textures for complexity without stuffing the scene.
Step 4: Softening The Edges
Before you soften any edges, make a duplicate of your primary photograph layer. It will preserve the initial detail and provide you with a non-destructive way to apply effects.
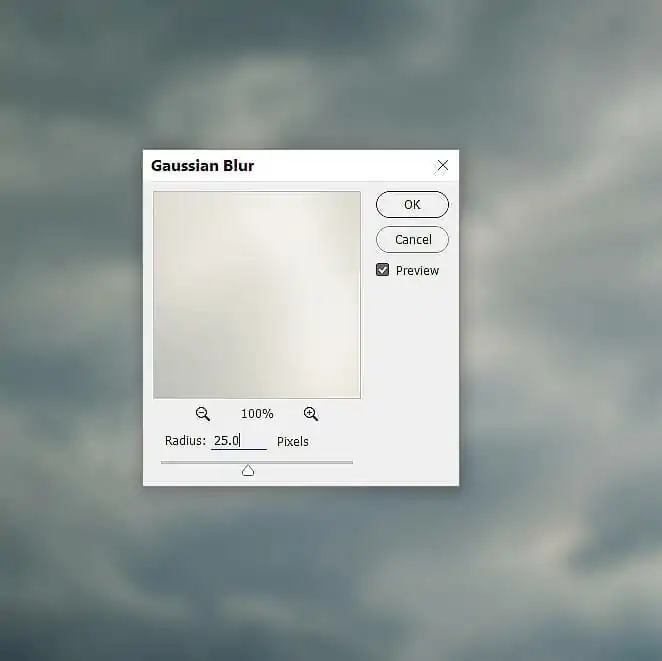
Utilize the Gaussian Blur filter of 1–2 px radius to scarcely blur the copied layer. It can mimic the natural softness induced by burrs in drypoint prints, where ink drains tenderly at the edges.
Include a layer mask on the blurred layer and utilize a soft black brush to hide the blur from detailed or high-focus regions. It will keep key highlights, eyes, outlines, and textures snappy and soften the remnant.

To manually handle things, delicately drag edges utilizing the smudge tool to create dragged ink or burr-like delicate quality along lines and contours.
Decrease the opacity of the blurred layer by around 40 to 60% to integrate it smoothly with the sharp initial layer. It will provide an adapted, print-like wrap-up without losing clarity.
Observe the image at close zoom levels when masking or smudging, particularly around hairlines, edges, or texture-heavy zones where inconspicuous shifts matter most in a drypoint effect.
Step 5: Using Dry Brush Filter

Before you use any filters, turn your working layer into a smart object. It will permit you to apply channels non-destructively and alter them later as required.
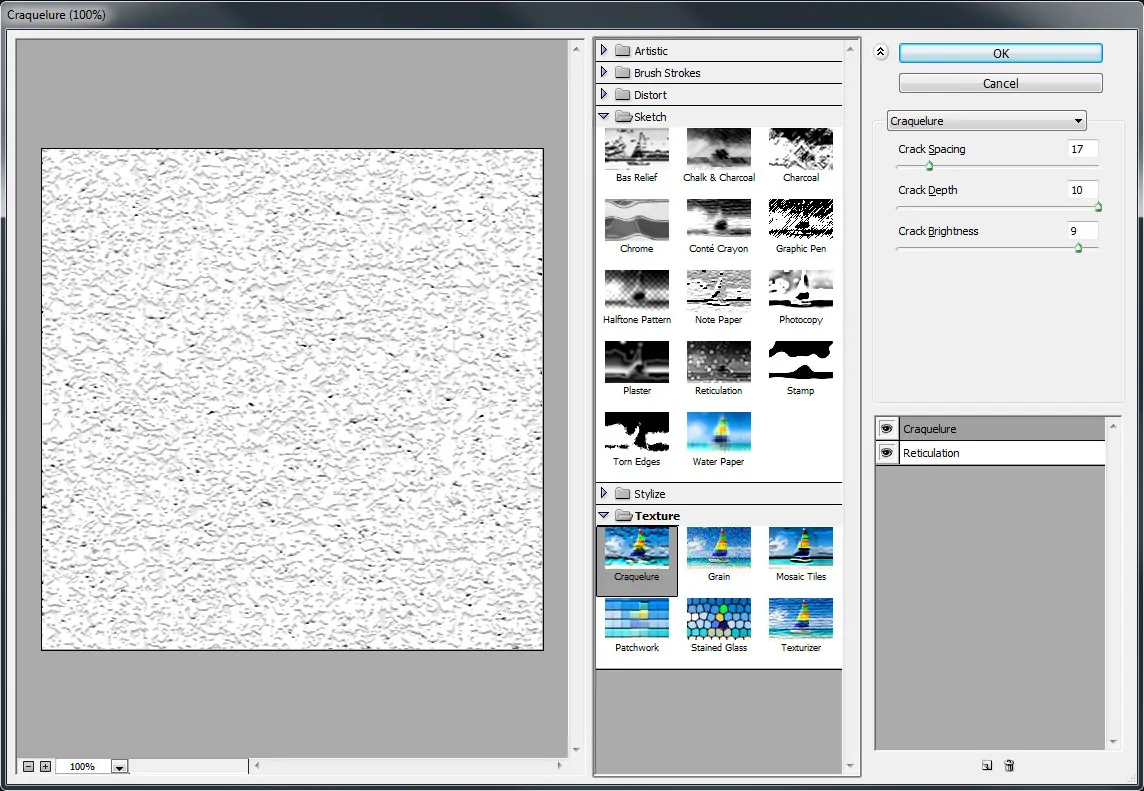
Head to Filter > Filter Gallery > Artistic > Dry Brush. Modify the brush size, detail, and surface settings to produce sketchy, broken lines with textured shading.
In case you need a more uneven, grittier effect, utilize Filter > Filter Gallery > Sketch > Charcoal. It will result in high-contrast, smudgy black lines and shaded zones that correspond to conventional drypoint prints.
Refine the effect by varying the intensity sliders. Do not opt for extreme settings that slant the picture or erase adequate details; instead, employ subtlety to get a more realistic etched formation.

Make a duplicate of your original picture and apply the filter only to the duplicate. Utilize layer blending modes such as Multiply or Overlay, or alter opacity to blend the filtered layer with the initial clean base.
Utilize a layer mask to remove or ease the filter effect in ranges that require additional clarity or where the filter applies too much noise, maintaining visual harmony.
Step 6: Overlaying Paper Garin

Select a high-resolution paper surface that compares to printmaking paper. You can look for mild grain, fibre, or deckled edges. Usually, the light, neutral-toned surfaces perform satisfactorily to mimic conventional drypoint printing surfaces.
Bring the chosen surface into your project and position it over all other layers. Resize it to completely cover your canvas. Prevent stretching the texture to avoid pixelation or distortion of the paper pattern.
Utilize blending modes such as Multiply to attain darker grain or Overlay/Soft Light for a more natural-looking integration. These modes let the paper surface interact naturally with the fundamental picture.
If the surface is too prevailing or too faint, decrease opacity or alter brightness/contrast with Levels or Curves to form it blend practically without overwhelming the photograph.
Convert the paper texture to grayscale to avoid any colour tints from influencing your drypoint effect. Neutral tones can make the picture consistent with a conventional print style.
Utilize a gentle layer mask to blur out the texture in central zones such as faces or highlights while keeping it obvious in shadows or foundations, upgrading the authentic print feel without diversion.
Step 7: Refining Details And Exporting

Use a Levels or Curves adjustment layer on the whole composition. Delicately adjust highlights, midtones, and shadows to elevate the depth and proportion that is commonplace in drypoint prints.
Utilize the Unsharp Mask or High Pass Filter having the Overlay mode on a duplicate layer to sharpen only the regions you need to stand out, including eyes, contours, or central textures. It will also keep the remaining zones soft and etched.
Carefully check for excessively noisy or flat ranges. Include inconspicuous adjustments like dodge/burn or exposure modifications to strengthen a handcrafted print feel as fundamental, particularly in midtone zones.
Confirm that the scratch textures and paper grain do not overwhelm the main subject. Nuancedly decrease their opacity on the off chance that they overly flatten the image.
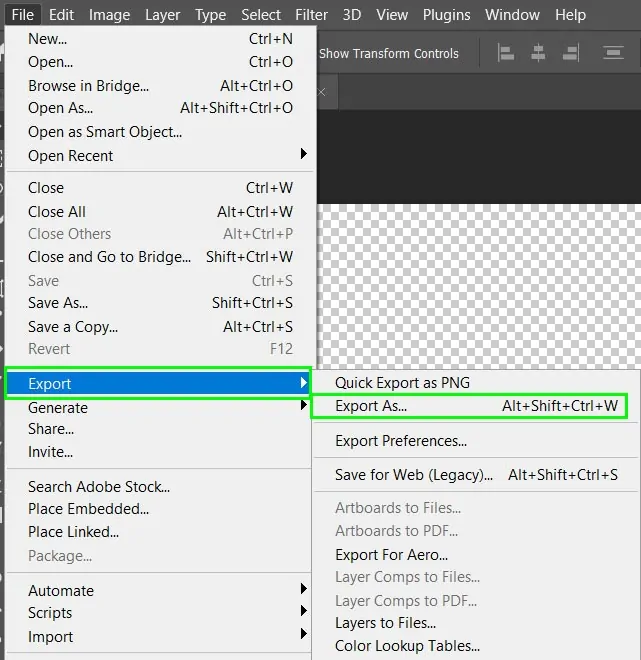
After you are all okay with overall edits, you can move to save a layered version for future alterations and export a flattened form in high resolution, like TIFF or PNG, preserving quality for printing or display.
Conclusion
In conclusion, using a drypoint effect to alter images opens up the possibility of providing them with an alluring charm that echoes the aesthetic of classic etched prints. By combining the accuracy of digital design with the nostalgia of traditional printing methods, this image enhancement approach can provide contemporary photos with a feeling of authenticity and history while also giving them a fascinating texture. In the end, a digitally replicated drypoint composition will enable you to produce high-quality work while saving a substantial amount of time and physical resources that the actual drypoint art requires.
