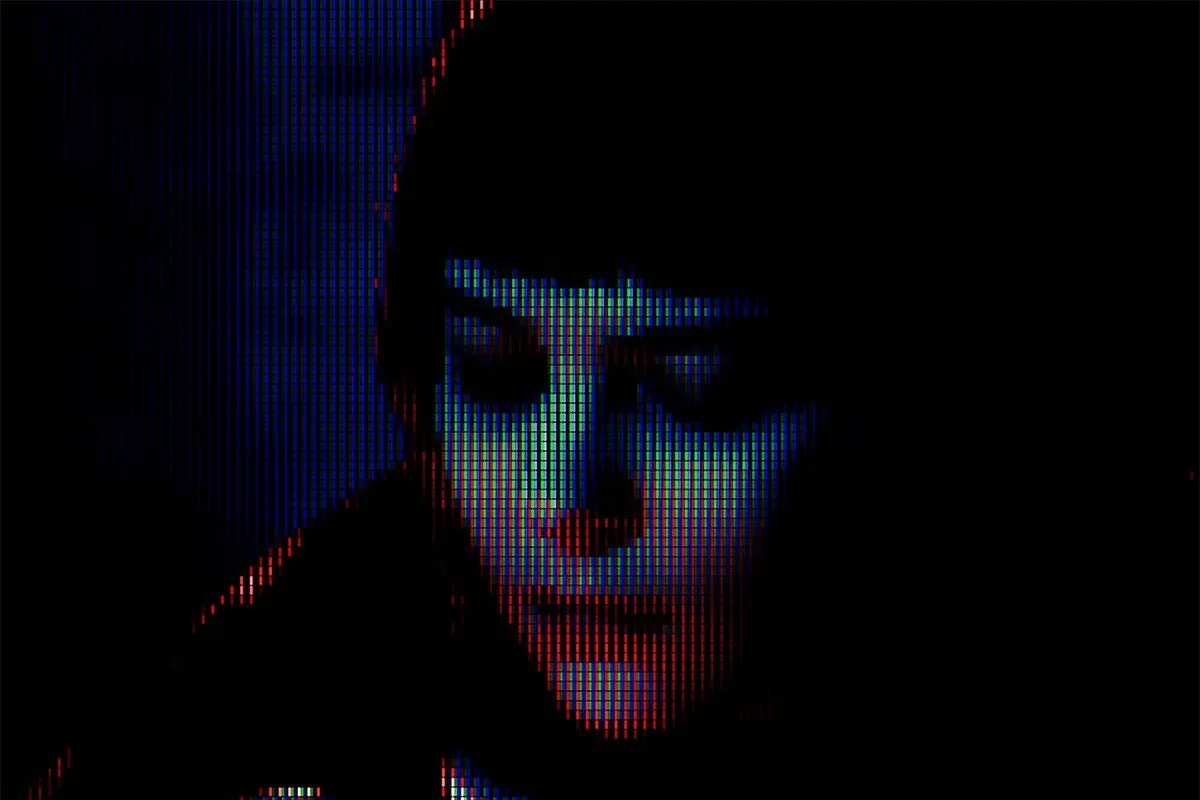
How To Create A CRT Effect
CRT history began in 1897 with the invention of the cathode ray tube, the fundamental component of CRT display technology. In this innovation, phosphor was illuminated by an electron beam, which produced pictures that appeared on the screen. Throughout its ongoing development, this fundamental idea stayed constant. Moreover, we also see that the use of CRT monitors is declining as we move into the contemporary day, since newer display technologies like LCD, LED, and OLED are dominating the market. Despite their declining popularity, CRT screens nevertheless serve a specific purpose in various industries and environments. Prominent features of CRT displays include a fisheye look, noise or grains with bright pixels, fuzzy colours, and scanlines. And because of all these characteristics, it is advantageous for modern art and photographs that seek unique and innovative effects with aesthetic flaws. Corresponding to this, the CRT effect is becoming more and more popular in the field of photo editing as a revolutionary way of transforming photos and adding artistic components to the visual narrative. This blog will present a step-by-step approach to creating a CRT effect using modern image editing tools and techniques.
Step 1: Adding Scanline Pattern
Include a new, clear layer over your photograph. It can hold the scanline pattern, so you’ll modify it separately without changing the initial photo.
Utilize the fill tool to colour that new layer with a strong black or dark grey tone. It will act as the base for your scanlines.
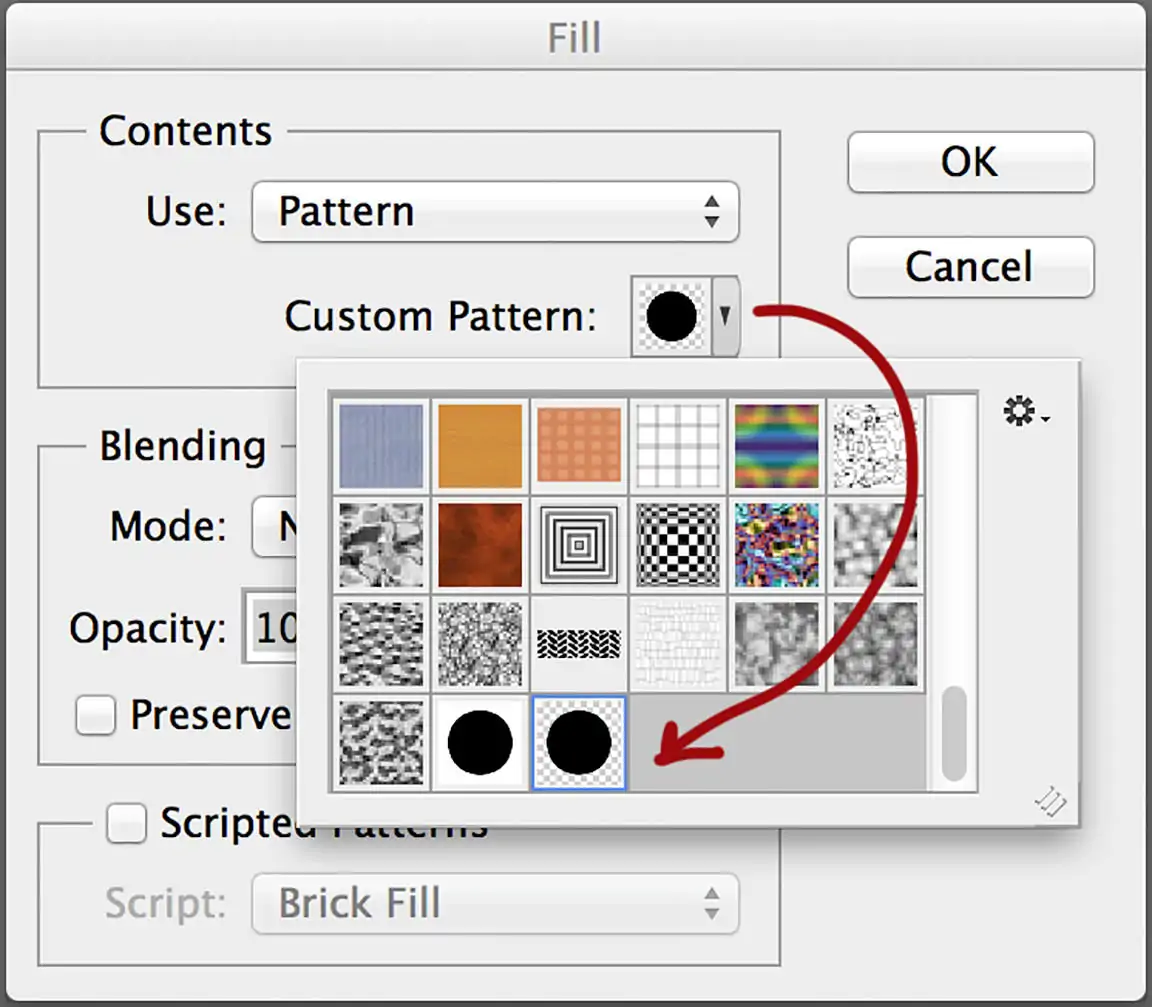
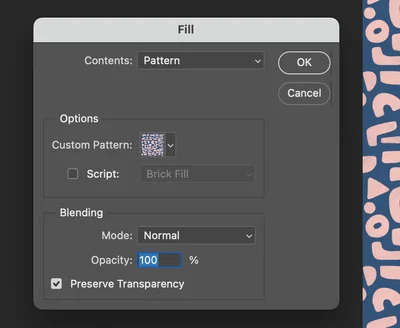
Utilize a pattern fill or line brush, or you can manually draw horizontal lines across the whole layer. Lines can be 1–2 pixels thick with a few pixels of spacing between.
Decrease the opacity of the scanline layer around 10 to 25 so the lines are visible, though unpretentious. They are meant to upgrade the photograph, not overwhelm it.
Look into setting the layer to Overlay or Soft Light to integrate the lines more naturally into the picture.
Add a slight blur in case the lines are too crisp, as the traditional CRT scanlines were delicate, not as razor-sharp.
Step 2: Creating Colour Bleeds
Make two or three copies of your original picture layer. It will let you separate colour channels and manage them independently without influencing the base picture.
On each duplicated layer, separate a single colour channel, like Red for one, Green for another, and Blue for the 3rd. If you are using Photoshop, you can do it through the Blending Options by unchecking the undesirable channels.
Press each colour channel layer horizontally or vertically by 1–3 pixels. It will make the subtle fringe or offset, imitating the way CRTs misalign colour slightly at the fringes.
Minimize the opacity marginally on the shifted layers or set their blend mode to Lighten or Screen to coordinate them better with the base photo.
Utilize layer masks to restrain the effect on certain parts of the picture, including edges or highlights, to get more control and realism.
See the photo at full size and ensure that chromatic aberration is visible while not overwhelming. A subtle glow or colour edge is sufficient.
Step 3: Creating Screen Curvature
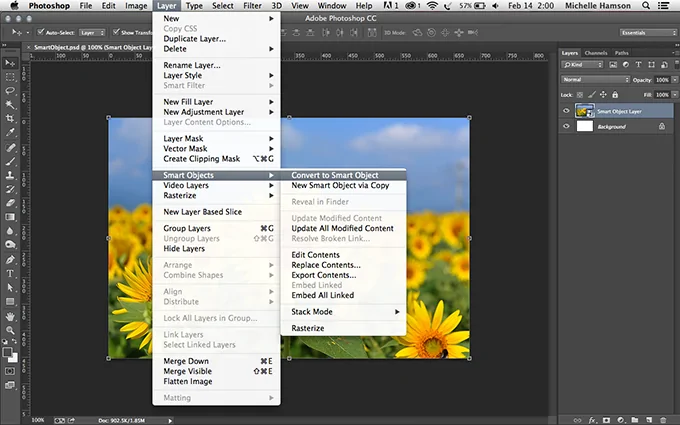
Right-click your photo layer and choose Convert to Smart Object. It will permit you for non-destructive warping.
Proceed to Edit, choose Transform and Warp or access Filter > Distort > Lens Correction. All such options can let you control the photo’s shape smoothly.
Delicately drag the edges of the picture inward while pushing the centre outward. Concentrate on making a delicate curve, not an extreme fisheye.
Make the warp balanced over all sides, as too much distortion on one edge can make the composition look off-centre or deviant.
CRTs frequently had slight vision fade or darkness around the edges. You can darken the corners somewhat, employing a vignette effect to enrich realism.
Once you are upbeat with the curvature, you can flatten the picture or keep it layered for future modifications.
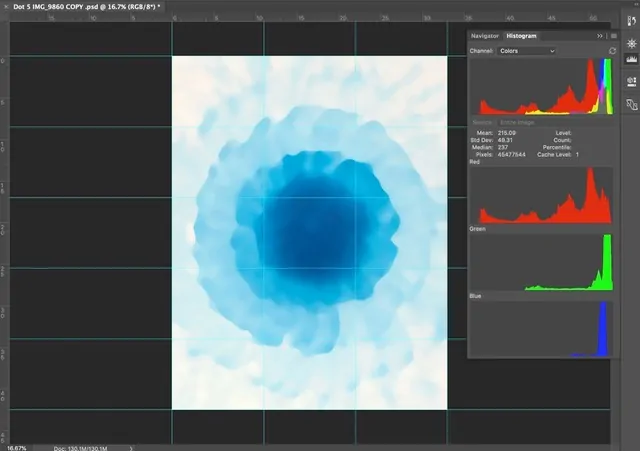
Step 4: Adding Glow
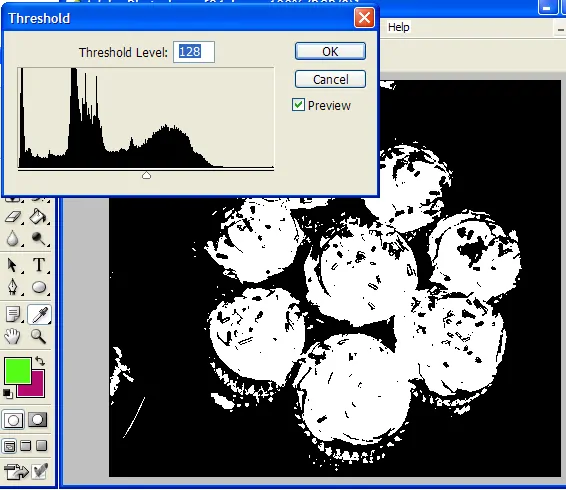
Make a copy of your fundamental image layer and put it on top. That duplicate layer will be utilized to isolate and upgrade the brightest regions of the picture.
Utilize Threshold to isolate bright regions or High Pass of high radius value, to upgrade edges and highlights. You should focus on only making the brightest zones remain visible on that layer.
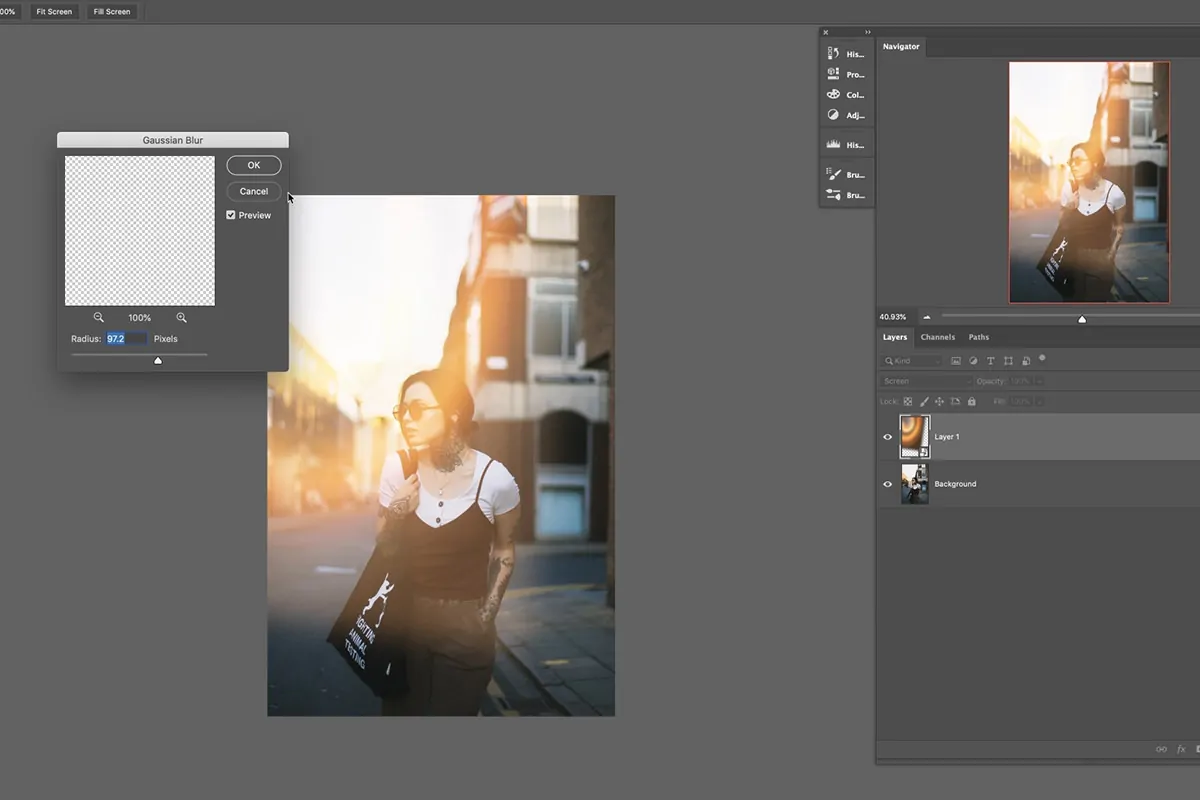
Add a Gaussian Blur to the filtered layer with a radius of 5 to 20 pixels for optimal results. That blur makes a soft, glowing impact.
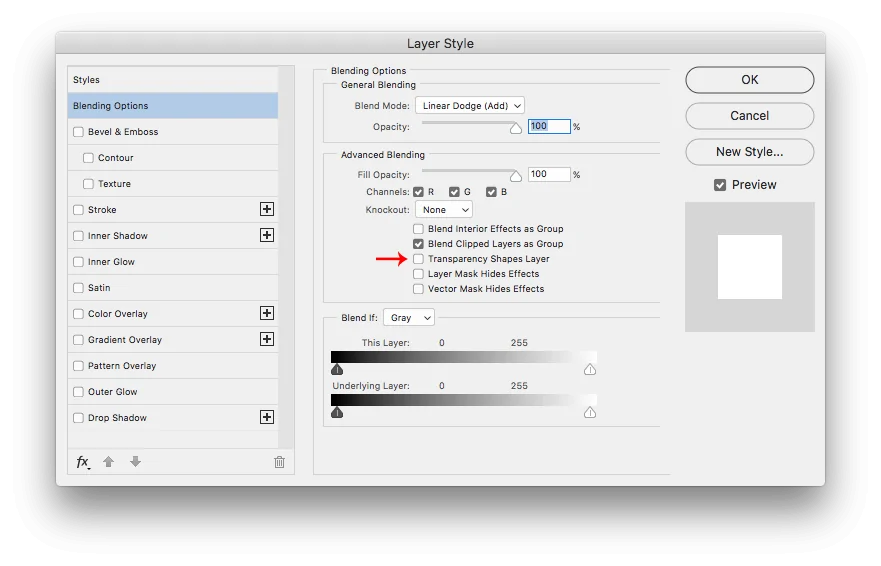
Alter the blend mode of that blurred layer to Screen or Linear Dodge so the glow overlays the picture inherently without drastic edges.
Decrease opacity if you find the glow overly strong. You need to aim at a nuanced haze that upgrades light sources or bright highlights naturally.
Utilize a layer mask to control the visibility of the glow, such as around neon signs, reflections, or bright surfaces. Getting enhanced realism.
Step 5: Presenting Noise Or Static
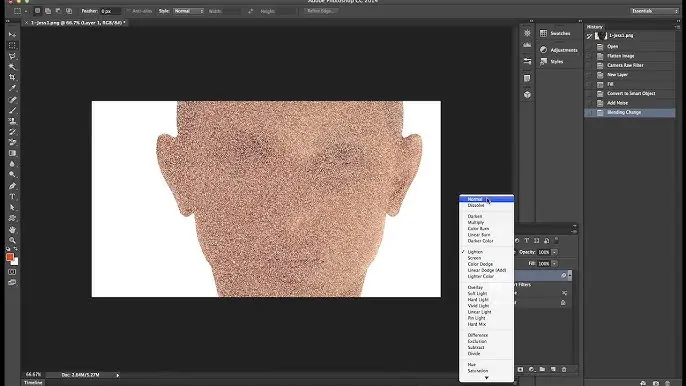
Include a new layer over your photograph. That layer will be utilized to present the static or noise effect.
Fill that new layer with a medium grey colour. It will give you a neutral beginning point to include noise.
If using Photoshop, proceed to Filter, then choose Noise and Add Noise. Put the amount to 3 to 5 per cent or according to the photo resolution. Confirm that the Gaussian and Monochromatic options are active to attain a realistic noise.
Alter the layer’s blending mode to Overlay or Soft Light to blend the noise with your picture. These modes will help integrate the noise delicately without overwhelming the details.
Decrease the opacity of the noise layer if it is excessively discernible. A small amount of noise ought to be shown without seeking too much focus.
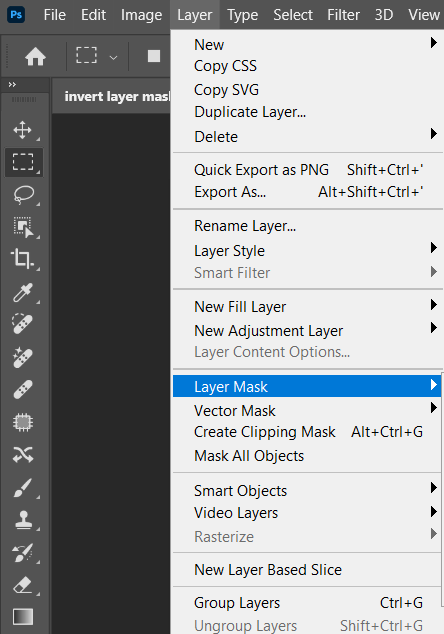
Utilize a layer mask to apply the noise only to particular ranges. You might need to concentrate on the darker parts or edges of the picture for a more genuine CRT impression.
Step 6: Decreasing Sharpness And Adding Blur
Begin by duplicating your photograph layer to protect the initial if you wish to alter it later.
Once the duplicated layer is activated, head to Filter, and choose Blur, then Gaussian Blur. Specify a low radius value like 0.5-2 pixels, relying on picture resolution, attaining a subtle softness that imitates the lower resolution of CRTs.

In case the blur is still not sufficient, move to Filter, click Sharpen and then choose Reduce Noise or utilize the Smart Sharpen tool to partially decrease the sharpness of the photograph. CRT screens frequently delivered a slightly blurred picture due to their lower pixel density.
Include a vignette effect by darkening the corners marginally. That will bring attention to the centre of the picture and provide the edges a natural blur, as CRT screens used to lose sharpness at the borders.
Minimize the opacity of the blurred layer to manage the intensity of the impact. The objective is to have just sufficient blur to grant the photograph a vintage, less-defined impression without renouncing so much detail.
Utilize a layer mask to finalize the zones of the image that should stay sharp. Generally, you’ll need to leave central focal points or essential subjects clear and let the external edges and backdrops remain gentler.
Step 7: Presenting Retro Tones
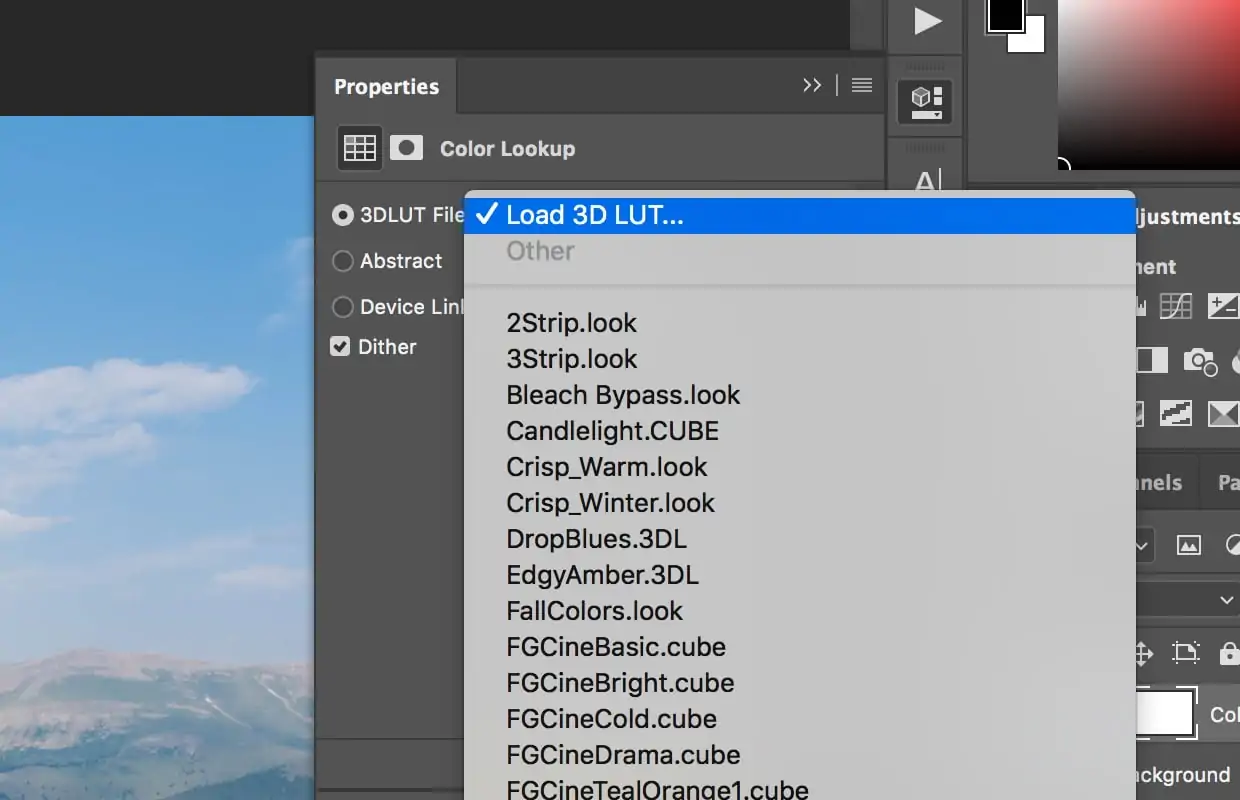
Begin by spreading a LUT scheduled for retro or vintage looks. Numerous apps, including Photoshop, have built-in LUTs that recreate the colour profiles of classic shows. You’ll select from choices such as Retro, Film, or 1980s to deliver your photograph with a warm, slightly faded colour palette.
Utilize Image, then select Adjustments and Brightness/Contrast to change the overall exposure. Decrease contrast slightly to get a milder look, as CRT screens frequently have less dynamic contrast compared to modern displays. Alter brightness to grant the picture a slight shine, particularly in bright scenes.
Head to Image and choose Adjustments and Levels or Curves to control the individual red, green, and blue channels. Add a subtle push to the reds and blues to recreate the colour disharmonies caught on CRT screens, frequently with a slight greenish or pale blue hue.
To provide the image with a further aged look by minimizing saturation, utilize Image > Adjustments > Hue/Saturation. Minimize the saturation by 10 to 20 for a muted, matured formation. You’ll also present a slightly yellow or greenish tint to reproduce the colour degradation over time.
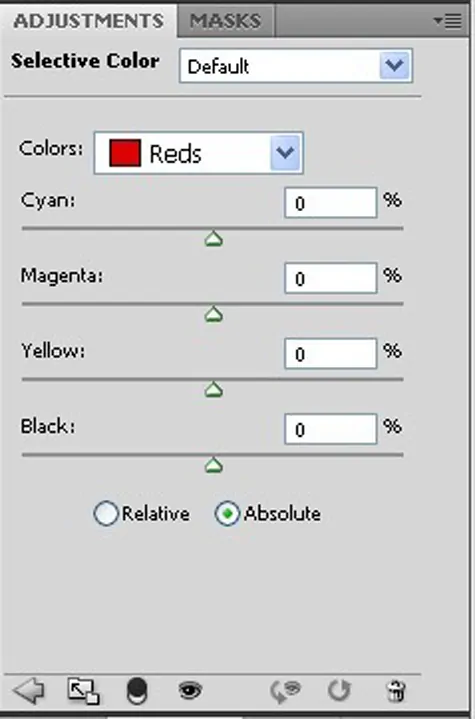
Utilize the Selective Colour adjustment to change particular colours. For instance, include a slight cyan tint to the shadows or increase yellows within the midtones to make that vintage, worn-down look typical of CRT screens.
Alternatively, apply a vignette effect to darken the edges of the picture somewhat. It will help in bringing focus to the centre and simulate the darker, shadowed edges of antique CRT screens.
After you are finished with your alterations, you can head to File and click on Save As with choosing a proper format like JPEG or PNG.
Conclusion
In summary, adding a retro CRT effect to photos, graphics, and designs results in a nostalgic old screen grain look, giving them a distinct and fascinating appearance. The reproduction of scanlines creates a striped analogue effect with mild colour fringing or chromatic aberration, which contributes to the composition’s nostalgic atmosphere. The CRT noise feature introduces aesthetic flaws, which you can choose to make finer or coarser. The vignetting feature, a crucial component of the CRT effect, darkens your image’s edges even more to give it an aged look. The additional options provided by the software, like Photoshop, allow you to manage each element as per your desire, resulting in a harmoniously imperfect CRT effect.
