How To Create A Bloom Effect
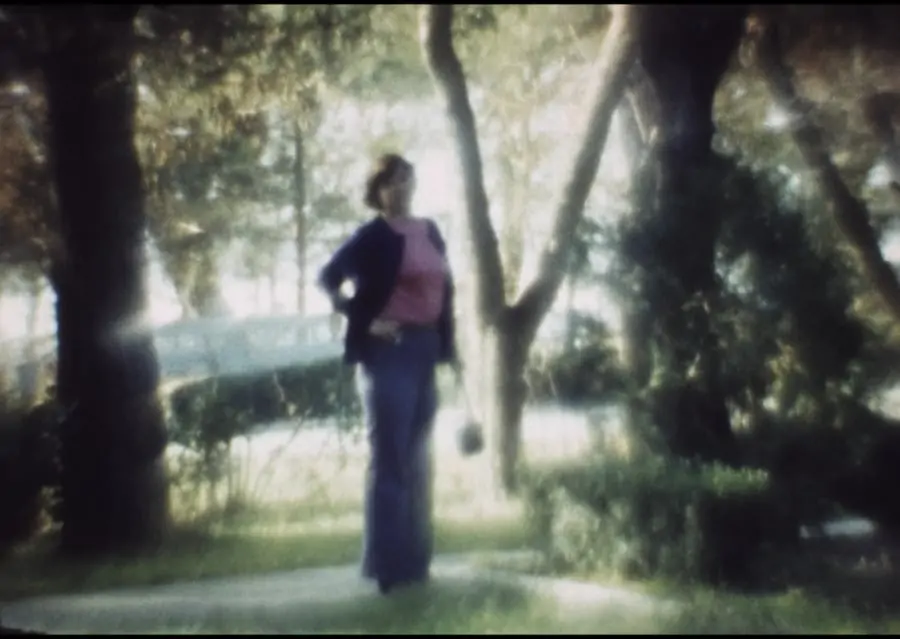
Traditionally, the concept of bloom is oftentimes employed to characterize the aggregate impact of intense light dispersion in photography, which begins in the optical system and then becomes magnified and distorted in the several layers of the photographic emulsion on the boundaries of contrasted image regions. The Bloom effect is particularly noticeable when using vintage lenses, specialty lenses, or specialty optical filters. Moreover, as the phenomenon is caused by both the optical system and the film emulsion, it is more noticeable when using small-format films, notably 8mm ones. Nevertheless, the bloom effect is considered an imperfection in photographs, which diminishes the contrast and clarity; it is still acknowledged as a creative addition for image enhancement. It can be deliberately created to infuse images with a dreamy, ethereal, or nostalgic atmosphere. Using digital image editing techniques, bloom addition can recreate images’ narratives and boost aesthetic enticement. This blog mentions different image editing techniques and steps to add a deliberate bloom effect to images and enrich their visual markers.
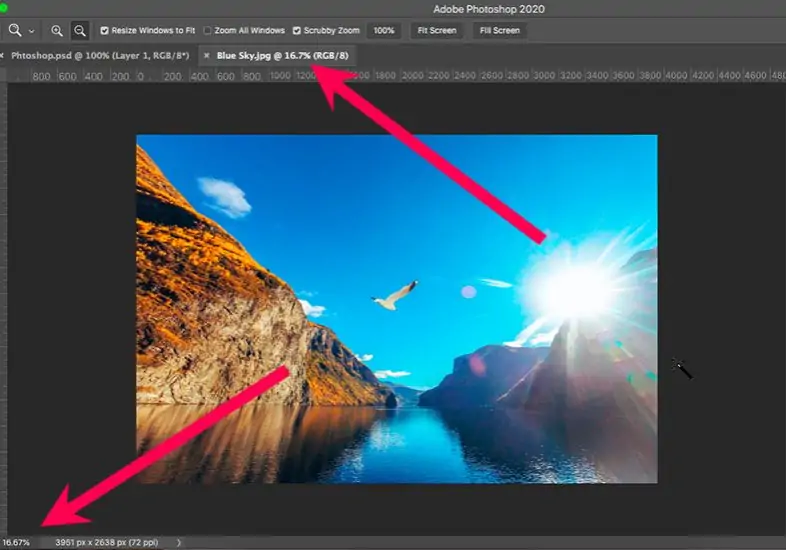
Step 1: Image Uploading
Set up the Adobe Photoshop application on your computer. You’ll do this by double-clicking the Photoshop icon on your desktop or finding it in your apps folder.
After Photoshop is launched, find the “File” menu at the top left corner of the screen. Tap on “File” to uncover a dropdown menu of options.
From the dropdown menu, click on the “Open” alternative. It will prompt a file explorer window to appear, allowing you to browse your computer’s files and folders.
Get to the area where your desired image is put away. Tap on the image file to choose it, then press the “Open” option at the bottom right corner of the file explorer window.
Next to clicking “Open,” the chosen image will be loaded into Adobe Photoshop and show up on the workspace. You’re now all set to start editing your image and applying the bloom effect.
Step 2: Image Duplication
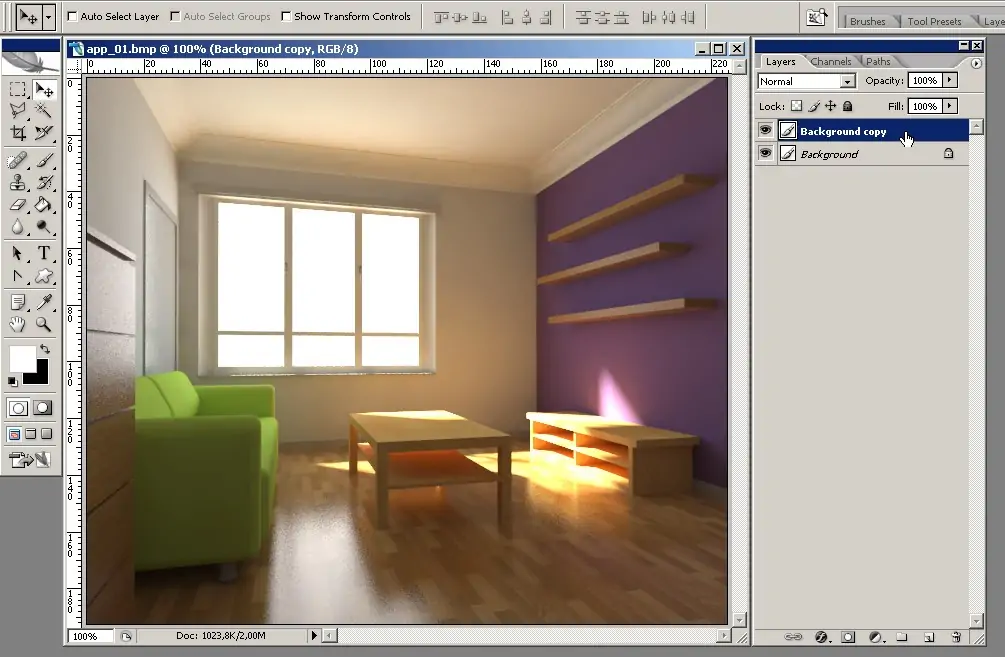
When opening your image in Photoshop, it will appear as the background layer within the Layers panel, usually found on the right side of the interface.
Right-click on that layer within the Layers panel. A dropdown menu will appear where you select “Duplicate Layer.” This action makes an identical copy of the background layer over it.
To hold an organization, you can rename the copied layer by double-clicking on its title within the Layers panel and writing a new title, such as Bloom or “Duplicate.”
After duplicating the layer, press “Ok” within the dialog box that shows up to conclude the duplication process.
By default, the copied layer will be visible and selected within the Layers area, which is attainable for further altering.
Step 3: Including Blur Effects
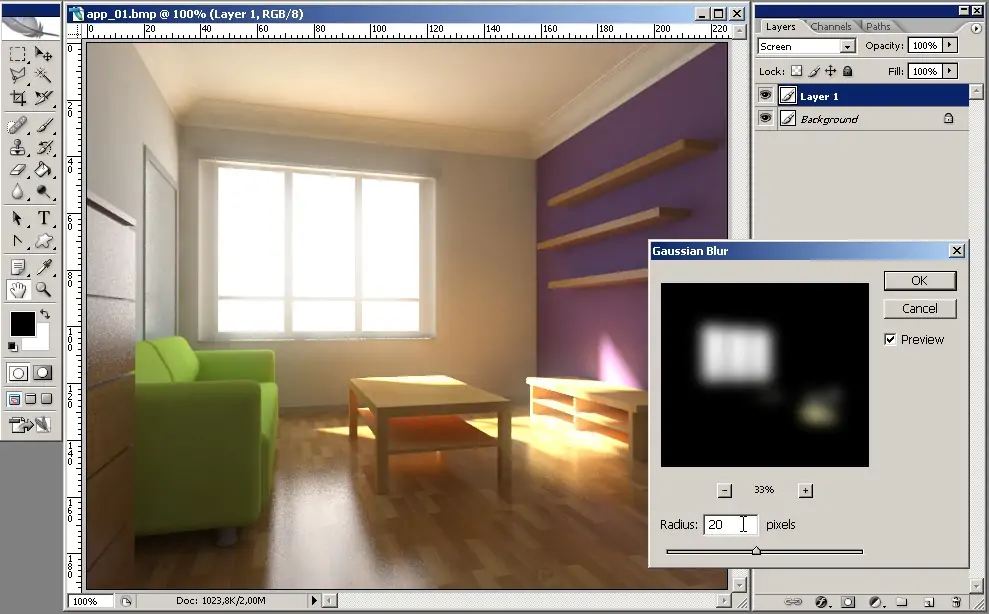
Within the Layers panel, guarantee that the copied layer you made in step 2 is chosen. You’ll tap on the layer thumbnail or its title to choose it.
With the copied layer chosen, get to the “Filter” menu on top of the Photoshop interface. From the dropdown menu, select “Blur,” and after that, select “Gaussian Blur.”
A dialog box will show up, displaying you with a slider to alter the blur radius. Drag the slider to the right to maximize the blur value or to the left to minimize it. See the changes in real time within the document window.
While you alter the radius, watch the preview of the effect within the document window. Point for a blur level that makes a soft, diffused glow around bright areas of the image without overlooking so much detail.
After you are content with the blur radius, press “OK” within the Gaussian Blur discourse box to apply the effect to the copied layer.
Step 4: Blend Mode Settings
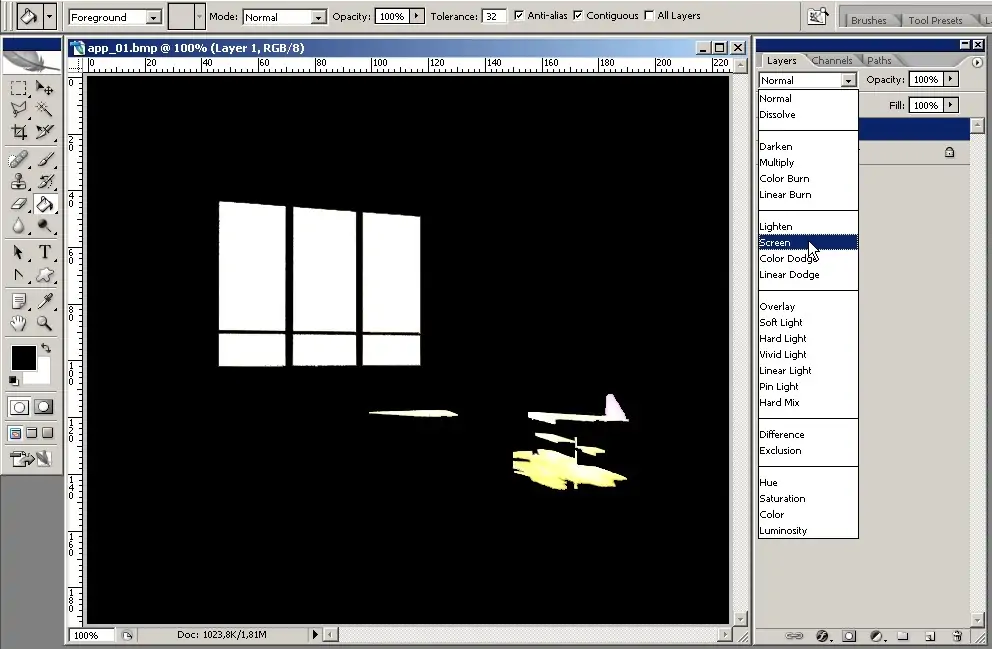
Next to the blurred layer still chosen within the Layers panel, find the blending mode dropdown menu at the top left of the panel. By default, it is likely set to “Normal.”
Tap on the blending mode dropdown menu and scroll through the choices. to get a blossom effect, commonly utilized blending modes incorporate “Screen” and “Soft Light.” Experiment with different modes to attain the required result.
As you select distinctive blending modes, watch how each one corresponds to the underlying layers within the document window. Take note of the brightness, contrast, and color saturation variations.
Select the blending mode that best boosts the bloom effect while protecting the overall appearance and feel of the image. “Screen” mode can produce a milder, more ethereal gleam, whereas “Soft Light” may offer a subtler upgrade.
Once you are satisfied with a specific blending mode that fulfills your photo, tap on it within the blending mode dropdown menu to put it into the blurred layer.
Step 5: Opacity Adjustments
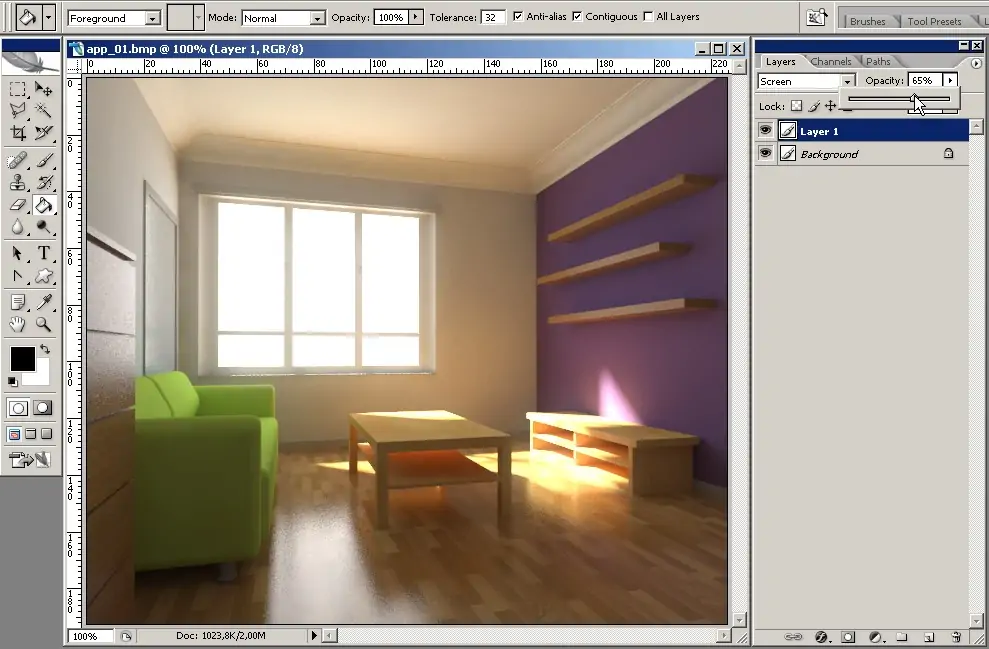
Find the opacity slider within the Layers panel, specifically to the right of the blending modes dropdown menu.
Guarantee that the duplicated layer with the connected blur impact is still chosen within the Layers panel.
Press on the opacity value shown beside the opacity slider and drag it to the left to lower the opacity or to the right to elevate it.
While you alter the opacity, examine the changes within the document window. Bringing down the opacity decreases the degree of the blossom effect, whereas expanding it improves the effect’s visibility.
Aspire for an opacity level that strikes a balance between complementing the blossom effect and keeping up the normal appearance of the image. You’ll have to test with different opacity levels to attain the specified result.
Once done with the opacity alteration, release the mouse button to affirm the new opacity settings.
Step 6: Using Layer Masks

With the copied layer still chosen within the Layers panel, press on the “Add Layer Mask” icon at the bottom of the panel. This makes a layer mask connected to the duplicated layer.
Confirm that the layer mask thumbnail within the Layers panel is chosen. You can press on the mask thumbnail to enact it for editing.
Use the Brush tool from the toolbar on the left side of the Photoshop interface. Alter the brush size, hardness, and opacity settings as required, utilizing the choices bar at the top of the interface.
Specify the foreground color to black by tabbing the “D” key to bring back the colors to default and, after that, press the “X” key to switch the foreground and backdrop colors.
With the brush tool chosen and black as the foreground color, paint over regions of the photo where you want to decrease or evacuate the bloom impact. That lets you specifically direct where the bloom effect shows up within the image.
Modify the brush size and opacity as necessary to regulate the mask and accomplish a uniform blend between ranges with and without the bloom effect.
Step 7: Final Tweaks
Audit the photo as an entire and make any extra adjustments to color, contrast, or other perspectives to improve the overall appearance.
On the off chance that it is necessary, apply global adjustments utilizing adjustment layers or adjustment tools in Photoshop. These settings incorporate levels, curves, saturation, or color balance tweaks to refine the image additionally.
While you make adjustments, intermittently zoom out or analyze the image at diverse zoom levels to assess the prevailing effect on the composition.
After getting a satisfactory ultimate result, save your work to protect the edited image. Select a file format that fits your needs, such as JPEG for web applications or TIFF for high-quality printing.
Give the file a graphic title and select an appropriate area on your PC to save it.
Look into the file format and compression settings to even image quality and file size, particularly in case the image will be shared online or printed.
Tap on the “Save” or “Export” option to affirm your saving choices and save the modified image to your desired folder.
Conclusion
In closing, although bloom is typically reckoned to be a technical drawback, it actually functions fairly well as a stylistic feature in artistic and cinematic scenarios. The images after bloom edits appear dreamlike and brighter, creating a surreal vibe. Blooms also depict the organic touch by adding the light fringes, or feathers, that extend from the edges of bright areas in an image, adding to the impression that the scene is overexposed with light and the camera is overwhelmed by it. Additionally, effects work competently when you want to usher the viewer’s attention to a certain area of your image.
