How to Automate Vertex Color Baking in Blender Using Python
Manually transferring to baked vertex colors between various mesh is probably the world’s stupidest thing in Blender. A lot of times a designer or tech artist will spend hours meticulously selecting each mesh, making vertex color layers, and painstakingly baking texture after texture, only to find that they have overlooked something or not properly transferred the color. Beginners side with frustration and overload in the workflow, while well experienced people repeating dozens or hundreds of materials.
All of these issues can be solved by automating sealinking rendering with vertex colors in Blender. Using python scripting, it allows to easily create all vertex color layers systematically and give them to multiple meshes, with unified baking for a whole collection. And it´s not just that, by doing so you not only rid yourself of human errors and also make all results consistent, but the workflow time will go down like crazy while your assets are ready for rendering, game engines or export without any manual interaction.
In this Blog we will discuss how automate vertex color baking in Blender step-by-step workflow to build a production-ready pipeline and process that’s integrated, automated, scalable and optimized with options for batch exporting your assets from Blender or directly rendering within any other 3D application.
Step 1: Prepare the Scene and Meshes

Let’s begin by setting up our Blender scene so the vertex color baking is predictable and error-free. Open a new Blender file and get rid of everything that is there by selecting it and hitting X -> Delete. Import your source mesh (which has the material or texture to be baked on it) using File → Import → [Your Format] and place it at world origin (0,0,0). First apply all transforms to the object by selecting it and pressing Ctrl + A → All Transforms, so Blender knows how scale/rotation/location should be applied.
Now, put all the target meshes that you want to bake vertex colors into. Put them in their own collection - right click the Outliner > New Collection, give it an obvious name (e.g. Products), then drag all your products meshes into this new Collection.
Create a vertex color layer for each target mesh: select the object → switch to Object Data Properties → Vertex Colors → + New, let it be named reasonably (e.g., Col_Main). This way the bake operation doesn’t need to work out where to put colour data. If you have several meshes, make sure your naming conventions are consistent and that all objects have UV maps if the original asset requires them.
Step 2: Prepare the Source Material and Vertex Colors
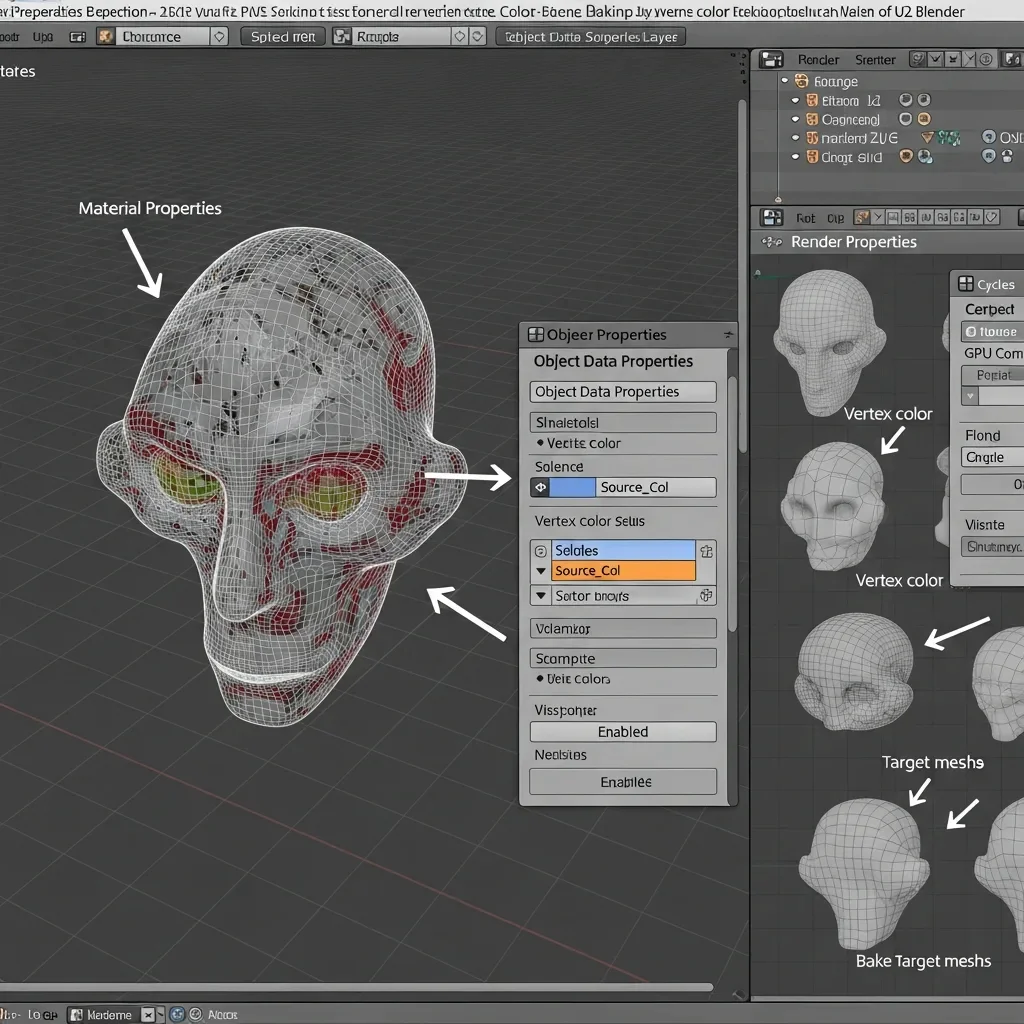
Choose the source mesh, which has the material or texture you plan to bake on the target meshes. Open the Material Properties tab and check that you have applied right material. First check and make sure all your (color, diffuse or procedural) textures are loaded right and can be visible in the viewport. If a specific color output is required, go to Vertex Paint Mode (Ctrl + Tab → Vertex Paint) and paint directly on your mesh or changing colors from the material node setup.
Now, make sure the source mesh has a vertex color layer for baking to if you need one. Go to Object Data Properties → Vertex Colors → + New and give it a name (For example Source_Col) so as to not get confused with the target layers.
If you are using multiple source meshes, please make sure that each of them contains vertex color layer with the same name and all of them are set to be fully visible in the scene. For complex materials, be sure to select Cycles Render Engine (Render Properties → Render Engine → Cycles) because baking needs it. Optionally, if you have GPU, select GPU Compute on Device for accelerated processing.
Lastly, make sure that full target meshes are in a proper collection and each one has vertex color layers as a result of Step 1. That way, the baking script won’t have to maintain discovering source and destination objects manually.
Automating Vertex Color Baking in Blender Using Python
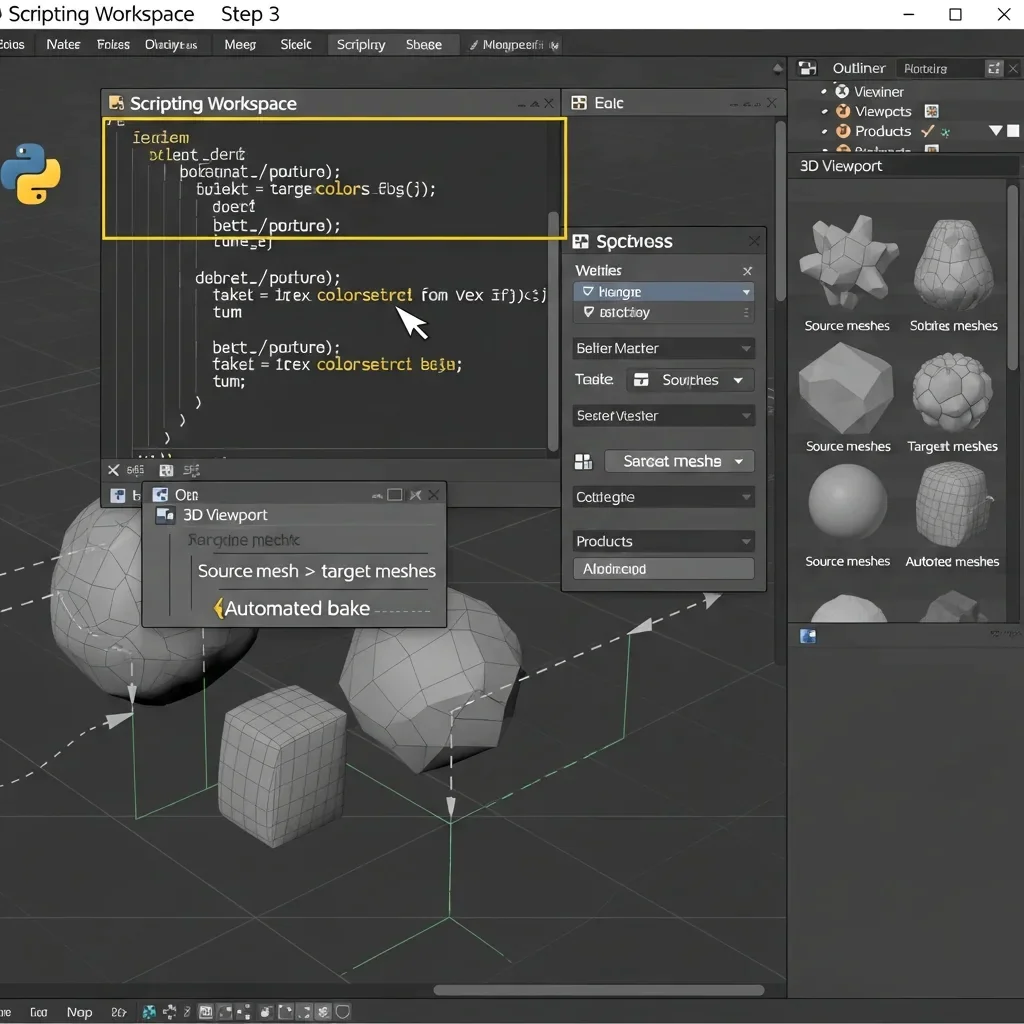
Now that you have your scene ready, it’s time to script the baking of vertex colors so we can automate this process with Python. Open the Scripting Workspace inside Blender, hit New to make a new text block and paste in this script:
import bpy
# Define the source mesh name
source_mesh_name = “Source_Product”
source_obj = bpy.data.objects[source_mesh_name]
# Define the collection containing target meshes
target_collection_name = “Products”
collection = bpy.data.collections[target_collection_name]
# Ensure Cycles is active for baking
bpy.context.scene.render.engine = ‘CYCLES’
# Loop through each target mesh in the collection
for obj in collection.objects:
if obj.type == ‘MESH’ and obj.name != source_mesh_name:
# Activate the target mesh
bpy.context.view_layer.objects.active = obj
obj.select_set(True)
source_obj.select_set(True)
# Ensure the target has a vertex color layer
if “Col_Main” not in obj.data.vertex_colors:
obj.data.vertex_colors.new(name=”Col_Main”)
# Set the active vertex color layer
bpy.context.object.data.vertex_colors.active = obj.data.vertex_colors[“Col_Main”]
# Bake vertex colors from the source
bpy.ops.object.bake(type=’VERTEX_COLORS’, use_clear=True, margin=2)
# Deselect the target mesh after baking
obj.select_set(False)
print(“Vertex color baking completed for all target meshes!”
Action Steps for Users:
Replace “Source_Product” with your source mesh name.
Replace “Products” with the name of the collection your meshes are in.
Click Run Script in the Scripting Workspace.
Observe as Blender does the work for you looping all target meshes, adding missing vertex color layers and baking the colors from source to target in a consistent manner.
Step 4: Verify Vertex Color Results and Make Adjustments

When the automatic baking is done, check each target mesh if vertex colors were successfully transferred. Choose a mesh in the Outliner, go to Vertex Paint Mode (Ctrl + Tab → Vertex Paint). Wherever you have missing areas, a repeat of colours that are too obviously not located in those places, or simple artifacts. Choose the Vertex Color Picker Tool from the toolbar if you would like to sample colours on mesh and compare them with the source. If you find that a mesh is lacking the Col_Main vertex color layer, you just need to add it by hand in Object Data Properties → Vertex Colors → + New exactly as called in the baking script (i.e. Col_Main).
Make fine adjustments: If you’re not happy with the result, e.g. you have visible seams or need to tweak it further, refine your source mesh’s material or painted vertex colors and run the baking script on the meshes again for those small changes that can make a big difference! You can try to reduce the colour bleeding or gap by using some margin in the bpy. ops. object. bake(type=’VERTEX_COLORS’, margin=2) – if you fill some of this gaps, just reduce the margin (or increase it to get also little cavities covered with a color and avoid overlapping of colors from adjacent vertices).
Step 5: Batch Export of Baked Meshes
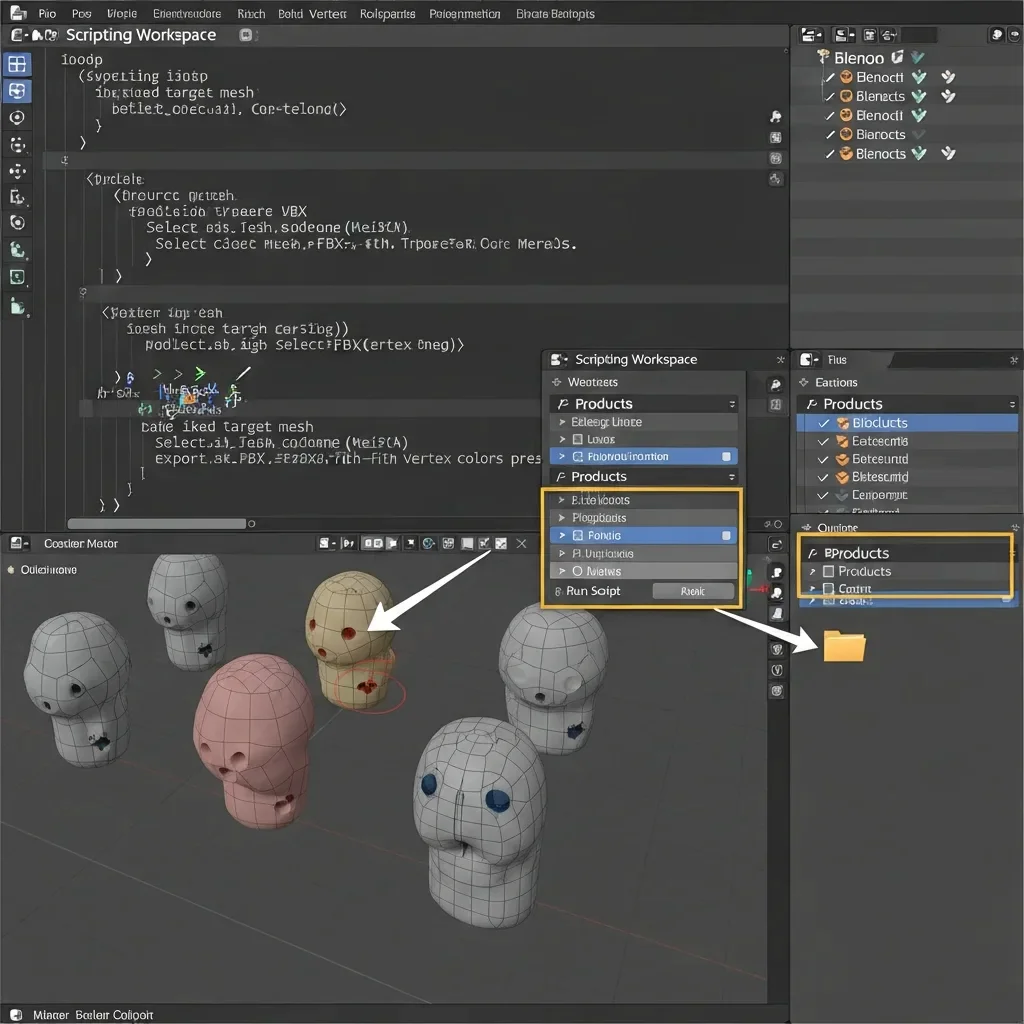
When all the target mesh colors are baked and confirmed, batch export to save vertex color data. To begin, have a place on your system that you can use specifically for the exported image files. Open BlenderGo to Scripting workspaceCreate a new text blockPaste the following python script. This script iterates through each mesh in your source collection, plus it selects the mesh and exports as FBX (or GLTF if you would like) while preserving the baked vertex colors:
import bpy
import os
# Define the collection and output folder
collection_name = “Products”
collection = bpy.data.collections[collection_name]
output_folder = “/path/to/output/folder”
# Create output folder if it doesn’t exist
if not os.path.exists(output_folder):
os.makedirs(output_folder)
# Loop through all meshes in the collection
for obj in collection.objects:
if obj.type == ‘MESH’:
bpy.ops.object.select_all(action=’DESELECT’)
obj.select_set(True)
bpy.context.view_layer.objects.active = obj
# Export selected mesh as FBX with vertex colors
export_path = os.path.join(output_folder, f”{obj.name}.fbx”)
bpy.ops.export_scene.fbx(
filepath=export_path,
use_selection=True,
apply_unit_scale=True,
bake_space_transform=True,
mesh_smooth_type=’OFF’,
add_leaf_bones=False,
path_mode=’AUTO’
)
print(“Batch export completed for all baked meshes!”)
Action Steps for Users:
Replace “Products,” with the name of your collection that stores all the meshes you want to be targeted.
Replace “/path/to/output/folder” with the place the videos should be saved.
Press Run Script. Blender will then auto-pick every mesh, keep vertex colors and export them one by one.
Quickly check it in a game engine or external viewer to make sure that Colors are still there.
Step 6: Optional Vertex Color Adjustments & Fill Automation

From batch bakes and export you can then tweak or even fill a vertex color over multiple meshes to fix any gaps, smooth out shades, or add controlled colour variation with the same game shader. Choose a target mesh to paint and then enter Vertex Paint Mode (Crtl + Tab → Vertex Paint). If there are still some areas not colored in, use Fill Tool (Shift + K) to fill the vertex color layer with solid. For finer details, the Vertex Color Picker lets you sample and copy colors from a source mesh onto missing or non-matching vertices.
To automate this for multiple meshes, open the Scripting Workspace and use Python to iterate over all other mesh in the collection and fill missing values or copy it from e.g. a reference mesh. For example
import bpy
collection_name = “Products”
collection = bpy.data.collections[collection_name]
source_obj = bpy.data.objects[“Source_Product”]
source_layer = source_obj.data.vertex_colors[“Source_Col”]
for obj in collection.objects:
if obj.type == ‘MESH’ and obj.name != source_obj.name:
target_layer = obj.data.vertex_colors.get(“Col_Main”)
if not target_layer:
target_layer = obj.data.vertex_colors.new(name=”Col_Main”)
# Copy colors from source to target vertices
for poly in obj.data.polygons:
for loop_index in poly.loop_indices:
target_layer.data[loop_index].color = source_layer.data[loop_index % len(source_layer.data)].color
Action Steps for Users:
Replace: “Products” with the name of your collection.
Replace “Source_Product” and “Source_Col” by the actual name of your source mesh & vertex color layer.
Press Run Script. Blender passes through all target meshes
Conclusion:
Through this step by step workflow, you can completely automate vertex color baking of many meshes in Blender, and in the process avoid the manual, repetitive, and error prone processes that typically make the production process slow. Since the scene and source material preparations, to Python-based automation of baking, checking the results, and optional use of fills, and batch export of meshes all the steps are made consistent, accurate, and scalable.
The workflow has become available to users and ensures clean and uniform vertex color data on the entire set of collections, which are now available to be rendered or used by game engines or other processing. Additional automation (such as batch fills, shader integration) can also be optional and highly efficient, and so this approach is perfect both to beginners that need to be able to rely on results and experienced artists who may have to handle large product or game asset pipelines. The efficiency of this pipeline is that it saves hours of manual effort, and whenever a pipeline is put into use, the results will be production ready and of professional quality, making the otherwise intricate, laborious, and repetitive feat a seamless, repeatable and dependable process.
