How To Apply Etching Effects To Images
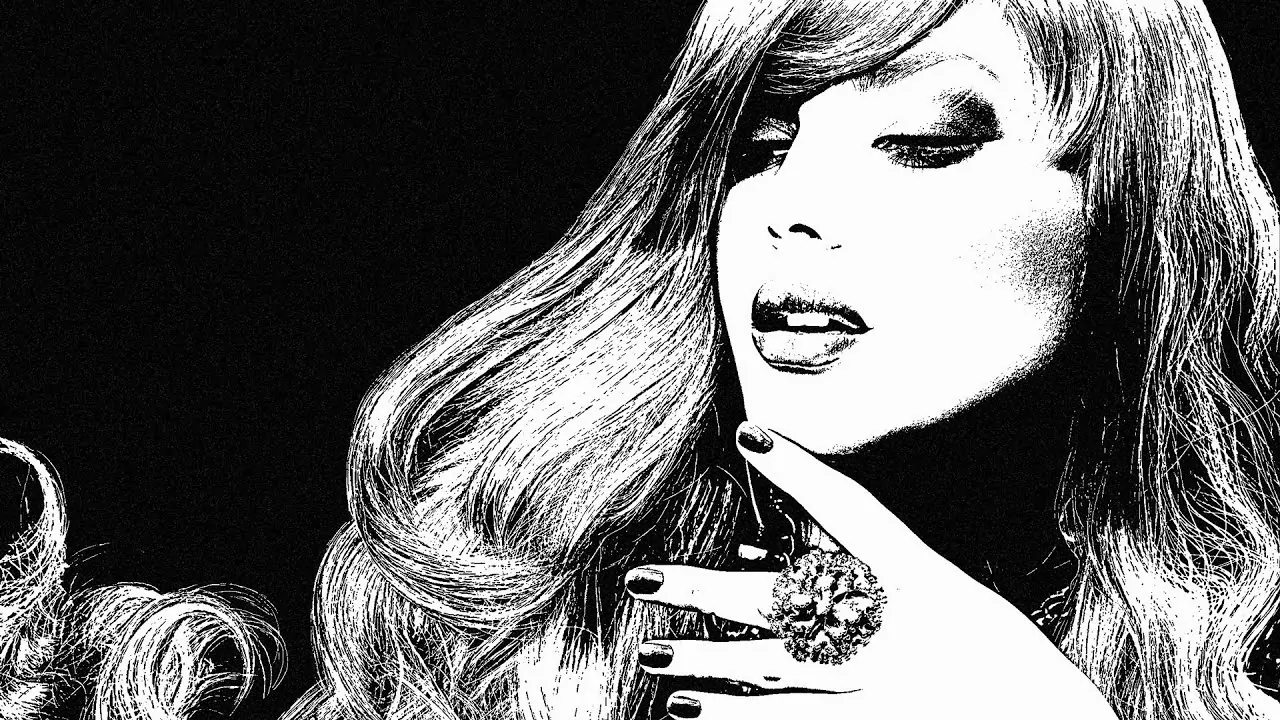
Etching, a traditional art form, involves creating prints from a metal plate, typically copper, with an acid-etched design. The pattern is initially drawn on the copper plate using a sharp instrument after it has been covered with an acid-resistant material known as etching ground. Typically, the ground is made with bitumen, resin, and beeswax. The plate is then exposed to either Dutch mordant or nitric acid, which burns away at the plate portions not covered by the ground, creating a pattern of depressed lines. These lines, filled with ink, transfer to the paper when the plate is placed on wet paper, creating the final print, including intricate features. The detailed and engraved-like appearance achieved through the etching process is also attainable in digital images. Digital tools and techniques, as described in this blog, can uniquely recreate your existing images into etched surfaces, enhancing the details and promoting this art form. The final result is an image possessing a classical and crafted feel with more brilliant and clearer details than before.
Step 1: Converting To Grayscale
Start the Adobe Photoshop app on your PC and tap on the File option within the top menu bar, then press Open from the dropdown menu. It will unlock a file explorer window.
Head to the location where your picture is put away. Press on the photo file to accentuate it.
Select the Open command within the file explorer window. Photoshop will bring your picked photograph into a new workspace.
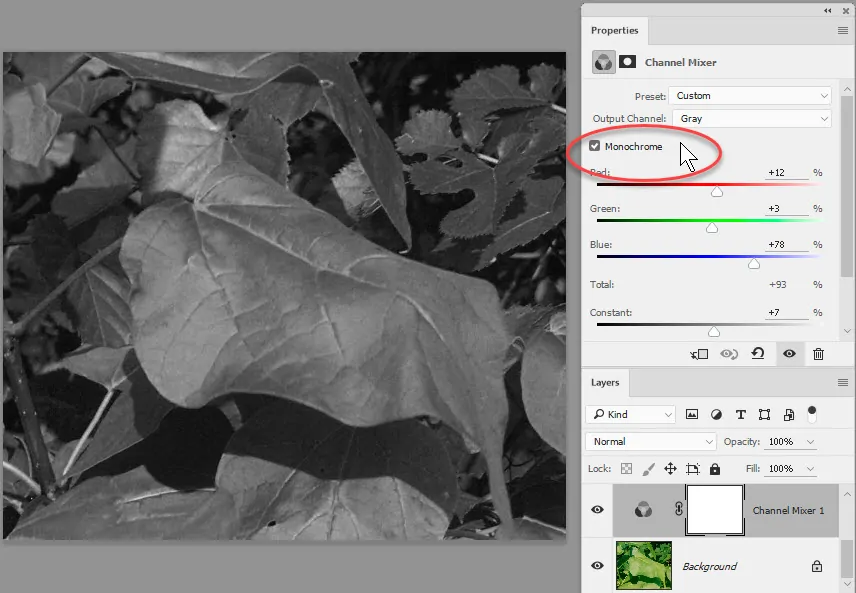
Together with your picture open, proceed to the Image menu at the top of the screen. Move over the Mode option within the dropdown menu and select Grayscale. As a result, a dialog box may show up inquiring if you need to discard color data; press Discard to continue.
Your picture ought to presently show up in shades of gray. That transformation will facilitate the focus on the texture and subtle elements of the etching effect.
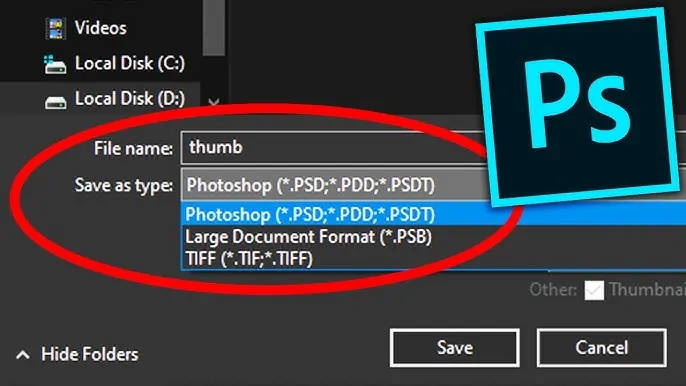
To not lose your work, save the grayscale form by attending to File > Save As and selecting a file title and format.
Step 2: Layer Duplication
Find the Layers panel, which is usually found in the right corner. If it’s not obvious, use key F7 or move to Window > Layers to unlock it.
Within the Layers panel, press on the image layer, ordinarily marked as Background.
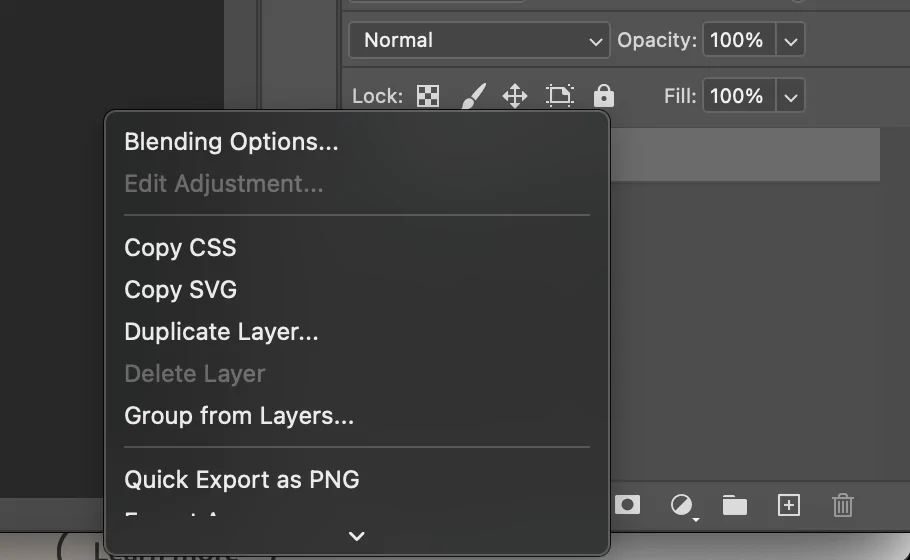
Choose that Background layer and select the Duplicate Layer option from the menu. On the other hand, you can use Ctrl + J keys as a shortcut.
A dialog box will pop up that invites you to title the layer. You can title it Etching Effect or take off the default title. Tap OK to confirm.
The newly made layer ought to now be on top of the initial within the Layers area. It guarantees the initial photograph remains unharmed as you apply the effect.
To avoid coincidental changes, press the lock symbol following the initial background layer.
Follow the practice to save your work after duplicating the layer, keeping up flexibility as you continue.
Step 3: Using High Pass Filter
Within the Layers panel, press on the duplicate layer you made within the previous step.
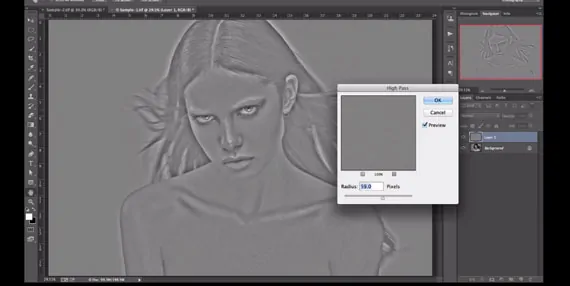
Proceed to the top menu and press on Filter. Within the dropdown menu, head over the Other option and pick High Pass.
As a result, you will see a High Pass dialog box pop up with a radius slider. The objective is to emphasize the edges and particulars in your image.
Drive the radius slider gradually to the right. Often, a value between 2 and 5 pixels works ok for the etching effect. You’ll take note that the image gets to be gray, with lines laying out the details.
During you alter the radius, observe how the photo changes in real-time. Opt for sharp, characterized edges without losing too much detail.
After you are satisfied, tap Ok to apply the filter. Your picture presently includes a sharper, outlined appearance, qualifying it for the following steps in making the etched look.
Step 4: Blending Mode Settings
Within the Layers panel, confirm that the layer with the High Pass filter connected is chosen.
At the top of the Layers panel, discover the dropdown menu named Normal, which is usually where you’ll alter the blending mode.
Press on the dropdown menu and scan via the blending choices. For the etching impact, select either Overlay, Soft Light, or Hard Light. Per mode will create marginally distinctive results. For instance, Overlay gives solid contrast; likewise, Soft Light makes a subtler impression, and Hard Light brings drastic contrast for bolder lines.
Watch how the picture changes in real-time as you switch between modes. Concentrate on upgrading the edges while keeping the overall picture symmetrical.
If the effect is overly strong, alter the layer’s opacity within the Layers board by carrying the opacity slider left to muffle the effect.
The etching effect ought to presently be more articulated, with the lines and surfaces well-highlighted.
Save your file to protect this phase of your work.
Step 5: Adding Texture Effects
Within the Layers panel, confirm that the current edited layer is activated.
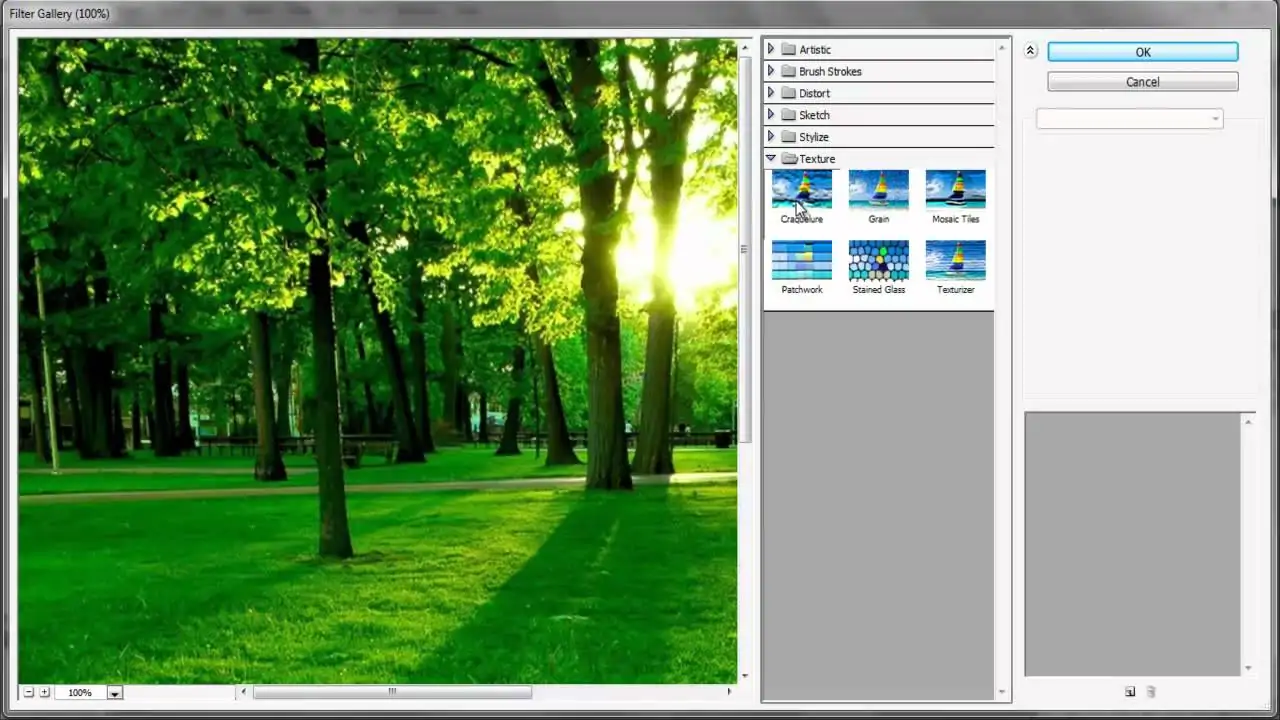
Choose the Filter option present at the top of the screen, then head over Texture and click on Texturizer.
Within the Texturizer window, a dropdown menu tagged as Texture will let you select from a few options. Pick a texture that compares an etched surface, such as Canvas or Sandstone.
Utilize the Scaling slider to direct the size of the texture design. A value between 50% and 100% is generally effective for making an etched appearance.
The Relief slider modifies the depth of the surface. Put it to an intermediate level of almost 3 to 6 for a congruous appearance that improves the etching effect.
Play with the Light Direction setting to see how it influences the shadows and highlights.
After you’re satisfied with the texture settings, tap Ok to execute it. It will give your photograph a more realistic etched formation.
Step 6: Levels And Curves Adjustments
At the top of Photoshop, go to Image and then select Adjustments from the dropdown menu.
Tap on Levels to see the Levels adjustment panel. That tool helps you maintain the brightness and contrast of your image.
Within the Levels panel, you’ll see three sliders under a histogram: utilize the left slider to manipulate shadows or darker zones, the middle slider to adapt midtones and the right slider to maintain highlights or brighter regions. Pull these sliders to revise the contrast and produce more elements in your etching effect.
Observe how the image changes as you set the sliders. Focus on upgrading the lines while keeping up a balance between light and dark regions.
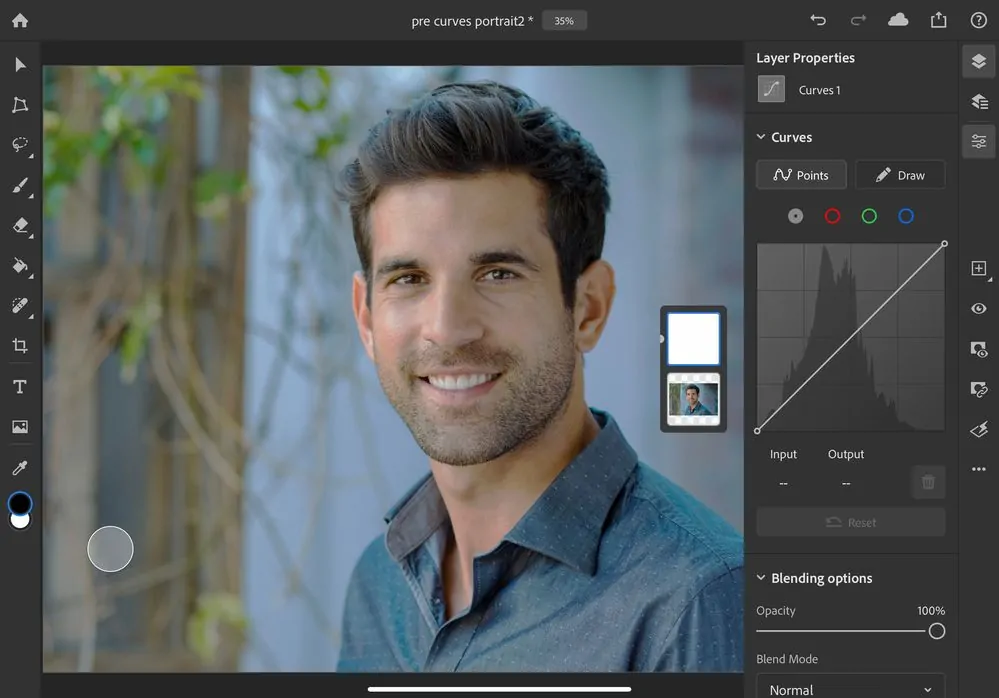
If required, go to Image > Adjustments > Curves to create more minute contrast adjustments. It gives you better control over particular tonal ranges.
Audit your image so the etched lines and textures become intense and precise.
Save your changes before moving on to the ultimate step.
Step 7: The Final Tweaks
Before you save and export your final composition, use zoom in and out buttons to check the general impact and details. Be sure the etched look is reliable and that no disfavored elements remain.
If you’re satisfied and no further alterations are required, move to Layer > Flatten Image to unite all layers into a single. It makes the file smaller and simpler to keep.
Proceed to File and click Save As to see a dialog box where you’ll select the file format and area for your final work.
Inside the Save As dialog box, select the format you want, assuming JPEG or PNG for web and TIFF for print or high-quality conditions.
Add a clear and expressive file title that recalls the etched effect.
If you are saving in JPEG format, set the quality slider to almost 80 to 100 for the most suitable balance of file size and picture quality.
Affirm your choices by tapping on Save. Your image is presently prepared with the etched effect bonded.
Conclusion:
In closing, with a rich history spanning five centuries, the etching printmaking process looks thrilling for its unique approach. Using acids to initiate a chemical reaction resulting in an intricate etching, art design on a plate seems more scientific and practical. Yet, the final effects are no less than magical. Eventually, adding an etching art effect to your photos is like unlocking a new dimension of artistic manifestation. It prompts a traditional printing effect, enhancing the classic aspect and fascinating the viewer. The etching simulation is a versatile approach that can benefit your images in many ways, particularly when you need to emphasize specific textures or patterns.


