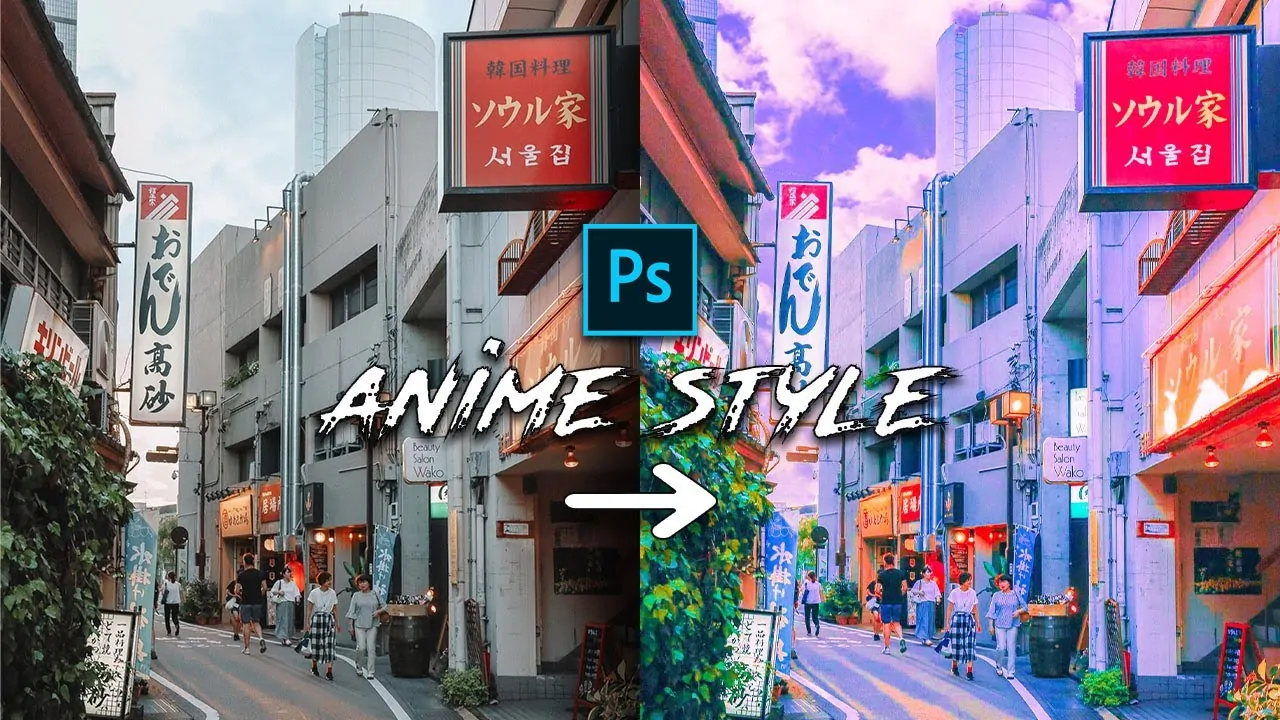
How To Add Anime Shading To Images
Anime colouring or shading is a style that resembles the animation used in classic anime. To facilitate animation, it used basic shading without blending colours. Digital painting software provides the perfect tools, such as gradients or effects, to simulate this dynamic sort of colouring approach. Even better, you could use aesthetic filters to illustrate a certain mood or atmosphere. Due to its striking and dramatic appearance, the anime shading technique is utilized in both animation and art. Moreover, with the development and expansion of image enhancement approaches, anime shading has also become a prevalent effect in the field of image manipulation. It introduces different elements, including cel shading, a limited yet striking colour palette, highlights and line weight variations, and more. Besides gradients and built-in effects, various other features that add to the anime-like appearance are offered by image editing software like Photoshop, Procreate, or Clip Studio Paint. The frequently employed options include clipping masks, layer masks, blend modes, the lasso tool, the pen tool, and different brushes of varying settings. Here is a step-by-step process to add anime shading to images.
Step 1: Adjusting The Base Image
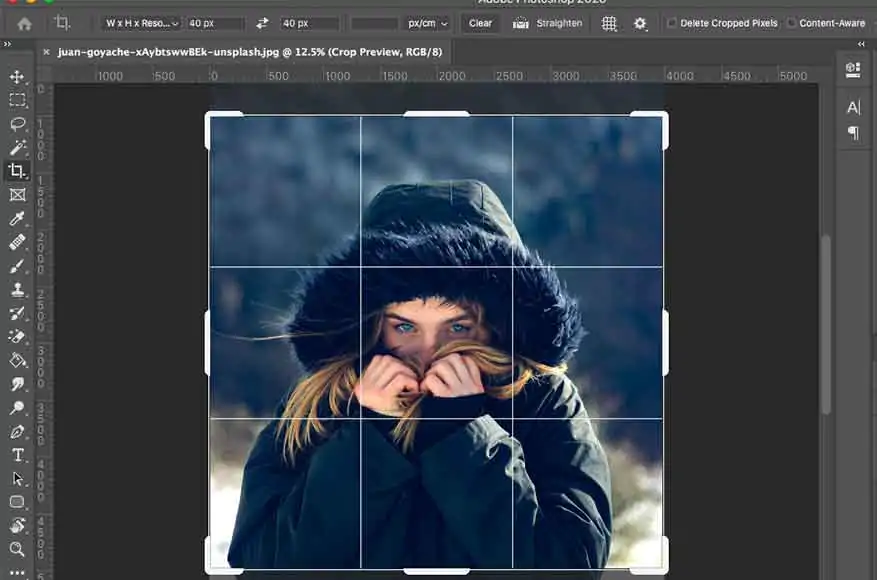
Begin with a clear, high-resolution photograph that has particular lighting and obvious facial highlights. Anime shading goes best on photographs where the light direction and face structure are simple to interpret.
Crop the picture to concentrate on the subject’s face or upper body, depending on what you need to stylize. Anime-style compositions often utilize tight framing to emphasize facial expressions and hair flow.

Remove or blur the backdrop in case it is too occupied. It will help keep the focus on the subject, which is fundamental in anime-style visuals where the foundation is usually negligible or simplified.
Change the brightness and contrast levels to improve lighting regions. It will make it less demanding to map out shadows and highlights later.
Continuously work on a duplicate of the base layer. Keep the initial intact so you’ll compare progress or revert as required.
Arrange your layers by making groups like the Base, Shadows, and Highlights. It will keep your workflow clean and adaptable throughout the shading process.
Step 2: Simplifying The Colours
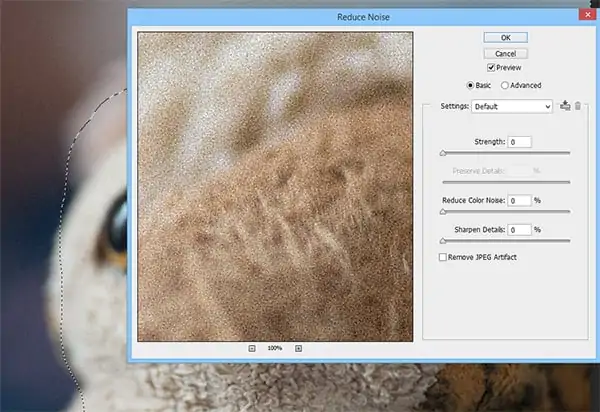
Utilize a noise reduction filter or manually smooth out surfaces and fine subtle elements. Anime shading does not depend on skin pores, texture weave, or overwhelming gradients, so streamline ranges such as cheeks, dress, and hair.
Add a Posterize effect with 3–5 levels to break the photo into flat tonal zones. It will help in visualizing where base colours, shadows, and highlights will reach, a valuable guide for manual work.

Make a new layer over your tended picture and utilize a solid round brush or fill tool to manually repaint central areas with flat, consistent colours. Do not do blending and consider these as your anime-style base coats.
Keep isolated layers or layer folders for diverse regions such as skin, hair, and clothing. It will give you way better control once you begin shading.
Utilize desaturated but tidied colours. Anime styles don’t go for muddy or excessively complex hues. Adhere to a basic, adapted palette that corresponds to your character’s temperament or theme.
Lock the pixels of your base colour layers so you do not inadvertently paint outside them when including shadows or highlights afterwards.
Step 3: Identifying The Light Source
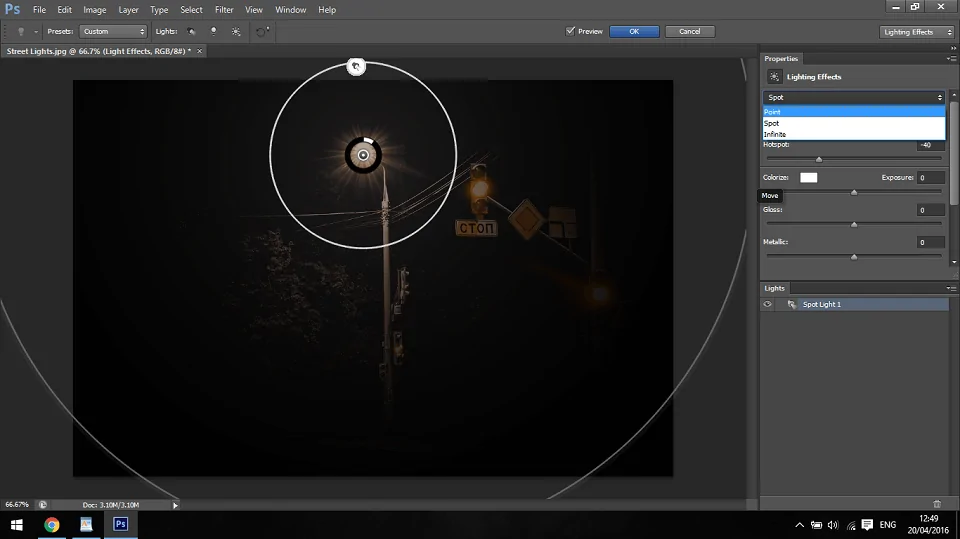
Determine where the light is coming from, like top-left, top-right, directly over, etc., and it will direct all your shading choices. In anime, light usually arrives from a single, solid direction to form dramatic contrast.
On a temporary layer, approximately check where the light will strike most, like the forehead, nose bridge, top of the hair, and shoulders. That sketch will help keep shading even onto all highlights.
Distinguish ranges that would actually fall into shadow, such as beneath the chin, around the jawline, beneath the hair fringe, sides of the nose, neck folds, and beneath the eyes. Utilize basic oval or block shapes to pre-map them.
In case you are uncertain, look at anime screenshots or utilise a 3D pose reference to notice how lighting influences form. Comprehending the way light wraps around the face helps progress precision.
In contrast to realistic shading, the anime style maintains the shadows’ sharpness and light zones’ clarity. Concentrate on form-based light arrangement, not photoreal detail.
Save your light/shadow sketch as a low-opacity guide layer as you work on the main shading layers.
Step 4: Adding A Shadow Layer
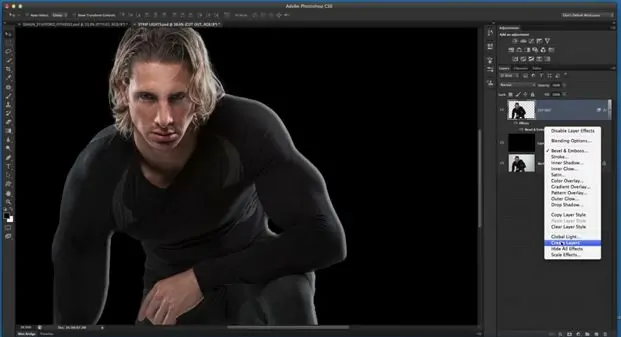
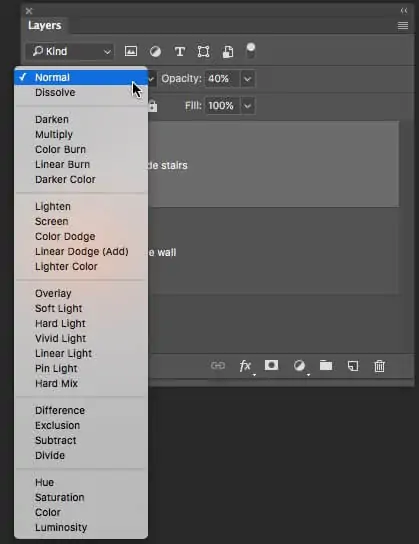
Include a new layer over the base colour layer and specify its blending mode to Multiply. It will darken the colours underneath without muddying them, ideal for anime-style shadows.
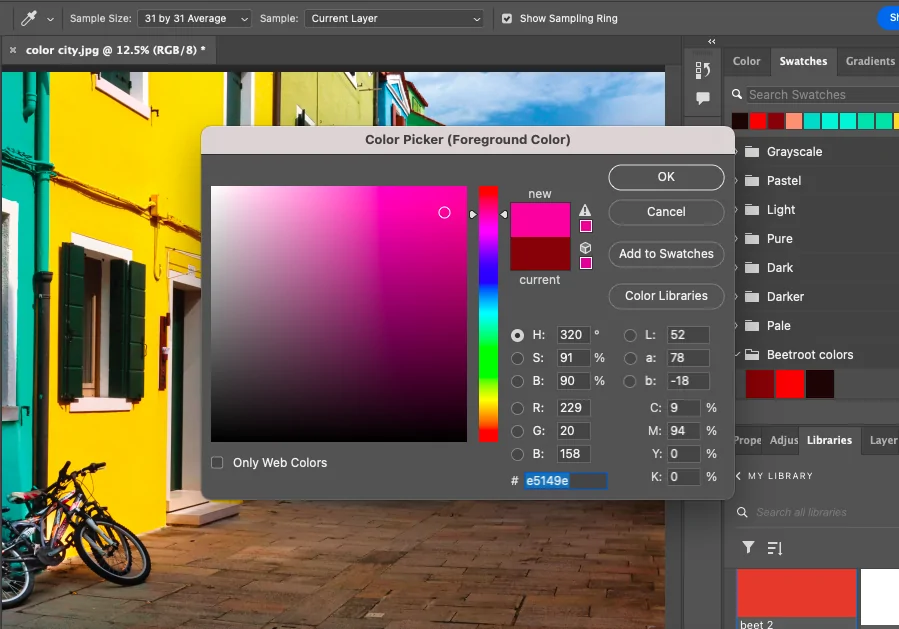
Select a shadow colour slightly darker and cooler than the base tone. For skin, this may be a muted mauve or grey-brown; for hair, a more profound shade of the same tint. Prevent pure black to keep the look delicate and stylized.
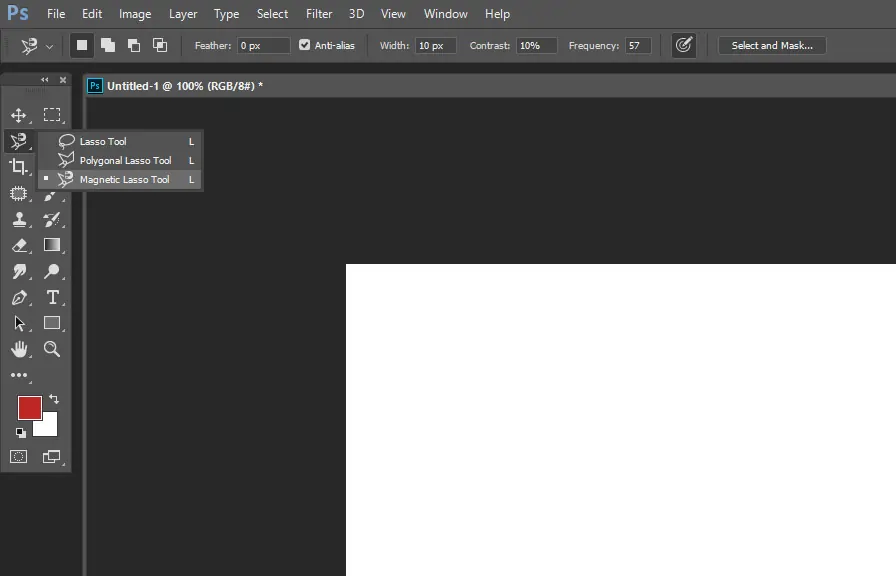
Utilize the Lasso Tool, Polygonal Lasso, or Hard Round Brush to draw sharp-edged shadows. Anime shading prevents delicate gradients, so make transitions crisp and clean.
Shade beneath the chin, including underneath the nose, along the cheekbones, beneath bangs, and in neck folds. Moreover, look into casting shadows from hair onto the face or from the dress onto the skin.

After putting shadows, lock the layer’s transparency so you can delete or polish without colouring outside the shapes.
Use the zoom out and be sure that shadows accommodate the selected light direction. It can help protect believability even for a stylized format.
Step 5: Creating Highlight Layer
Include a new layer over both the base and shadow layers. Put its blending mode to Overlay, Add, or Screen. All these modes can brighten the colours beneath without overwhelming them.
Select a highlight colour that’s a warmer, lighter version of the base tone. For skin, utilize peachy or pale yellow shades. For instance, for hair, a marginally lighter version of the base tint. Do not go for stark white unless going for a glossy impact.
Utilize the Lasso Tool or a Hard Round Brush to include sharp-edged highlights on zones confronting the light, like the top of the forehead, bridge of the nose, upper cheeks, collarbones, and top of the hair clumps.
In anime art, hair generally has stylized highlight bands or streaks. Eyes may have bright reflective dots or crescents, so include these to boost the anime formation.
Do not exaggerate it. Put highlights focused on critical light-catching areas. Excess can flatten or confuse the lighting.
Alter the layer’s opacity to make the highlights look natural and accommodate inside the general shading style.
Step 6: Adjusting The Line Art
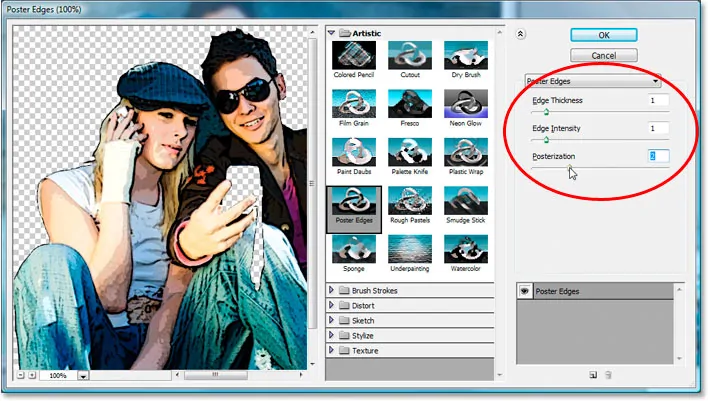
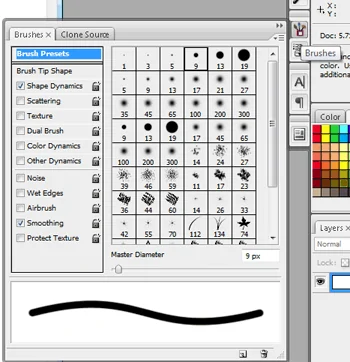
In case you are working from a photo, utilize filters such as Poster Edges, Find Edges, or a custom black-and-white edge to extract unpleasant line art. On the other hand, manually trace over the picture employing a hard round brush on a new layer.
Anime-style line art is tidy, negligible, and expressive. Remove pointless elements, and emphasize defining the layout of the face, hair, eyes, and clothing folds. Keep inner lines smaller and deliberate.
Utilize thicker lines for outer edges and more slender lines for inward highlights, including the nose, eyelids, and mouth. It will create depth and include a stylized, proficient touch, normal in anime illustrations.
Adhere to pure black or a really dark tone corresponding to the palette. Though the coloured line art is optional, it functions best when the entire art style is colour-coordinated.
Guarantee the line art layer is at the top of all colour and shading layers for the most significant clarity.
Lock the layer or place it in a group to avoid inadvertent alterations as you proceed to polish your work of art.
Step 7: Finalizing The Composition
Use the zoom-in and clean up any unpleasant edges. Sharpen corners, correct overlaps, and be sure that all shadows and highlights follow the lighting direction reliably. Make the shapes bold and neat.
Anime eyes are emotive and generally stylized. Include bright sparkles, reflection dots, and slight gradients inside the eyes to let them pop. Utilize small brushes and layer modes such as Add or Overlay to get glow effects.
Add extra light streaks over the hair or along the layout of the subject if the light source is drastic. It can include depth and provide a pristine anime appearance.
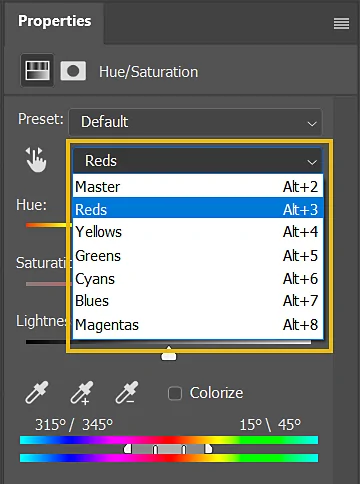
Utilize tools like Hue/Saturation, Colour Balance, or Selective Colour to change tones. Opt for a pristine, cohesive colour scheme that accommodates anime aesthetics.
Disentangle or blur the background, or replace it with a strong colour or gradient. Anime frequently employs clean or unique backdrops to keep the emphasis on the character.
Once done with all adjustments, you can save your work in high resolution to protect sharp edges and colour clarity. Preserve a PSD or layered record in case you need to alter it afterwards.
Conclusion
In summary, anime style is a popular artistic choice for many individuals, remaking their images into a distinctive and vivid art form. Soft textures, dreamlike effects, vivid and vibrant figures, and lighting flares are all hallmarks of anime art. We can replicate these qualities and produce aesthetically striking anime-style images by using specific adjustments and filters provided by modern art tools. The application of anime shading to images never lets your images go overlooked. It transforms your compositions into stunning artworks that appear to be taken directly from your favourite comic or anime series.
