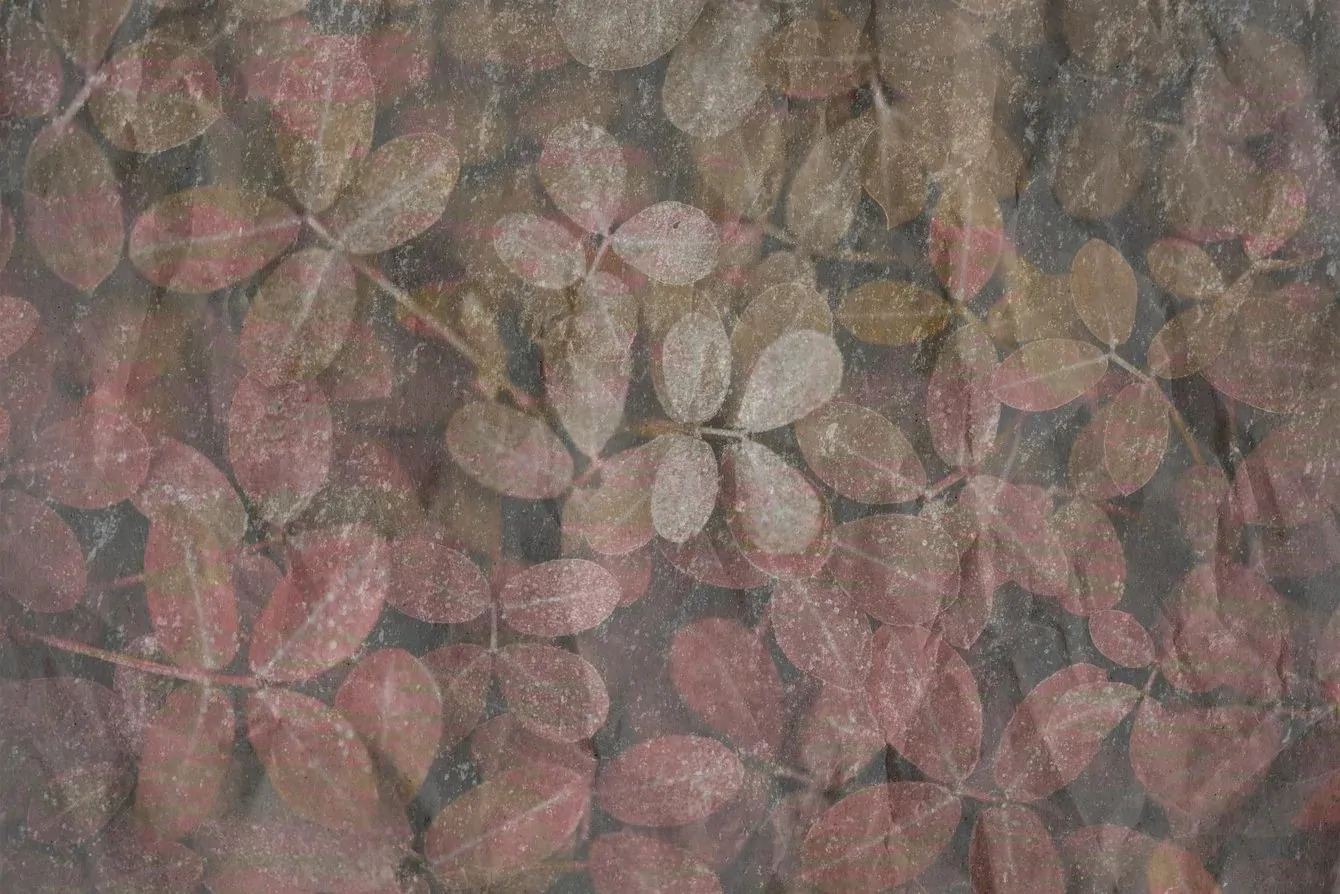
How To Add A Vellum Texture Effect To An Image
Vellum has been associated with superior writing surfaces for millennia. Animal hide was used to make the initial type of vellum. Although the process of creating vellum was laborious and time-intensive, it is still widely regarded as the best writing paper available and is still utilized for some formal documents. Although cotton rag, the finest 100% cotton fibre, is commonly used to make the majority of vellum stationery nowadays, different animal skins are also utilized. The skin of stillborn calves is a most common example of making the finest-grade vellum, which is smooth, transparent, and flawless. Official certifications, calligraphy works and book-binding industries continue to employ the centuries-old vellum-making technique. Correspondingly, the age-old and delicate vellum textures are even famous in their digital forms and are utilized in digital illustrations, designs and image enhancement to create patterned backgrounds, overlays, textures, and other visual elements that simulate vellum. This blog will explore the process of creating and applying digital vellum textures onto images.
Step 1: Image Duplication
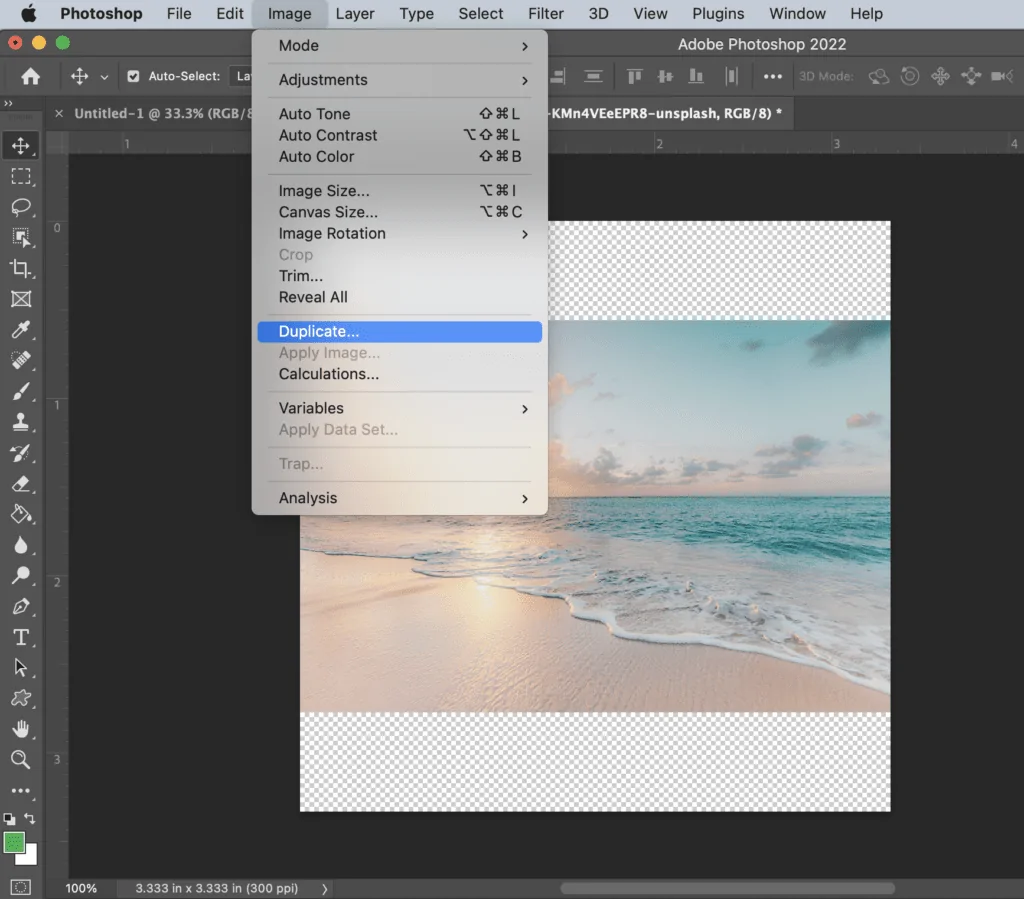
Firstly, open the image on which you would like to add a vellum texture effect into your software’s workspace.
Before you proceed to make any alters, make a duplicate of your photograph layer to keep the initial version safe. It will permit you to undo as required and compare changes.
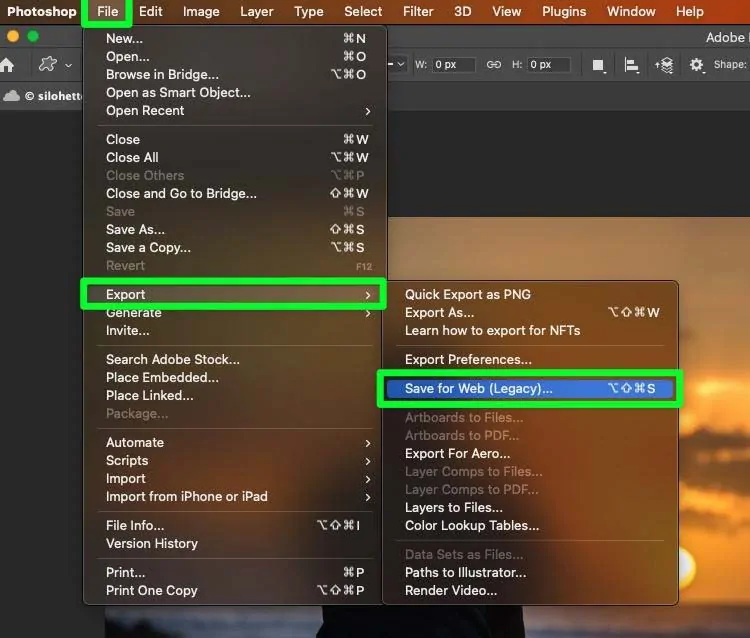
If using Photoshop or comparative software, move to Layer click Duplicate Layer or utilize the keys Ctrl + J. It will create an exact duplicate of the initial.
By Working on a partitioned layer you can be sure of having a non-destructive altering, suggesting that you’ll tweak or remove alterations without harming the base picture.
Give a suitable tile to the duplicated layer something such as the Vellum Effect to remain organized, particularly when working with different layers.
Hold the first layer locked to avoid accidental changes. Perform only on the duplicated layer for all ensuing modifications.
If your program supports it, change over the duplicated layer into a Smart Object using right-click > Convert to Smart Object. It is to help retain quality when applying filters or changes.
Step 2: Desaturating The Image
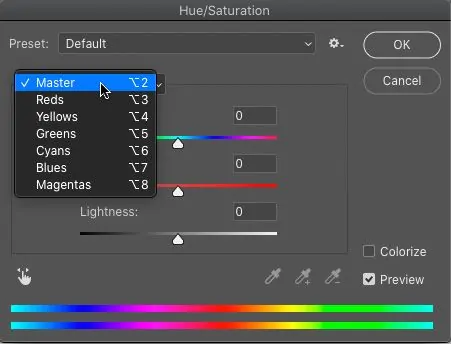
As the vellum features a delicate, hushed formation with negligible colour intensity a slight desaturation can help make a blurred, translucent appearance without making the picture completely black and white.
Click on the duplicated layer and proceed to Image then click Adjustments and Hue/Saturation. Moderately decrease the Saturation from -20 to -40 according to your photograph.

Rather than direct alters, utilize a Hue/Saturation Adjustment Layer. It can permit you to change the effect afterwards without forever changing the photograph.
In case full desaturation looks too gloomy, alter the Lightness slider nuancedly to preserve a natural, vellum-like tone.
Don’t remove all colour, as the vellum retains an indication of warmth. Keeping a small tint guarantees the realism in the ultimate effect.
Flip the adjustment on and off to compare. In case the image seems too blurred, decrease the desaturation level for way better balance.
Step 3: Including A Light Blur
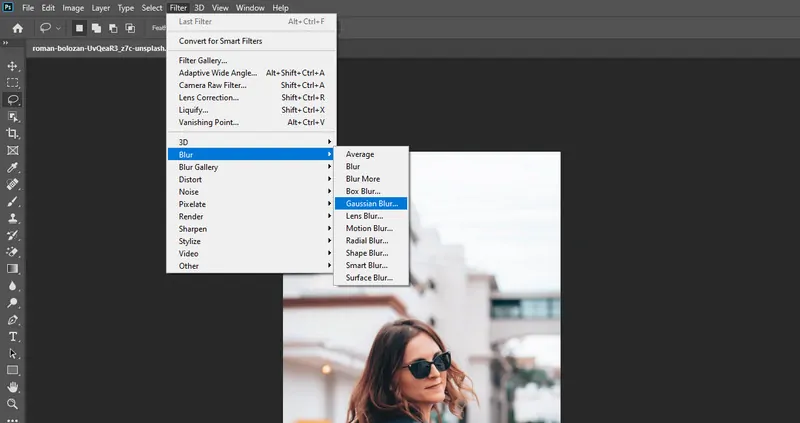
Vellum features a delicate and relatively diffused impression. Including a light blur removes abrupt details, giving the picture a smooth, translucent effect.
Head to Filter click Blur then Gaussian Blur and put the radius between 1 to 3 pixels. The objective is to soften edges without losing too great detail.
In case you converted your layer into a Smart Object earlier, the blur will be applied as a Smart Filter, permitting alterations afterwards without changeless modifications.
On the off chance that certain ranges should remain sharp, lay a Layer Mask to the blurred layer and utilize a delicate brush to eradicate blur from critical elements.
You can use Surface Blur via Filter > Blur > Surface Blur which works sufficiently for a vellum effect since it smooths surfaces while protecting edges.
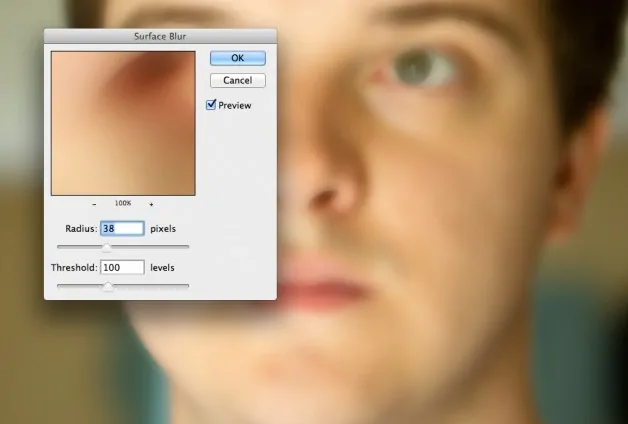
Toggle the blur impact occasionally to guarantee it looks natural. If it is too intense, decrease the blur radius for a more nuanced vellum feel.
Step 4: Opacity And Blending Mode Settings
Decrease the opacity of the duplicated layer to around 50 to 80% to present a delicate, translucent effect. It can mirror the fragile, see-through nature of vellum.
Try with blend modes such as Soft Light, Overlay, or Screen from the Layers panel. These blending modes aid in blending the picture naturally alongside keeping up brightness and contrast.
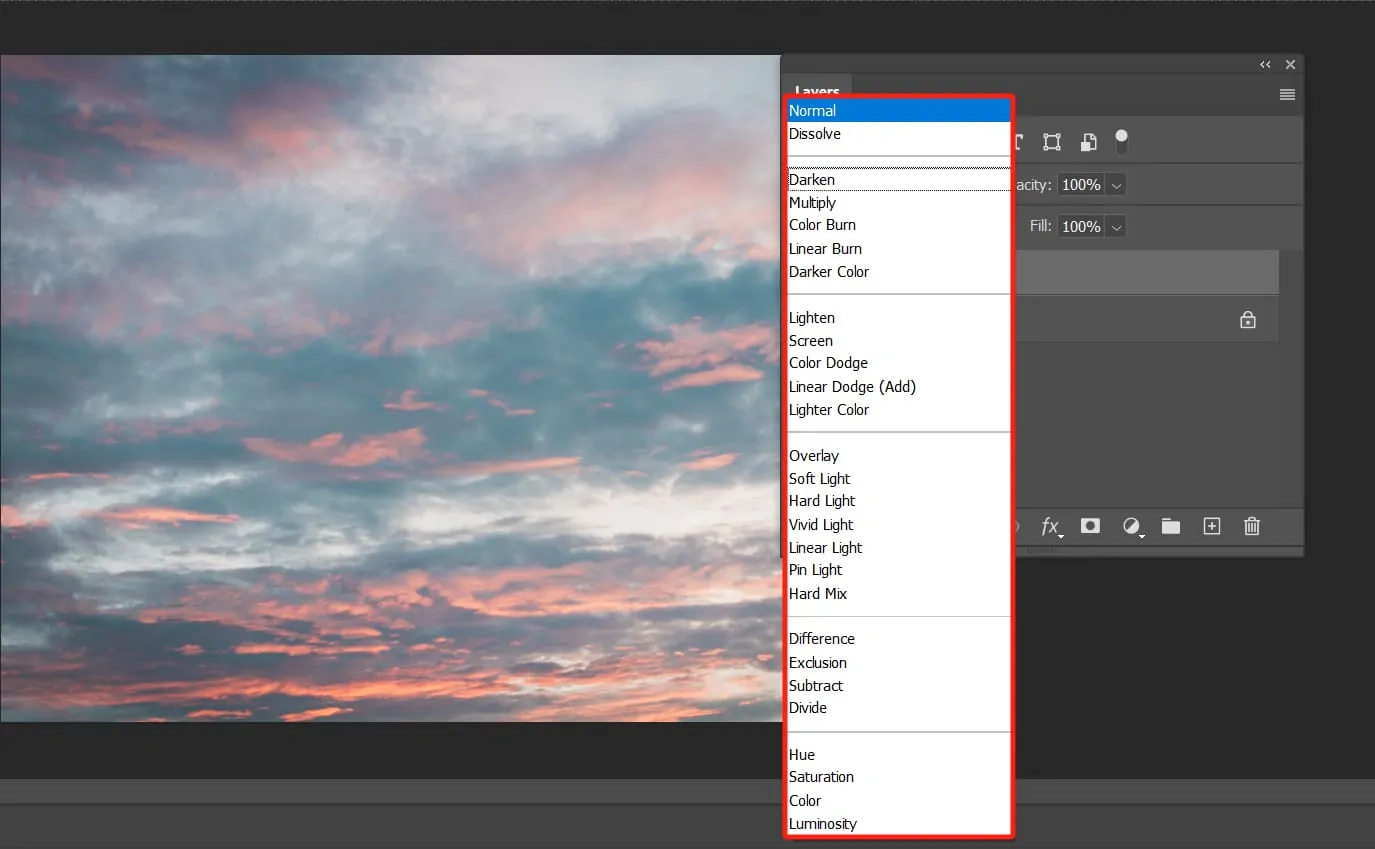
If you feel that the effect looks overly strong, further decrease the opacity. If it looks excessively subtle, enhance it moderately. The objective is to make a softened, layered impression without thoroughly vanishing details.
Making a duplicate the blurred layer and putting different blend modes can upgrade the effect. For instance, a Soft Light layer at 70% opacity and an Overlay layer at 30 develop depth.
In case a few ranges should stay sharp, add a Layer Mask and utilize a delicate brush to erase the effect specifically.
Change the layer’s visibility on and off to compare modifications. Alter settings until the photograph features a harmonious, vellum-like delicacy.
Step 5: Vellum Texture Creation
Pick a high-resolution vellum or parchment surface with mild grain and delicate fibres. You can discover free surfaces online or shoot a genuine piece of vellum for realism.
Carry the surface into your document and put it over the photograph layer. Resize it Ctrl + T to cover the complete photograph without stretching it much.
Change the blending mode of the texture layer to Multiply, Overlay, or Soft Light to blend it naturally with the picture. Alter opacity to regulate intensity.
In case certain regions look too finished, consider including a Layer Mask and utilizing a soft brush to erase excess surface from key parts of the picture.
Utilize Levels or Curves to polish the surface, making it blend consistently while keeping the vellum effect practical.
In case the primary texture does not work, attempt variations with lighter fibres, creases, or subtle grain until you accomplish the proper appearance.
Step 6: Altering Brightness And Contrast
As vellum incorporates a delicate, diffused formation, so altering brightness and contrast can aid in making a delicate, breezy look while keeping up visibility.
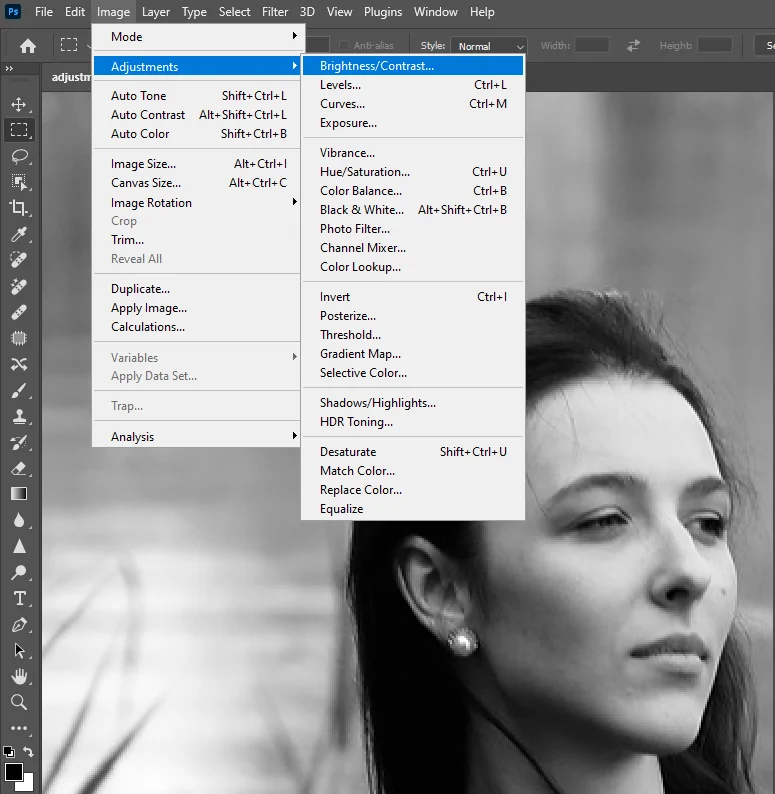
Head to Image click Adjustments and Brightness/Contrast, or better, however, utilize a Brightness/Contrast Adjustment Layer for non-destructive altering.
Decrease contrast by 5 to 15 points to ease the shadows and highlights, avoiding severe edges that do not conform with the vellum’s delicate surface.
In case the photograph shows up too dark or overwhelming, expand the brightness slightly to make a more natural vellum glow. In any case, avoid making it look excessively washed out.
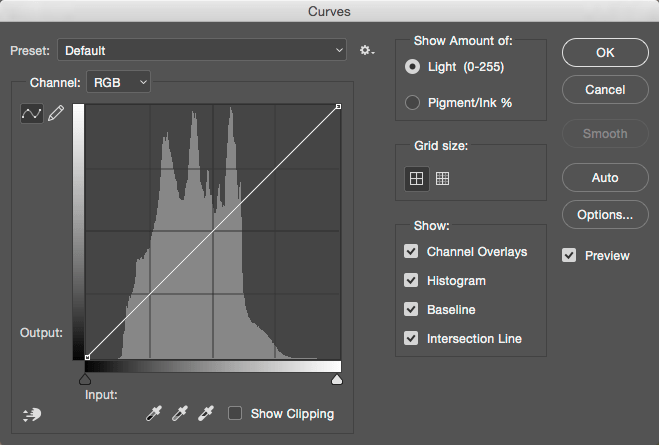
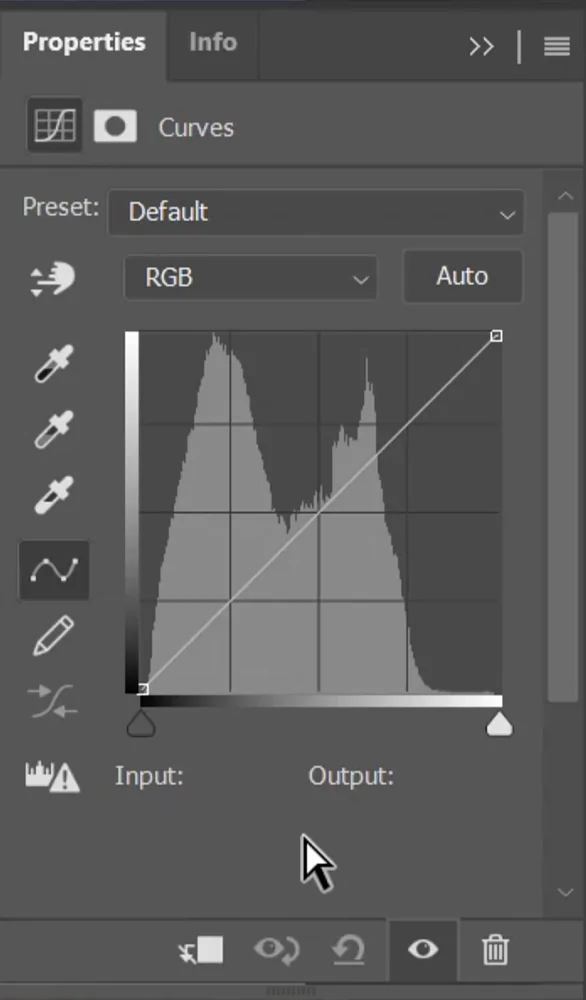
Rather than utilizing fundamental brightness/contrast, try Curves using Ctrl + M or Levels with Ctrl + L to attain more exact tonal control.
Toggle the alteration on and off to compare. In case the picture looks too level, reestablish a bit of contrast while keeping the softness unharmed.
Step 7: Fine-Tuning The Image
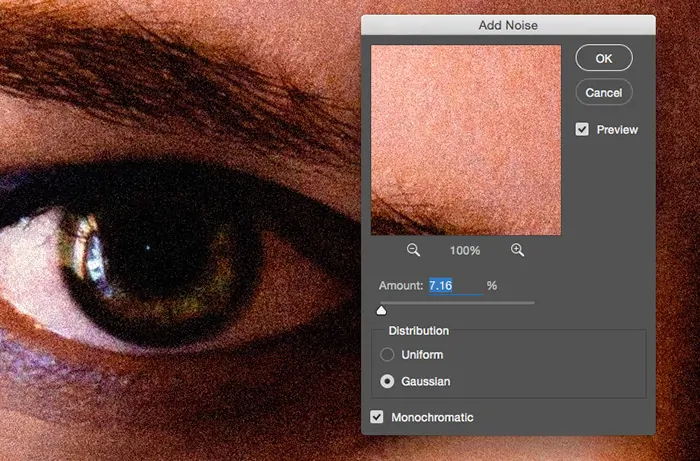
Genuine vellum includes a natural, fibrous surface. Including a nuanced grain effect improves authenticity by mirroring the natural flaws of vellum.
Include a new blank layer over all existing layers. Fill the layer with 50% grey to make the effect non-destructive.
Proceed to Filter then Noise and click Add Noise and put the Amount to around 3 to 8%. Utilize Gaussian and check Monochromatic for a more natural appearance.
Alter the blending mode of the noise layer to Overlay or Soft Light to integrate it quietly with the photograph. Alter the opacity in the event that the effect is too solid.
If you feel that the grain looks too sharp, add a slight Gaussian Blur of 1 to 2 px to smooth it out, making it seem more like vellum fibres.
Check the grain layer on and off to compare. Decrease opacity is vital to keep the effect soft and organic.
Once you are satisfied, you can export the final image using suitable parameters.
Conclusion
To sum up, over the years, vellum has been thought to be significantly more resilient than paper. It has been utilized for painting as well as for legal and religious texts in the past and now. It helped make the document more durable than the asset itself. If you want to give a photograph a grunge vibe or the organic, patterned look of a painter’s canvas, you can add vellum textures to give it that tangible aspect. All things considered, adding a vellum texture effect will give your images a genuine and scholarly feel, mimicking the classic appearance of medieval manuscripts and documents.
