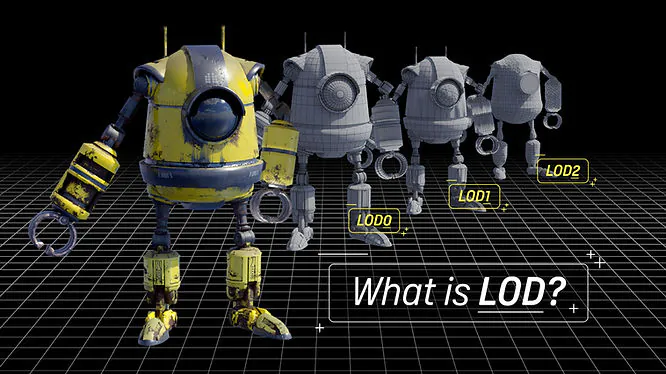
How to Automate LOD (Level of Detail) Generation for Game Assets in Blender
LOD creation is a critical component of any game asset pipeline, but for many it’s also one of the most laborious and mistake-prone areas. Duplicating meshes by hand, reducing polycounts while keeping UVs and normals as they should be without bad shading, or at least having a way to easily fix them up to update the originals in the engine with different naming to catch them properly from the engine becomes pretty hard if you have multiple elements or scenes, even big ones.
For beginners, UVs can break, and they can be left with UV seams or dodgy visual artifacts after decimation; for technical artists, the stakes are higher manual processes do not scale. It’s surprisingly very easy to break automatic LOD recognition in Unity or Unreal with ill-spaced pivots, improper poly ratios, non-matching materials, and other name-related stuff as well, which will result in performance issues or simply just not importing at all.
Automating the generation of LODs in Blender addresses all these issues, as it ensures uniform preparation, predictable polygon reduction, and that you get the same result each time. By leveraging Blender’s Decimate modifier properly and by driving the process with Python scripting, LOD levels can be produced quicker, get fewer artifacts, and still work in a real-time engine.
This guide is a production-ready step-by-step easily generate LODs in Blender; it’s safe for beginners and will prove useful for Autodesk Maya users as well.
Step 1: High-Poly Source Mesh Validation (LOD0)
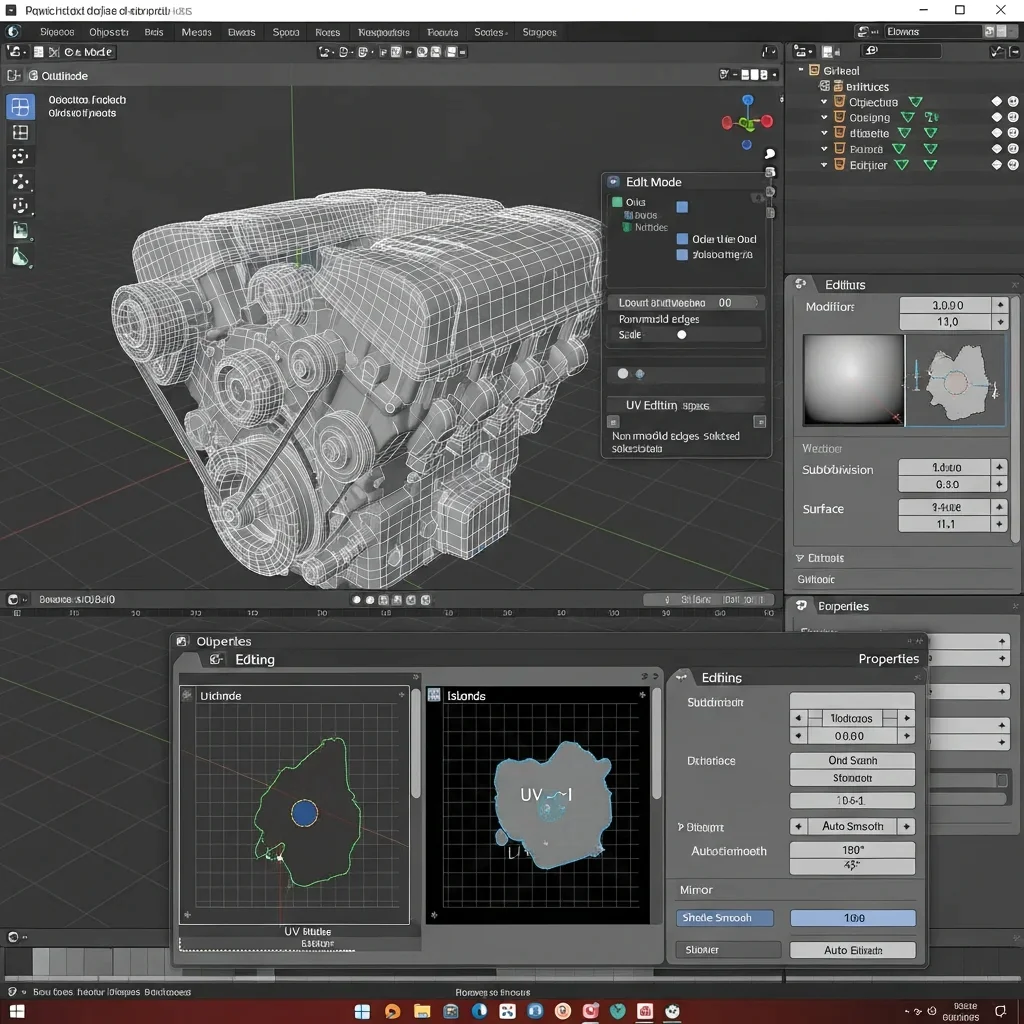
Begin by importing your high-poly mesh to Blender through File → Import → FBX (.fbx) or .obj. Make sure you see your mesh in the 3D Viewport and Outliner, clicking solely on the mesh object (green triangle icon), leaving out collections or armatures. All transforms unpack to save the motor’s position In Object mode, press Ctrl + A > All Transforms Ensure that the location is (0,0,0), the rotation is (0.0.0), and the scale is (1,1,1) in the Item panel (N). In Edit Mode, press Tab an A to select all the geometry, then remove non-manifold edges with Select → Select All by Trait → Non-Manifold and delete any inner faces through X → Faces in X-Ray mode (Alt + Z). Use topology-altering modifiers like Subdivision Surface, Boolean and Mirror but not armature modifiers for animated meshes. Check UVs in the UV Editing workspace with everything on 0–1 and make sure the material slot order is as expected. Fix shading with Shade Smooth and Auto Smooth → 180° in Object Data Properties. Move the object origin to its geometrical center via Right Click → Set Origin → Origin to Geometry and rename the mesh with a strict naming standard, for example, AssetName_LOD0. Confirm transforms pivots, geometry, UVs, and material naming before you carry on.
Step 2: Duplicate the High-Poly Mesh for LOD Generation
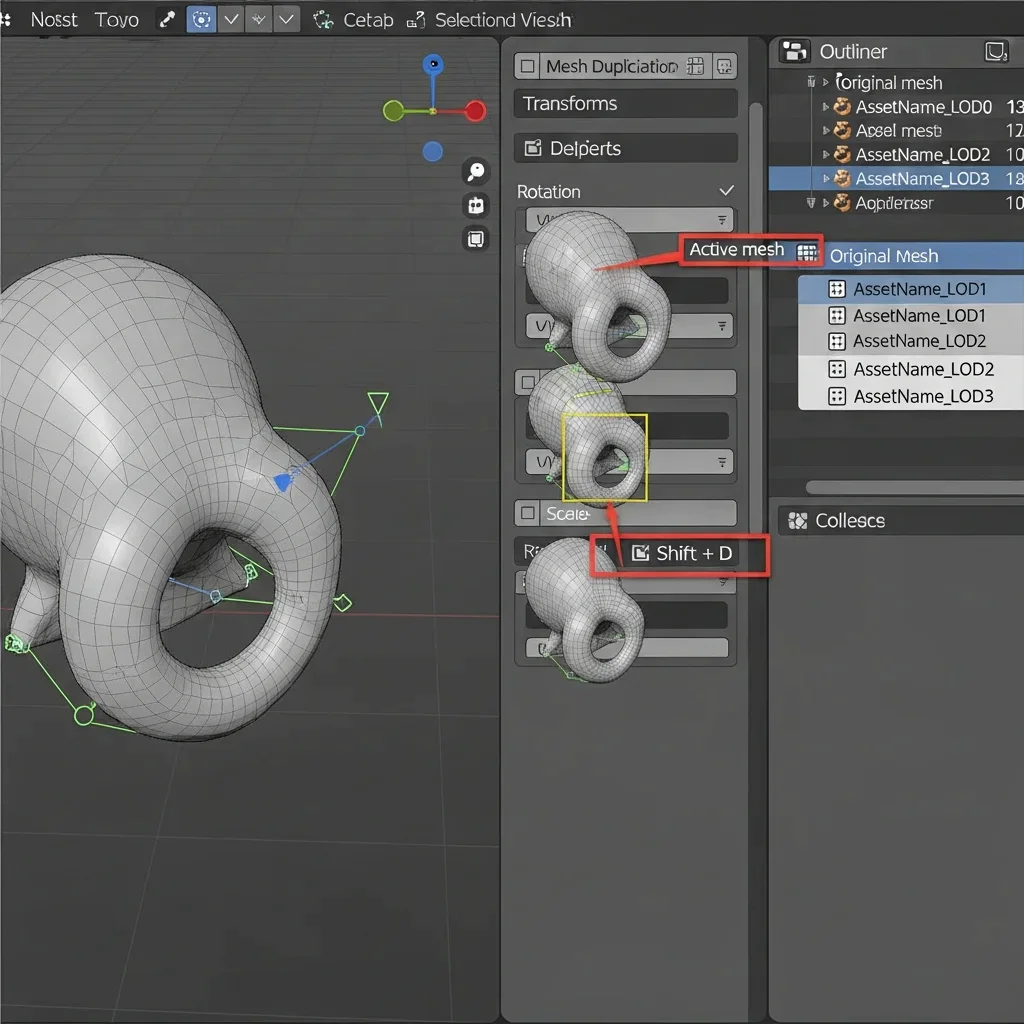
Once you have a working LOD0 mesh that takes the values from your validation, duplicates are created for the remaining LOD levels. Each copy will be used as a mesh so that we can use controlled decimation. Begin by having your LOD0 Mesh selected in the 3D Viewport or Outliner. Duplicate the object by pressing Shift + D. Rename it right after duplicating by right-clicking and selecting “Rename” or double-clicking in the Outliner, for example, insignia_printbodyengine. Use the convention:
AssetName_LOD1
AssetName_LOD2
AssetName_LOD3
where LOW1 is the less aggressive low-poly mesh, LOW2 is a more aggressive version, and LOW3 is the lowest poly-count version of all. Make sure the copy is in the LOD0 collection, or (if you wish) add another one, an empty one, or a collection that contains all the LODs, in these terms, AssetName_LODs.
Verify each duplicate individually. Choose a Copy Object and check in the Outliner, 3D Viewport, and Properties panel that all positions, pivots, and material assignments are identical to those of the original LOD0. This is important: if for some reason the origin, rotation, or scale doesn’t match up, LODs will be misaligned inside the game engine. Stay non-destructive with your duplicates at this point (don’t actually apply any modifiers). Through this methodical approach to duplicating, you end up with a setup where LOD reduction is under control, consistent asset naming is kept, and the workflow itself scales well across other assets.
Step 3: Apply Decimation for LOD Reduction
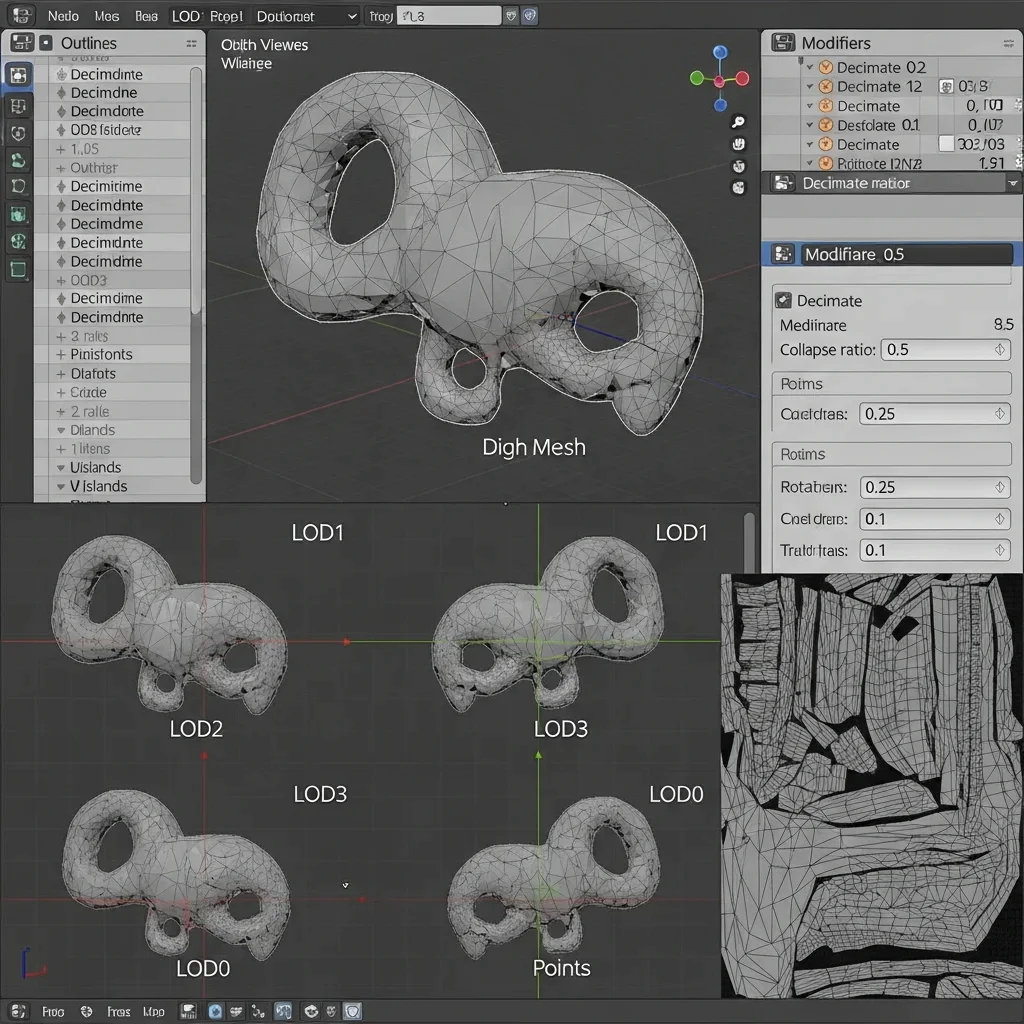
Once you have copied over the high polys for your LOD1, 2, and 3, etc. There is a systematic process to getting them down. Select LOD1 in the 3D Viewport or Outliner. On the Properties panel -> Modifiers tab (wrench icon). Click Add Modifier → Decimate. The collapse ratio is essentially how many polygons to remove. For example:
LOD1 → ratio of 0.5 of LOD0 geometry
DEV → ratio 0.25 (LOD2 being generated at LOD0 x 0.25)
LOD3 → relation 0.1 (CHO import: 10% of LOD0 geometry)
Do the same for LOD2 and LOD3, readjusting the collapse ratios to suit your engine requirements. Once you apply the decimate modifiers, make sure that you look at each mesh in Wireframe mode (Z -> Wireframe) to check if it is balanced and there is no vital detail lost on any part of your meshes. Make sure there are no flipped normals or shading artifacts and that the UV layouts are kept consistent. Keeping this consistency ensures that your textures, lighting, and material settings react correctly to the LODs being swapped inside Unreal.
Lastly, you want to make sure that all LODs are in the same collection and LOD0 is exactly matching pivot. Now, your LODs are engine-ready for use, and they look good too, but they’re still technically sound in terms of geometry, UVs, and materials as well. This systematic process of decimation allows optimal performance and minimum loss of visual quality, providing an ideal setup for batch export or automation scripts.
Step 4: Easy LOD Blender Automation Using Python Script
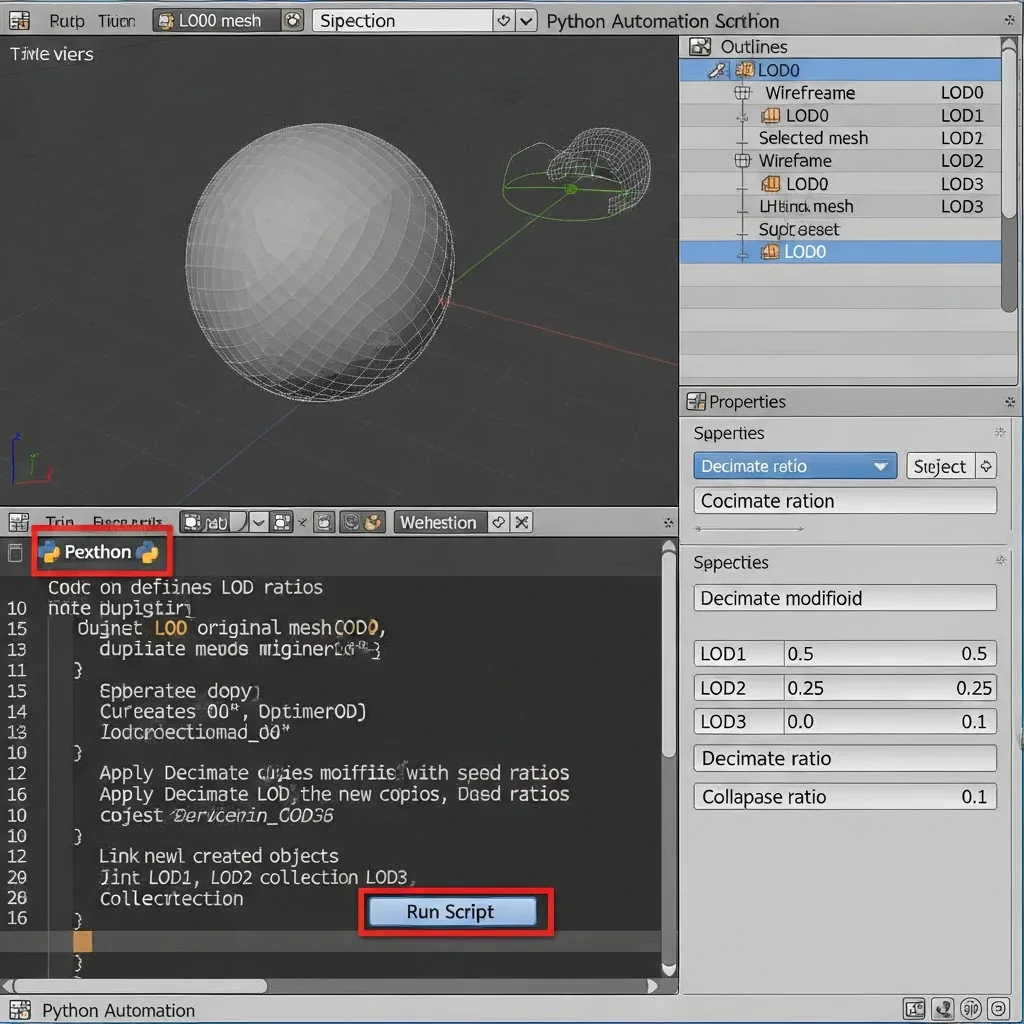
Once the LOD0 and its duplicate are set up, you could also automate LOD generation with the Blender Python API, so you don’t have to do that manual decimation over and over again on your several assets. Open Blender in the Scripting Workspace (click tabs at the top → Scripting). Click New to add a new text block in the editor.
import bpy
# Define LOD ratios
ratios = {
“LOD1”: 0.5,
“LOD2”: 0.25,
“LOD3”: 0.1
}
# Select the active object (LOD0)
obj = bpy.context.active_object
for lod_name, ratio in ratios.items():
# Duplicate the object
new_obj = obj.copy()
new_obj.data = obj.data.copy()
new_obj.name = obj.name.replace(“LOD0″, lod_name)
bpy.context.collection.objects.link(new_obj)
# Add and configure Decimate modifier
decimate_mod = new_obj.modifiers.new(name=”Decimate”, type=’DECIMATE’)
decimate_mod.ratio = ratio
decimate_mod.use_collapse_triangulate = True # optional: enforce triangulation
bpy.context.view_layer.objects.active = new_obj
# Apply the modifier
bpy.ops.object.modifier_apply(modifier=decimate_mod.name)
How to Use the Script
Choose your LOD0 mesh in the 3D Viewport.
And, make sure its transforms/pivots and naming are clean or great.
Click Run Script in the text editor.
The script will:
Replicate the mesh for all LODs.
Auto-assign engine-ready names (LOD1, LOD2, LOD3)
Decimate using the aforementioned polygon ratios
Preserve UVs and normals
Include all the LODs in the collection and find them easier
Validation After Automation
After running the script:
Switch to Wireframe (Z > Wireframe) and visually inspect the geometry.
Do triangle counts align with expected ratios?
Verify that there are no overlaps or distortions in the UV layout.
Make sure normals and shading rendering are the same as LOD0.
Make sure to clearpivot/origins for engine use.
This process now fully automates the LOD creation pipeline, freeing you from hours of repetitive manual work and guaranteeing your models are production-ready, engine-compatible and looking visually consistent throughout Unity, Unreal or any real-time pipeline.
Step 5: Export LODs and Integrate into Game Engine

Once you have all LODs generated (LOD0-LOD3) please be able to export these so the game engine will pickup and read these in, with hierarchy, transforms and materials. In Blender, create an empty collection in the Outliner. For example AssetName_LODs and moge all LOD Meshes inside it. Then right click on the name of the collection and select Select Objects to make sure that all LODs are selected for exporting. Go to File → Export → FBX ( fbx) and configure the settings. Check Selected Objects to export only the LODs and Apply Transform so that scale and rotation is kept. Forward and Up to -Z Forward and Up → Y Up, as is correct for the engine. Then, in the Geometry section Apply Modifiers to actually do the decimation, set Smoothing Face and disselect Add Leaf Bones if you don’t want any additional bones. In the File Name field, provide a filename that makes sense to your engine, for example AssetName_LODs. fbx and choose the export destination (Assets or Content) in your project.
Once it’s exported check fbx in fresh Blender project and make sure LOD0–LOD3 meshes are what you expected, that pivots and transforms look as they should, UVs and materials are still properly assigned. In Unity, drag the FBX into your Assets folder, select the FBX and use LOD Group from Closest (LOD0) to Farthest (LOD3) and then test it by going into Scene View window snapping smoothly. In Unreal Engine, if I import the FBX into my content and then I add it to the GTA5 vehicle mesh and open its properties I can see a bunch of different “Fracture Settings”. And last, make sure triangle counts are as intended and UVs/materials are rendering fine, pivots are matching and LOD transitions look smooth with no popping. Doing so, ensures that your LODs are fully optimized, ready for UE4 and most importantly visually stable for both real-time rendering or production pipelines.
Step 6: Validate, Test, and Optimize LODs

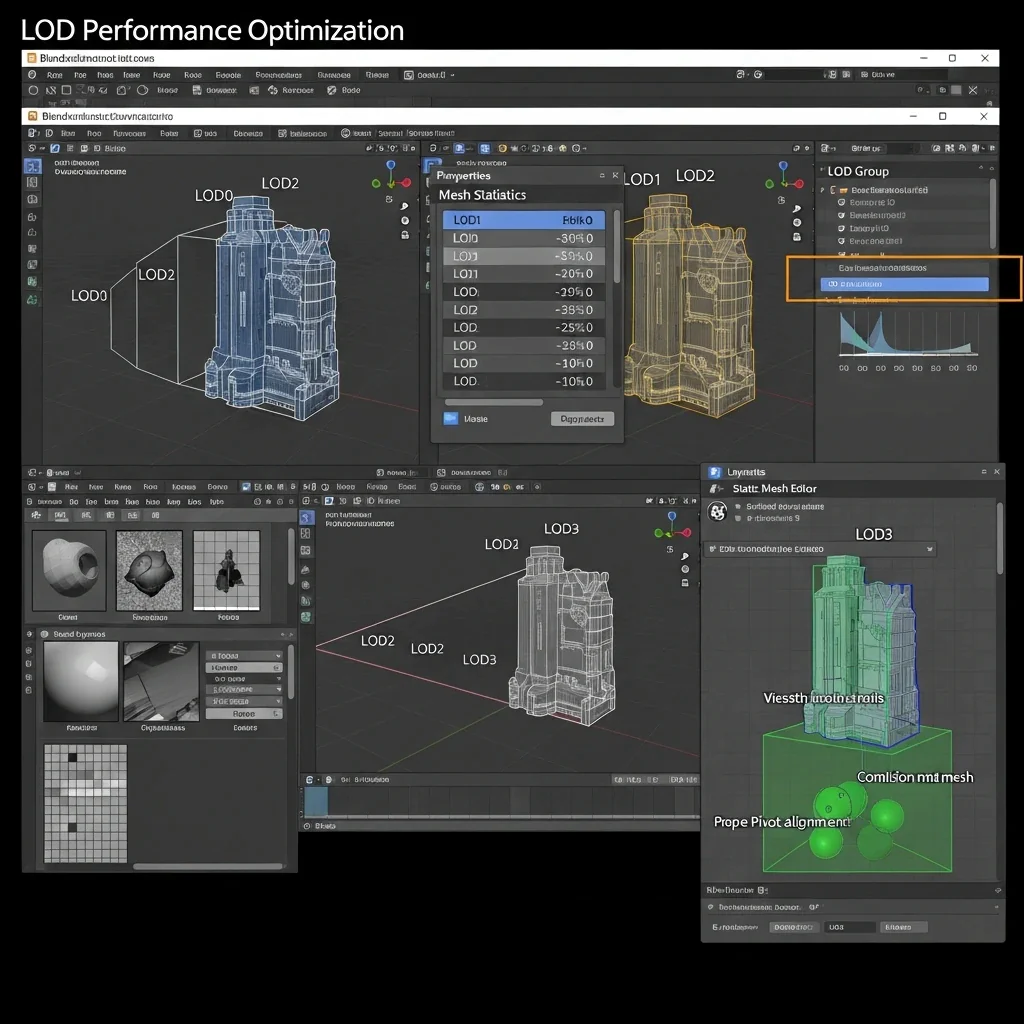
Once you’ve exported your LODs and brought them into your game engine, you’ll want to verify and optimize them to guarantee performance, visual consistency (matching color & shading between LODs), and proper LOD switching. The first thing to do is look at what triangles/polygons you have in each LOD. In Blender, go through each of your LODs and check the Properties panel → Mesh Statistics for your three alternative models to verify that you’ve achieved approximately 50%, 25%, and 10% asset cost savings versus your target objective. Check to see if there are any missing faces, internal geometry or UVs that are out of 0-1 space. Make sure the normals and the shading/smoothing are OK across all LODs, viewing them in Solid and Wireframe (Z → Solid/Wireframe) and ORBing around some high-detail areas.
Once you’ve exported the model, import it into a fresh Blender scene and check out those meshes. Make sure LOD0-LOD3 are all correct, pivots and world transforms match that of LOD0, and UVs and materials render correctly. Now in Unity, drag your FBX into the Assets folder, click on it and set up a LOD Group with distances (closest = LOD0; farthest = LOD3). Test in Scene View to verify that LOD transitions are smooth. 2) copy/paste your fbx into Unreal Engine, then click onto the Content Browser window and open the Static Mesh Editor > For LOD’s you’ll have to do this manually or follow naming convention. Check for proper mesh alignment, shading and collision. Finally, make sure you have the correct number of triangles with the intended ratios and that UVs/materials are accurate and pivots fit together seamlessly while LODS work correctly with no popping. By doing this, you are guaranteed that your LODs will be optimized across the entire range of request and visually stable in engine and real-time production pipelines.
Step 7: Collision Mesh Creation (Optional but Recommended)
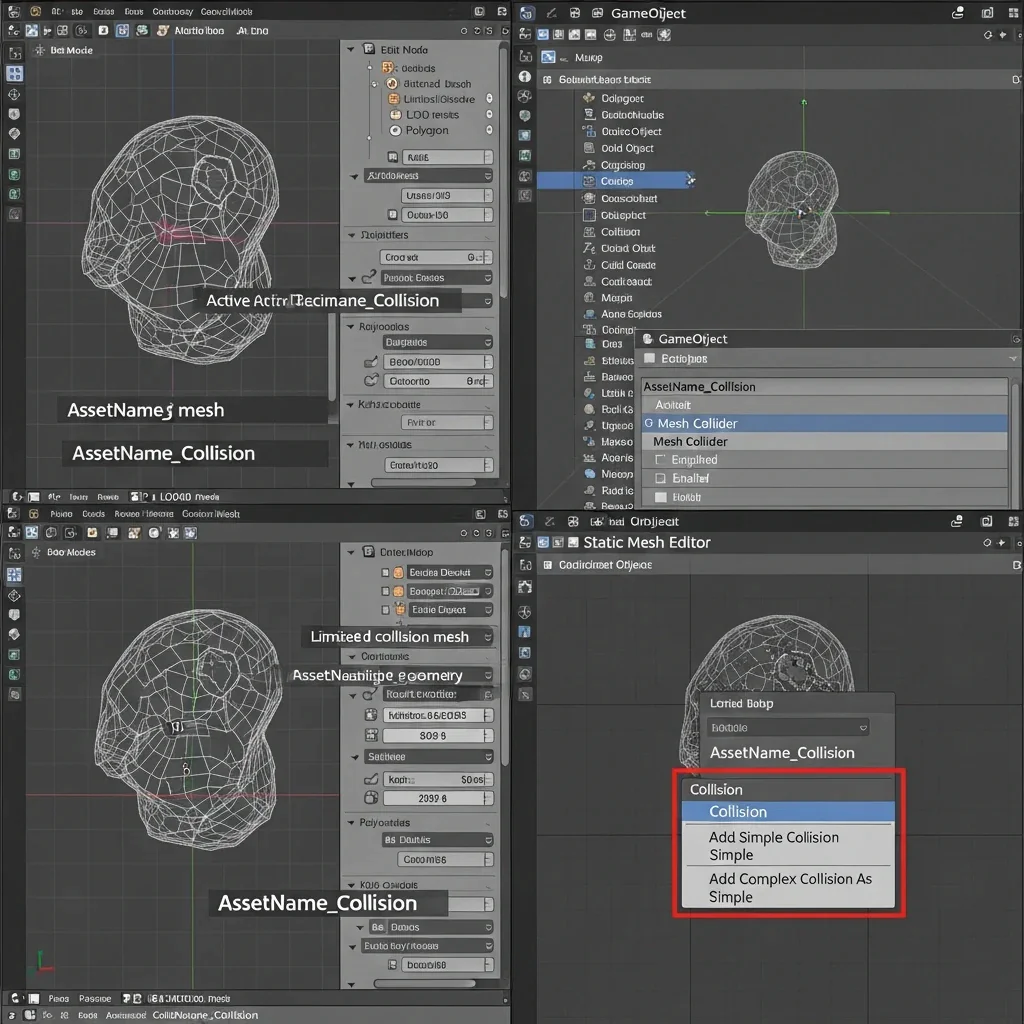
Now inside Blender select your LOD0 of the highest level of detail mesh, duplicate it with Shift + D and rename this copy to AssetName_Collision. Go into Edit Mode (Tab), select all the geometry (A) and either simply Decimate Modifier → Collapse with ratio 0.1–0.2 or use Limited Dissolve (X → Limited Dissolve) to get rid of some unnecessary edges. Delete any internal faces or fliddly detail that the collision doesn’t have. Make sure that pivot/origin is at the origin of mesh by selecting the object and Right Click → Set Origin → Origin to Geometry. Export the collision mesh with your LODs, or set it up in your game engine. In Unity, attach a Mesh Collider component and assign the collision mesh. In Unreal Engine, open the Static Mesh editor and visit Collision → Add Custom Collision and choose your collision mesh. This step maintains correctness and reduces the complexity of computation.
Step 8: Texture and Material Optimization

With the Shader Editor in Blender open, including LOD meshes (LOD0–LOD3). Ensure all meshes share the same material slot and remove any un-used slots from Properties → Material → Remove Slot. Switch to the UV Editing workspace, and ensure none of the UV islands extend outside 0–1 space. Scale textures to power-of-2 dimensions (512, 1024, 2048) by choosing the image and Image → Save As or bake normal/detail maps from a high-poly level of detail LOD0 into lower levels using like Properties → Render → Bake → Bake Type: Normal/AO → Selected to Active. Verify that all textures are properly assigned to their respective LOD and if desired group smaller ones into a texture atlas to increase in-game performance.
Step 9: Batch Workflow for Multiple Assets
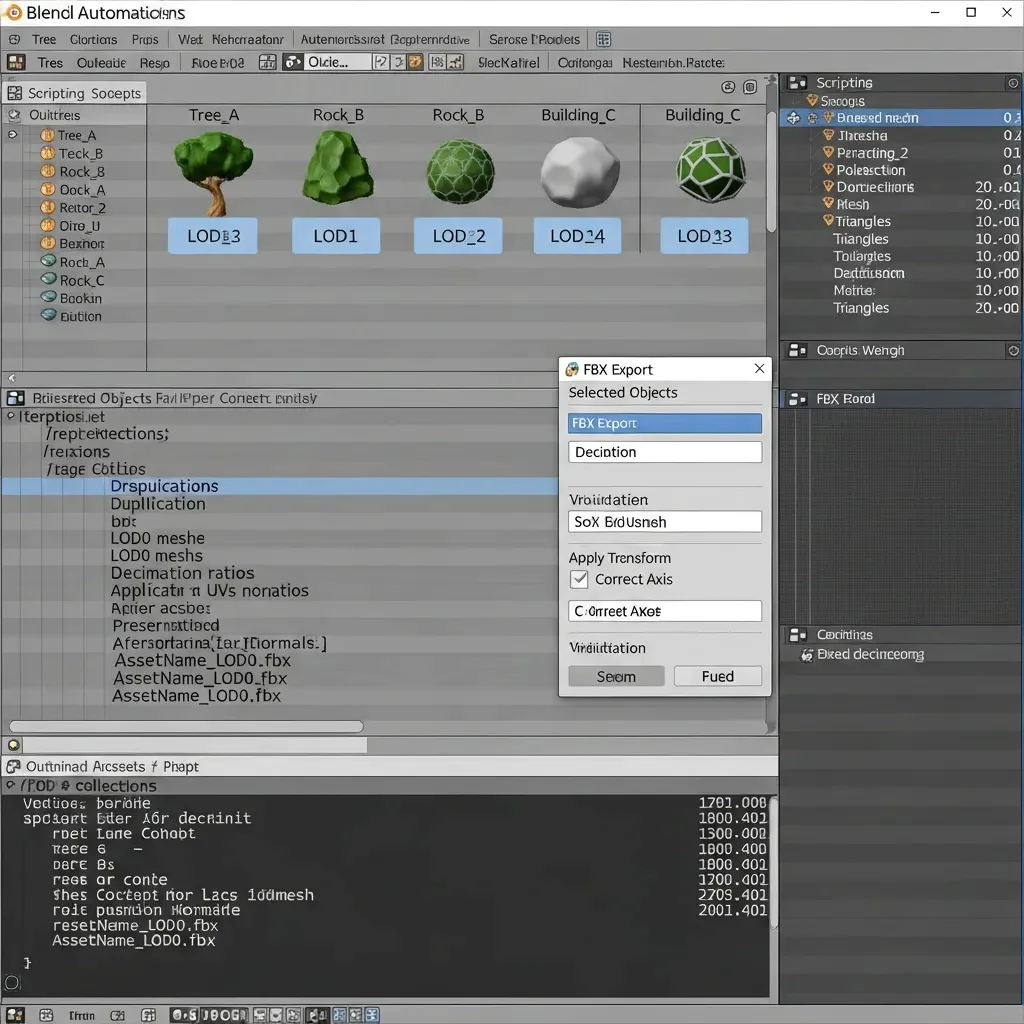
Set up all your assets in Blender using a collection for each asset, you drag LOD0– LOD3 to being a child of that collection. Open the Scripting workspace and create a new Python script to iterate through each collection. The script should clone LOD0 for each asset, add decimation factors for 1-3M’s and keep the uvs/normals, it also renames as per engine conventions. Run the script to automatically generate many LODs. Export each collection to FBX with File → Export → FBX → Selected Objects → Apply Transform → Correct Axis. Optionally, python to print triangle-counts and object names will ensure that all assets are consistent. This batch automation lets you process hundreds of assets without worrying about pivot angle, naming conventions, intact UKs or consistency.
Common LOD Mistakes and How to Avoid Them
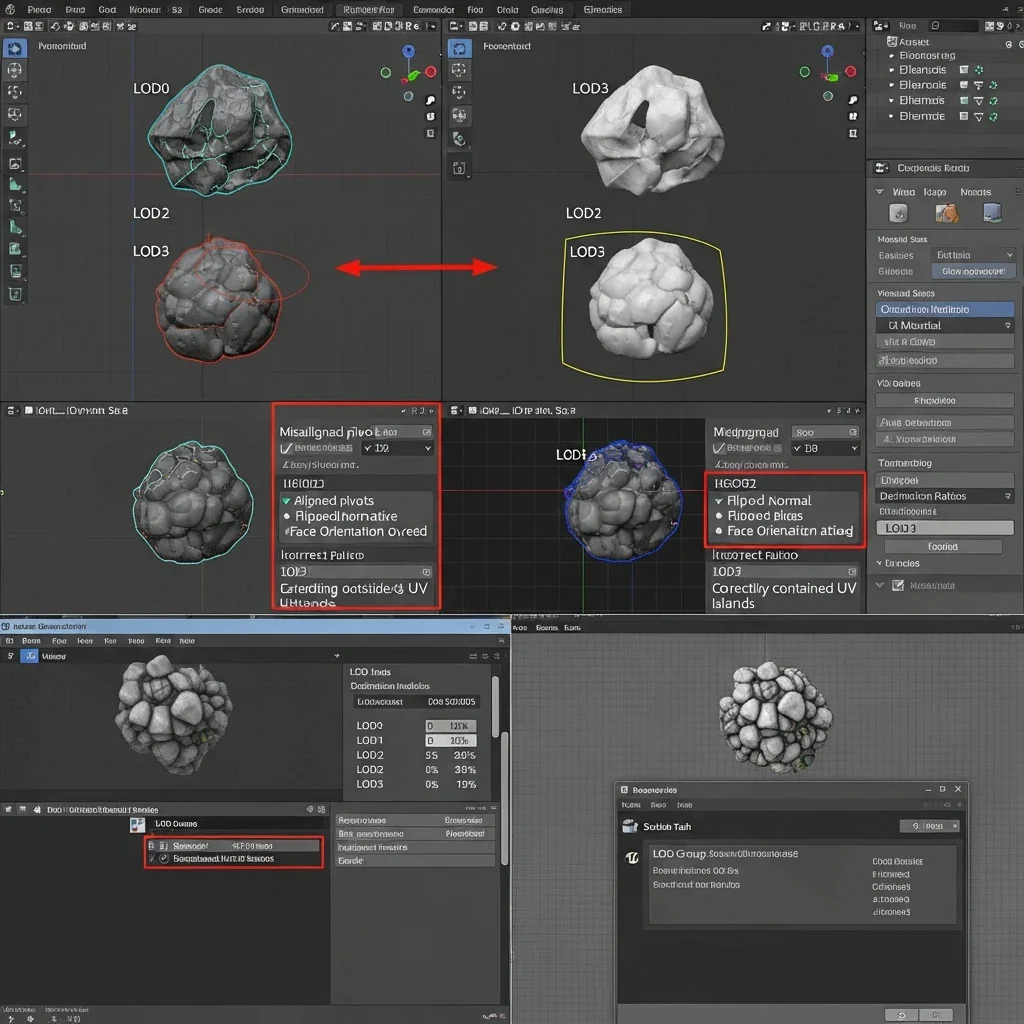
Making meshes in blender for lods can be tough, and there are several mistakes that people make over and over keep in mind when making assets that will go to engine. One common cause is scattered pivots; for example, if you do not place the origin of LOD meshes at same spot as for your LOD0 mesh then you’re going to encounter popping and offset issues in-game so always set Origin using Right Click → Set Origing → Origin to Geometry, and check location/rotation/scale from Item panel (press N).
Decimate might make UVs bad (stretching textures or seams), so ensure all islands remain in 0-1 UV space seeing that they do via the UV Editing workspace, and if automating with Python, soften [preserving] them using decimate_mod. use_collapse_triangulate = True. Re-flipped/blacked out faces may appear, trying enable Face Orientation overlays and re-calculating normals (Shift + N) with Auto Smooth still at 180° in Object Data Properties. Mismatched material slots between LODs can result in shaders being incorrectly assigned by the engine, instead make sure all meshes share the same slots and delete unused ones under Properties → Material → Remove Slot. Using decimation ratios incorrectly is another mistake–if you are too aggressive, you lose important detail, if you are not aggressive enough, you get high polygon counts;
I go with LOD1 50%, LOD2 25%, LOD3 ~10% of the first one and do a Wireframe (Z→Wireframe) check on them to make sure details are still. Collision meshes can also turn into a problem if they are not well-aligned or too complex, so make them simple, align pivots correctly and test (in your engine) with Unity’s Mesh Collider or Unreal’s Add Custom Collision. And finally, there are some wrong settings in the FBX export that can make the LOD import broken; always choose Selected Objects, Apply Transform, Forward → -Z Forward and Up → Y up, apply modifiers, Disable Add Leaf Bones if not necessary. By checking these guidelines, your LODs will be visually and performance-wise up to scale for any real-time engine’s workflow.
Tips for Optimizing LOD Performance
For the best in-game performance of your LODs for Blender you should keep levels polygon count ratio like this: LOD1 as a little less than 50%, LOD2 is around quarter, and LOD3 is something around 10% from the lowest one – but make sure that on higher levels enough details are left in Wireframe mode. Reuse assets in shared textures and UVs across LOD’s; combine draw calls where possible. Use simple collision shapes and make them match visual LODs to compute less physics. Always check transforms, pivots and normals on export with FBX: Select objects->Apply Transform, include: Correct Forward (Y) / Up (Z), Modifiers Apply. Always test the LODs in-engine to ensure smooth transitions and minimum popping as well as balancing visual fidelity vs real-time performance.
Conclusion
Automate LOD generation in Blender when creating game assets which are optimized for the engine. If you use this step-by-step workflow from high-poly mesh validation, through replicating and decimating for multiple LOD levels to Python automation and batch processingthen you can guarantee your pivot points, UVs, normals and materials are consistent on all of your assets. An optional step that includes collision mesh generation and texture/material optimization, can also enhance in-game performance and minimizes overhead. Understanding and avoiding common pitfalls like misaligned pivot points, flipped normals, incorrect decimation ratios, or inconsistent materials will save you costly mistakes inside Unity, Unreal or any other real-time platform. Thanks to the right testing, validation and performance-oriented best practices your LODs keep visual integrity, smooth transitions and the best performance. Whether you use manual or Python script ways to do that, or a Blender LOD addon defining your levels of detail, with this guide anyone from a beginner to an advanced technical artist will learn how easily produce amazing looking LOD models for any game.
