How To Add White Noise To An Image
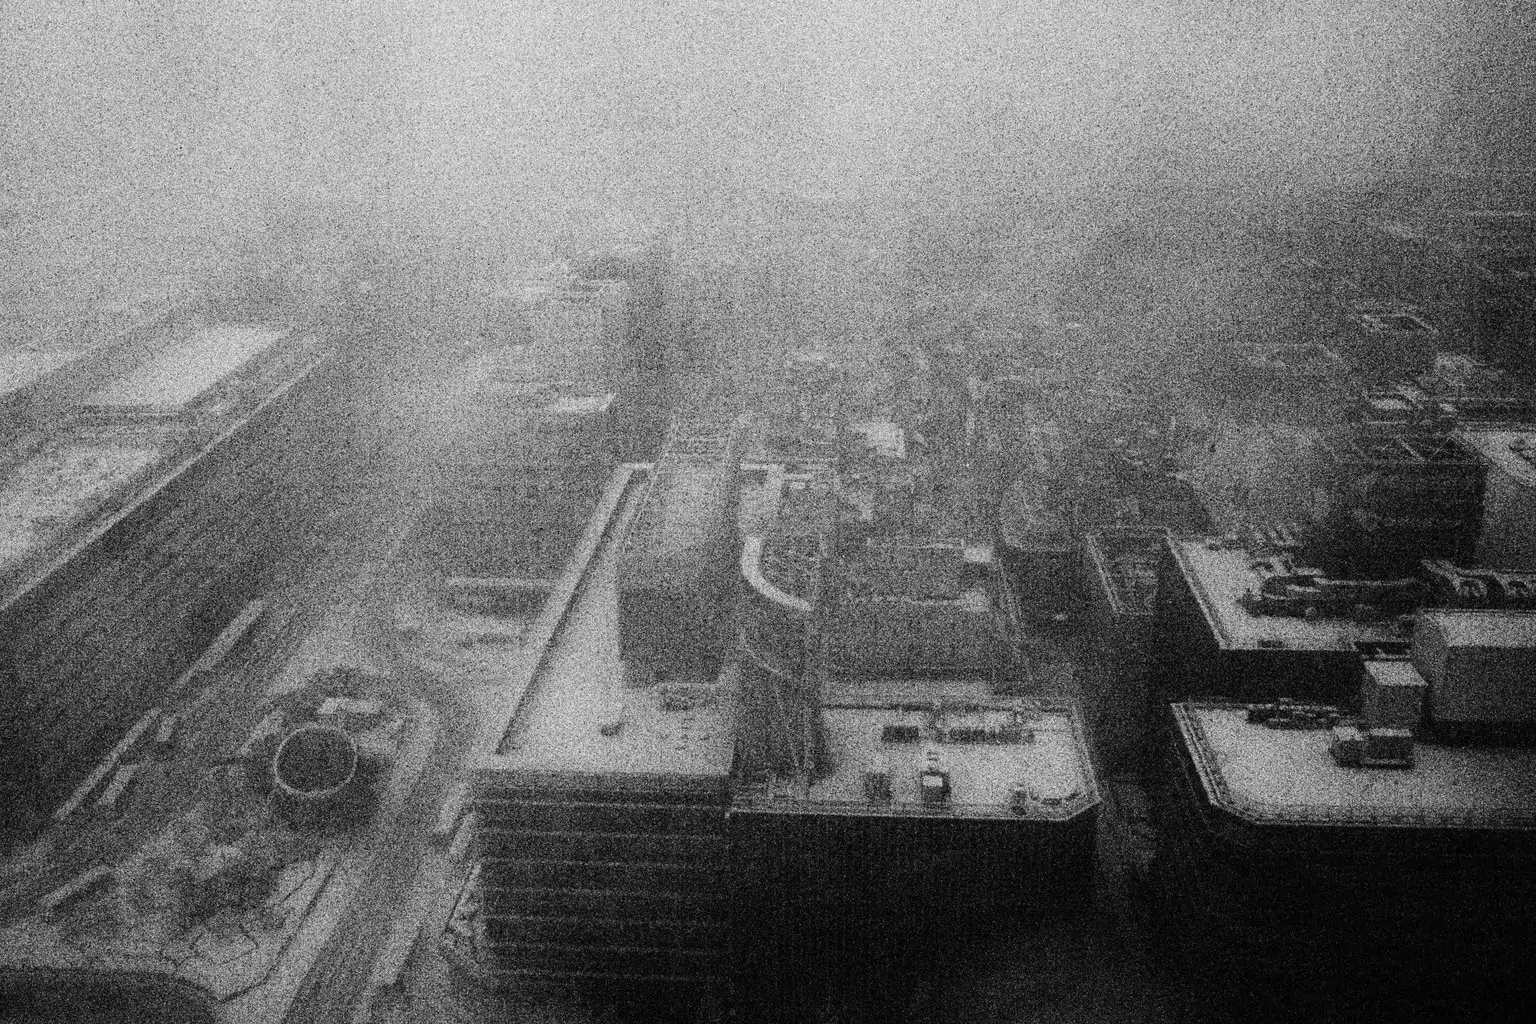
White noise, often referred to as digital noise, appears in your photos as small, sporadic dots and is typically seen as an undesirable feature that skews the overall aesthetics and image quality. Nevertheless, a variety of digital artists and picture editors enthusiastically accept the distorted colours, light specs, and random grains that result from this phenomenon as they view the white noise effect as a creative way to give their photos some life. The application of white noise to common photographs prompts a gritty and vintage aspect that was a hallmark of old cinema pictures. By creating controlled white noise, you can simulate the appearance of old raw photographs, which, although lacking perfection in terms of clarity, hold an unfathomable significance even in the existence of flawless contemporary photography. To add a white noise effect to an image, a consistent noise layer is added, and after that, the intensity and blending of it are regulated to achieve a natural integration. Here is a step-by-step process.
Step 1: Loading The Base Image

Choose an image editing application like Adobe Photoshop, Lightroom, GIMP, or any program that permits advanced layer and noise management. Usually, Photoshop is considered the best option for more detailed control.
Initiate your program and load the photograph you have decided to alter. Utilize the File and Open options or simply drag and drop the image file into your workspace.
Before continuing, audit the photo’s resolution and quality. Consider the high-resolution pictures, as they can hold added noise way better without losing excessive clarity.
Don’t forget to make a duplicate of the initial picture layer before moving to the next step. That way, you’ll revert back as required without harming the initial photo.
Give the duplicate layer a new name like Noise Effect Base to be organized, particularly in case you intend for a multi-step or complex process.
Use the zoom in option for viewing the picture at 100% or more, so you’ll be able to better evaluate how the noise impact will interact with the better details afterwards. Precise examination at this stage will guarantee more pleasing final outcomes.
Step 2: Creating A Noise Layer
Head to the layers panel of your app and click on the Create New Layer option. That new layer will be utilized particularly for producing and applying the noise effect without touching the initial picture.
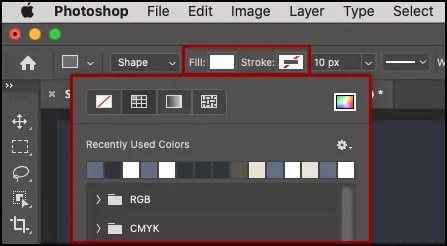
Proceed to the Edit option, then click Fill alternative and select 50% Grey. That neutral tone is ideal since it will not influence the picture once blending modes are added.
Retitle that new layer as White Noise Layer to make yourself effortlessly recognize it afterwards when adjusting different components.
Be sure that the new grey-filled noise layer is put directly over your duplicated base picture layer.
Once the new layer is active, you are set to apply the noise filter. Keeping steps uncluttered and layered independently guarantees adaptability for refining things later.
Constantly save a version of your work after major actions. It will avoid losing your structure if the software crashes or you make a mistake during or after.
Step 3: Applying Noise Filter
Confirm that the White Noise Layer or the grey-filled layer you made is active in your layers zone before applying any filters.
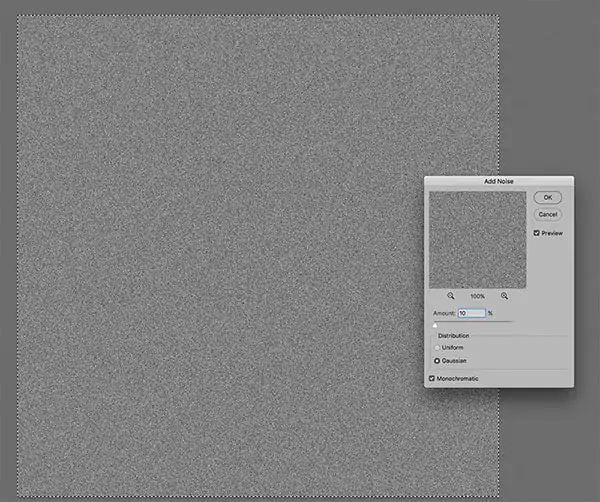
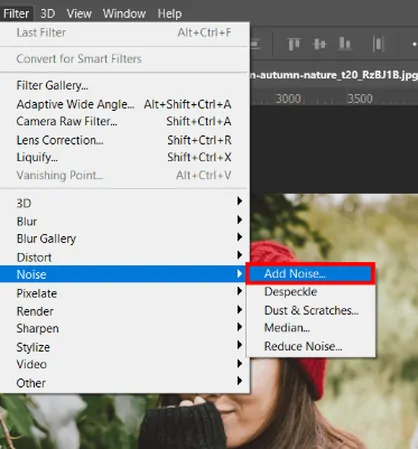
Move to the top menu and press Filter, then Noise and Add Noise. That opens a dialogue box where you’ll manage how much noise to include.
Put the amount according to the vigour or massiveness you need the effect to show. Usually, a range between 5-15% is great for mild texture. Still, you can increment it if you need a richer, more self-evident grain.
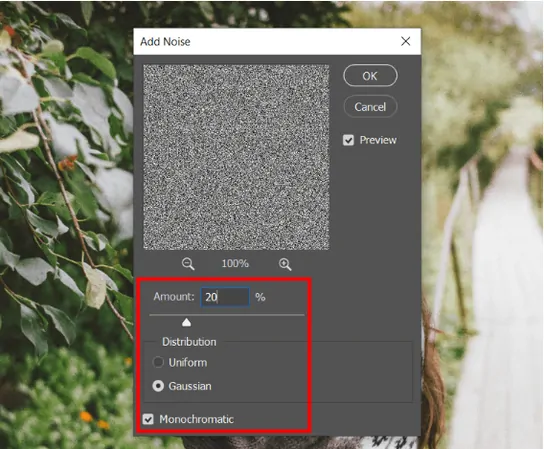
Select the Gaussian option for a more characteristic, choppy spread of noise. Moreover, be sure that the Monochromatic alternative is checked on the off chance that you need exact black-and-white noise rather than colourful dots.
Keep looking at the live preview as you adjust settings. Utilize the zoom in as essential to see precisely how the noise communicates with your photo’s fine segments.
After you are fulfilled, click Ok to get the noise to your grey layer.
Step 4: Setting The Blending Mode
Be sure that the White Noise Layer you just applied noise to is highlighted within the Layers zone.
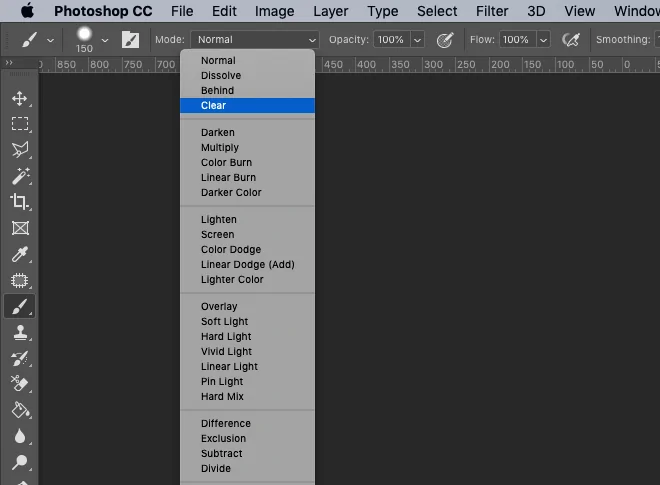
Look at the top of the Layers board, and locate the dropdown menu, which is usually set to Normal by default. The menu will regulate how the layer integrates with the one underneath it.
Choose Overlay or Soft Light blending mode; Overlay mode can offer a more grounded, more striking texture, and the Soft Light conveys a gentler, more natural blend of the noise into the picture.
After you have changed the blending mode, the noise will conform to the photograph. You will instantly take note that the neutral grey vanishes, and only the white noise effect is now obvious.
In case you are still uncertain, rapidly flip between Overlay, Soft Light, and even Hard Light modes to see which one corresponds to your picture style most suitable.
Once you are done with choosing the blending mode, leave the noise layer active, since the following alterations related to opacity and masking will be done directly on that layer.
Step 5: Modifying The Opacity

As your White Noise Layer is active, you will now make changes presently to further add to the noise visibility.
Locate the opacity control at the top of the Layers panel, which is usually following the blending mode dropdown.
Begin by decreasing the opacity to around 30 to 70%, depending on how obvious you need the noise effect. Minimized opacity makes a more natural, refined impression, whereas more elevated opacity gives a stronger, more sensational texture.

Examine the picture at 100% zoom level and also at fit-to-screen size. Noise can show up more fiercely when zoomed in, so accommodate your edits appropriately.
Alter the slider gradually and observe how the noise coordinates with the photo’s tones and subtle elements. Opt for an effect that feels natural, not diverting.
After the opacity looks exemplary overall, you are prepared to tune the noise application on particular ranges using masking procedures within the sixth step.
Step 6: Adding Layer Mask

After confirming that the White Noise Layer is still chosen, press the Add Layer Mask icon at the foot of the Layers panel. That will make a white mask connected to the layer, permitting selective visibility.
Choose a delicate, circular brush having a low opacity of 20 to 40% to delicately expel or decrease noise from particular parts of the shot without harsh lines.
Over the mask, paint over zones where you need less or no noise. Black hides noise, white uncovers it. Utilize it to guard faces, skies, or imperative spotless surfaces.
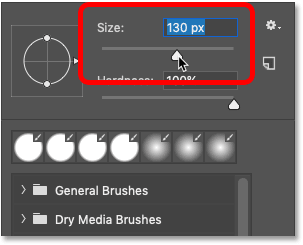
Alter brush size regularly for more reasonable exactness. Utilize a small brush for edges and details, and a larger one for broader regions like backgrounds.
Perform gradually and build up strokes rather than removing noise in one overwhelming pass. Smooth moves between noisy and clean zones will give more proficient development.
Use the zoom in and out after masking to confirm that no regions seem fake. A fine mask ought to feel consistent and support the image’s general texture.
Step 7: Refining The Effect

Take a minute to look at the whole photograph and confirm that the noise effect improves the by and large elegance. Consider both the noise intensity and regions you conceal, guaranteeing the result is accommodated and natural.
As required, revise the brightness, contrast, or colour balance to harmonize the noise with the photograph. You can also apply sharpening to highlight details in zones where noise has been connected mildly.

After you are satisfied with the impact, you can move to flatten the layers via Layer > Flatten Image to streamline the file. Ensure to save a duplicate in a layered format if you need to alter it in future.
Finally, present the ultimate picture in your favoured format like JPEG, PNG, or TIFF. Always go for a high-resolution form to protect quality.
Once you are all done, export the image for web, print, or any other pursuit accordingly.
Conclusion
In conclusion, in digital designs and image enhancement, artistic effects can transform simple, mundane images into unique compositions. White noise is a unique effect that can be applied to your photos to provide a random, organic feel, emphasize particular parts, or create a subtle texture. This approach enriches the atmosphere of your designs, artwork, and photos that making them look extraordinarily impressive. Eventually, white noise is proven to be a flexible tool that every digital designer should have in their toolbox, whether they want to add a subtle texture, give their image a vintage feel, or create a damaged appearance.
