How To Do Inpainting Of Images
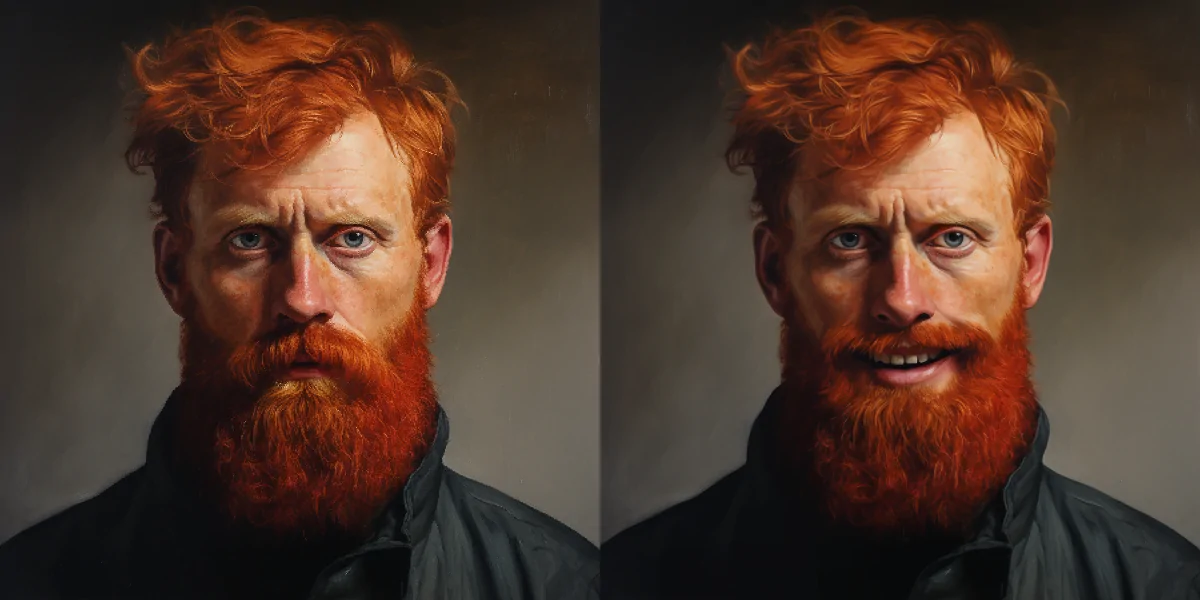
The reconstruction of scratched and distorted images and artworks is an ancient practice which was often utilized to restore compositions focusing on the lost or damaged parts. Traditional restoration, also known as inpainting, was done via manual ways in which artists used their creative thoughts while considering the context of the image and recreating the lost regions of it. With the advancement, art techniques also developed to bring up more accurate and instant ways to inpaint images and artworks. Now, image inpainting has become a crucial area in the image processing field where, using algorithms with a combination of strategies, the lost or damaged areas of images are filled with surrounding pixel data. It can create a flawlessly restored version, which makes it impossible to perceive as if it was once damaged from somewhere. The following blog will present the step-by-step approach to inpainting images, either to restore your old photographs or to get rid of any undesirable elements immaculately.
Step 1: Choosing A High-Resolution Photograph
Start by choosing a high-resolution photograph that requires correction or any upgrade. The chosen photograph should have clear zones where inpainting is needed. That could be any damaged spots, undesirable objects, or lost regions.
Determine the reason behind the photograph’s need for inpainting. It could be object removal, restoration, or any creative editing. Comprehending the objective helps in choosing the proper tools and strategies to apply.
Observe the details, surfaces, and lighting around the zone to be inpainted. Intricate foundations having patterns or gradients may need more advanced processing to preserve authenticity.
Guarantee the image isn’t excessively compressed or pixelated. High-quality photographs make it easier to correspond tones and surfaces during inpainting.
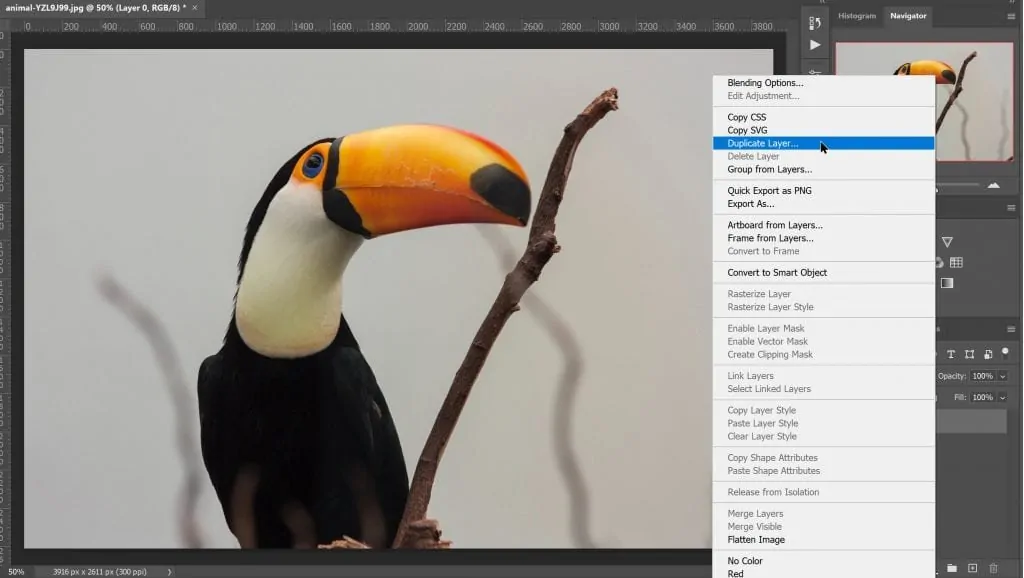
Continuously save a duplicate of the initial picture before starting any edits. That will permit you to revert as required and compare results side by side.
Be sure that the photograph format is compatible with your inpainting tool or editing application. Some formats can lose quality or metadata while editing.
Step 2: Employing Selection Tools
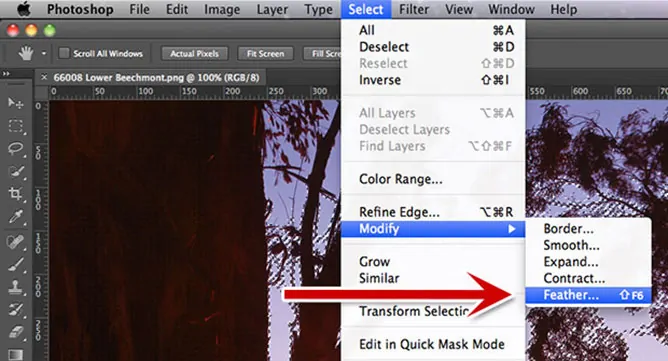
Utilize selection tools like a lasso, brush or pen to mark the precise region you need to remove or replace. Accuracy at this phase decides the quality of inpainting afterwards.
Soften or feather the mask edges marginally to aid in blending the inpainted spot smoothly with its environment. Sharp edges can leave visible creases after processing.
Add the mask on an isolated layer to protect flexibility. That will let you adjust the area later without affecting the initial picture.
As you work on small or complex sections, use the zoom in to guarantee precision. Neat, well-defined masks will result in exceptional texture and colour matching.
Utilize erasers, edge smoothers, or mask refinement alternatives to tidy up any harsh selections. Most advanced applications often offer mask refinement highlights.
Keep the mask separately as required. A few inpainting models or tools require the mask as a separate input file to handle precisely.
Step 3: Analyzing The Zone
Look at the colours, textures, and designs around the masked range. Understanding these will help the tool foresee what should replace the lost portion realistically.
Examine if there are repeating objects such as tiles, bricks, textures, etc., close to the masked range. These designs frequently direct the inpainting process to guarantee continuity.
Observe the way light rays strike across the range. Harmonizing light direction, intensity, and shadow behaviour is pivotal for integrating the inpainted portion naturally.
Look for strong lines or edges, including walls, roads, or frames that extend through the masked zone. These elements, if not aligned properly, can make the inpainting look fake or broken.
Look into the photo’s depth, considering foreground vs. background. Keeping up an appropriate perspective prevents the inpainted portion from looking flat or out of place.
Observe the minor colour shifts and gradients around the target region. It will help the model or editor combine shades smoothly over the inpainted area.
Step 4: Gathering Visual Data
Gather visual information such as surface, colour, and structure from the zones enclosing the mask. These clues direct the generation of lifelike inpainted content.
Consider the content type; it could be a portion of a face, scene, object, or text. AI-based tools frequently utilize this context to preserve the meaning and visual logic of images.
In some strategies, little patches from equal areas are utilized to guide the fill. That is often particularly useful in patterned or detailed zones such as tiles or foliage.
Think about the lighting angles, shadows, and depth discernment around the mask. It will guarantee that the new content corresponds to the environment’s three-dimensional feel.
Some tools consequently extract high-level highlights such as object boundaries or facial landmarks, which will aid in protecting natural shapes and moves during inpainting.
Be sure to confine yourself only to the pertinent setting. Including irrelevant or noisy foundation features can confuse the inpainting process and lower precision.
Step 5: Creating The Content
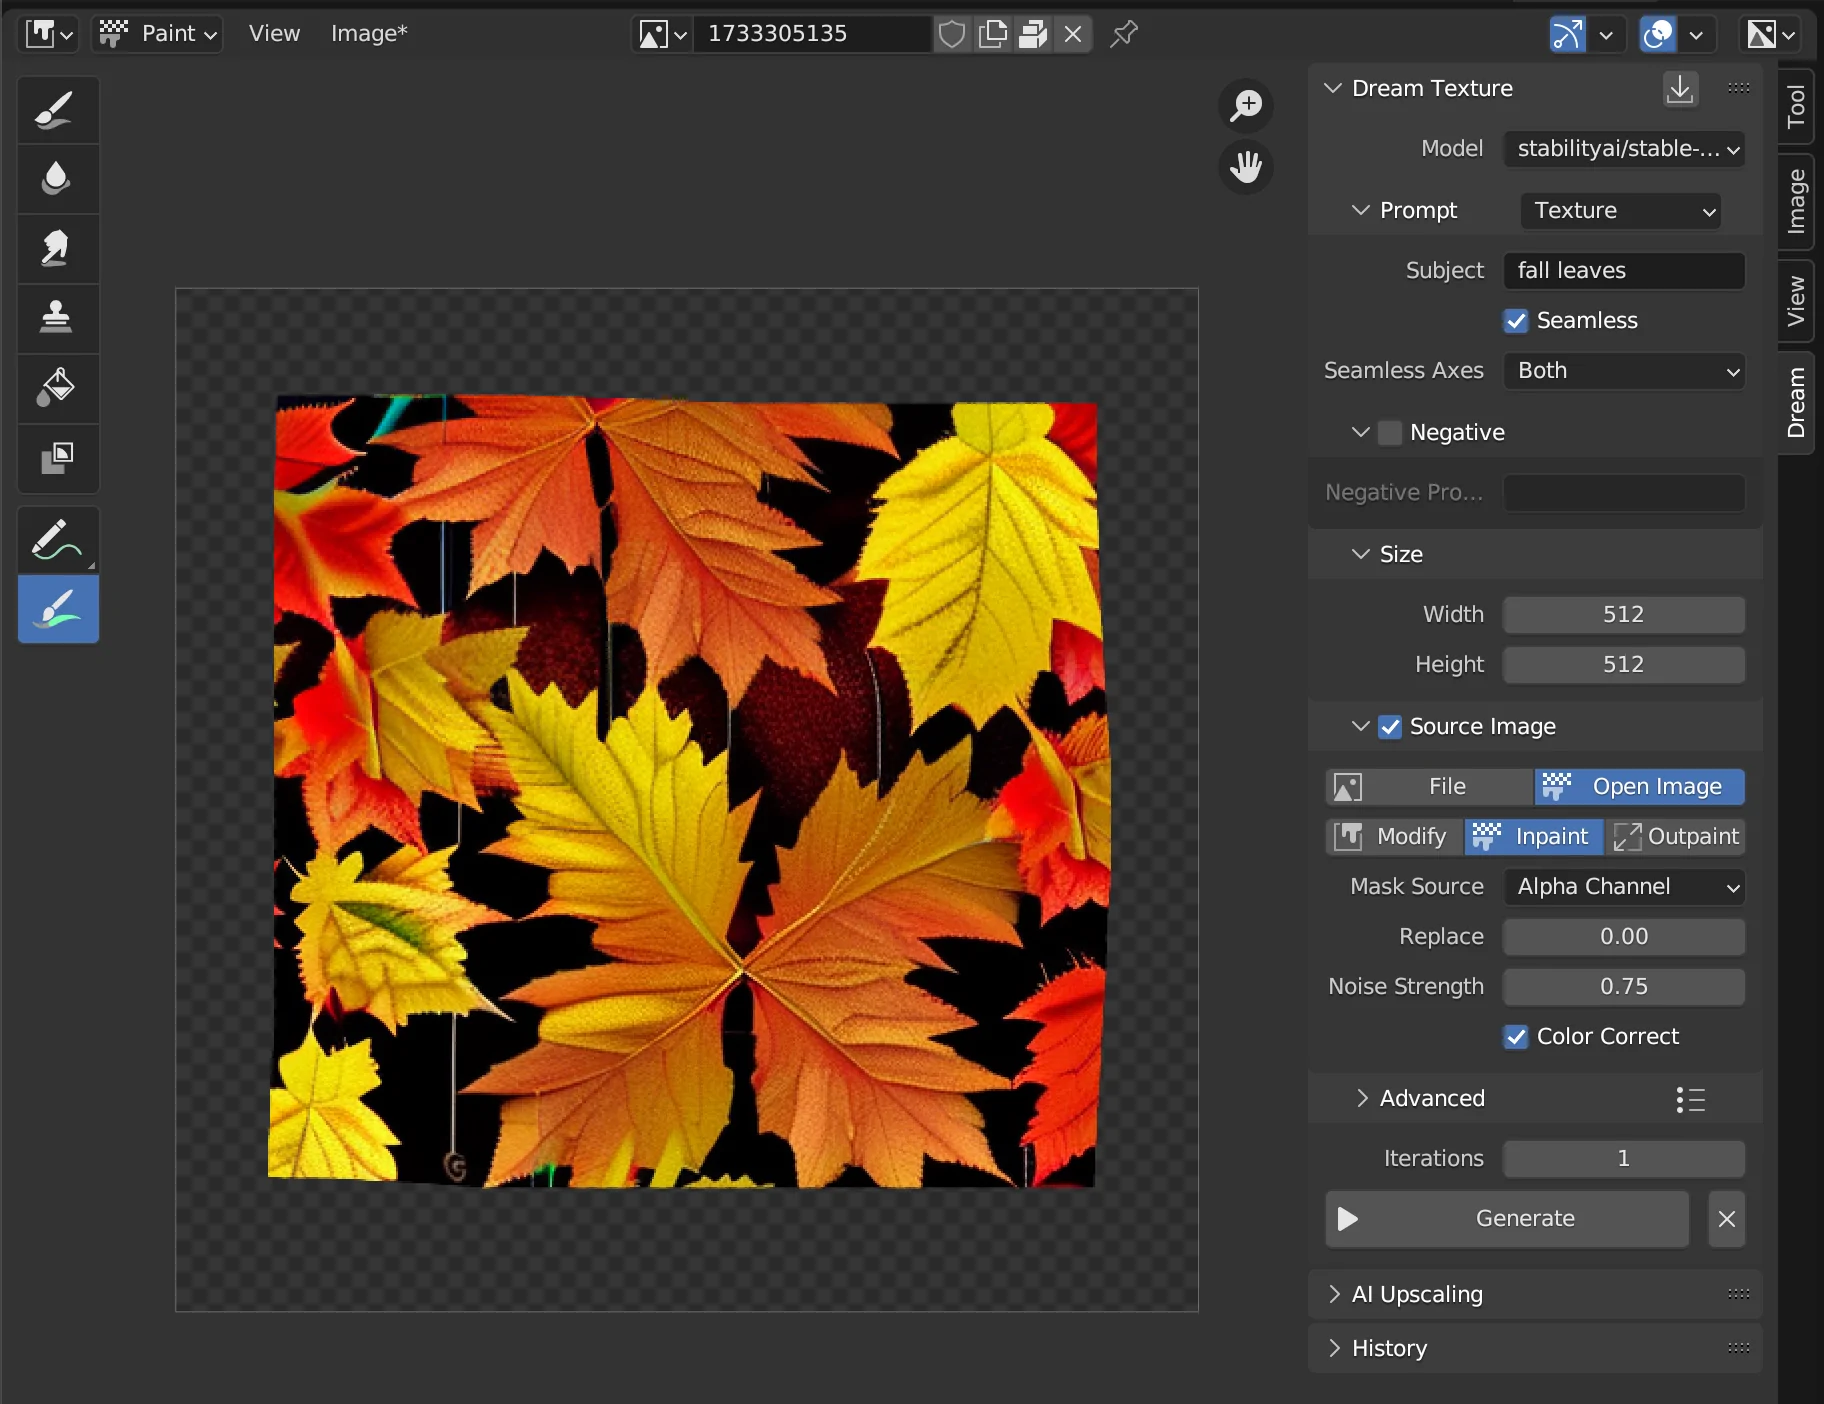
Pick an appropriate approach, including a traditional or AI-based one. Generally, AI strategies are more versatile for complex or high-detail zones.
Operate the inpainting tool to create content inside the masked region. The tool utilizes extracted settings to anticipate what should be set within the gap.
Inspect that the created content matches encompassing textures, grain, and fine details. Any bungle here can make the edit evident.
Make sure that edges, lines, and object shapes are reconstructed logically. Broken geometry or unnatural curves should be adjusted quickly.
Compare tones and gradients between the new content and the original photograph. Be aware of unnatural colour jumps or blurred patches.
A few tools offer different output alternatives. Check them and select the most precise or realistic-looking result for further refinement.
Step 6: Blending For Realism
Utilize blending tools to ease the edges where the new content meets the initial picture. It will avoid harsh lines or noticeable seams between the inpainted range and encompassing details.
Decrease the opacity of the inpainted region somewhat to better coordinate the surrounding components, particularly in zones with inconspicuous lighting or gradient changes.
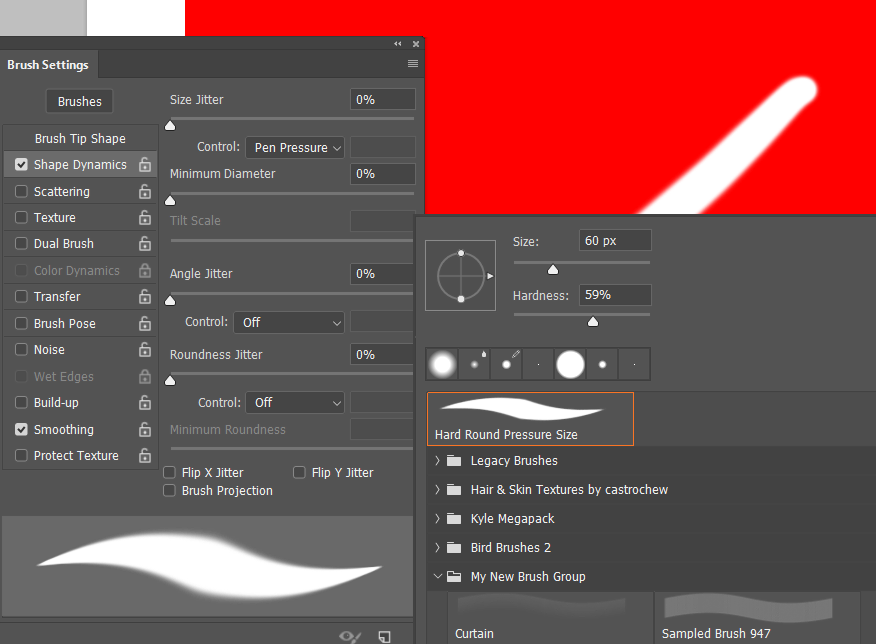
Polish textures so that the inpainted zone does not appear too smooth or too harsh compared to the rest of the picture. Utilize texture blending tools to include better details, such as noise or grain.
Alter the colour transition at the edges to guarantee smooth blending with the rest of the picture. Avoid sudden shifts in tones, which can disturb the general appearance.
Some program offers healing or cloning tools that consequently blend colours and surfaces at the edges. These tools can aid in polishing the boundary between old and new content.

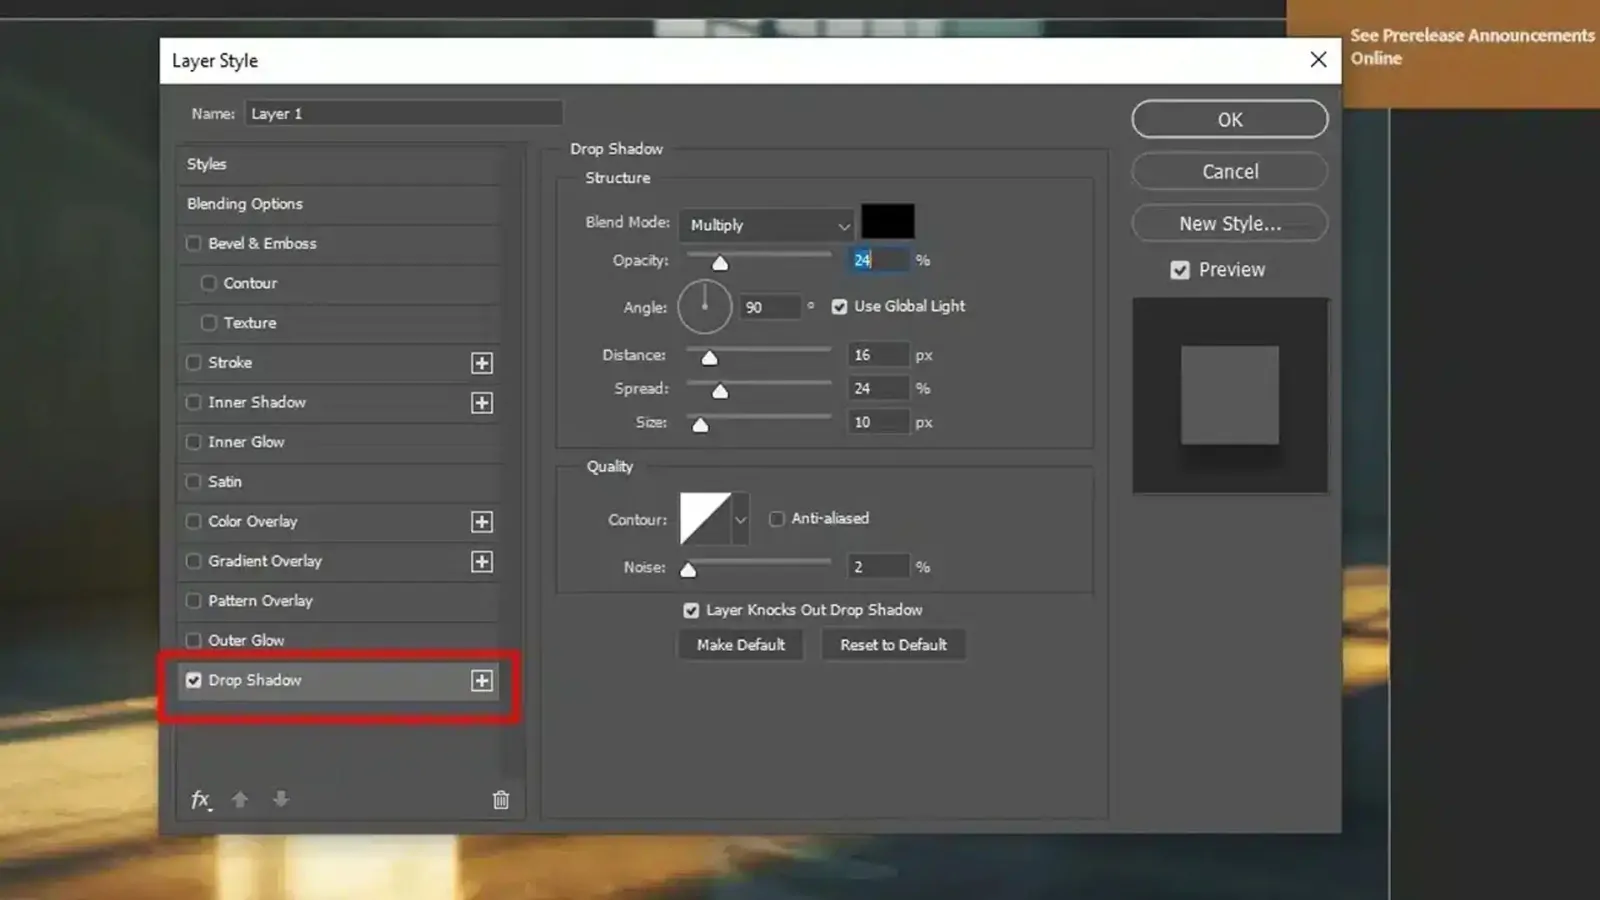
Guarantee that lighting and shadowing proceed naturally over the inpainted zone. Utilize gradient tools or soft brushes to include highlights or shadows as needed.
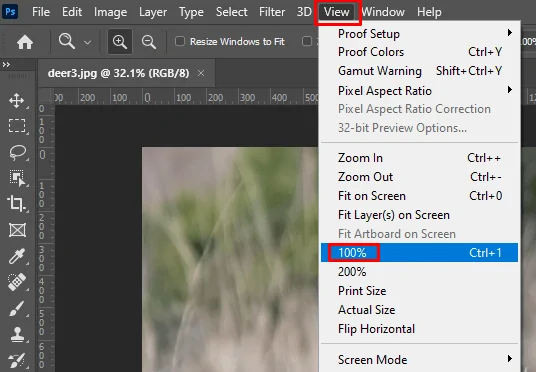
Step 7: Refining The Image
Review the whole picture at a normal scale to guarantee the inpainting mixes well with the overall scene. Scan for any irregularities that might not be self-evident when zoomed in.
Alter colour balance or saturation if the inpainted range stands out too much or does not coordinate surrounding tones. Temperate changes can promote authenticity.
Cautiously look at the edges of the inpainted range and utilize feathering or blur options as fundamental to make the transitions smoother.
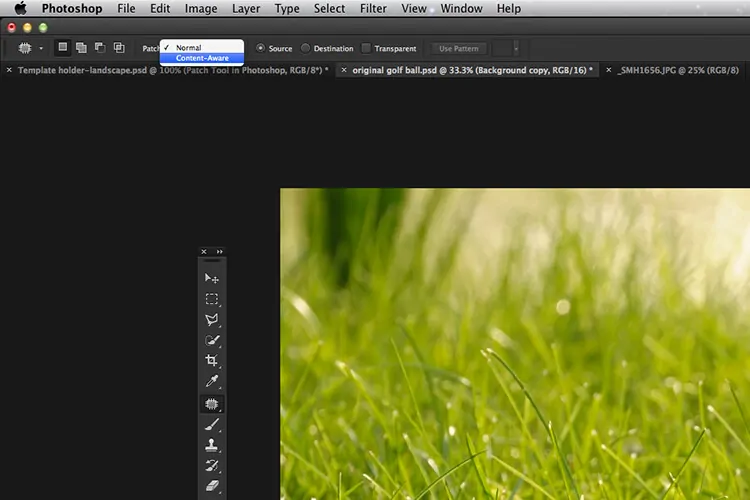
Utilize options like the clone stamp, healing brush, or patch tool to adjust any remaining defects or ranges that still look artificial.
Per the photograph, utilize sharpening tools to get more definition or softening tools for zones that ought to blend into the backdrop. Take care not to exaggerate either.
Preserve your work in multiple forms, comparing the before and after versions to confirm that the inpainted zone seems incredibly natural. If required, make further alterations before finishing.
Once you are satisfied with the overall results, you can save the image in a suitable format and resolution.
Conclusion
In summary, we treasure our older photographs since they hold nostalgic significance, yet scratches, stains, and rips are inevitable. Additionally, unnecessary individuals or objects might occasionally detract from a photograph’s overall mood. By filling the chosen region with cleverly created textures extracted from the surrounding picture data, image inpainting works like magic for all of these problems and many more. Likewise, advanced inpainting methods can include several image sources, video frames, or 3d scene awareness, yielding more precise and adaptable results and opening up novel possibilities for endless creative experimentation.
