How To Create Encaustic Art Effects
The Greeks devised encaustic painting, which the genre painter Pausias refined to its highest technical level in the fourth century BCE. This painting style uses beeswax and damar resin, followed by oil paint or natural powdered pigments to add color. In the encaustic wax technique, the medium, beeswax and resin, is heated at around 170 degrees Fahrenheit. Color is then added to create a hot paint. Artists usually use canvas or wood to create their paintings. Though an Encaustic artwork, because of being prepared after meticulous efforts and considerations, looks adorable and elegantly delightful. These paintings often require special care in case of extreme climate conditions, either hot or cold. On the other hand, digital art tools and approaches offer a less laborious way to recreate effects similar to Encaustic artworks. Moreover, besides creating a composition from scratch you can also enhance your existing artworks and images by using advanced features and tools offered by software like Adobe Photoshop, Lightroom, Canva, GIMP and many more. Here is a step-by-step process to enhance your images with Encaustic art effects.
Step 1: Base Image Preparation
Begin by initiating Photoshop and opening the photograph you need to apply the encaustic effect to. Select a high-resolution photograph for better surface blending and detail control.
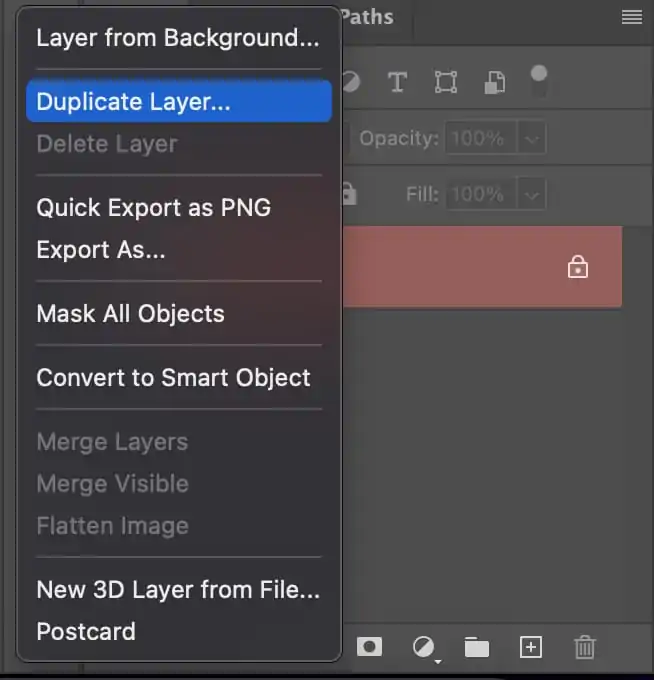
Right-tap on the background layer within the Layers panel and choose Duplicate Layer. It will secure your original photograph so you’ll continuously revert back as required.
Name the duplicate layer something such as Working Layer and keep the initial as Background. It will help you remain organized as you assemble numerous effects.
Do any adjustments to the photo’s composition, size, or orientation presently. After textures and effects are included, cropping might bother the layout.
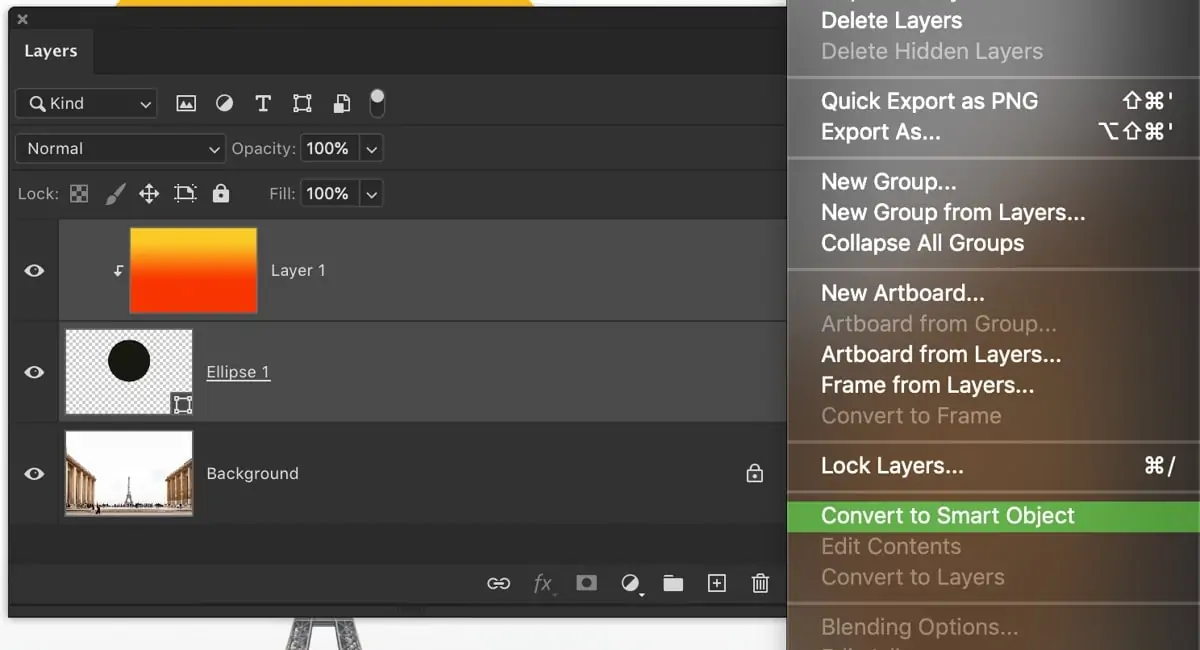
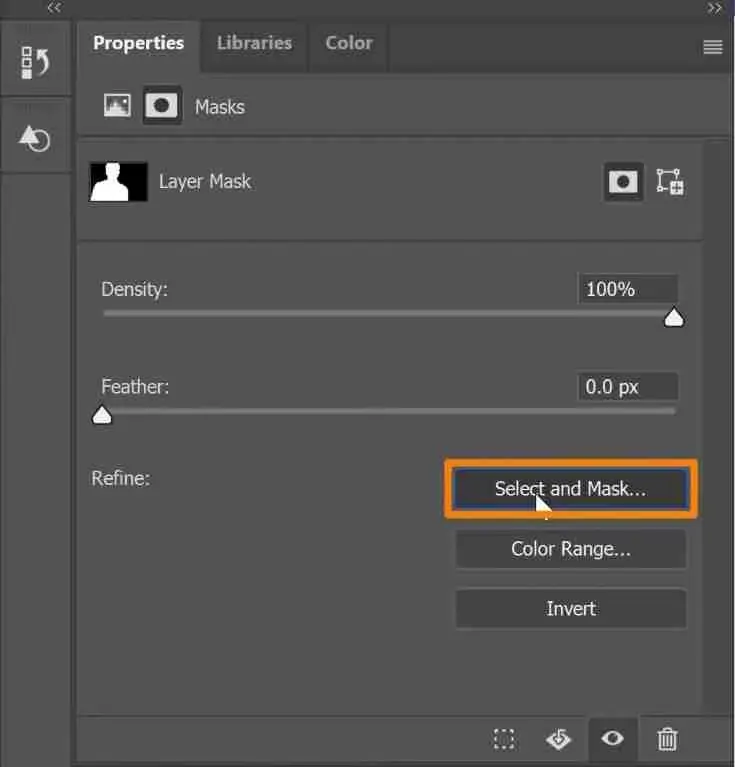
Right-tap the working layer and select Convert to Smart Object. It permits you to apply filters non-destructively and alter them afterwards as required.
Before you proceed, save a duplicate of your project as a PSD file to protect layers and editability.
Step 2: Adding Wax Textures
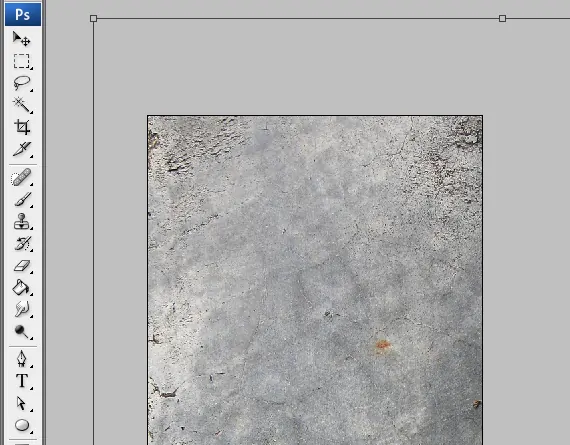
Seek high-resolution encaustic or wax textures. These might incorporate scanned photographs of real wax, painted wax strokes, or unique surfaces resembling melted exteriors. Websites such as Unsplash, Textures.com, or your own filtered materials are incredible sources.
Carry and put the surface file onto your working document. It’ll show up as a new layer over your image. Resize it to completely cover your photograph utilizing Free Transform as required.
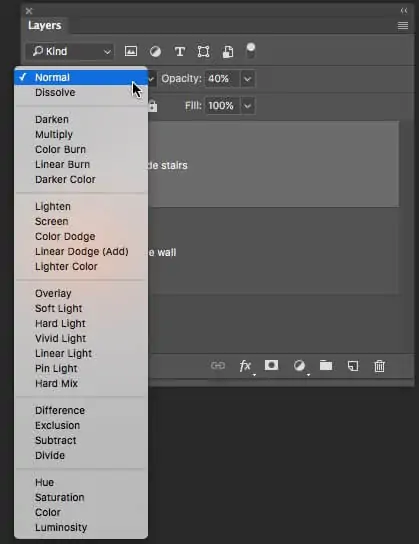
Within the Layers panel, alter the blending mode of the texture layer to Overlay, Soft Light, or Multiply, depending on the look you are striving for. Play with a few to see which brings out the waxy depth best.
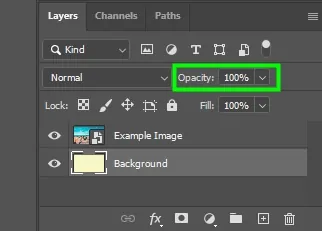
Decrease the opacity of the surface layer between 40 to 70 per cent so it blends naturally into the picture without overwhelming it.
Include a layer mask and utilize a soft black brush to expel surfaces from faces or other key ranges where clarity is imperative.
If you aim to utilize numerous textures, you can group them for better control and simple alterations later.
Step 3: Applying Warm Tones
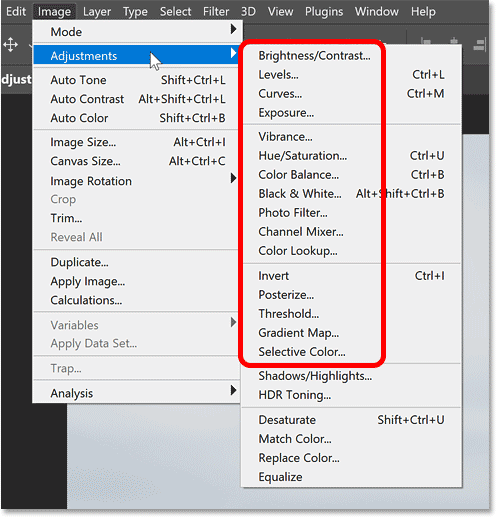
Proceed to Layer and click New Adjustment Layer > Color Balance. It allows you to moderately move the colour tones of your picture without modifying the initial image.
Within the Color Balance panel, change the sliders to include reds and yellows, particularly within the midtones and highlights. It will help imitate the natural warmth of beeswax utilized in encaustic art.
To get a more stylized effect, include a Gradient Map layer. Select a warm gradient, including cream to amber, or construct your own. Put blending mode to Soft Light or Overlay, and decrease the opacity in case it is overly drastic.

If your alterations are influencing more than the intended photograph, right-click the adjustment layer and select Create Clipping Mask to link it only to the photograph layer.
Alter the opacity of each colour layer to discover a harmony that upgrades the encaustic feel without washing out picture detail.
Do not flatten; however, keeping these colour layers editable helps you change the warmth later in balance with other effects.
Step 4: Softening The Edges
Before you move on to create distortions, make a duplicate of your current picture layer to protect your progress. Name it as something specific like Smudge Layer.
Choose the Smudge Tool from the toolbar. Specify the strength to around 10 to 20 per cent for nuanced control. Delicately drag over edges, backgrounds, or surfaces where you would expect wax to melt or shift. Concentrate on zones like the image’s edges or moves between colours.
Head to Filter, select Blur, then Gaussian Blur, and apply a light blur around 2–4 pixels on a duplicated layer or masked region. It will mimic wax softening or melting around the central point.
Include a layer mask for the blurred or smudged layer. Utilize a soft dark brush to cover up blur from sharp or detailed zones such as eyes, faces, or text.
Decrease the opacity of the smudge or blur layer by 40–60 percent to keep the effect practical and subtle, such as melted wax merging with a surface.
Step 5: Utilizing Textures Brushes
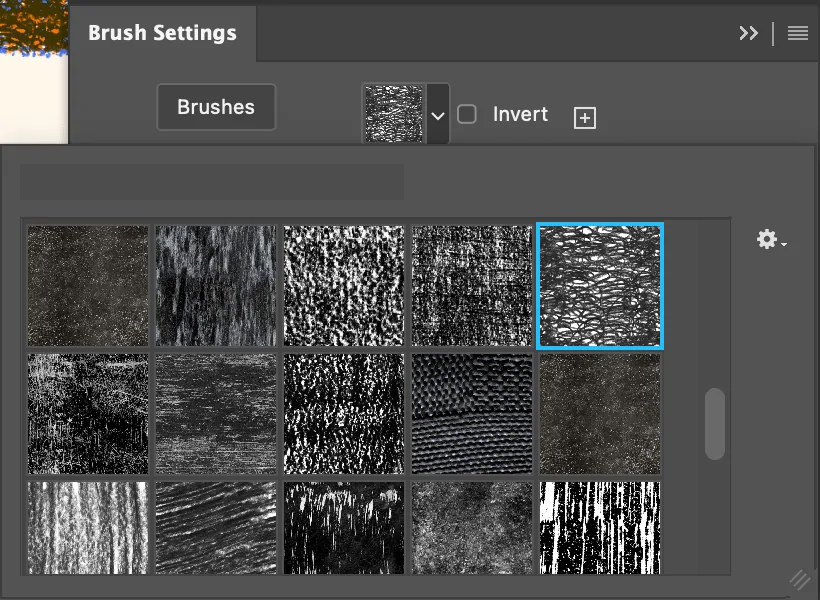
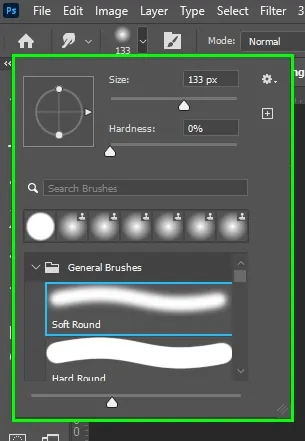
Utilize textured brushes that mimic brush strokes, smears, or melted wax designs. You’ll find free encaustic-inspired brush packs on stages such as Brusheezy or DeviantArt, or make your own utilizing scanned surfaces.
Include a new blank layer over all other layers and title it Wax Strokes. It will keep your brush’s subtle elements partitioned and editable without influencing the base photograph.
Adhere to warm tones, including velvety whites, yellows, or muted ambers. These ought to conform to the wax tones from prior stages to keep the effect unified.
Utilize your brushes to apply inconspicuous strokes around edges, transitions, or finished regions. Do not overpaint as the objective is to recreate layered wax, not to obscure the photo thoroughly.
Put the brush layer to Overlay or Soft Light, then decrease the opacity between 30 to 60 per cent for a more natural combination. You’ll also erase parts delicately to balance the surface.
Include a mask to specifically fade or emphasize certain strokes, providing more control over the composition and how the wax effect communicates with the photograph.
Step 6: Creating A Carved Look
Include a blank layer and title it as Scratch Details. It will keep your carving effect separate, so you’ll alter or remove it without influencing other components.
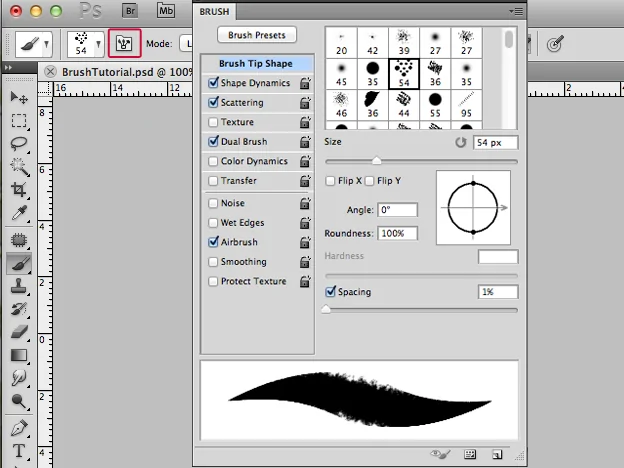
Pick a small, textured brush with jagged edges to imitate the appearance of scratched or etched wax. Decrease the flow or opacity to keep it subtle.
Carefully draw or delete thin lines, symbols, or traces — particularly around borders, highlights, or ranges where encaustic art might show physical tooling. Try not to exaggerate it; a few marks are more than enough.
Utilize a layer mask on your scratch layer to get rid of or blur certain parts steadily. It will help you blend the scratches naturally into the surrounding surface.
To attain a more dimensional formation, apply a very soft Inner Shadow via Layer Styles to provide the impression that the mark is carved into wax, not merely drawn on top.
Put the scratch layer’s opacity to 50 to 70 per cent to keep the effect convincing and blended.
Step 7: Adding The Varnish
Include a new layer above all others and title it as Varnish. That layer will recreate the top coat of wax, including gloss and depth to the whole picture.
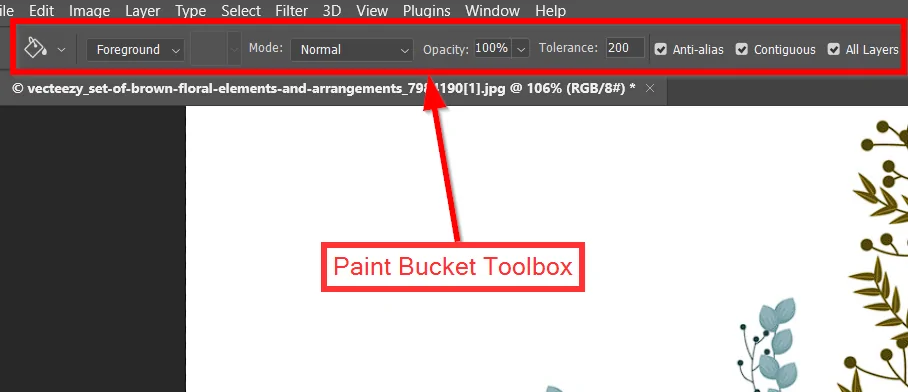
Choose the Paint Bucket Tool and fill the new layer with white. It will illustrate the soft, translucent character of the encaustic finish.
Within the Layers zone, alter the blending mode of the varnish layer to Soft Light or Overlay. It will permit the white layer to integrate with the underlying photo while improving the general surface and warmth.
Minimize the opacity of the varnish layer to around 10 to 20 to form a delicate, translucent effect. It will recreate the glossy, cloudy surface of encaustic art.
Include a layer mask and tenderly paint with black on ranges where you need less gloss or clarity. It will offer you control over how the varnish interacts with the picture.
As required, regulate the opacity, blend mode, or mask to refine the effect. That varnish layer ought to upgrade the encaustic look without overwhelming the details of the picture.
Finally, save the final composition in a suitable format and resolution settings as per your intended usage.
Conclusion
In conclusion, encaustic painting is noteworthy for both its historical application in ancient cultures and its current comeback among artists. Additionally, its digital versions make it easier to access and less challenging, enabling the digital production of stunning yet long-lasting visual effects. The encaustic technique enables artists to create compositions with rich details and vivid colours, both of which are necessary for producing realistic depictions of the visual narrative. Especially in case the base image is a portrait, the application of encaustic effects enables depicting accurate skin tones and facial emotions with amazing depth and realism, enhancing the subject’s aura.
