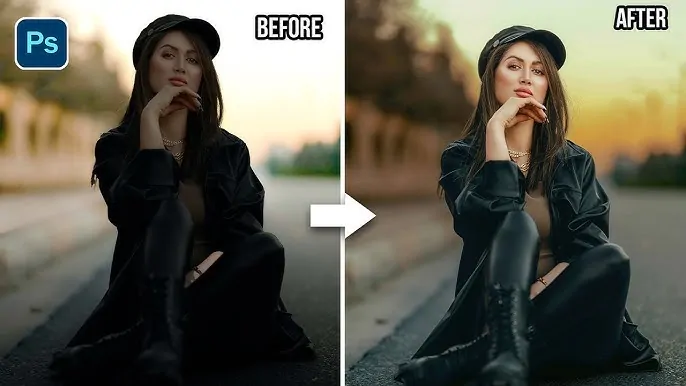
How To Relight An Image
A key factor in photography is light, which determines how the light source, either natural or artificial, will relate to your subject and how it should be positioned. Your final image’s clarity, tone, emotion, and many other aspects can all be impacted by the light’s spot and quality. You can use the light source most efficiently for any specific composition and project by observing how light bounces off the angles and curves of your subject as well as which areas are lit and which are dark. Whether you’re taking landscape or portrait photography, a lot of your lighting decisions will be based on the subject’s characteristics and how you want them to appear in your images. However, even with the best use of artificial and natural lighting, there are still certain spots that need additional lighting enhancements. This is where the relighting approach facilitates the photographers and image editors to amplify the lighting conditions of the images. Modern image enhancement tools and techniques can facilitate even novices to smoothly relight their images. The following step-by-step process will further elaborate on the detailed process of relighting an image.
Step 1: Duplicating The Image

Initiate your photo editing app and load the photo you need to relight. That will be the base you will perform on.
Instantly duplicate the initial photo layer. It will provide a backup in case you would like to return or compare changes during editing.
Provide the duplicate layer with a suitable title for clarity, for instance, the Relight Layer, so you do not confuse it with the initial image.
To prevent any mishaps, you can lock the initial layer, avoiding any coincidental alterations. Keep it untouched as a reference all through the editing process.
In case your software supports non-destructive editing, such as smart objects in Photoshop, convert the duplicated layer so all changes stay editable.
After that, use the zoom-in and review the picture for pivotal light-sensitive areas, including faces, reflective surfaces, or regions with depth. This way, you will know what to focus on afterwards when you will be applying artificial lighting.
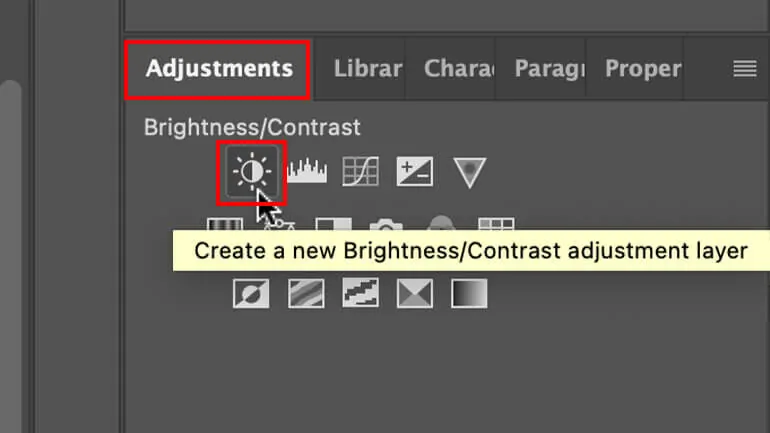
Step 2: Utilizing A Depth Map
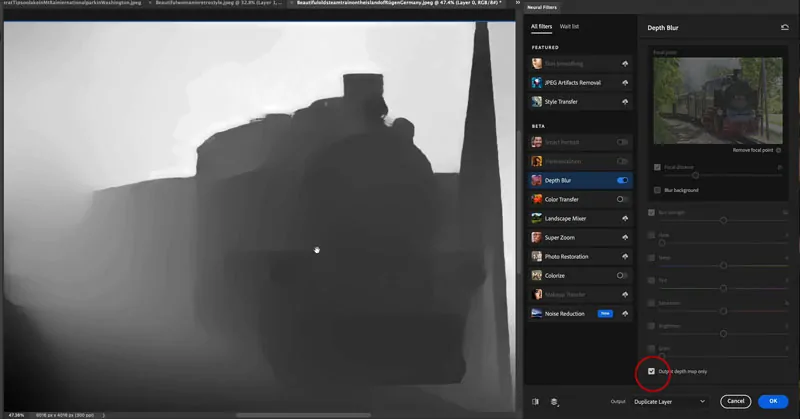
Review if your altering program offers an automatic depth map generator like in Luminar AI or Clipdrop. If it is, you will apply it to your picture. The depth map helps highlight ranges with depth, displaying foreground, midground, and background.
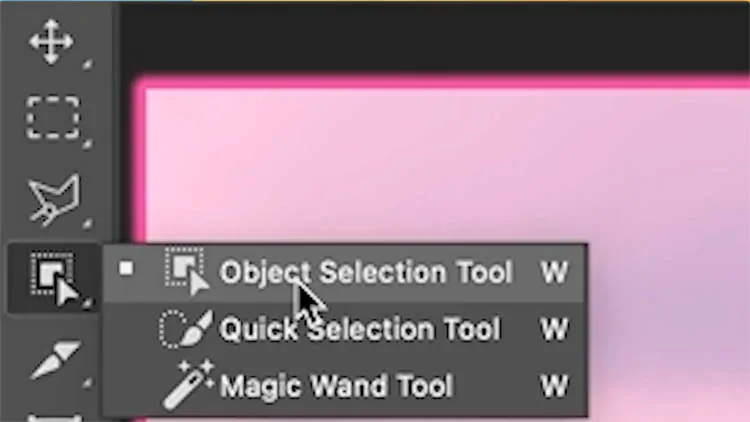
In case the software does not have an automatic depth map, you can manually create it by masking the subject from the foundation. Utilize selection tools to separate the subject, ensuring to polish edges for organic blending.
After you have the depth map or mask, modify its opacity to catch how the light will interact with different regions of the photograph. The light will be applied variedly per the depth.
Attend to zones that could be influenced by light shifts more drastically, like the face or the top of the subject, which will probably require more light modifications.
Keep the depth map as a partitioned layer or channel to effectively access and change afterwards during the lighting alterations.
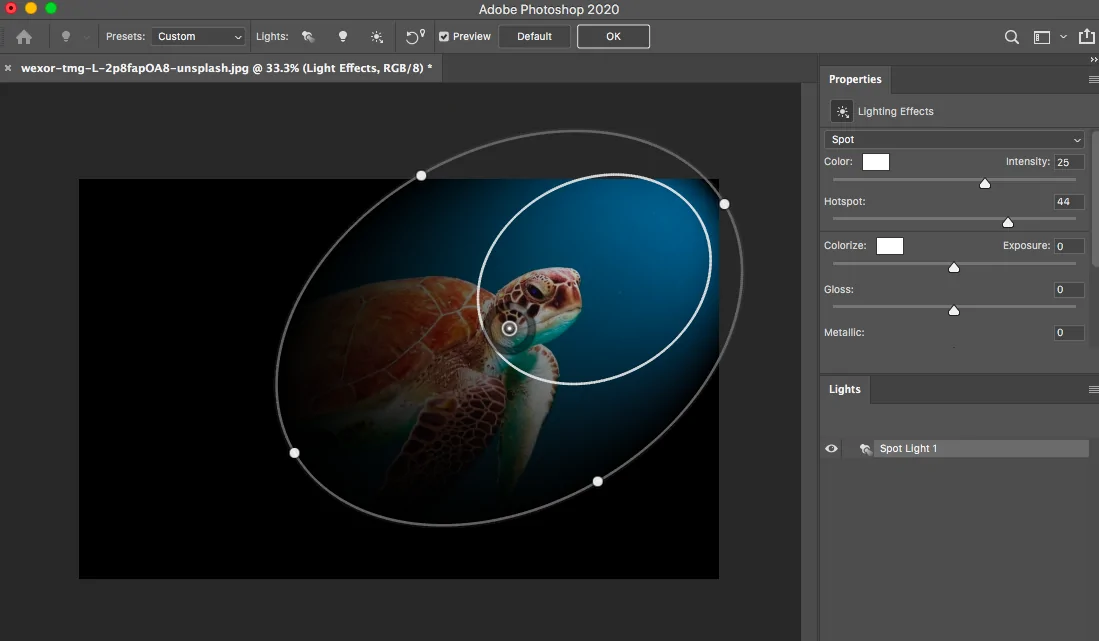
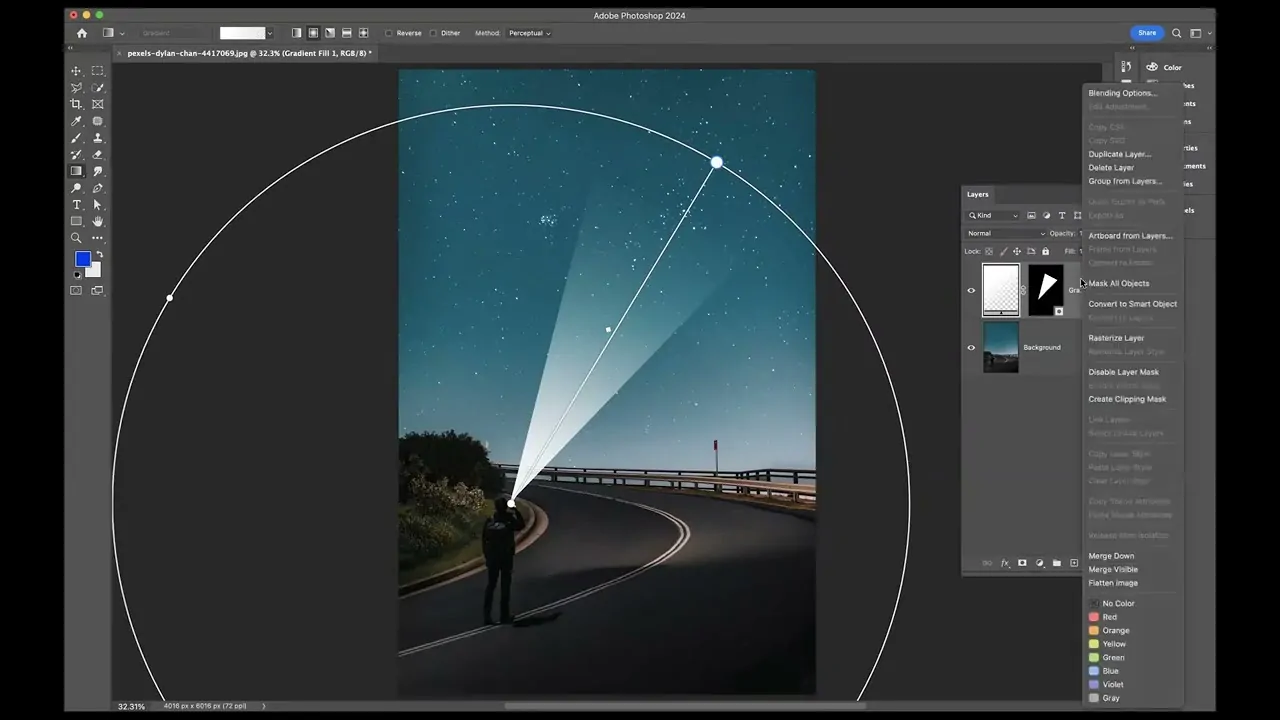
Step 3: Creating A Light Source
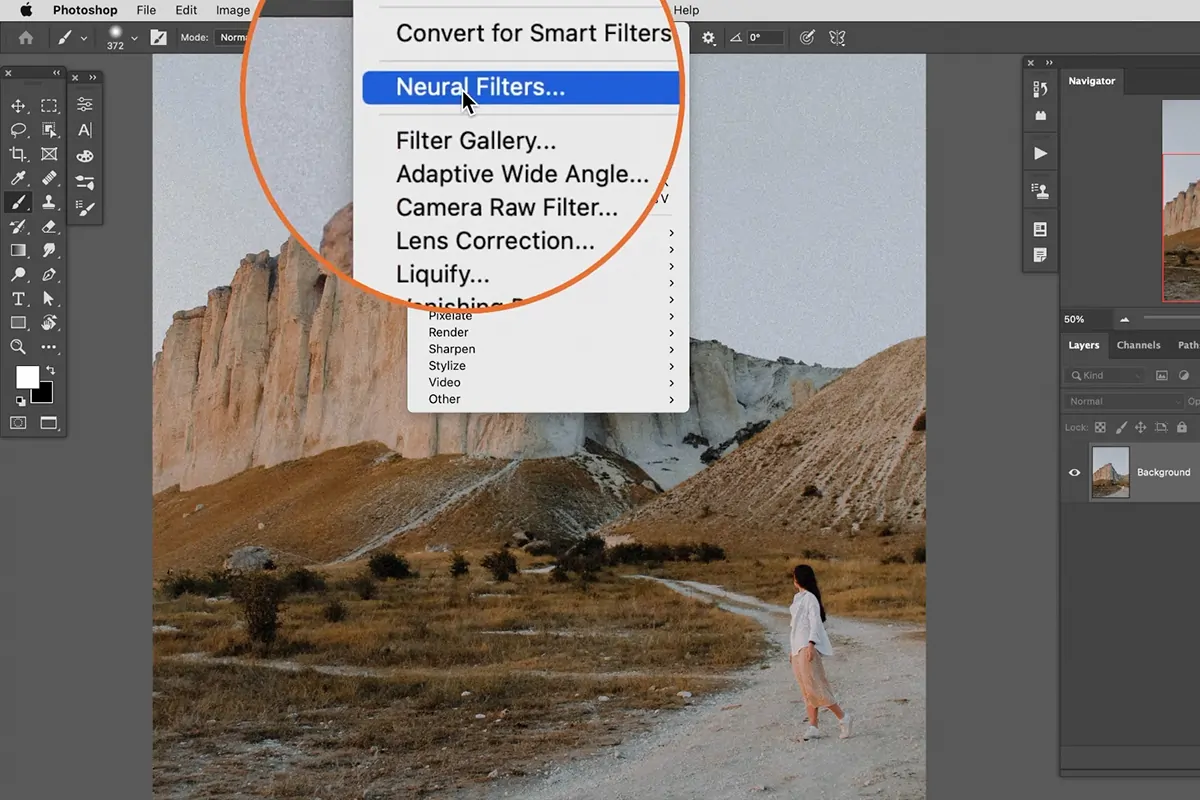
Choose the fitting lighting tool in your program, like the Relight, Neural Filters or Light panel options.
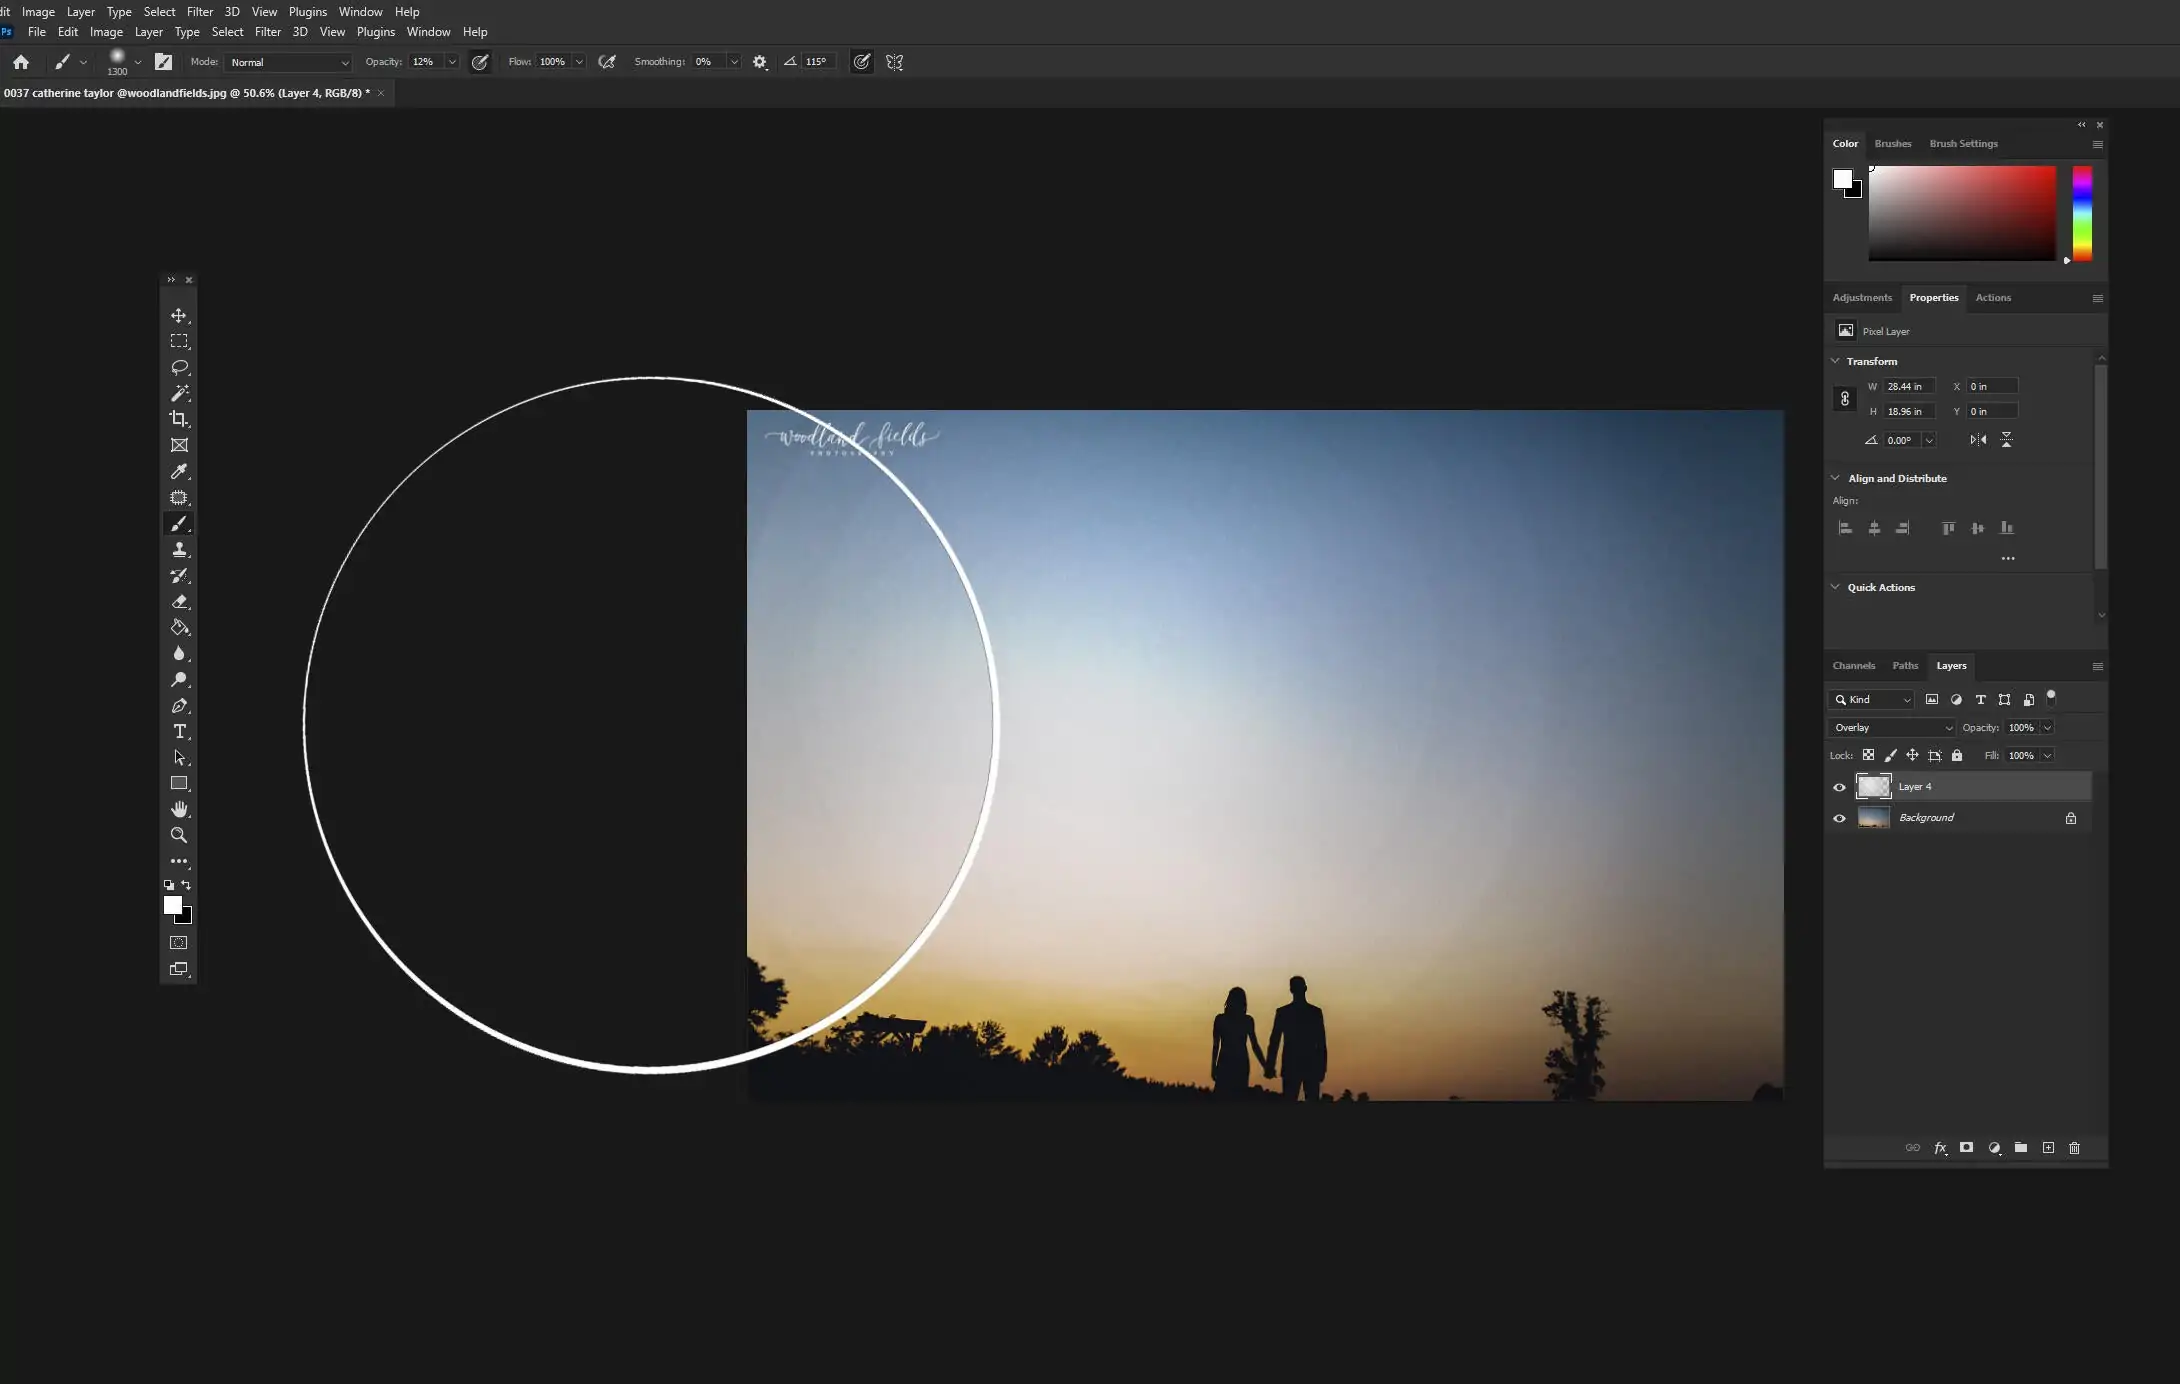
Begin by including a light source in the photograph. Select the kind of light you need to recreate, considering options like spotlight, ambient or directional.
Set the light source to conform to the effect you are aiming for. In case you need to highlight the subject’s face, put the light in front or slightly to the side. To get dramatic shadows, set the light off to one side or behind the main subject.
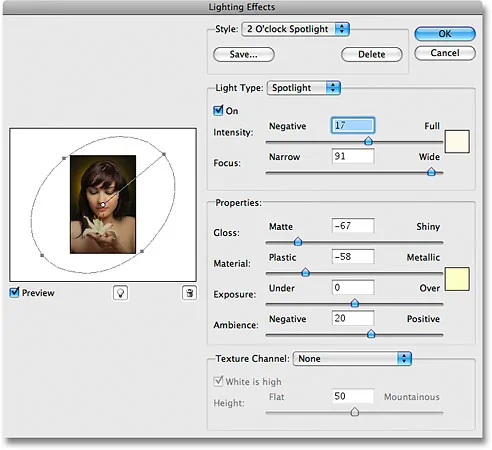
Alter the light’s intensity to harmonize with the scene’s existing exposure. You do not need the added light to overwhelm the initial lighting, but rather be the perfect addition to it.
Most of the editing apps facilitate the options that allow you to alter the softness or spread of the light. Soft light goes best for natural effects, while harder light includes sharp shadows.
Preview the picture frequently to observe how the new light source influences shadows, highlights, and prevalent depth.
Step 4: Resetting Light Direction
Decide the direction from which you need the light rays to come. On the off chance that you are aiming for a natural appearance, put the light source where it would realistically come from within the scene. You can consider areas like over or in front for definitive lighting, or from the side for sensational lighting effects.
Alter the angle of the light source. A top-down light will create gentler shadows, while a low-angle light will highlight surfaces and make more intense shadows.
Set the light proximate to your subject to manage where shadows and highlights drop. For instance, setting the light directly before the subject makes even lighting, whereas a side angle includes profundity and texture.
Play with the height of the light source. A more elevated light creates more complementary, natural results, whereas a low light can make a drastic, moody development.
In case your program lets, you can preview how the lighting transforms the picture by toggling the light’s position. Be sure that the light makes the proper contrast without overexposing or underexposing vital regions.
Alter the light’s direction gradually, confirming that the shadows and highlights correspond to the natural flow of the scene.
Step 5: Modifying Brightness And Softness
Start by altering the brightness or intensity of the light source. Make sure it upgrades the picture without being too overwhelming. Begin with moderate changes and gradually raise the brightness to attain the specified impact.
Tune the light’s softness or feathering. Softer light provides smoother transitions between light and shadow, making the scene seem more natural. Utilize a softer light for portraiture or a tender effect.
In case the software permits, play with the spread of the light. A little spread centres the light on a small zone, making more contrast, whereas a more extensive spread covers a bigger portion, making the lighting more consistent.
Alter the light’s temperature to correspond to the scene’s environment. A warm light works sufficiently for sunset or indoor lighting, whereas a cool light is perfect for daytime or sensational scenes.
Reanalyze your depth map or mask to be sure that the lighting does not look synthetic or severe in certain regions.
Polish the intensity or softness according to how it influences distinctive regions of the photograph.
Also, alter the brightness and softness until the light feels balanced and cohesive.
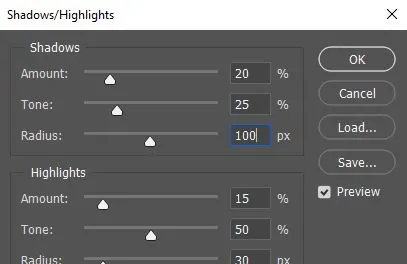
Step 6: Balancing Highlights And Shadows
Begin by analyzing the highlighted regions where the new light might cause overexposure. Utilize a highlight recovery feature or diminish the intensity of the light as required to avoid washed-out regions.
After that, review the shadow regions. In case shadows are too harsh, utilize a shadow recovery tool to brighten them marginally without losing the depth the shadows create. Then again, you can utilize the dodge tool to help particular shadow ranges manually.
Utilize the burn tool to darken certain regions, like the edges or backgrounds, to extend contrast and direct attention to the subject. That will help make the lighting adjustments seem more natural and focused.
Review the lighting transitions between shadows and highlights. Be sure that they are gradual and realistic. You can utilize feathering or delicate brushes to blend these zones and avoid any difficult lines that might show up unnatural.
Alter the prevailing contrast as required. Expanding contrast can help make shadows more articulated and highlights more energetic, while decreasing it eases the effect.
Once you are done with adjusting, use the zoom-in button and assess subtler details, including the edges of shadows and highlights, to guarantee they blend consistently with the rest of the picture.
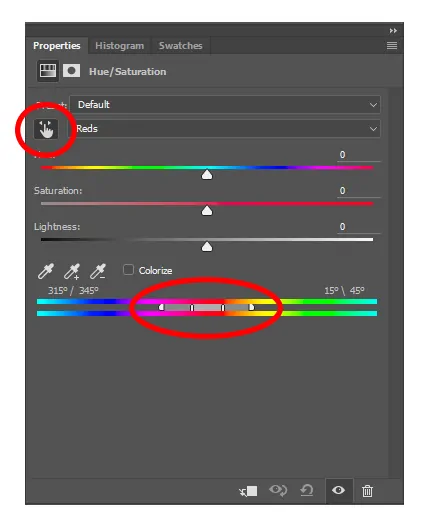
Step 7: Enhancing Colors And Finalizing
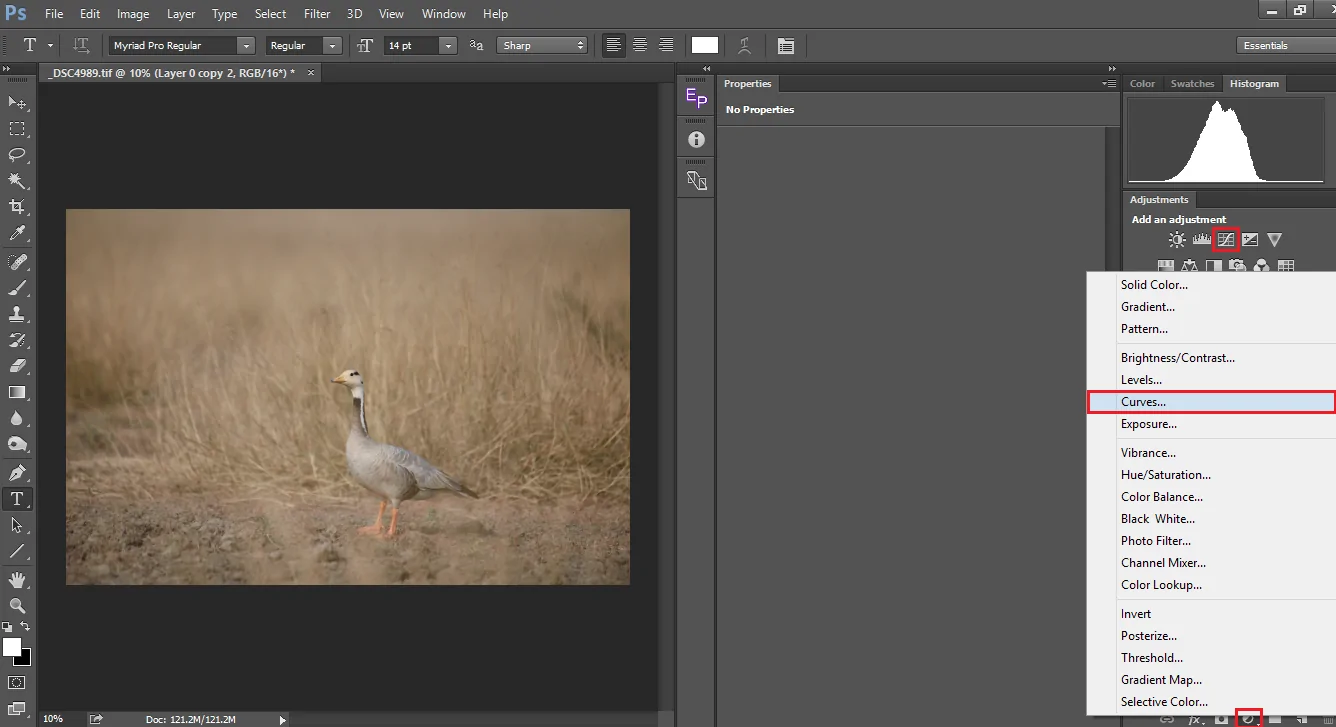
Alter the overall contrast to guarantee the picture includes a balanced range between dark and light ranges. Utilize the curves adjustment to polish contrast, making shadows deeper and highlights brighter, or apply a contrast slider for faster alterations.
Polish colour balance by tweaking the temperature and tint of the picture. Make sure that the new light source corresponds with the scene’s ambience. For instance, warm tones create a cozy feel or sunset lighting, cool tones, on the other hand, are for daylight or moody formation.
Review the saturation levels. If the image looks too gloomy, maximize saturation slightly, though be mindful not to oversaturate, as this could lead to unlikely colours.
Utilize colour grading to include a particular mood or tone in the whole picture. You can utilize colour wheels or presets for natural tints that improve the light’s effect and harmonize the image’s impression.
Sharpen the shot to enrich finer details that will have softened during the lighting adjustments. Utilize a selective sharpening tool on ranges like eyes or textures, but never go for over-sharpening the whole composition.
Finally, as you are done with all edits, you can export the ultimate image within the desired format and resolution per your intended aim, like printing or online displaying.
Conclusion
In summary, by relighting an image, you not only enhance the existing lighting of it, rather it also helps you recreate the lighting in shots with poorly-lit settings. This approach can elevate the quality of your images effortlessly, transforming ordinary photos into stunning, professionally lit images. Along with overall lighting enhancement, you can also introduce unique lighting effects like spotlight, moonlight, twilight and many more. Ultimately, with upgraded lighting and intricate shadows and the addition of subtle highlights, your final images will evoke an interesting brilliance, providing the viewers more visual clarity regarding the visual narrative.
