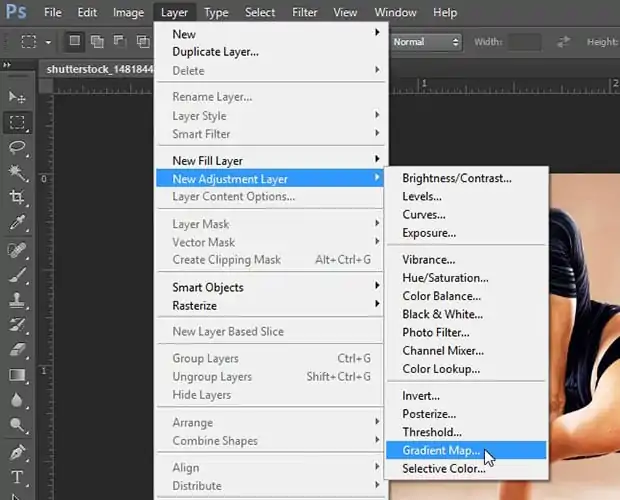
How To Add A Cliche Effect To Images
A cliché in photography could refer to anything that is extremely apparent, without originality of concept, and has been seen in many variations. Still, often clichéd photos are considered stunning. That might be the reason why so many of them have gotten so widespread. Beauty is hard to grow weary with. And sometimes, even if you haven’t seen that picture or something like it before, you just want to snap it. A sunset on the beach is a wonderful memory from someone’s vacation, but it may not be the kind of picture that would thrill everyone equally. The attractiveness of cliches is that they provide the audience a sense of immediate fulfillment, which helps them relate to the cliches’ broader objectives. Moreover, besides photography, the idea simultaneously prevails in the field of image editing, in which the digital artist and editors are using overused enhancements, filters and effects to maintain a temperament of commonality and accessibility in images. The step-by-step process of creating a cliché effect in images is as follows.
Step 1: Deciding On A Specific Effect
Before you start the editing process you have to choose the kind of cliche you need to apply. The cliche editing involves styles have been utilized so much they feel unimaginative.
Typical cases include HDR overload, selective colour, overwhelming vignetting, fake lens flares, manufactured bokeh, and vintage filters. These effects are regularly caught in beginner edits and social media patterns.
To get a dramatic appearnce, HDR advances contrast and sharpness while you can make pictures look unnatural if exaggerated. Selective coloring will keep one object in color while the rest stays black and white, frequently utilized for red roses or yellow taxis.
Vignetting darkens the edges of a photograph to bring focus, but can make photographs look exaggerated. Lens flares include artificial daylight streaks, which usually look fake if not set accurately.
Choose an effect per the temperament you need to create. If you are aiming for a striking, improbable, or stylized look, selecting a popular effect will set the tone for the remainder of your edits.
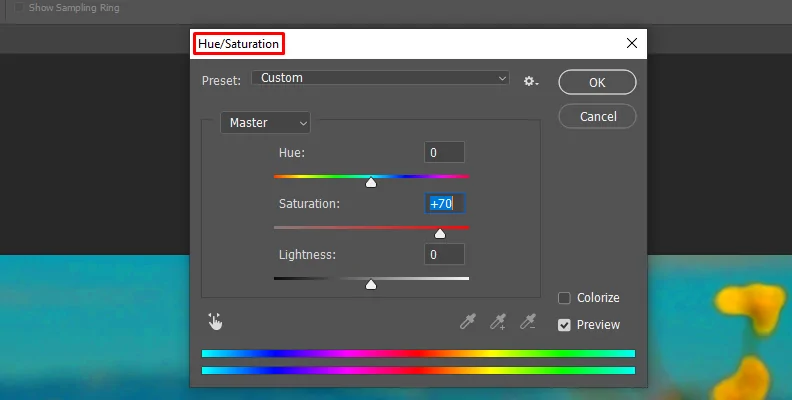
Step 2: Modifying HDR And Saturation
The employment of HDR and saturation adjustments is frequently in enhance details and colours, while overdoing them makes an artificial appearance. To add this cliché impact, begin by expanding contrast, clarity, and sharpness to set up surfaces. It will make details more drastic, though it can also make the photograph seem eccentric.
After that, increase saturation and vibrancy to highlight the colours highlighted. It will go well for landscapes, sunsets, and cityscapes, but over-the-top saturation can make colors appear neon and unrealistic. Skin tones, in specific, can end up too red or orange if moved too distant.
On the off chance that you need an extreme HDR appearance, utilize an HDR filter or tone-mapping tool in Photoshop, Lightroom, or mobile apps such as Snapseed. All these tools help make a dramatic, high-contrast impact, but too much application can make the image seem cartoonish.
To attain a stronger effect, attempt layering multiple alterations, expanding clarity, and utilizing sharpening tools. In any case, be cautious about doing excessive alterations as it can present noise and halos around objects.
Your objective should be to exaggerate details and colors deliberately, making a striking but obviously edited appearance that conforms with the cliche effect.
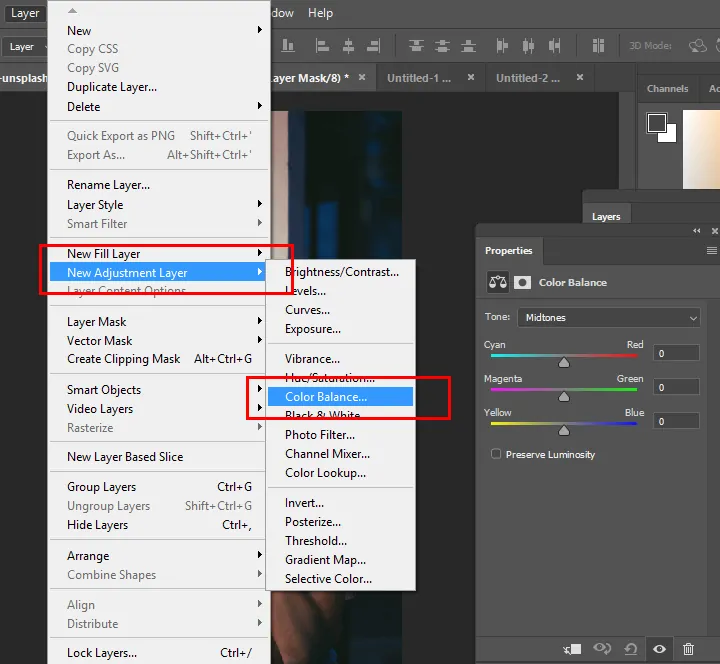
Step 3: Using Selective Coloring
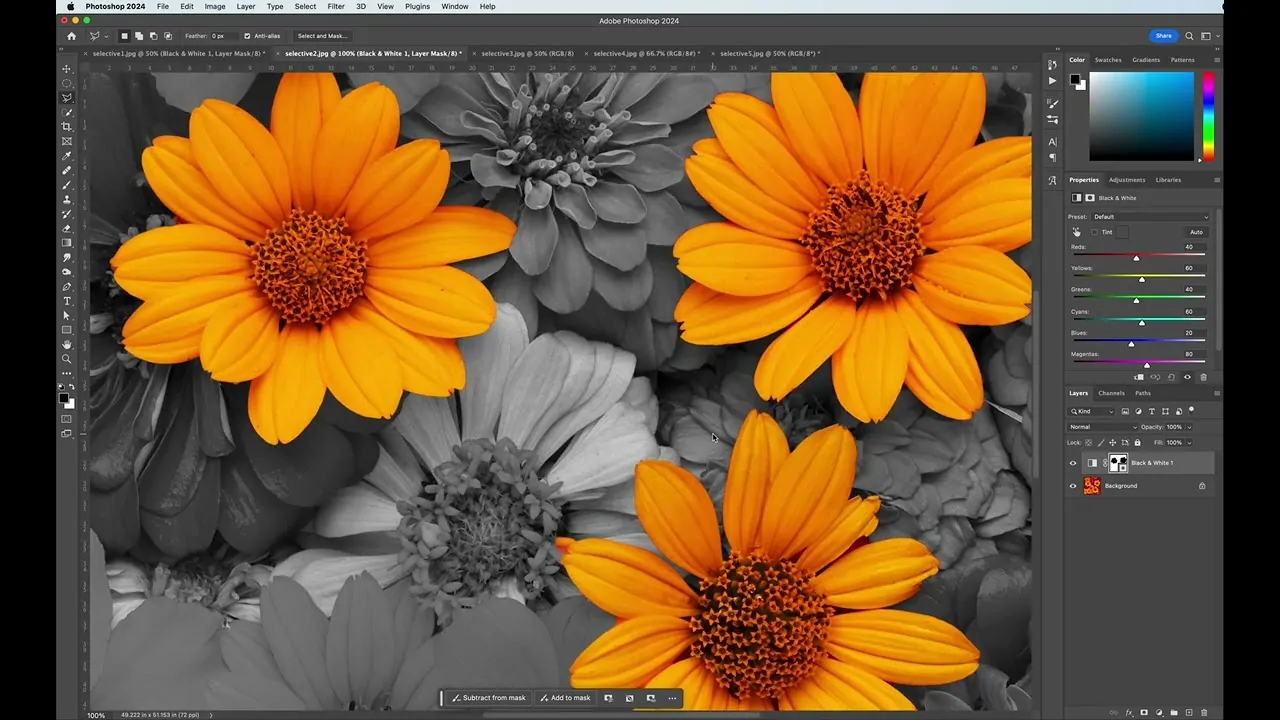
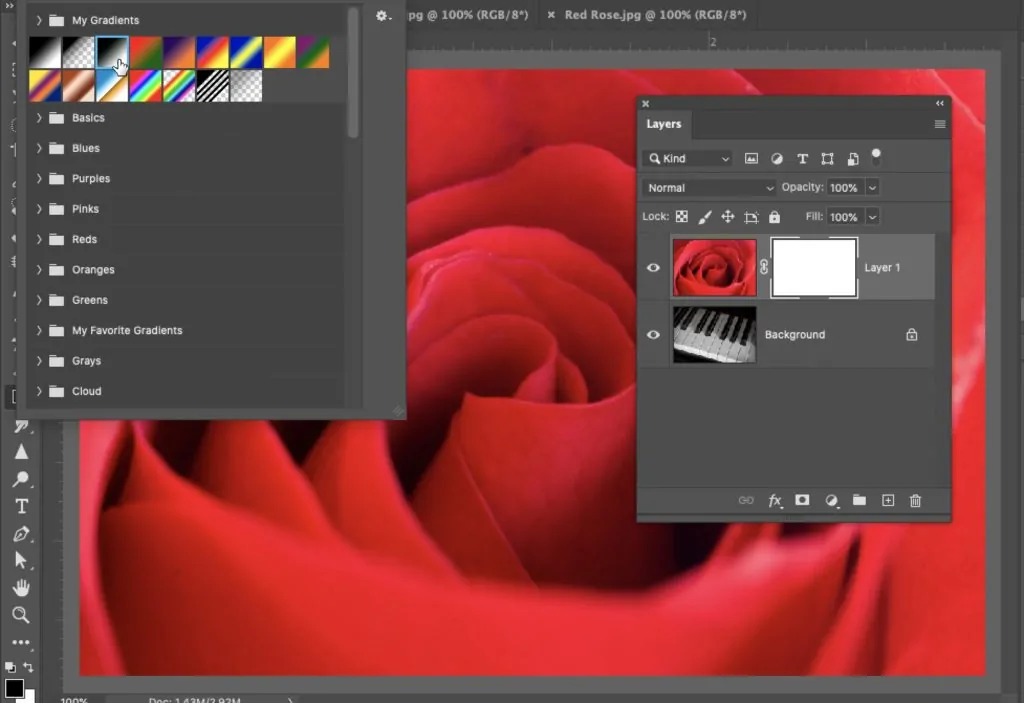
Applying the selective Color technique could be a classic cliche effect where most of the image is dark and white, yet one object remains in colour. It is frequently utilized to highlight subjects such as a red rose, a yellow taxi, or a blue eye.
To add this effect, begin by changing your photograph to black and white utilizing editing software such as Photoshop, Lightroom, or Snapseed.
Most of the apps have a desaturation or grayscale option to expel all colours.
After that, retrieve the color to a particular zone by employing a brush or masking tool. Deliberately choose the object you need to keep in color and erase the black-and-white effect from that portion. It will guarantee that only the selected subject is emphasized.
Alter the saturation and contrast of the coloured object to make it even more prominent. On the off chance that the effect looks too harsh, marginally minimize the saturation to get a more natural harmony.
Whereas this procedure can make a striking visual, it is overused. In case you need a fresh take, attempt applying it quietly or utilizing different color grading strategies instead.
Step 4: Adding Vignetting
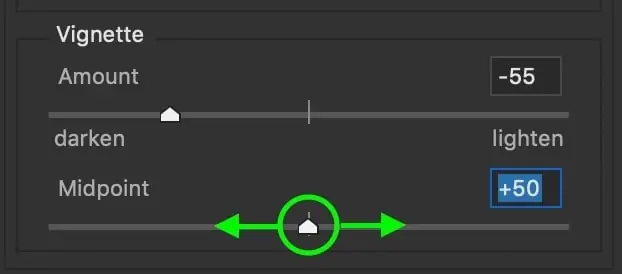
The use of Vignetting will darken the edges of a photograph to bring focus to the centre. Though it will have a dramatic effect, overusing it can make the photograph seem unnatural and excessively edited.
To include a vignette, employ the vignette tool in Photoshop or Lightroom. Maximize the intensity to make the edges darker while keeping the centre glowing.
To get a more grounded effect, alter the feathering and midpoint settings. A hard-edged vignette makes a spotlight effect, whereas a soft vignette seems more unpretentious. Undue vignetting can make the photo seem excessively staged, so utilize it precisely.
In case you need a reversed effect, try a white vignette to brighten the edges rather than darkening them. It is less common, though it can still make an artificial appearance when exaggerated.
Vignetting performs excellently in portraits, vintage-style photographs, or sensational compositions. Nevertheless, a it is a cliche effect, it is vital to utilize it deliberately instead of applying it to each photograph.
Step 5: Inserting Lens Flares
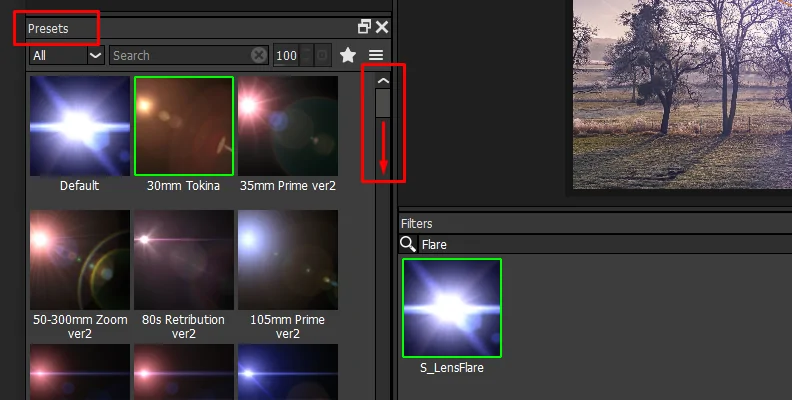
Employing lens flare could be a prevalent but overused effect that mirrors the way light corresponds with a camera lens. When you include it artificially, it can seem unnatural and forced, making it a classic cliché in picture editing.
To apply a fake lens flare, open Photoshop or Snapseed and utilize the Lens Flare filter or an overlay. Set the flare around an existing light source to make it look, to some degree, realistic. Putting it erratically can make the effect seem obviously fake.
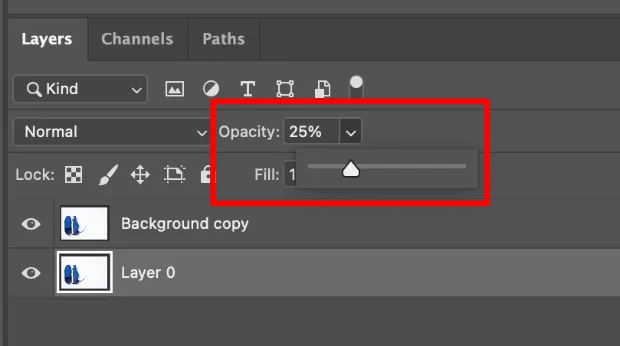
Alter the brightness and opacity to integrate the flare naturally into the photograph. In the event that it is too strong, it can wash out subtle elements and make the photograph seem over-exposed. Softening the edges can aid in making it appear more consistent.
To develop additional drama, incorporate lens flare with colour grading, including warm tones to correspond with the light effect. It can be frequently utilized in sunset photographs or cinematic edits.
Though lens flare can upgrade certain images, overusing it can make it a predictable effect. In the event that you need to utilize it, keep it subtle and be sure that it accommodates the lighting in your photograph.
Step 6: Applying Classic Filters
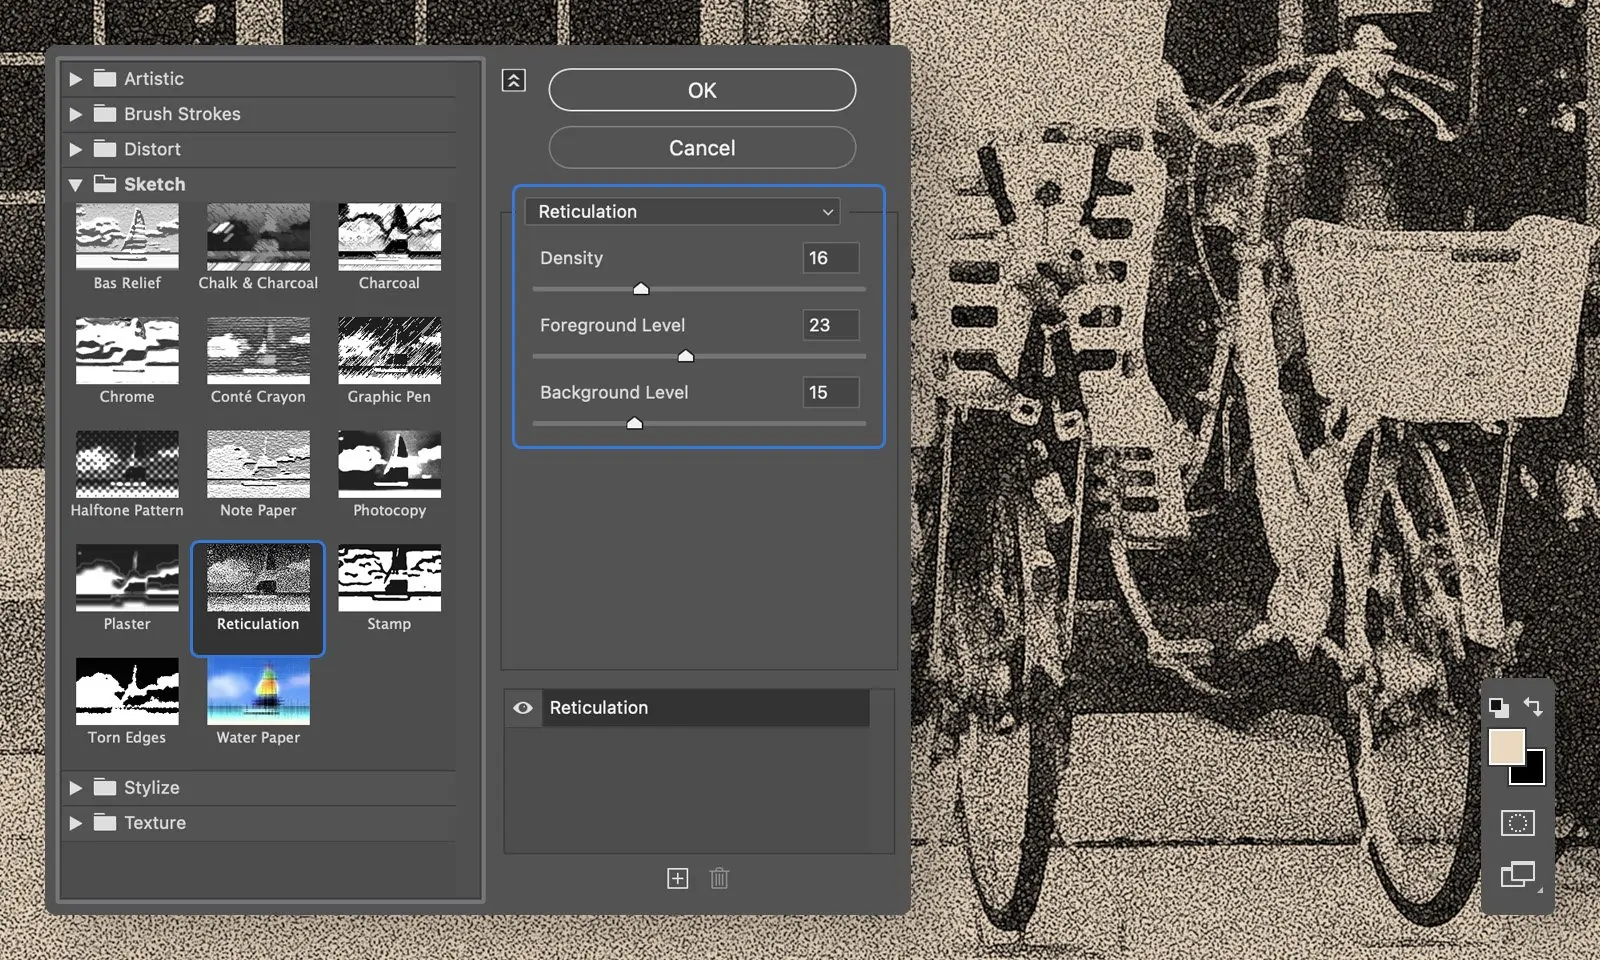
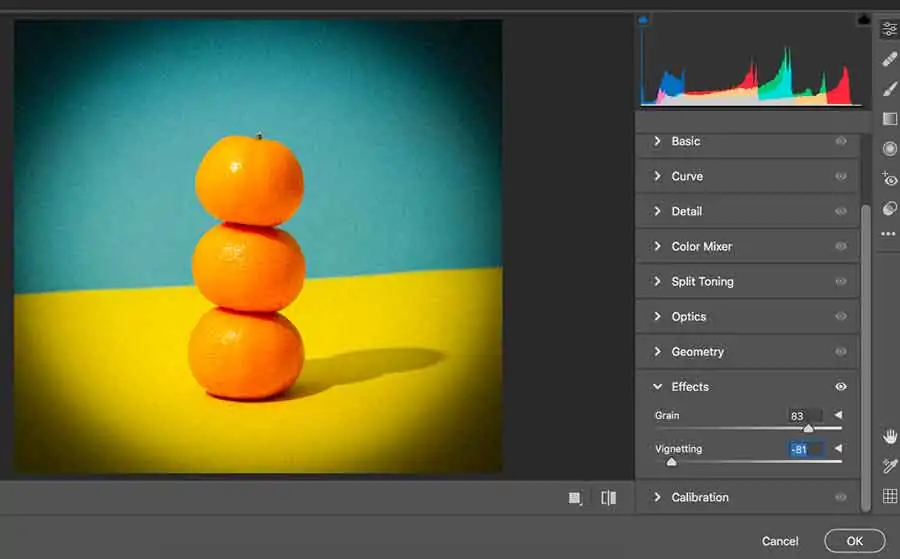
The application of a vintage or film grain effect could be a standard way to give photographs an old-school, nostalgic vibe. While this could be visually engaging, it gets to be a cliche when overused or applied exaggeratedly.
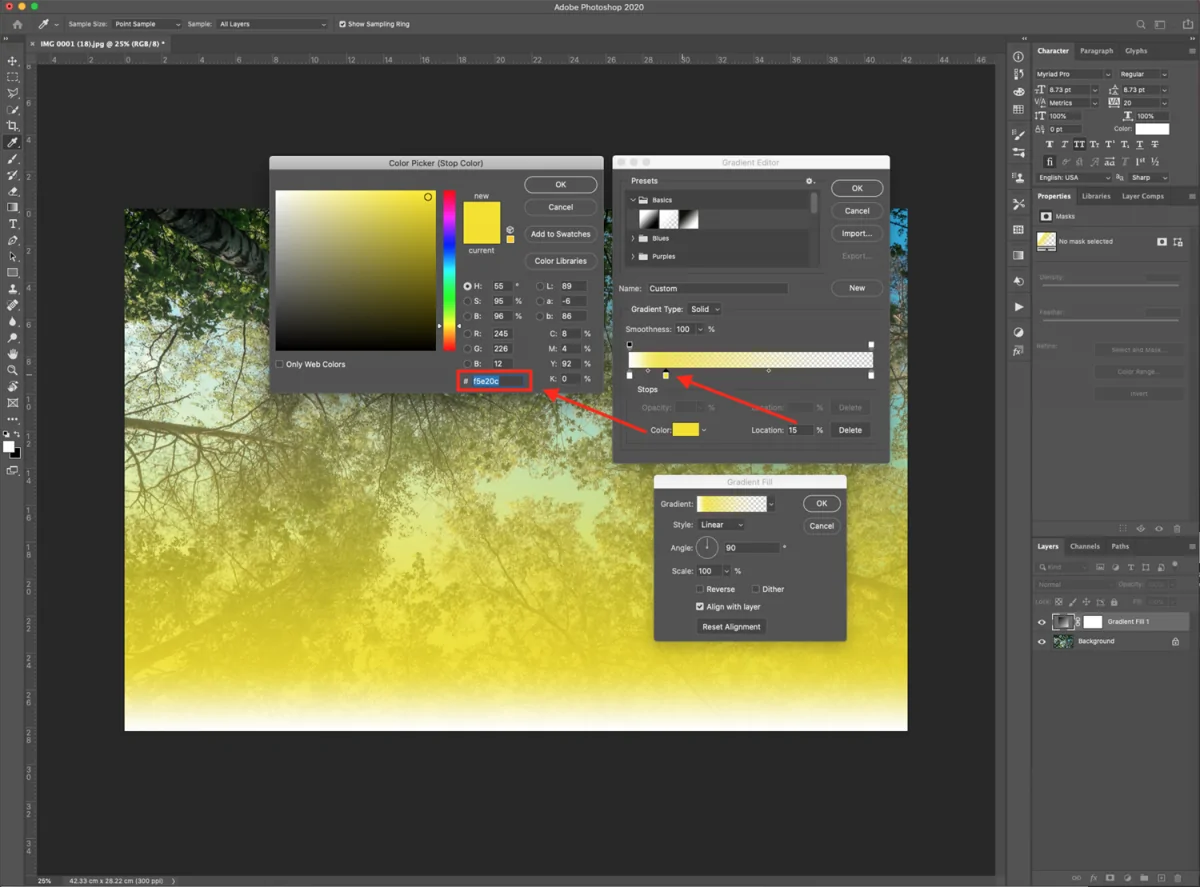
To make this effect, begin by applying a vintage filter in apps such as Lightroom, VSCO, or Photoshop. Search for presets that include warm tones, faded colours, or a slight yellowish tint to imitate classic film.
After that, add grain or noise to mimic the surface of the analogue film. If using Photoshop or Lightroom, advance the grain intensity beneath the effects panel. A small amount can give an inconspicuous surface, while too much can make the photograph seem rough and fake.
To get an extra aged appearance, decrease contrast and sharpness, somewhat fade the blacks, or include a light leak overlay. These methods help make a washed-out, retro appearance.
Though vintage effects can be stylish, they can frequently be exaggerated. To keep it new, add them in balance and be sure that they conform to the general disposition of your picture.
Step 7: Polishing The Work
After that, all the cliché effects are connected, and the ultimate step is to polish the picture to confirm that it looks intentional instead of untidy or excessively processed.
Commence by checking on the edits and altering the intensity of each effect. If you feel that the HDR seem too solid, decrease the clarity. In case the vignette is too dark, lighten the edges. The objective is to maintain the exaggerated look without making the photograph seem chaotic.
After that, review the colour balance and contrast, as over-saturated hues or unnatural lighting can make the image appear unprofessional. Utilize fine alterations to integrate the effects smoothly.
Once you have finalized the alters, you can export the photograph in high resolution. In Photoshop or Lightroom, select PNG or JPEG format with the highest quality settings to prevent compression loss. If you are looking into sharing on social media, resize the composition to the suggested measurements for a more promising display.
In the end, compare the image with the initial version to see if the alterations have accomplished the intended effect. A well-executed cliche effect can be fascinating, but harmony is critical to keeping it visually engaging.
Conclusion
In conclusion, using a cliché is not always an undesirable strategy, particularly when it involves recording a memorable moment or friends without attempting to create an artistic creation. Even the most dedicated photographers do it. Regardless of the excess of photography that has been done on a subject, viewers might still come up with something fresh. The cliché effect can be seen in photographs everywhere, even some people use it more frequently than others. In actuality, everything comes down to personal taste. The intense touch of overused enhancement effects makes images more interesting and grabs more attention. Nevertheless, one should always remember that cliché effects are termed as overused, but somehow they keep on existing.
