
How To Add A Toy Camera Effect To An Image
Toy cameras are usually economical, plastic gadgets with basic lenses, few controls, and a great deal of unpredictable features. They were first mass-produced as toys or inexpensive cameras for novices, but because of their unique flaws, they developed a cult following in the analog photography community. Soft focus, vignetting, and light leaks are common features of these cameras that are now sought after by experimental photographers. Returning to the realm of toy camera photography is really refreshing in an era of pixel-perfect photos and ultra-high-definition equipment. Almost all cameras nowadays, whether DSLRs or mirrorless, appear to come with a built-in Toy Camera special effect filter. Correspondingly, the effects of toy camera photography are also employed in image manipulation to upgrade the environment of contemporary images and make them look like photographs of old times. Various advanced image editing techniques and tools can help in recreating a toy camera effect, including vignetting, sharpness enhancement, light leak effects, colour manipulation, contrast and saturation settings, blurring, noise filters, and more. Here are the steps to add a toy camera effect to an image, thus adding to its visual appeal.
Step 1: Add A Vignette
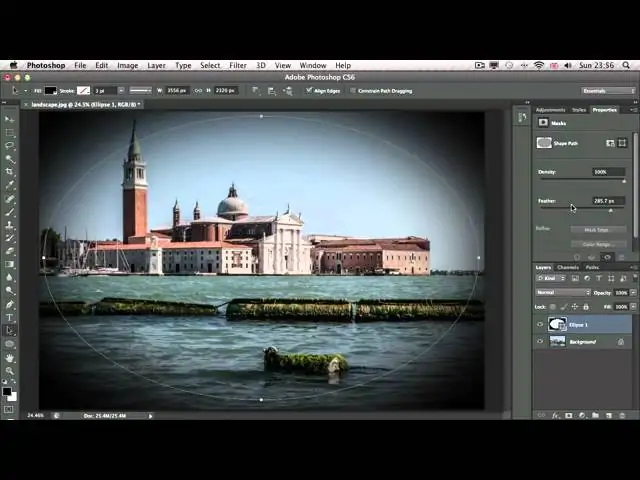
Applying a vignette could be a key to add to the toy camera effect, to help centre attention on the epicentre of the photograph, making it more visually engaging and including a sense of depth.
If using Photoshop or Lightroom, head to the Lens Correction or Effects panel and modify the Vignette slider to darken the edges.
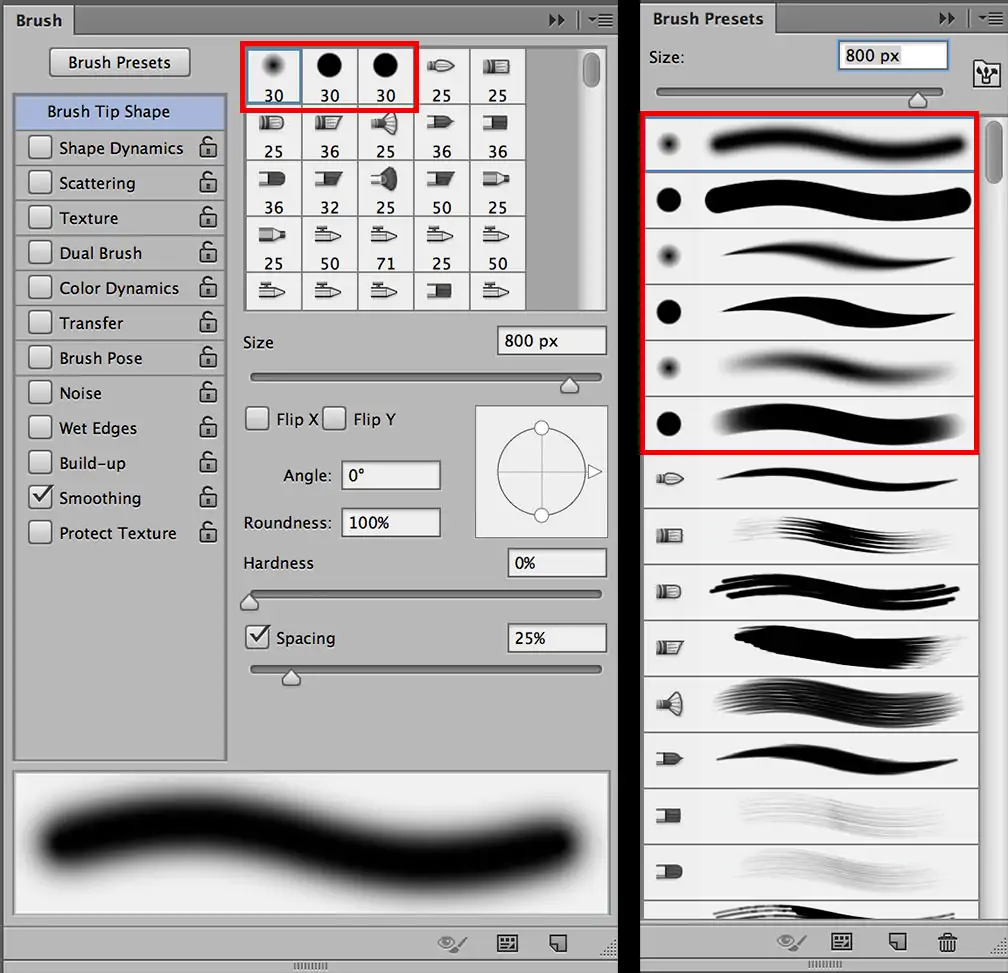
Utilize a delicate brush tool in Photoshop and manually darken the corners while keeping the effect unpretentious.
If using Lightroom or Snapseed, utilize a radial filter to specifically darken the external ranges while keeping the centre bright.
Decrease opacity and increment feathering to integrate the vignette organically.
Rather than just black, look into including dark brown or deep blue tints to get a more vintage impression.
Make sure that the picture doesn’t end up too dark overall by altering exposure appropriately.
The addition of a natural vignetting effect improves toy camera photography’s nostalgic, dreamlike quality, making the photograph feel more aesthetic and immersive.
Step 2: Decrease The Sharpness
To reproduce the soft-focus effect of a toy camera, decreasing sharpness can help make a dreamy and nostalgic feel, making the picture somewhat blurred while keeping critical details obvious.
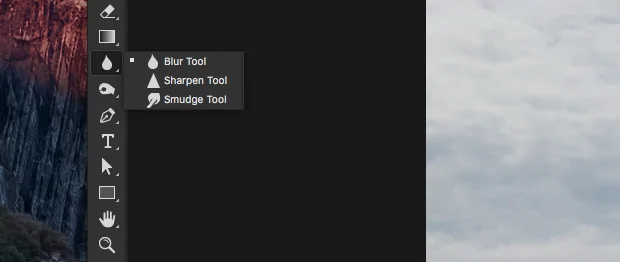
Move to the Blur Tool and tenderly paint over regions to soften subtle elements while keeping the subject noticeable.
Head to Filter choose Blur and Gaussian Blur, then alter the radius to include a delicate, hazy impact. Utilize layer masks to regulate where the blur emerges.
Decrease the Clarity slider value to soften surfaces while keeping up the contrast.
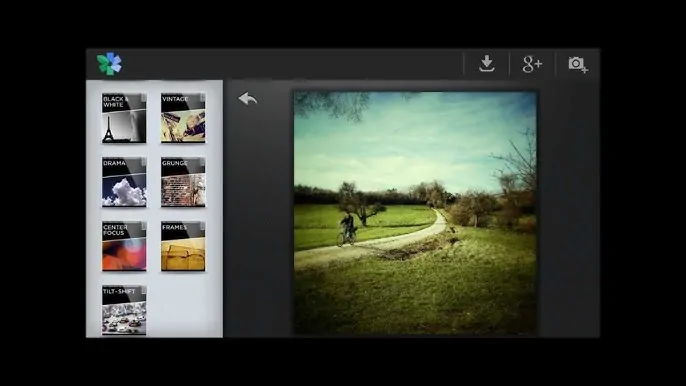
In apps such as Snapseed and VSCO have integrated filters that you can imitate soft-focus lenses.
Utilize a light radial or tilt-shift blur to make a natural out-of-focus effect, improving the toy camera’s appearance.
As decreasing sharpness can make a picture look level, look into slightly enhancing contrast to hold depth and dimension.
On a strategic softening of sharpness, you’ll accomplish the low-fi, artistic aesthetic commonplace of toy cameras simultaneously keeping the picture outwardly engaging.
Step 3: Apply Light Leaks Effect
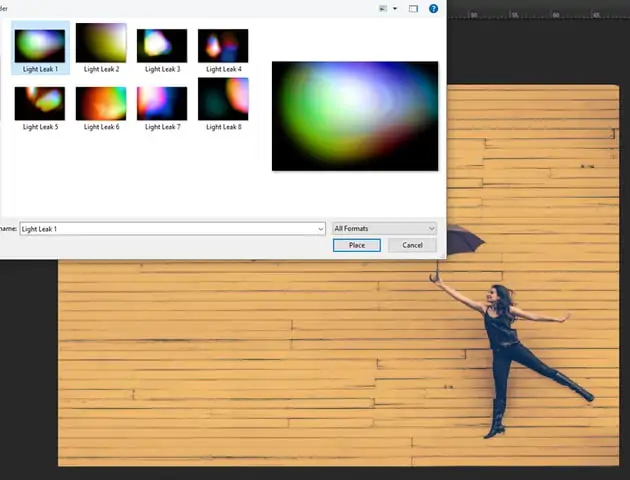
The addition of light leaks is imperative to include random streaks, flares, or colour shifts, giving the image a vintage, aesthetic feel that causes the picture to look more energetic.
Download light leak surfaces and overlay them in Photoshop utilizing the Screen or Soft Light blending mode. Alter opacity to get a natural effect.
Utilize the Gradient Tool with warm colors including red, orange and yellow. Specify the blend mode to Overlay and place it close to the picture edges.
Utilize a delicate brush with reduced opacity and warm tones to manually paint nuanced light leaks.

If you are using Lightroom and mobile apps like VSCO you can use their built-in light leak impacts that can be balanced.
Moderately blur using radial blur the light leaks to mix them naturally with the picture.
As the light leaks can have distinctive tones, you can add different tones from warm golden tints to cool blue flares, depending on the temperament you need to produce.
Suitably put light leaks include an authentic vintage indication, upgrading the toy camera effect while keeping the picture visually engaging.
Step 4: Apply Color Transitions
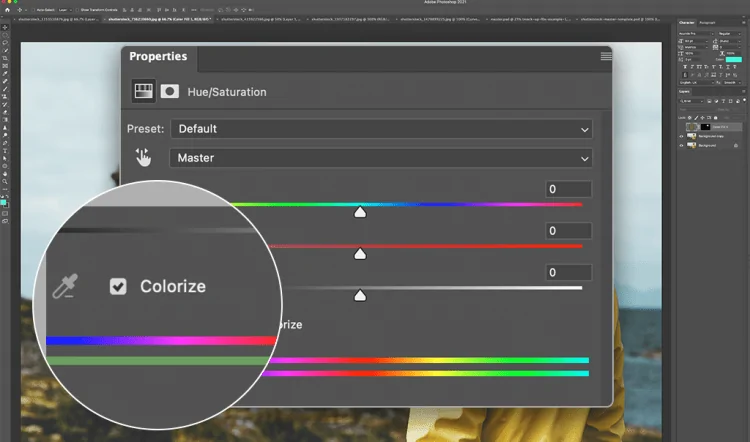
Toy cameras frequently produce unpredictable colour transitions due to low-quality lenses and flawed film handling. These transitions can make unique, and creative impacts, including a dreamlike or nostalgic temperament to photographs.
In Photoshop or Lightroom, adjust the Hue/Saturation sliders to redirect colours in particular regions. For instance, greens can incline toward yellow, or blues can end up more cyan.
In Lightroom, apply diverse colours to the shadows and highlights, such as warm tones like red or orange in highlights and cool tones like purple or blue in shadows.
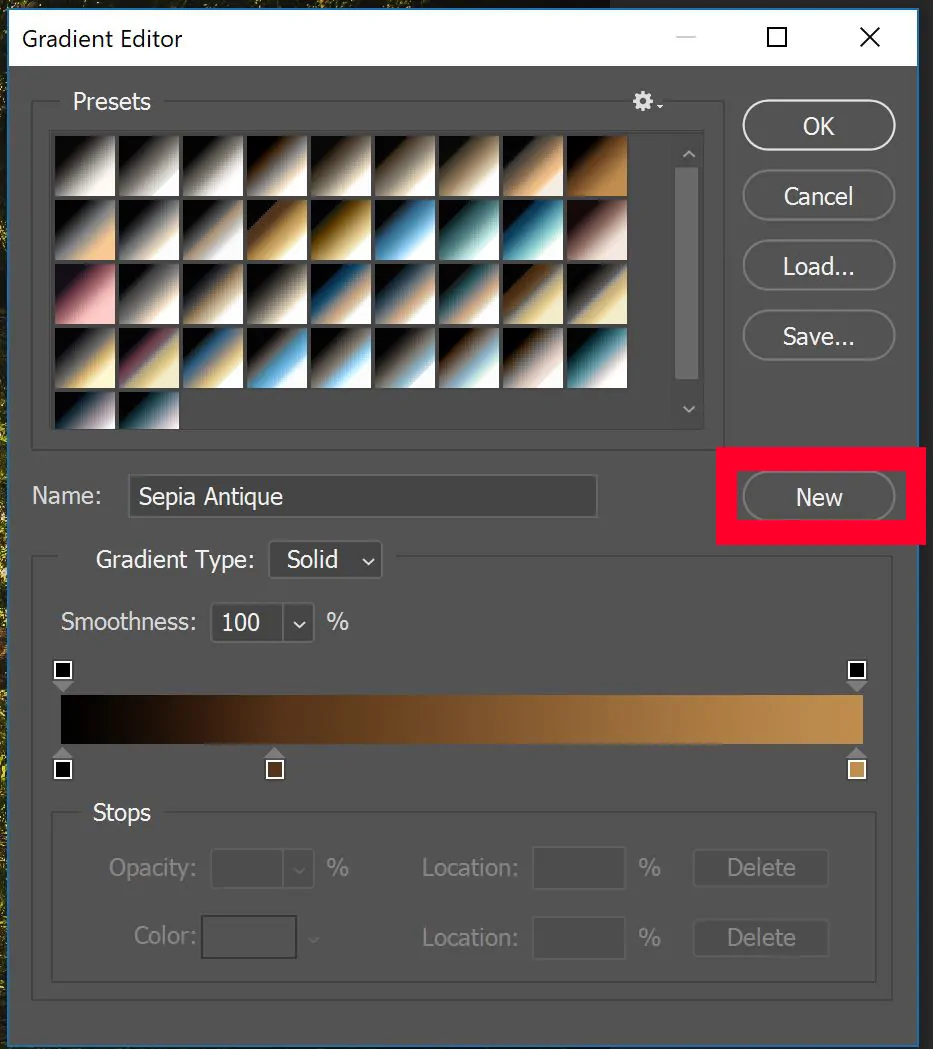
Overlay a gradient map choosing unusual colour blends, such as pink and greenish blue, to make a dramatic transformation.
Alter the RGB Curves to nuancedly shift the colour balance. Expanding reds within the highlights and blues within the shadows can provide a film-like appearance.
Apps such as VSCO, Snapseed, and Instagram also present filters to reproduce film-like colour transitions.
Experiment with cross-processing effects, which mirror classic film-developing strategies, to heighten colour shifts naturally.
With colour shifts’s enhancements, you can accomplish the lively, unpredictable appeal of toy camera photography, making your photographs feel more retro and aesthetic.
Step 5: Maximize Contrast And Saturation
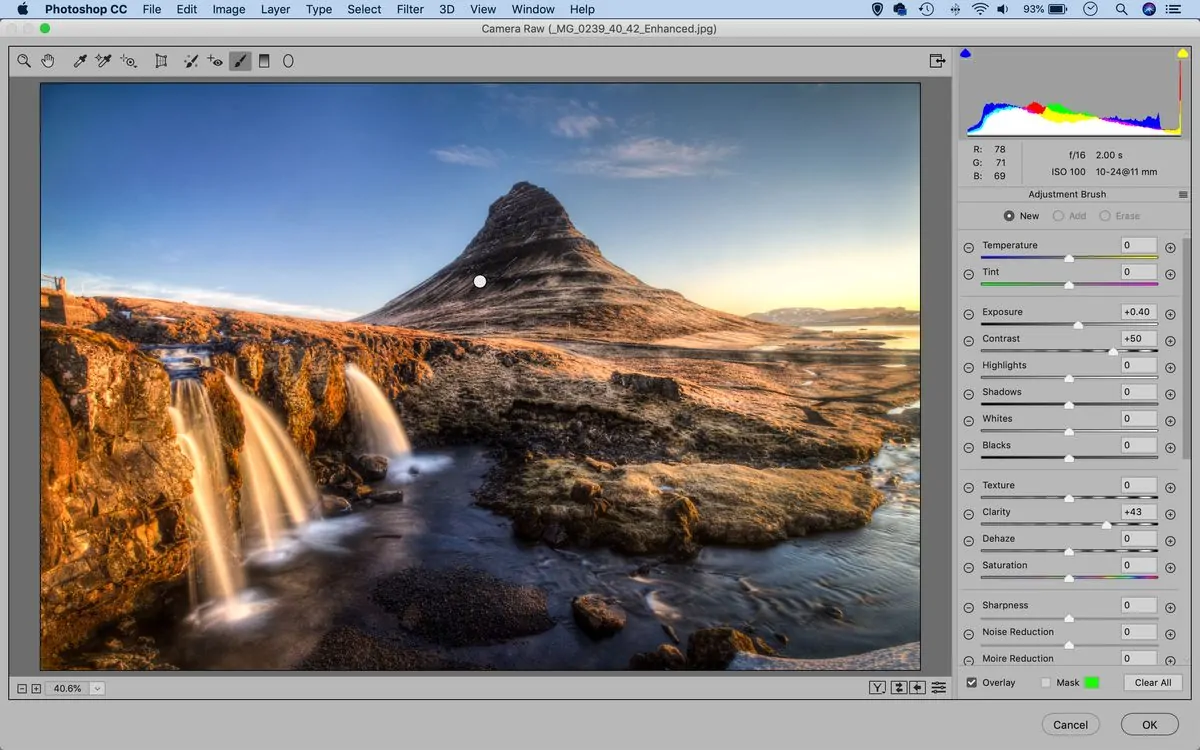
Toy cameras usually create photographs that contain high contrast and rich, dynamic colours, giving them a striking, eye-catching impression. Expanding contrast improves the depth and dramatization of the picture, whereas boosting saturation makes the colours more drastic and visually amazing.
Increase the Contrast slider value and heighten the blacks slightly to let the picture pop. Watch out not to lose too much detail within the shadows.
Maximize Saturation to get strong, distinctive colours or utilize Vibrance for a more proportional enhancement.
Overcompensating can make colours seem unnatural, so alter carefully.
Alter the Curves tool to extend highlights and deepen shadows, including richness without making the photograph too abrupt.
Numerous apps, including VSCO, Snapseed, or Instagram, contain lomo-type filters that reproduce high-contrast, high-saturation film appearance.
If a few colours end up too overwhelming, utilize the HSL tool to polish individual colours.
Include a Slight Glow using a subtle soft light overlay. That can upgrade contrast while keeping the dreamy aesthetics of the toy camera.
By expanding contrast and saturation, the photograph picks up vitality, depth, and a vintage touch, staying true to the toy camera images’s attributes.
Step 6: Add Grainy Texture

Toy cameras frequently create pictures with a grainy surface, similar to ancient film photos. So adding grain to your composition includes a crude, vintage feel, making it look more true and less digitally excellent.
Head to Filter then choose Noise and Add Noise. Specify the Gaussian and Monochromatic options and alter the intensity to get a natural grainy surface.
Beneath the Effects panel, maximize the Grain Amount, Size, and Roughness to recreate a fitting film surface.
Download high-resolution film grain surfaces and incorporate them utilizing the Overlay or Soft Light modes.
Do not add too much grain as it can overpower the picture, so lower opacity or utilize layer masks to regulate where the grain shows up.
Refined grain provides a smooth appearance, while coarse grain makes an organic, vintage aesthetic.
A little bit of blur makes the grain incorporate more naturally, improving the low-fidelity, retro effect.
Including film grain concludes the toy camera aesthetic, making the picture seem like a classic analog print.
Step 7: Finalize The Composition
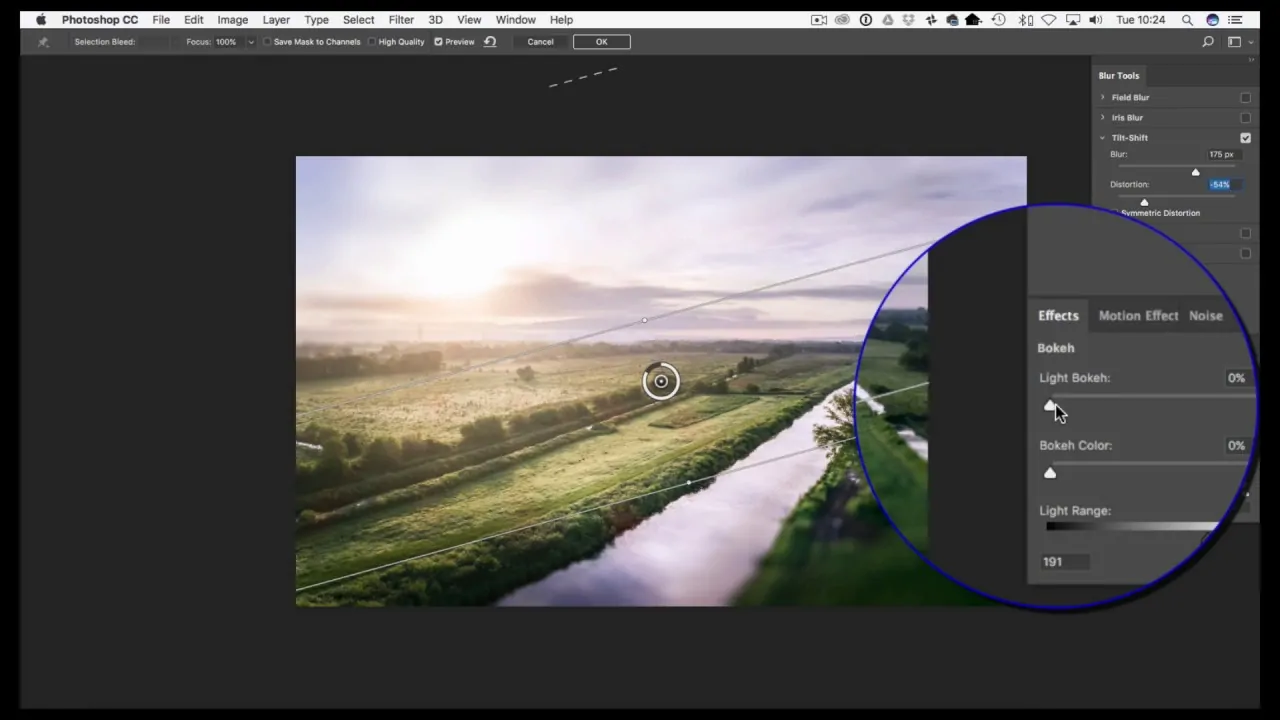
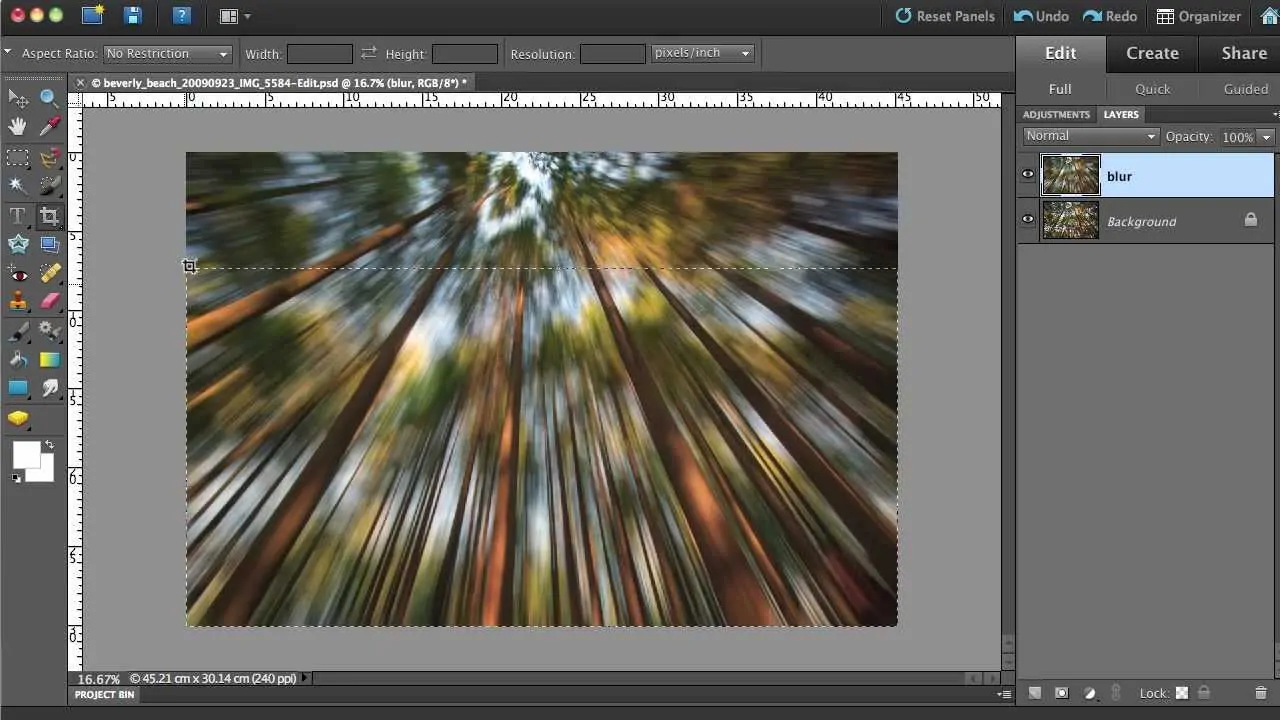
Add blur or a tilt-shift effect to reproduce the dreamy, flawed impression, enriching the toy camera aesthetic.
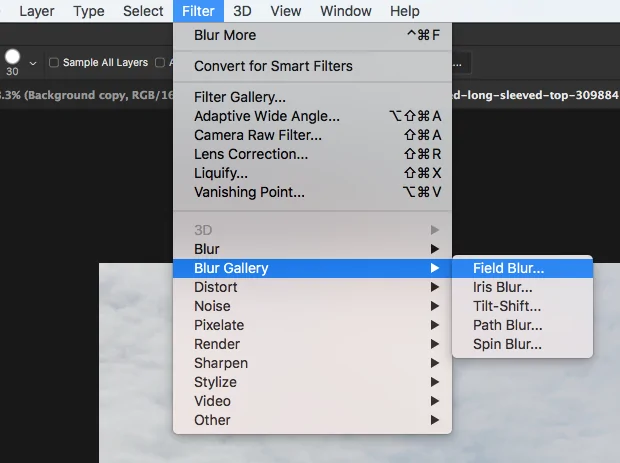
Proceed to Filter choose Blur and Gaussian Blur, then utilize a layer mask to apply blur only to chosen ranges.
Go to Filter choose Blur Gallery and click Tilt-Shift, then alter the focus area and blur intensity to imitate a shallow depth of field.
Move to Filter click Blur then Radial Blur, put to Zoom mode, and apply it moderately to the edges for a dreamy formation.
Also use the Lens Blur tool to form a realistic out-of-focus look, mimicking a toy camera lens.
Prevent over-blurring the composition and keep the subject a little sharper than the surroundings to guarantee a balanced development.
In addition, if you are using the apps like Snapseed and VSCO you can employ their built-in tilt-shift tools to form blur effects effectively.
Adding a blur or tilt-shift helps accomplish the whimsical, aesthetic vibe of toy camera photography, making photographs look more perky and vintage.
After you are satisfied with the final look you can save and export your work in a suitable file format for online sharing or to get a printout accordingly.
Conclusion
In short, the options are unlimited when it comes to incorporating a toy camera style into your shot. This effect gives photographs an unfailing quality and a nostalgic impression. Furthermore, by creating an evoking atmosphere, it presents contemporary photographs with the appearance of being taken in a completely different period. Imitating the flaws that are noticed in toy camera shorts due to camera processing errors, the raw colour changes and light leaks produce a precious retro build. In the end, your toy camera effect-edited photograph will have an unvarnished, and surreal atmosphere that prompts the observer to recognize the significance of imperfections in enhancing realism.
