
How To Use Scrapinghub For Cloud-Based Web Scraping
When it comes to cloud-based web scraping, selecting the correct tool can have a big impact. Scrapinghub or Zyte is a potent stage to help streamline and scale web scraping tasks by shifting them to the cloud. The commonly used scraping arrangements frequently emphasize segments like manual server management, local resource allocation and monitoring on a regular basis that limit reliability and scalability. Scrapinghub effectively overcomes these obstacles and provides a cloud-based setup that aids developers in deploying, scheduling and executing scraping processes with the minimum infrastructure required. Furthermore, with the perfect integration of Scrapinghub with Python’s framework Scrapy, individuals can shift their local Scrapy projects to the cloud. After that spider can be executed to extract the data smoothly. Zyte incorporates features of job tracking, log management, automated retries, as well as error handling. All these aptitudes ease in retaining powerful data pipelines along with effectively addressing IP bans and Java-rendered page challenges. The following steps will further illustrate using Scrapinghub for a streamlined, successful cloud-based scraping.
Step 1: Creating Your Zyte Account
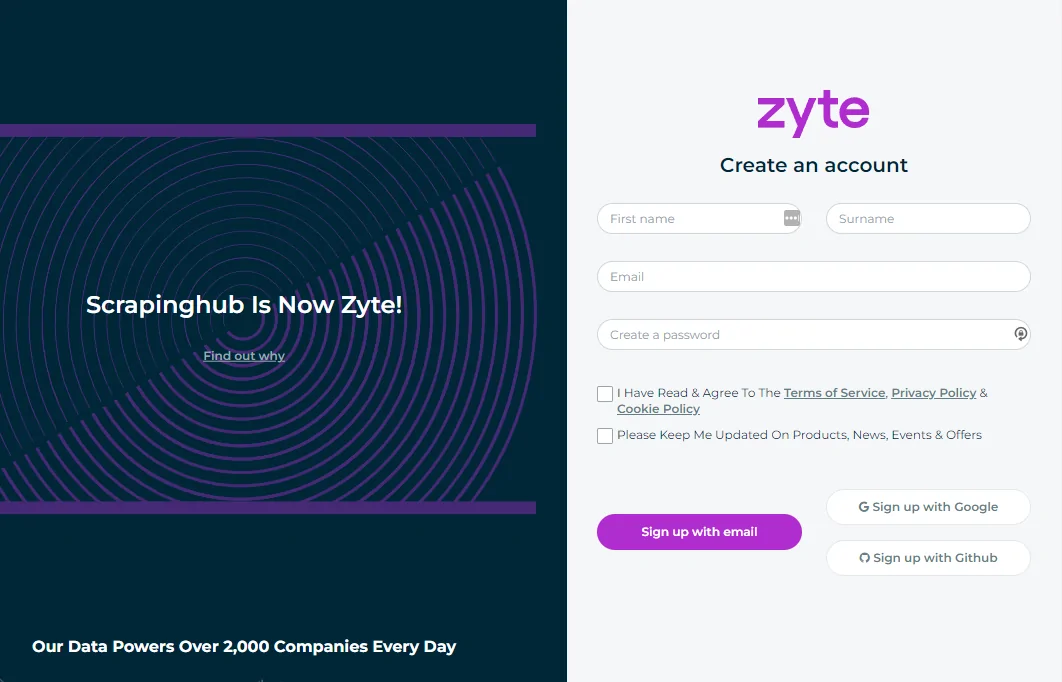
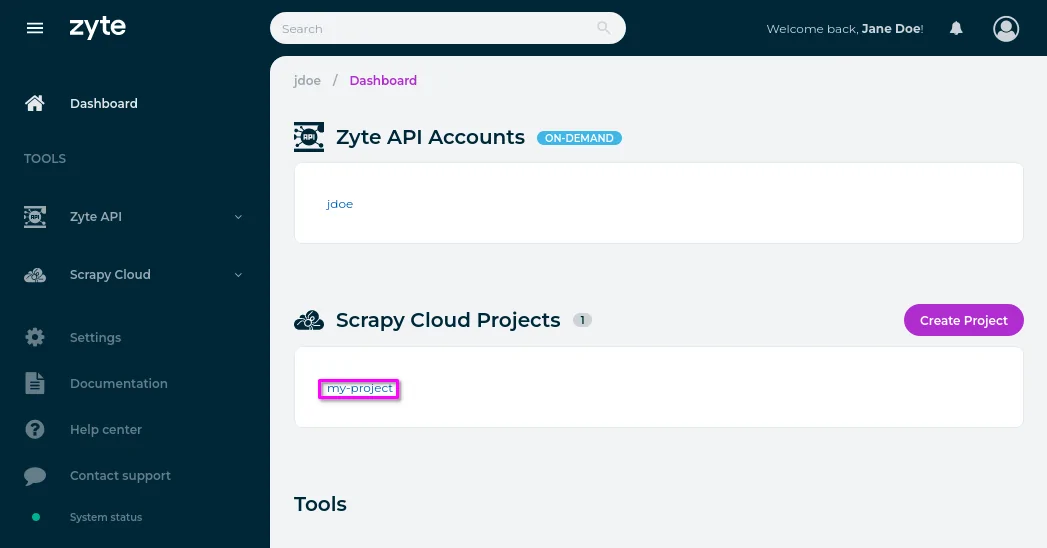
To begin utilizing Scrapinghub, which is now Zyte, the initial step is to make an account on their platform. Proceed to https://app.zyte.com and sign up using your email or a GitHub account. After you have registered, you will arrive on the Zyte dashboard, where you’ll oversee your scraping projects. Press on Create New Project to initiate your first cloud-based scraping setup. You will be prompted to title the project and utilize something defining to keep things organized.
Every project describes a container for your spiders and jobs. Inside a project, you’ll operate multiple spiders, store output information, view logs, and monitor execution metrics. Zyte also gives built-in highlights such as scheduling, auto-retries, and resource limits to assist you in overseeing scraping at scale. Presently, you will not be uploading code yet; this step is entirely about establishing the environment where your spiders will ultimately run.
Once you have made the project, you will be assigned a unique project ID, which is needed for deploying your code later. Put this ID handy as you will utilize it within the deployment and execution stages that will come after. Along with your Zyte account and project assembled, your cloud-based foundation is prepared for your scraping logic.
Step 2: Installing Fundamental Python Packages
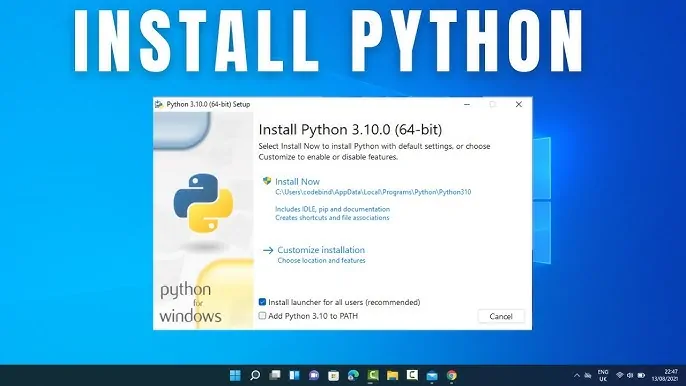
Before you write or deploy any code to Zyte, you would like to set up your local development environment. It includes installing two fundamental Python packages that are Scrapy and shub. Scrapy is the web scraping system you will utilize to build your spiders, while Shub (Scrapinghub client) is the command-line tool utilized to send your project to the Zyte cloud.
Begin by making sure you’ve got Python installed (preferably version 3.7 or higher). At that point, open a terminal or command prompt and execute the command as mentioned below:
pip install scrapy shub
That will install both packages in your current Python environment. You’ll confirm the installation by reviewing the versions:
scrapy version
shub version
In the event that you are working on a bigger project or team, it is a fine practice to establish a virtual environment to confine dependencies:
python -m venv venv
source venv/bin/activate # On Windows, use `venv\Scripts\activate`
By installing Scrapy, you can be sure that you have the tools to make and test your spiders locally. Installing Shub enables smooth interaction with the Zyte stage, especially when you have to deploy, verify, and oversee spider operations remotely. That setup is fundamental before proceeding on to advancement.
Step 3: Building The Spider
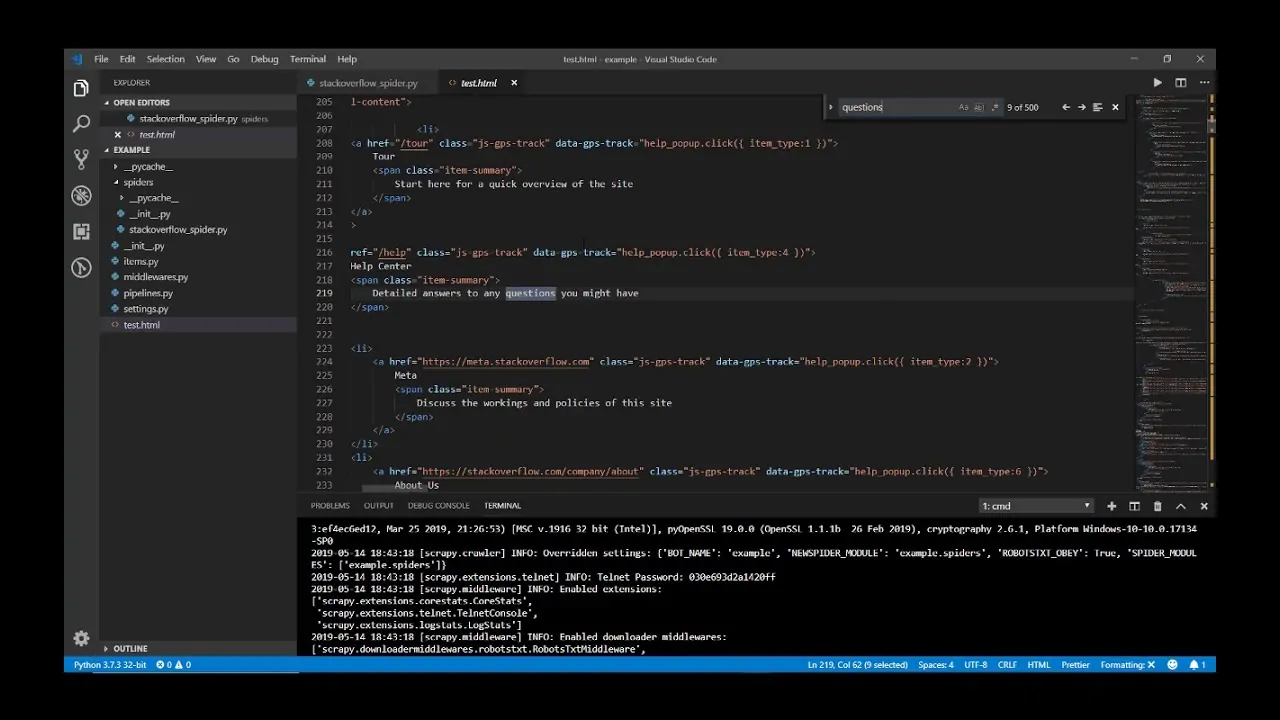
Once your environment is ready, the other step is to build the spider that will do the actual scraping. Begin by making a new Scrapy project employing the command as mentioned here:
scrapy startproject myproject
It will create a standard project layout with folders for your spiders, items, pipelines, and settings. Head to the project directory. Here is an example.
cd myproject
Within the spiders folder, make a Python file. For instance, example_spider.py. Indicate your spider class by expanding scrapy.Spider and developing key traits like name, start_urls, and a parse strategy to extract information:
import scrapy
class ExampleSpider(scrapy.Spider):
name = ‘example’
start_urls = [‘https://example.com’]
def parse(self, response):
yield {
‘title’: response.css(‘title::text’).get(),
‘url’: response.url
}
That fundamental spider navigates to a URL and extracts the page title. You’ll expand the logic utilizing Scrapy selectors to extract considerable areas, follow links, or paginate. Test your spider locally utilizing this command:
scrapy crawl example
That local testing step guarantees everything functions as anticipated before deploying to the cloud. Polish your code until you are certain the spider performs precisely and proficiently.
Step 4: Preparing Your Scrapy Project For Deployment
Before deploying your Scrapy project to Zyte, you have to prepare it with the correct arrangement files. It will confirm Zyte knows how to operate your code, dependencies, and deployment target.
To begin with, make a file named scrapinghub.yml within the root of your project directory. That YAML file tells Shub which Zyte project ID to utilize when deploying. That structure looks like this:
project: <your_project_id>
Replace with the ID assigned when you made the project within the Zyte dashboard. You’ll find it by proceeding to your Zyte project and replicating the ID shown at the top.
After that, if your spider utilizes any third-party libraries, you need to list them in a requirements.txt file so Zyte installs them within the cloud environment. Here is an example:
scrapy
beautifulsoup4
pandas
Save that file within the root directory of your Scrapy project.
Finally, be sure your project structure is immaculate. Zyte will only deploy files that are tracked by Git or inside the Scrapy project folders. Double-check your spider names which your project operates locally without problems.
Once the configuration is completed, your project is prepared to be deployed.
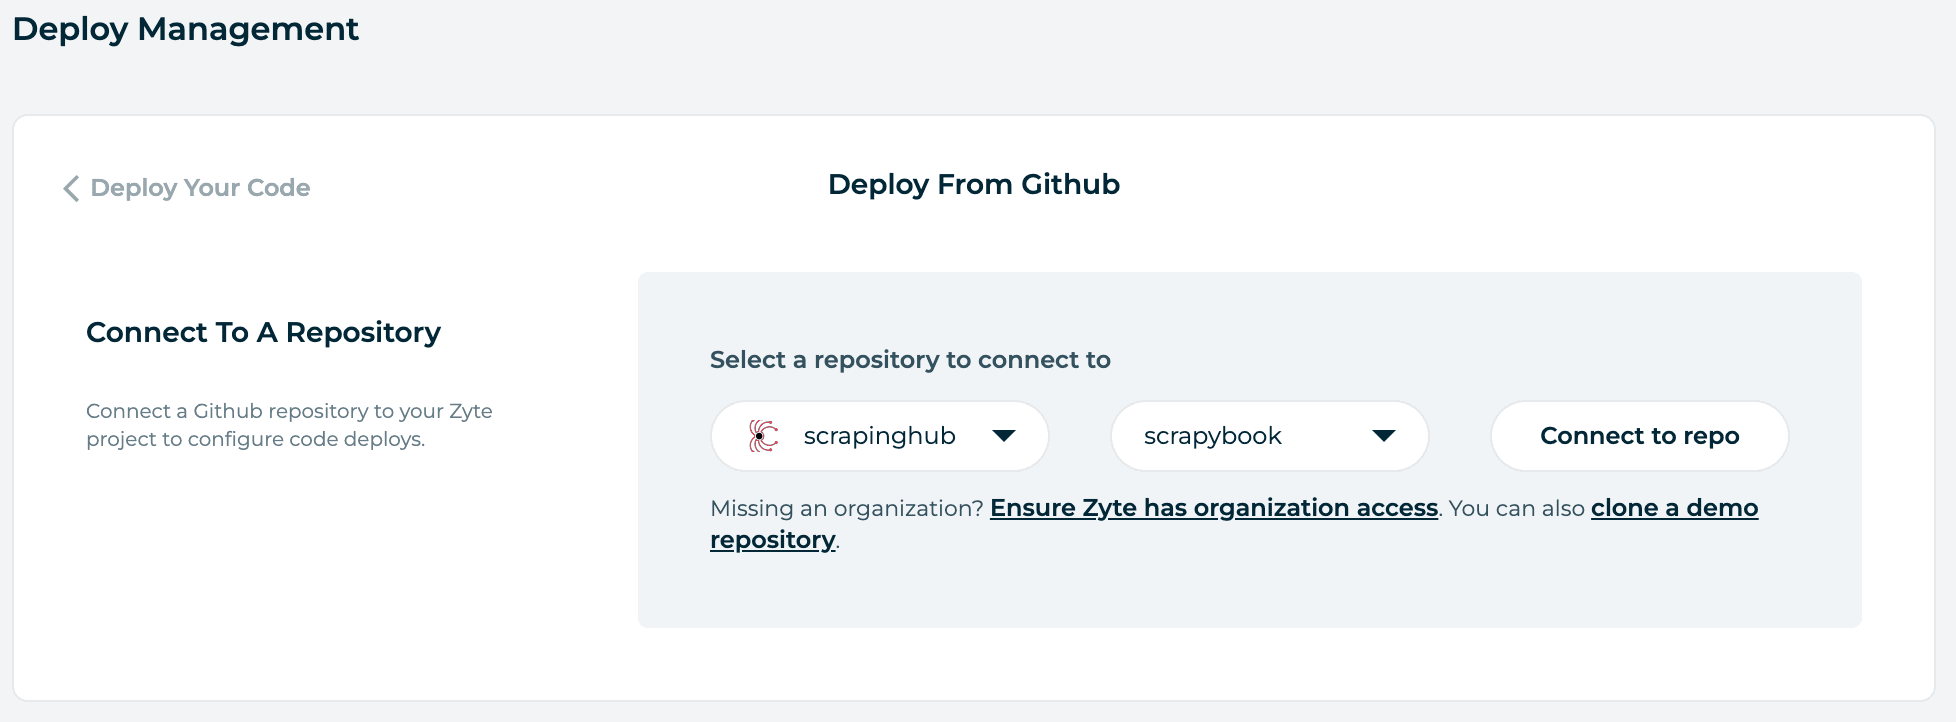
Step 5: Deploying The Project
After your project is configured, it is time to deploy it to Zyte’s Scrapy Cloud. Begin by authenticating your local environment with your Zyte account utilizing the shub command-line tool:
shub login
That will prompt you to input your Zyte API key, which you’ll find in your Zyte dashboard under your account settings. Once you are done with successful confirmation, you are set to deploy.
Utilize the command as mentioned below to upload your Scrapy project to the Zyte cloud:
shub deploy
In case you have multiple Zyte projects or didn’t specify a project ID in scrapinghub.yml, you’ll moreover pass the project ID directly:
shub deploy <your_project_id>
Shub will bundle your Scrapy project, pass it to Zyte’s servers, and register it beneath the chosen project. You will notice output in your terminal affirming that the deployment was effective and showing the version number and spider names.
That step will link your local development work to the cloud environment, permitting you to execute your spiders remotely and take advantage of Zyte’s infrastructure, scheduling, and logging capabilities. Once done with deployment, everything is prepared to operate directly from the Zyte dashboard.
Step 6: Monitoring Your Spider Performance
Together with your project deployed to Zyte, you’ll presently operate your spider specifically from the cloud. Head to the Zyte dashboard, navigate to your project, and press on the Spiders tab. You will catch a list of all deployed spiders. Choose the one you need to conduct, then press Run to initiate a new job. You can alternatively set arguments, plan the spider for future execution, or operate it on a recurring basis.
After the spider begins, you will be taken to a live monitoring page. This dashboard displays real-time logs, crawl statistics like requests made, items scratched, etc., and framework resource utilization. You can also view and download the scraped information in different formats such as JSON, CSV, or XML.
Zyte, moreover, takes retries, timeouts, and concurrency settings automatically unless you supersede them. In case your spider encounters issues like errors, bans, or missing data, the logs make it simple to analyze and post your code.
Once the execution completes, all output is saved and available anytime. You’ll be able to rerun the same spider with distinctive settings or clone a job to repeat it. That cloud-based control offers you full flexibility to oversee scraping at scale without needing manual server management.
Conclusion
To sum up, cloud-based web scraping provides a more intelligent and effective method of gathering information from websites. Platforms like Scrapinghub let you grow your scraping tasks without worrying about bandwidth or hardware constraints, automate the entire scraping process, and transfer heavy tasks to the cloud. Zyte also excels in difficult scraping jobs, such as evading CAPTCHAs, IP restrictions, and other anti-scraping schemes. Reliability and speed are often emphasized by its features, which include proxy management, a collection of sophisticated scraping tools, and particularly Cloud data storage and export possibilities. All of these features make it quite easy for your cloud-based web scraping to get the intended results.
