How To Crop An Image In GIMP
Cropping an image is a fundamental editing task that allows you to remove unwanted areas from an image to highlight specific parts or improve the overall composition. In GIMP (GNU Image Manipulation Program), a popular open-source image editing software, cropping an image is a simple and efficient process that offers users multiple options to achieve the desired results. GIMP provides several tools for cropping images, including the Crop Tool, the most commonly used tool. This tool enables you to select a specific area of the image to keep, then crop the image to remove the surrounding areas. GIMP offers other options, such as the Rectangle Select Tool, which allows you to create a rectangular selection to crop the image, and the Crop to Selection command, which crops the image to the selected area.
Step 1: Open your image in GIMP and select the Crop Tool.
The first step to crop an image in GIMP is to open the image you wish to crop. To do this, launch GIMP and select “File” from the top menu, then choose “Open” and navigate to the location of the image on your computer. Once you have selected the image, click “Open” to import it into GIMP.
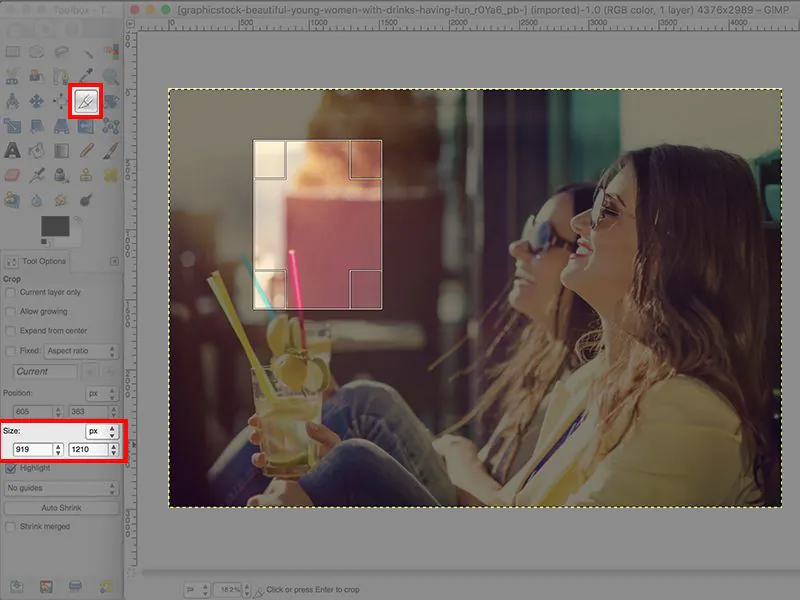
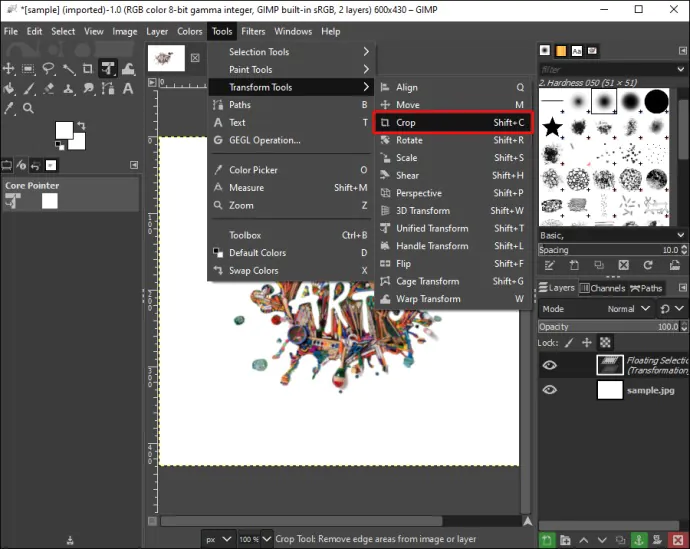
Next, select the Crop Tool from the toolbox on the left side of the screen. You can use the keyboard shortcut “Shift + C” to activate the Crop Tool quickly. Once you have selected the Crop Tool, a grid will appear on your image, indicating the area that will be cropped. You can adjust the grid size by dragging the handles on the edges or corners of the grid.
Step 2: Select the area you want to keep.
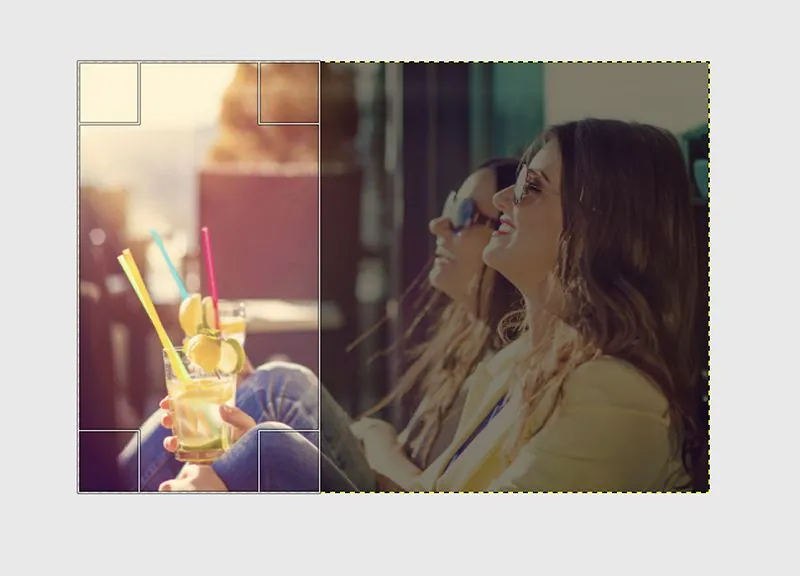
Once the Crop Tool is selected and the grid is visible on your image, you can select the area you want to keep in the final image. To do this, click and drag your cursor over the part of the image you wish to keep. As you drag, you’ll notice that the area outside the selection will become darkened, indicating that it will be cropped.
Adjust the selection by dragging the handles on the edges or corners. If you want to move the entire selection, click and drag anywhere inside the selection.
Once satisfied with the selection, you can proceed to the next step.
Step 3: Crop the image.
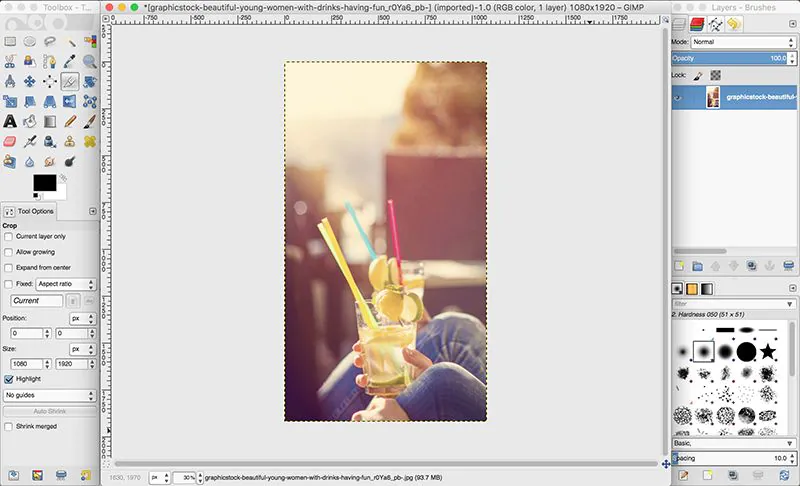
After selecting the area you want to keep in the previous step, you can crop the image. To do this, press the “Enter” key on your keyboard or click the “Crop” button on the top menu. That will remove all the areas outside the selected region, leaving you with the final cropped image.
If you’re not satisfied with the crop and want to make further adjustments, you can undo the crop by pressing “Ctrl + Z” or selecting “Edit” from the top menu and clicking “Undo.” You can then re-adjust the crop selection and crop the image again.
Once satisfied with the crop, you can save the image by selecting “File” from the top menu and choosing “Export As.” Give the image a new name, select the file format and location, and click “Export” to save the cropped image to your computer.
Step 4: Use other available options for cropping.
Besides using the Crop Tool, GIMP offers other options for cropping images. One such option is the Rectangle Select Tool, which allows you to select a rectangular area of the image you wish to keep. Select this tool from the toolbox or use the keyboard shortcut “R.” Now, click and drag your cursor over the area you want to keep and release the mouse button once you have created a rectangular selection. Finally, select “Image” from the top menu and choose “Crop to Selection” to crop the image to the selected area.
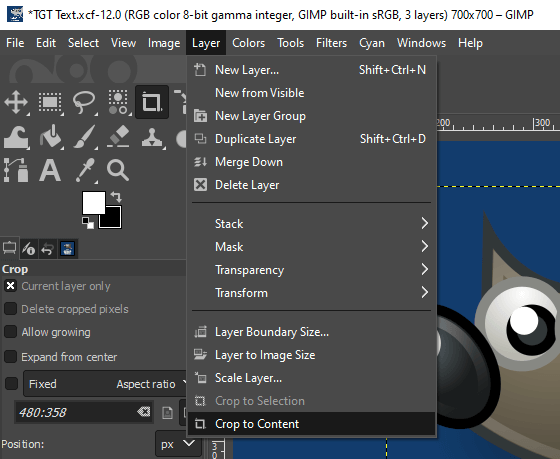
Another option is the “Crop to Content” command, which automatically crops the image to the content’s location. To use this command, select “Image” from the top menu, then choose “Autocrop Image” or “Autocrop Layer” if you have multiple layers in your image. This command removes all the areas outside the content, leaving you with the final cropped image.
You can choose the option according to your requirements and achieve the desired results.
Step 5: Save your work.
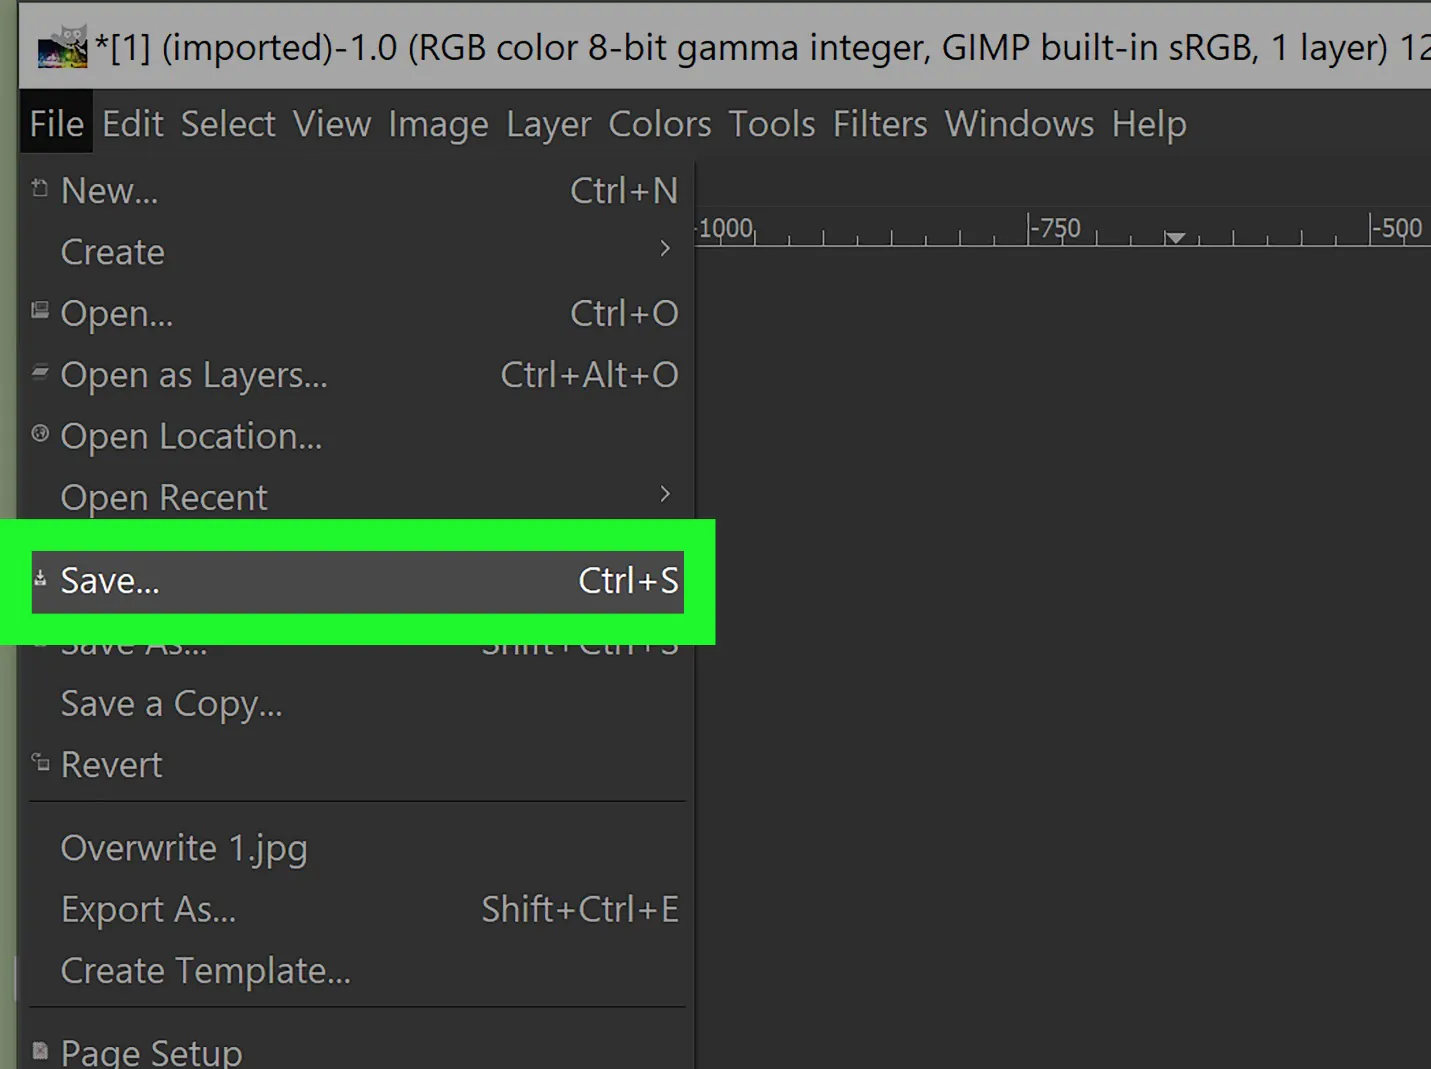
Once you have successfully cropped your image, it’s essential to save your work to preserve the changes you have made. To do this, select “File” from the top menu and choose “Save” or “Save As” depending on whether you want to overwrite the original file or save a new copy.
If you choose “Save As,” you will be prompted to give the file a new name and select the location to save it. You can also choose the file format for the saved image from the options in the “Select File Type” dropdown.
It’s important to note that if you overwrite the original file, you will lose the uncropped version of the image. Therefore, saving a copy of the original image before cropping it is always a good idea.
Once you have saved your work, you can close GIMP or edit the image further.
Step 6: Undo your changes if needed.
If you are unsatisfied with the final product of your cropping and want to undo the changes you made, you can use the “Undo” command. To do this, select “Edit” from the top menu and choose “Undo” or press “Ctrl + Z” on your keyboard. That will revert your image to its previous state before applying the crop.
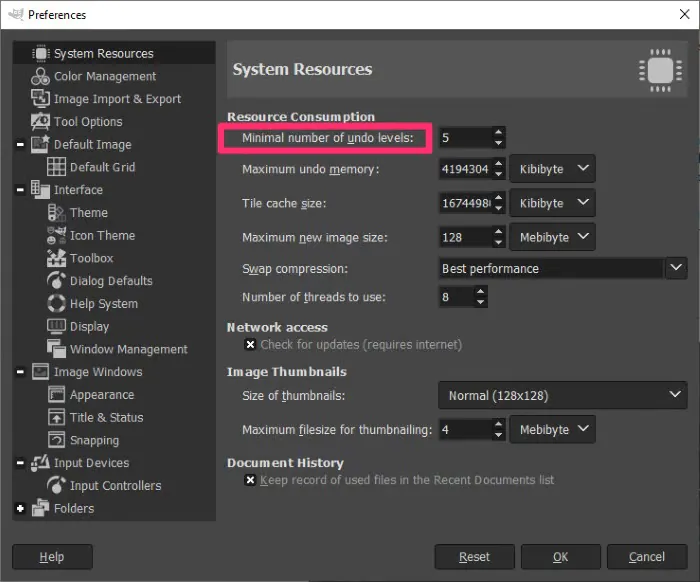
You can apply the “Undo” command multiple times to step back through your editing history and revert to any previous image state.
It’s important to note that the “Undo” command is unavailable after you close the image or GIMP. Therefore, saving your work frequently and backing up your files if you need to revert to a previous version is good practice.
Step 7: Apply additional edits to your cropped image.
After cropping your image, you can add additional edits, such as adjusting the brightness, contrast, or color balance. To do this, use the various editing tools available in GIMP.
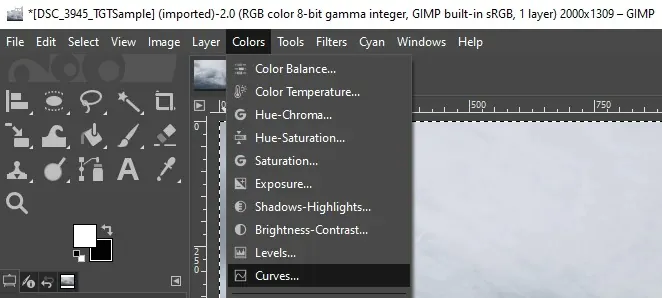
For example, to adjust the brightness and contrast of your cropped image, select “Colors” from the top menu and choose “Brightness-Contrast.” A dialog box will appear where you can adjust the brightness and contrast levels using the sliders. Once satisfied with the changes, click “OK” to apply them to your image.
Similarly, to adjust the color balance, select “Colors” from the top menu and choose “Color Balance.” That will bring up a dialog box where you can adjust the levels of the three primary colors – red, green, and blue – to achieve the desired color balance in your image.
By applying additional edits, you can enhance the visual appeal of your cropped image and achieve a professional-looking final result.
Step 8: Export your final image.
Once you have made all the necessary edits to your cropped image, it’s time to export it in a suitable format for your needs. To do this, select “File” from the top menu and choose “Export As.”
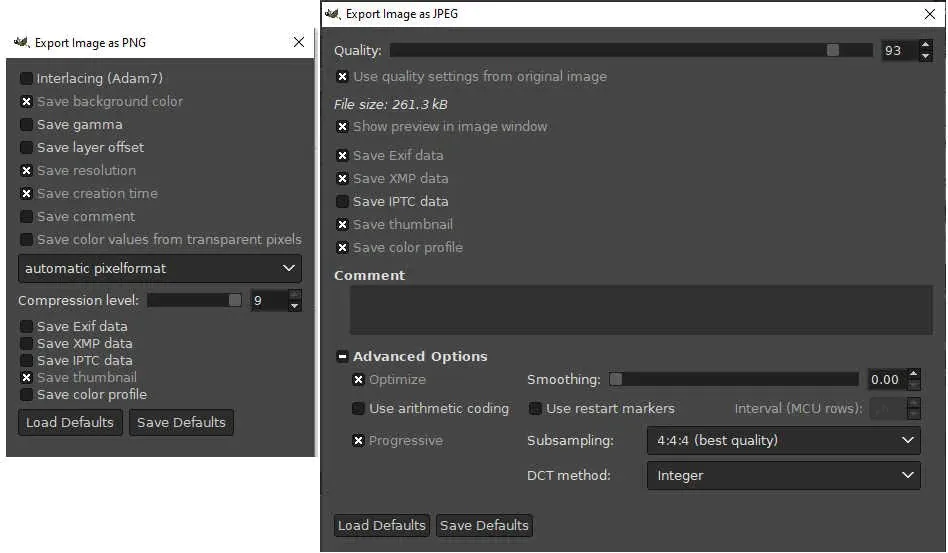
You can choose the file format for your final image in the dialog box that appears. GIMP supports various file formats, including PNG, JPEG, BMP, and GIF. Choose the format that best suits your requirements, and select the destination folder where you want to save your file.
You can choose the compression level and other settings for your exported image depending on your selected file format. Once satisfied with your choices, click “Export” to save your final image.
When exporting your image, consider the resolution and size of the file, especially if you plan to use it on the web or print it. Adjust the resolution and dimensions to ensure your image looks sharp and is not too large.
Following these steps, you can successfully crop and edit your images using GIMP and create high-quality visuals for your projects.
Step 9: Close your file and exit GIMP.
Once you have finished editing and exporting your image, you can close the file and exit GIMP. To close the file, select “File” from the top menu and choose “Close” or click the “X” option on the top right corner of the image window.
If other files are open in GIMP, you can repeat the above step to close them. Once all files are closed, select “File” from the top menu and choose “Quit” or press “Ctrl + Q” on your keyboard to exit GIMP.
It’s always a good practice to save your work before closing the file or exiting GIMP. That ensures that all changes you have made are preserved, and you can easily open the file again to continue editing if needed.
With these steps, you can successfully crop and edit your images in GIMP and create professional-looking visuals for your projects.
That was the final step, so you have now completed cropping an image in GIMP. Congratulations! Remember to save your work frequently, backup your files, and experiment with different editing tools to achieve the desired result. With practice, you’ll become more proficient at using GIMP and be able to create stunning images for your projects.
Conclusion
In conclusion, GIMP is a powerful image editing software that offers a range of tools and features to crop and edit images. Following the step-by-step guide, you can successfully crop your images and apply additional edits to create high-quality visuals for your projects.
